
Troubleshooting print and binding quality
Make sure your yearbook looks sharp and stays intact by getting a few things right before it goes to print: image quality, colour settings, space around the spine, and a careful check of your proof.
Choosing a cover, size and binding
Yearbooks come in several cover styles:
- Softcover: a flexible cover printed on 350gsm silk board.
- Hardcover: a rigid, wrapped printed paper case.
- Leatherette: printing takes around 11 working days, plus delivery time, so allow for this when planning your deadline.
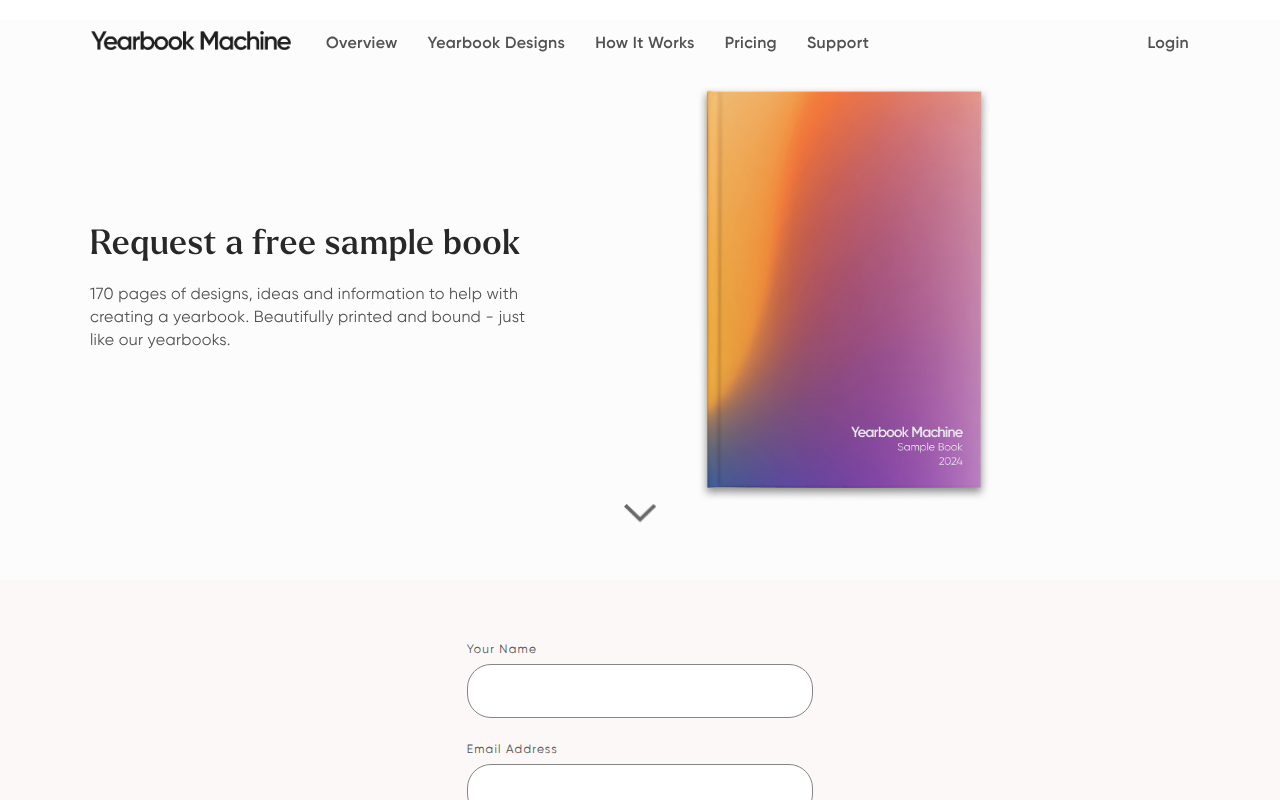
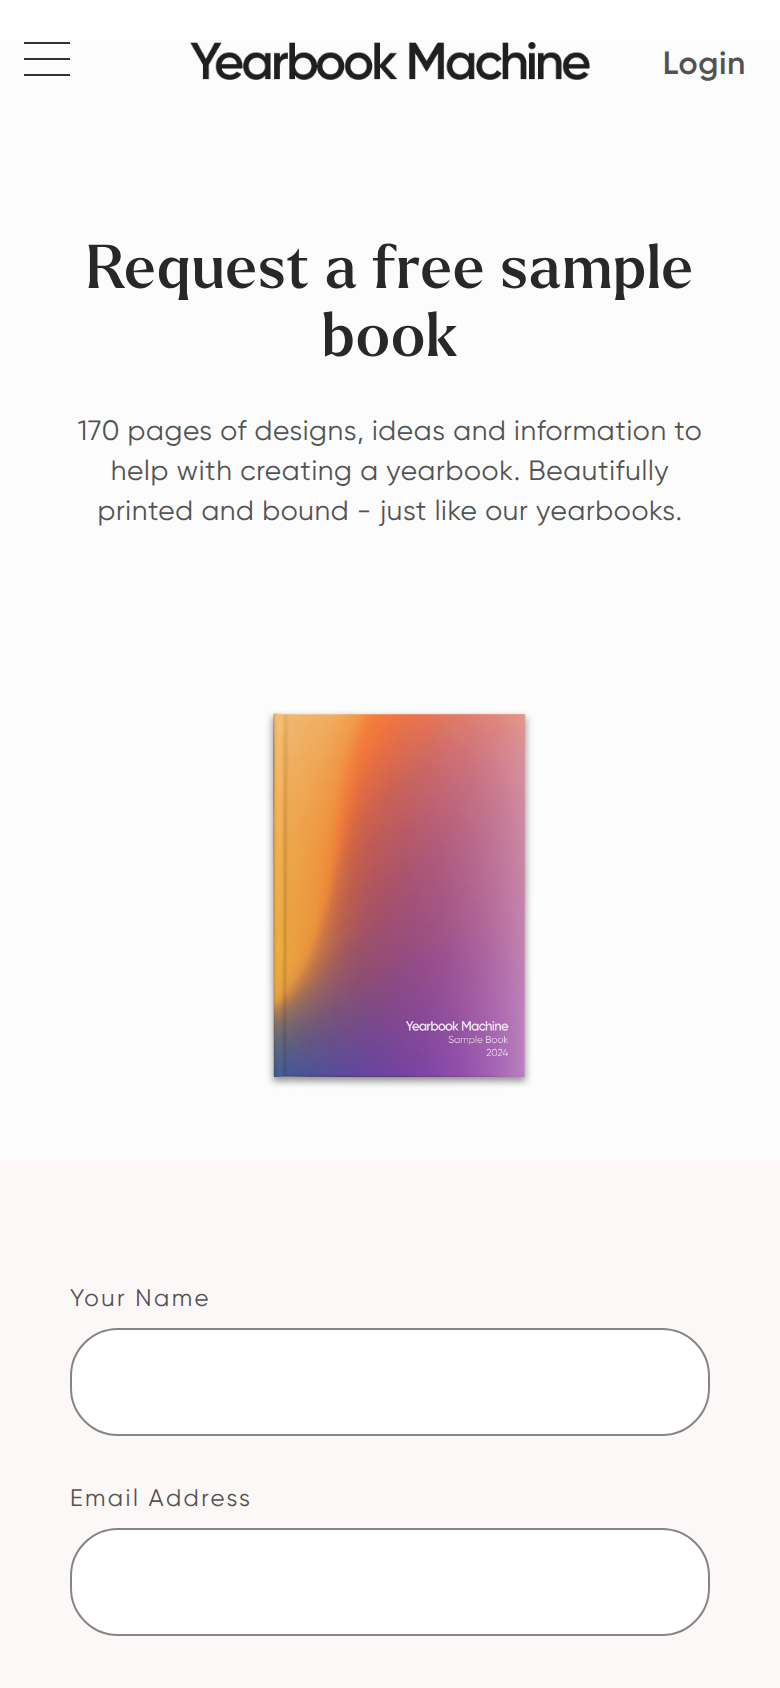
Order a free sample to see and feel the difference before you decide:
- Go to
https://yearbook.com/request-sample. - Fill in your contact and delivery details.
- Click Send my free sample. We'll email you a link to confirm your address, and we post your free sample once you've clicked it.
Fixing blurry or low-quality images
A photo that looks fine on your phone can print blurry if the file is too small. Photos shared through messaging apps or social media are compressed, so they often trigger a low-quality warning.
- Find the original file from the camera or device that took the photo, not a shared copy.
- Upload the original file to your page or cover.
- If we let you know a page has text or an image that may be hard to read, email us a higher-resolution image, Word document or PDF for that page and we'll help update it before printing.
If your files are too big to attach to an email, send them using a file-sharing service such as WeTransfer.
Getting your logo print-ready
Once you upload a logo, we automatically make print-ready versions of it. The Logo card in Settings then shows Check your logo: click Looks right to use them, or Something's wrong to tell our team what to change.
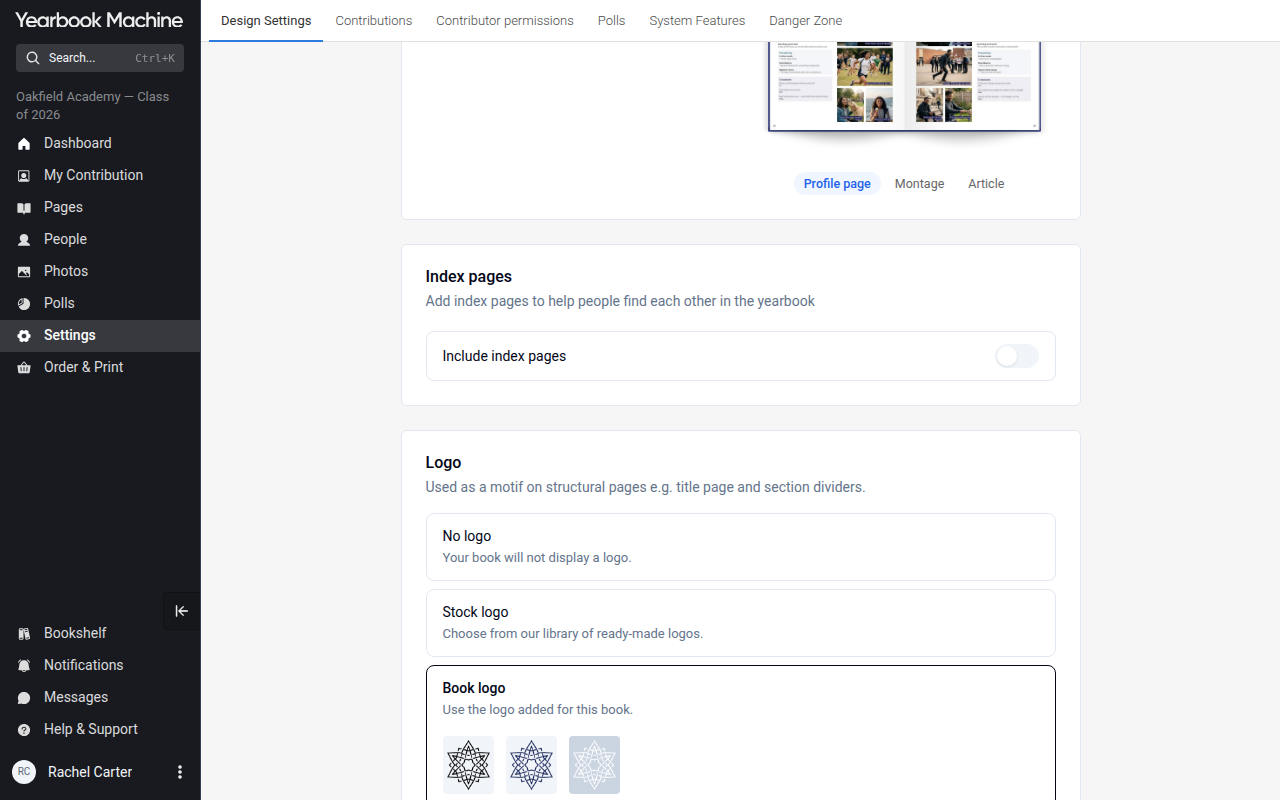
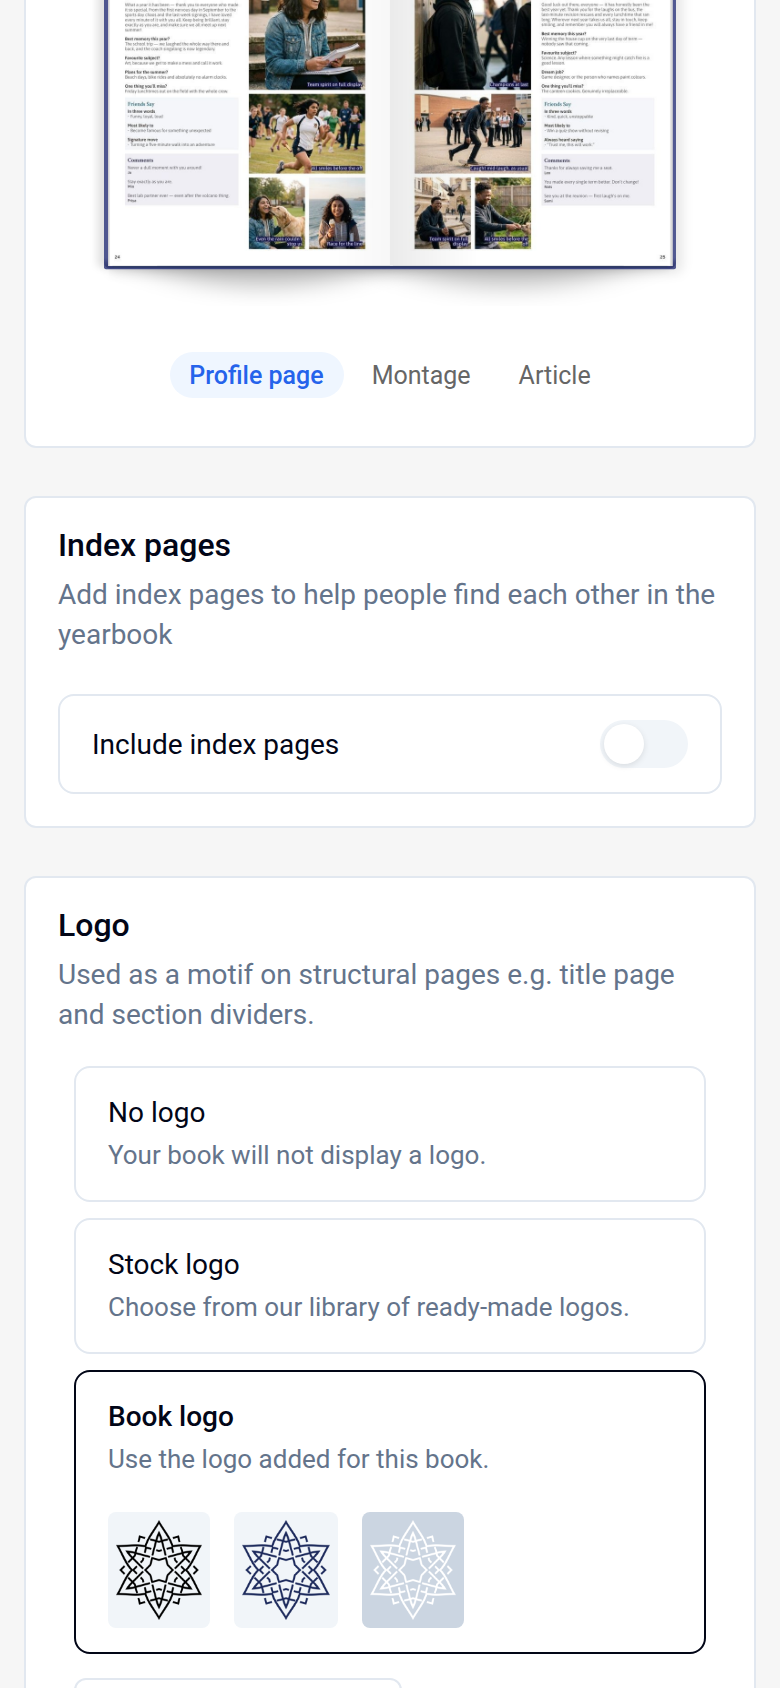
If the file is too small, or is a photo, the card says We need a better file. Click Upload a larger file, or Ask the team to trace it by hand. If you were just testing the site with a placeholder, simply let us know.
Getting colours right in print
Screens show colour differently from printed paper, so a bright red on screen can come out looking slightly orange.
Set up your files in CMYK. Create cover and chapter opener designs in CMYK colour mode. Files made in RGB may shift in colour when printed.
Need an exact colour on your cover? Send us your CMYK values and we'll check them for you.
Not sure of your CMYK values? If you only have your school's web colour code (RGB or hex, such as #A42F23), send it to us. We'll convert it to CMYK and, if you've uploaded a logo, also share the CMYK values from your logo, so you can compare both and choose the shade you prefer. If your website uses a darker shade when you hover over links, double-check which one you want.
Keeping content safe near the spine and edges
Text or images placed too close to the centre fold can disappear into the spine when the book is bound, and anything too close to the page edge can be trimmed off.
- Keep important text, faces and logos away from the centre of double-page spreads and away from the outer edges.
- If any content sits too close to the fold or trim, we'll apply recommended margins and let you know which pages were affected.
- If you'd prefer tighter margins, ask us for an adjusted proof. We'll need your written confirmation that you accept the risk of content being lost before we print.
Setting up a wrap-around cover
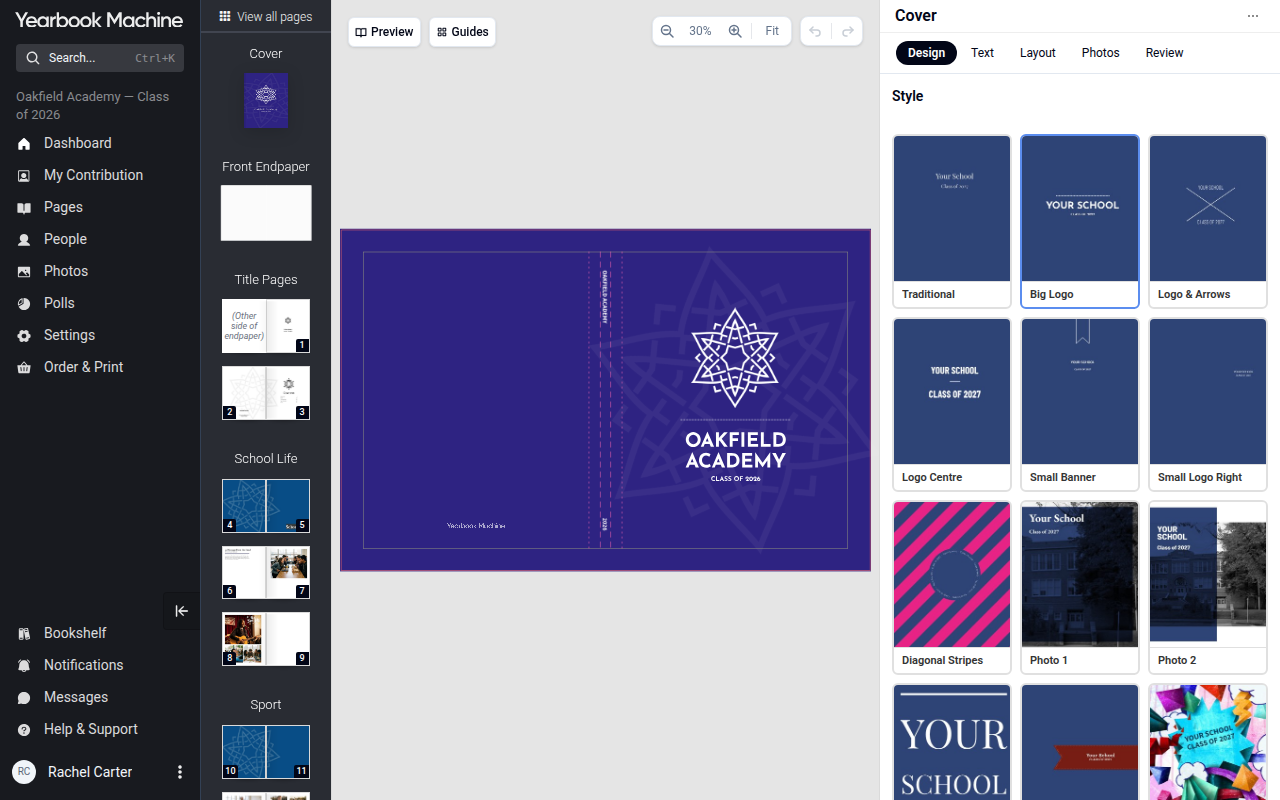
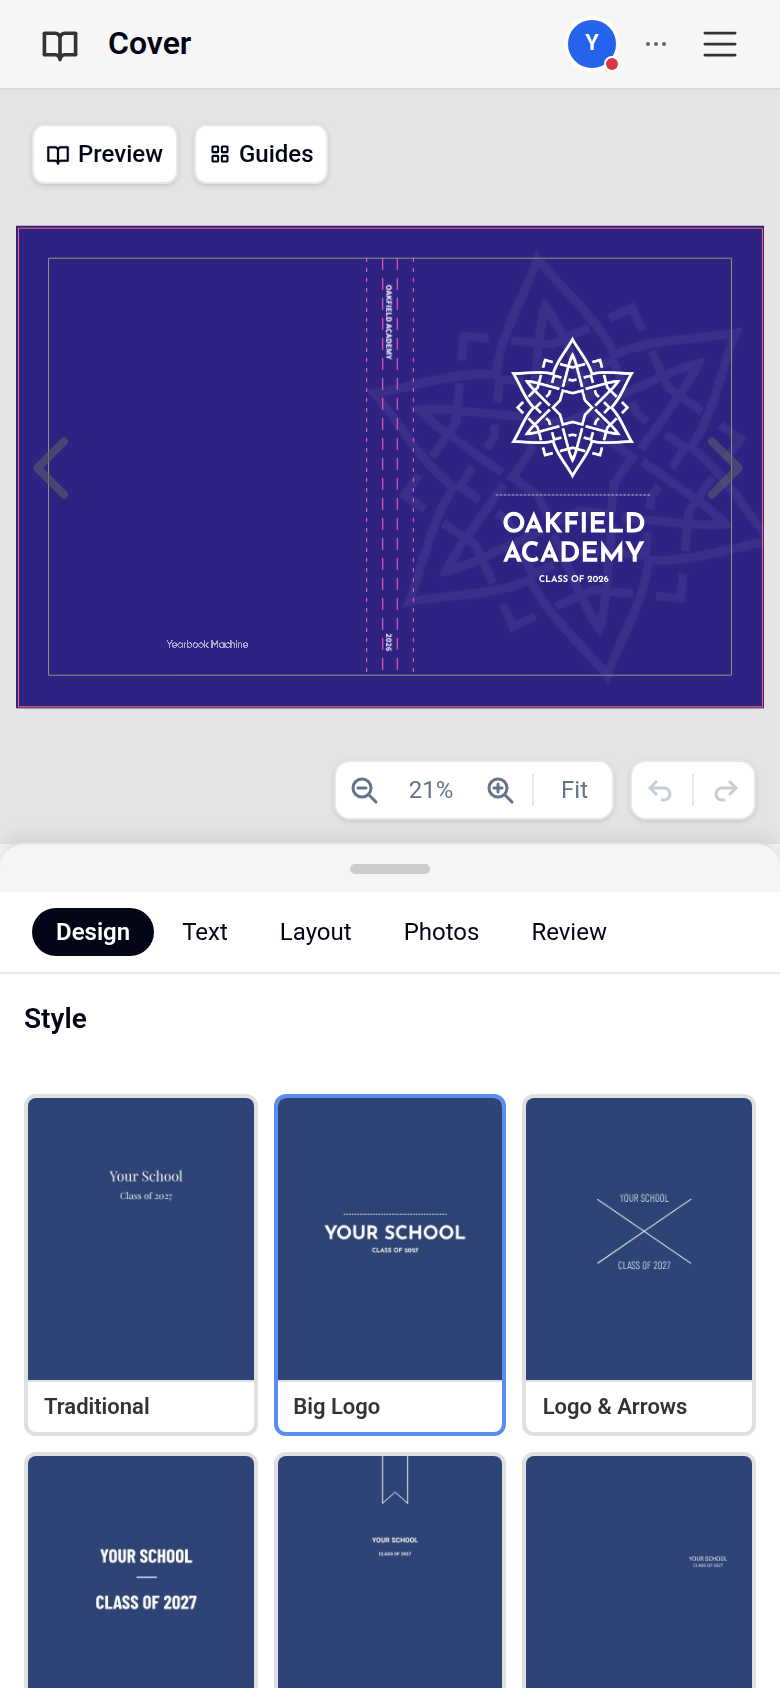
Click Pages in the main menu and click the front cover at the top of the page list to open the cover designer. Choose a design on the Design tab and add your original image on the Photos tab.
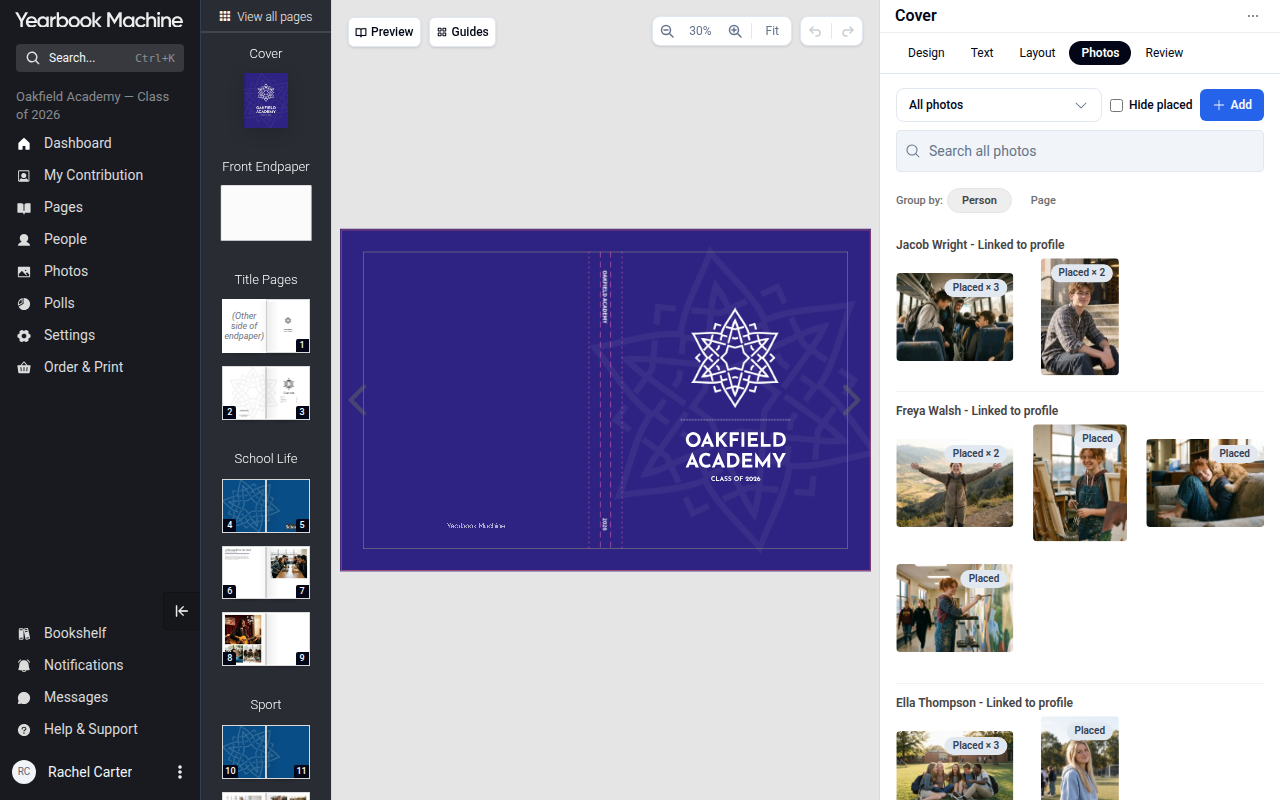
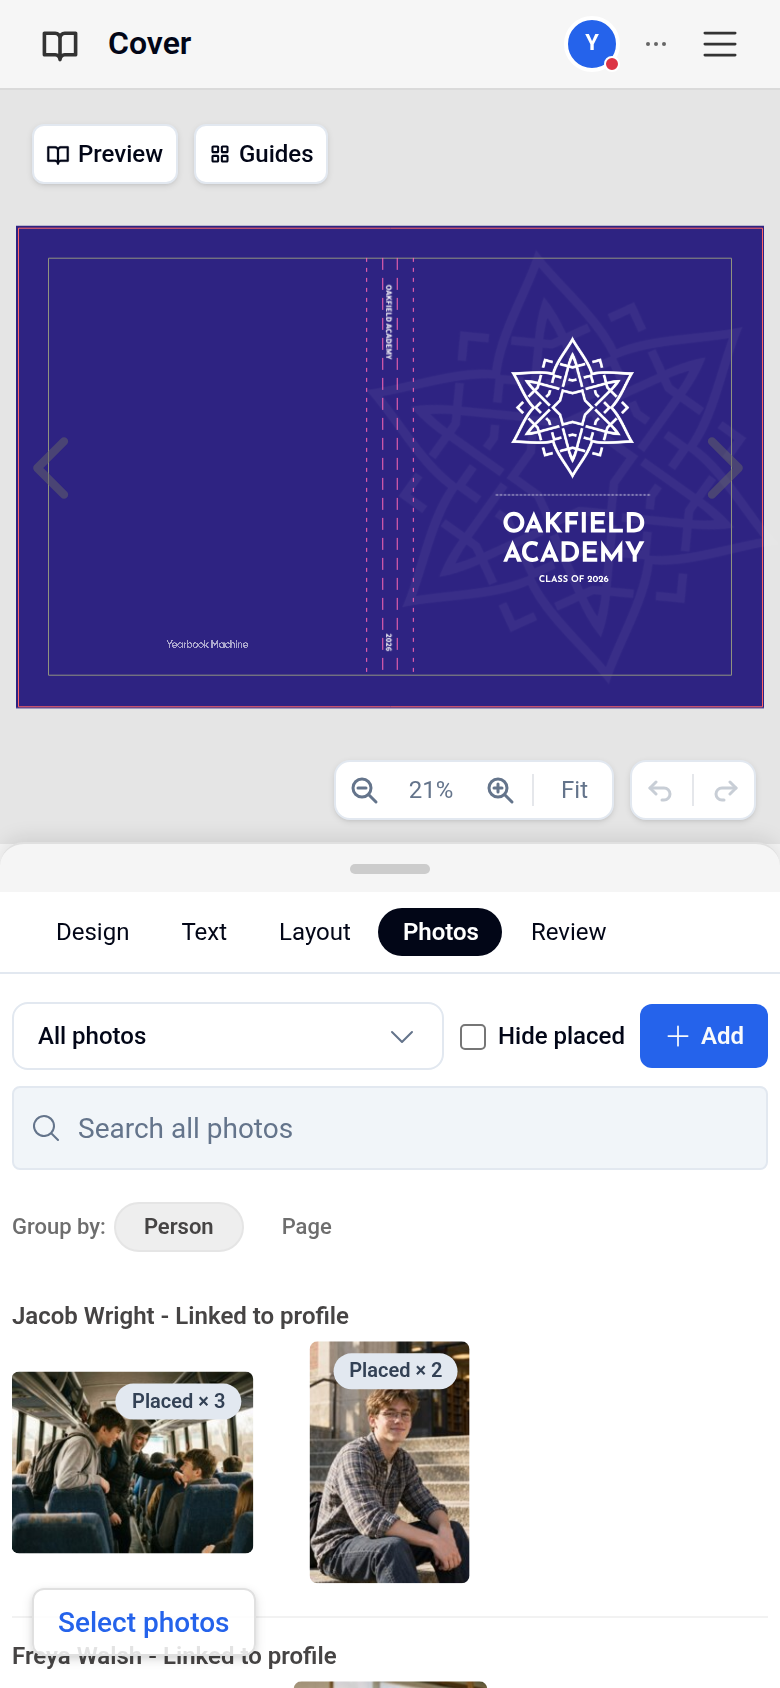
If you see a low-quality warning, check you're using the original photo rather than a copy that's been shared or sent on.
Checking your cover proof
Your cover proof shows exactly how the printed cover will look. The extra edge needed for wrapping has already been allowed for, so nothing further will be cropped from what you see.
- Check the image alignment and cropping carefully.
- Make sure the wrap-around and margins look as you expect.
- Approve the proof only when you're completely happy, as your printed cover will match it exactly.
Fixing cover artwork and getting a new proof
If you spot a problem, such as a logo colour not matching its background:
- Re-upload the corrected cover file.
- Contact us so we can check the fix, for example that the colours now match.
- Let us know if there are any other changes. Once you confirm there are none, we'll send you a new proof.
Checks before you generate a proof
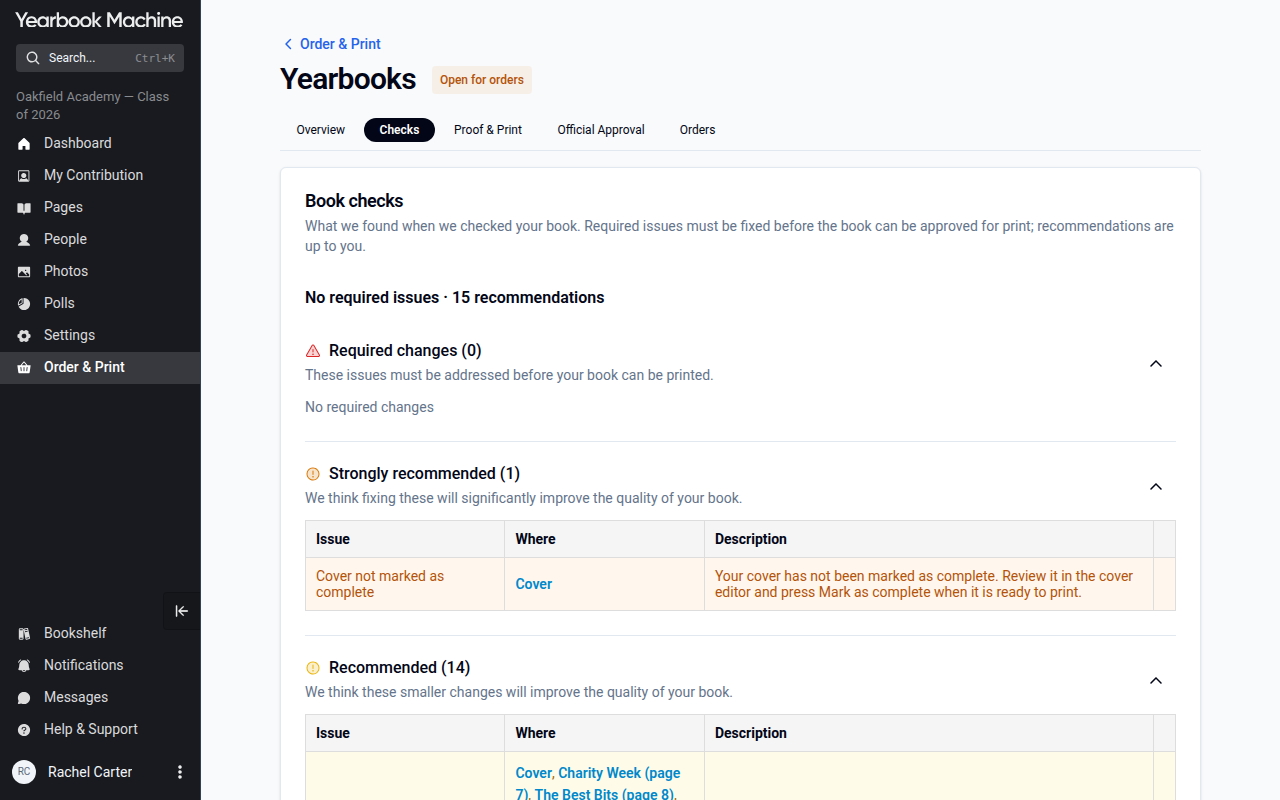
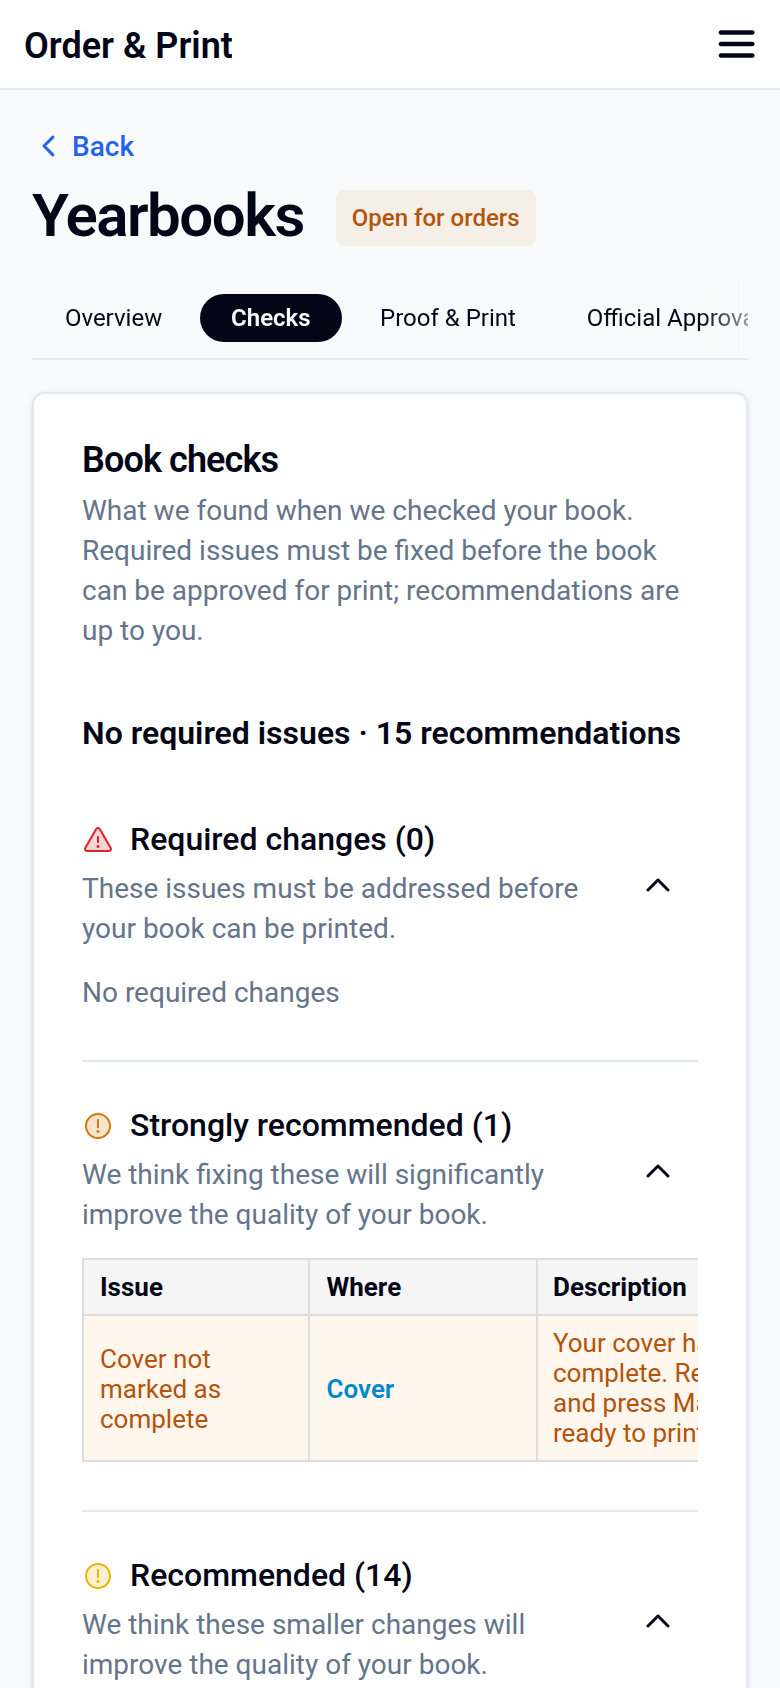
Before you generate a proof, open Order & Print > Yearbooks > Checks. Fix everything under Required changes. The other items are recommendations.
Avoiding delays at the final step
A few things need to be in place before your book can go into production:
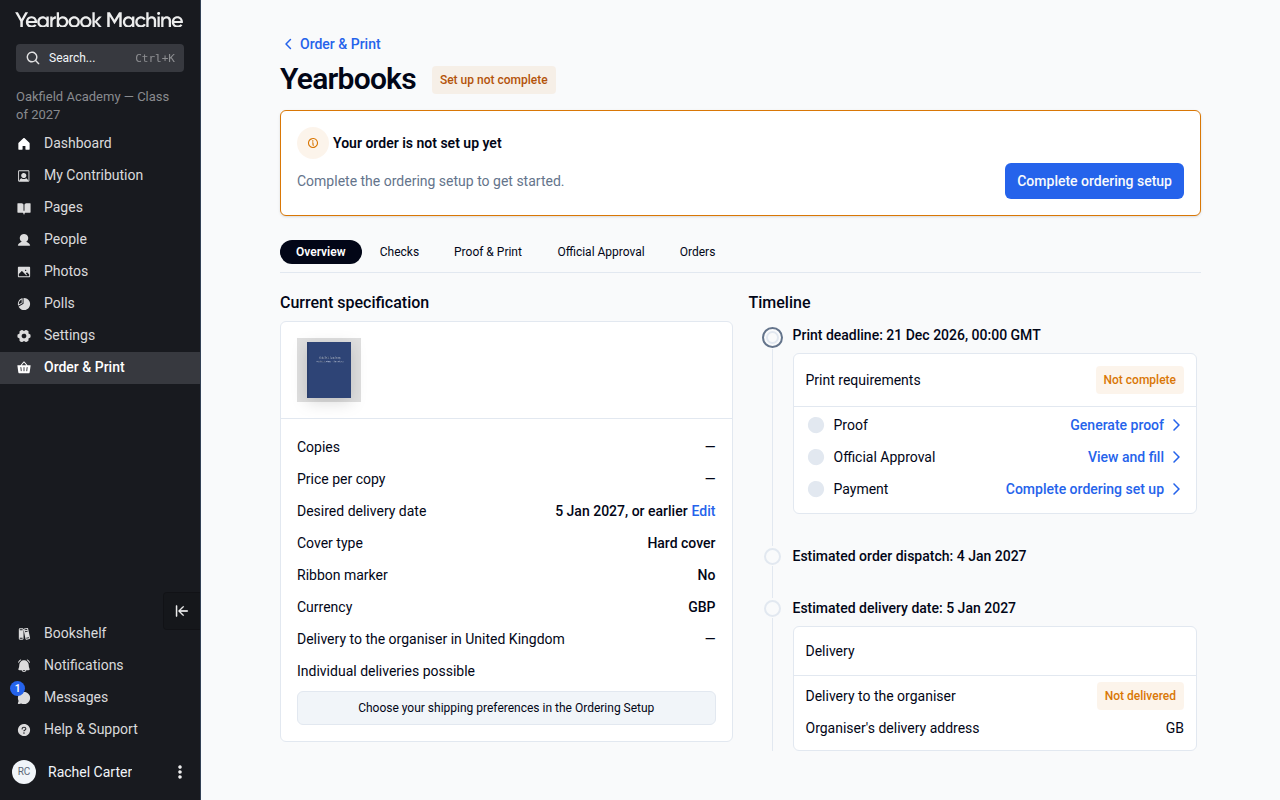
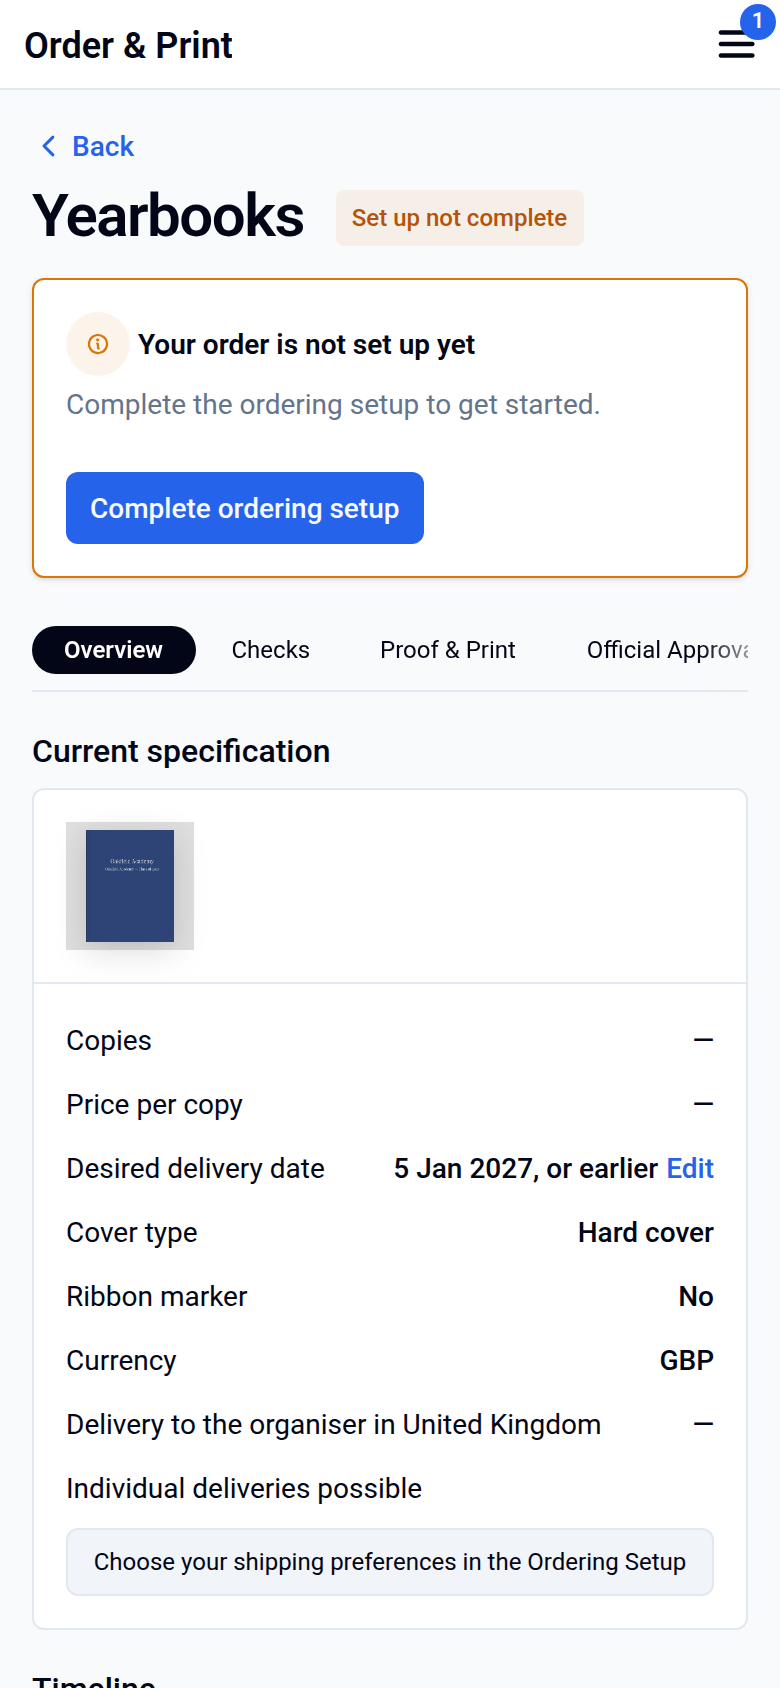
- Ordering setup: log in, click Order & Print, select Yearbooks, then go through the Ordering setup and choose your payment method.
- School logo: if your yearbook includes your school logo, official approval for using it is needed before printing.
- School sign-off: if your school needs a particular person, such as your head teacher, to approve the book, make sure they've given that approval in writing.
Having these sorted before you approve your proof means your book can go straight to print.
Getting your leavers hoodie print right
The standard back design on leavers hoodies shows your graduation year filled with the names of everyone in the year group, rather than an individual name.
- Confirm your hoodie colour and size.
- Review the mockup we send you to check the design is what you expect.
- Approve the mockup before paying your invoice.
To open your mockup link, your account needs editor access to your yearbook. If the link says you don't have access, ask your book's main editor to update your permissions.
The back print is up to 28 cm (280 mm) wide, and we resize a wider design to fit. To send your own artwork, see Ordering custom leavers hoodies.
Was this article helpful?
Sorry, that didn't send. Please try again in a little while.
Thanks. That helps us improve this article.
Any other questions?
Email support@yearbook.com and we'll help you out.