
Bookshelf: Signing in, opening books, notifications and creating a new book
Your bookshelf is where all your yearbooks live. From here you can open the book you're working on, switch between books, or start a new one for the coming year. This guide also shows you how to choose which emails you receive.
Signing in and opening your book
- Go to yearbook.com/login and sign in with your email address and password.
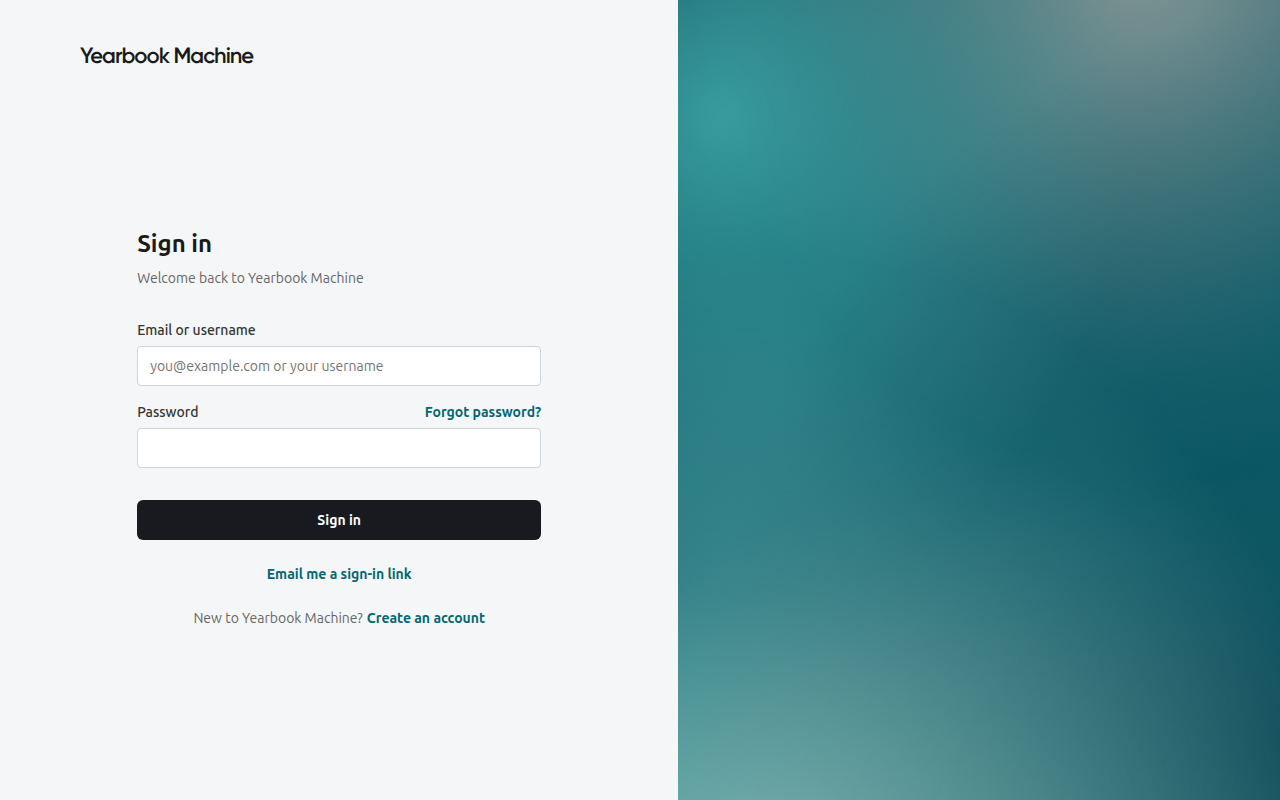
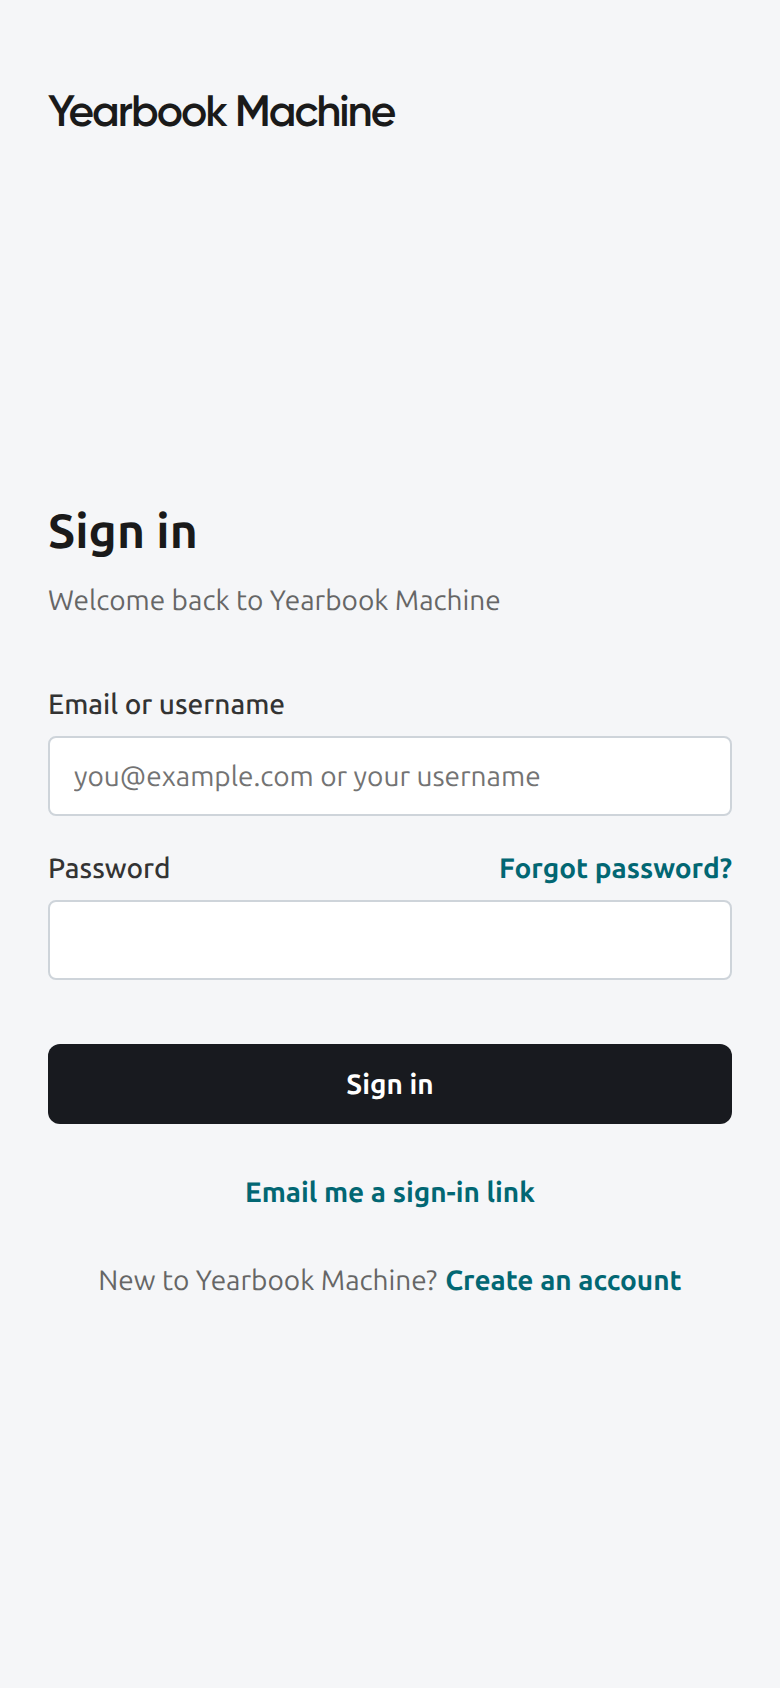
- After you sign in you're on your Bookshelf. Click the yearbook you want to work on.
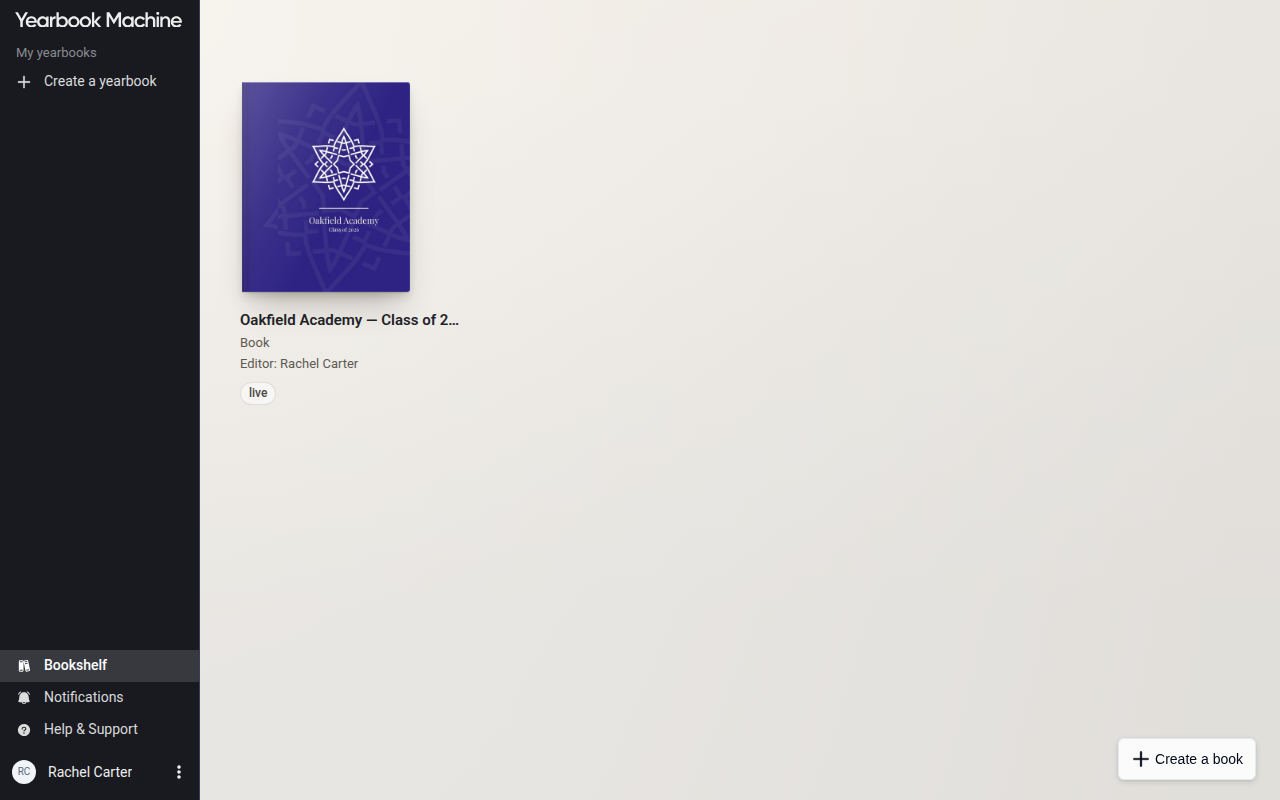
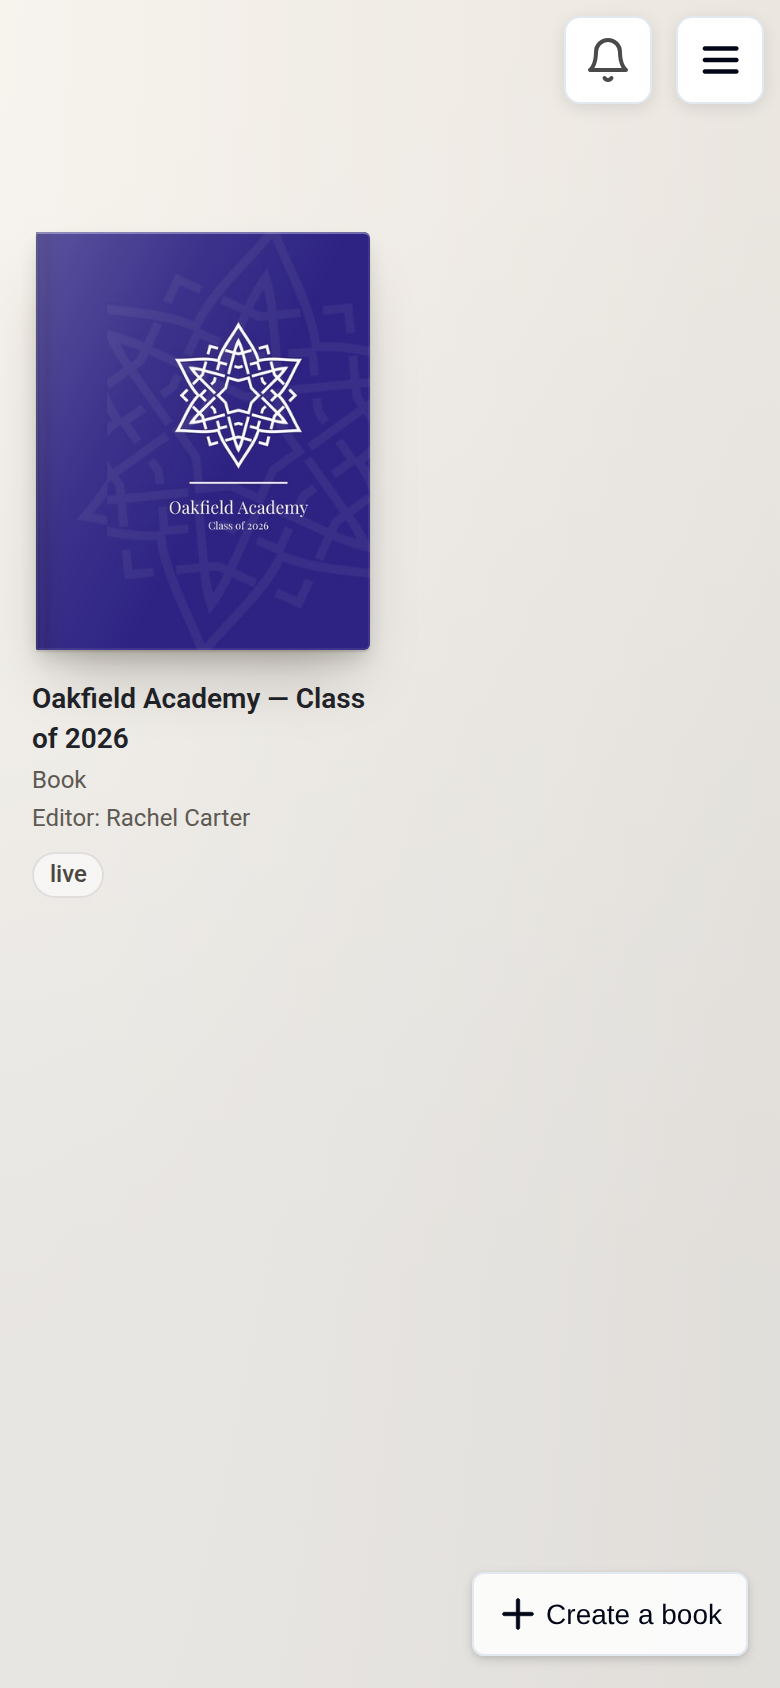
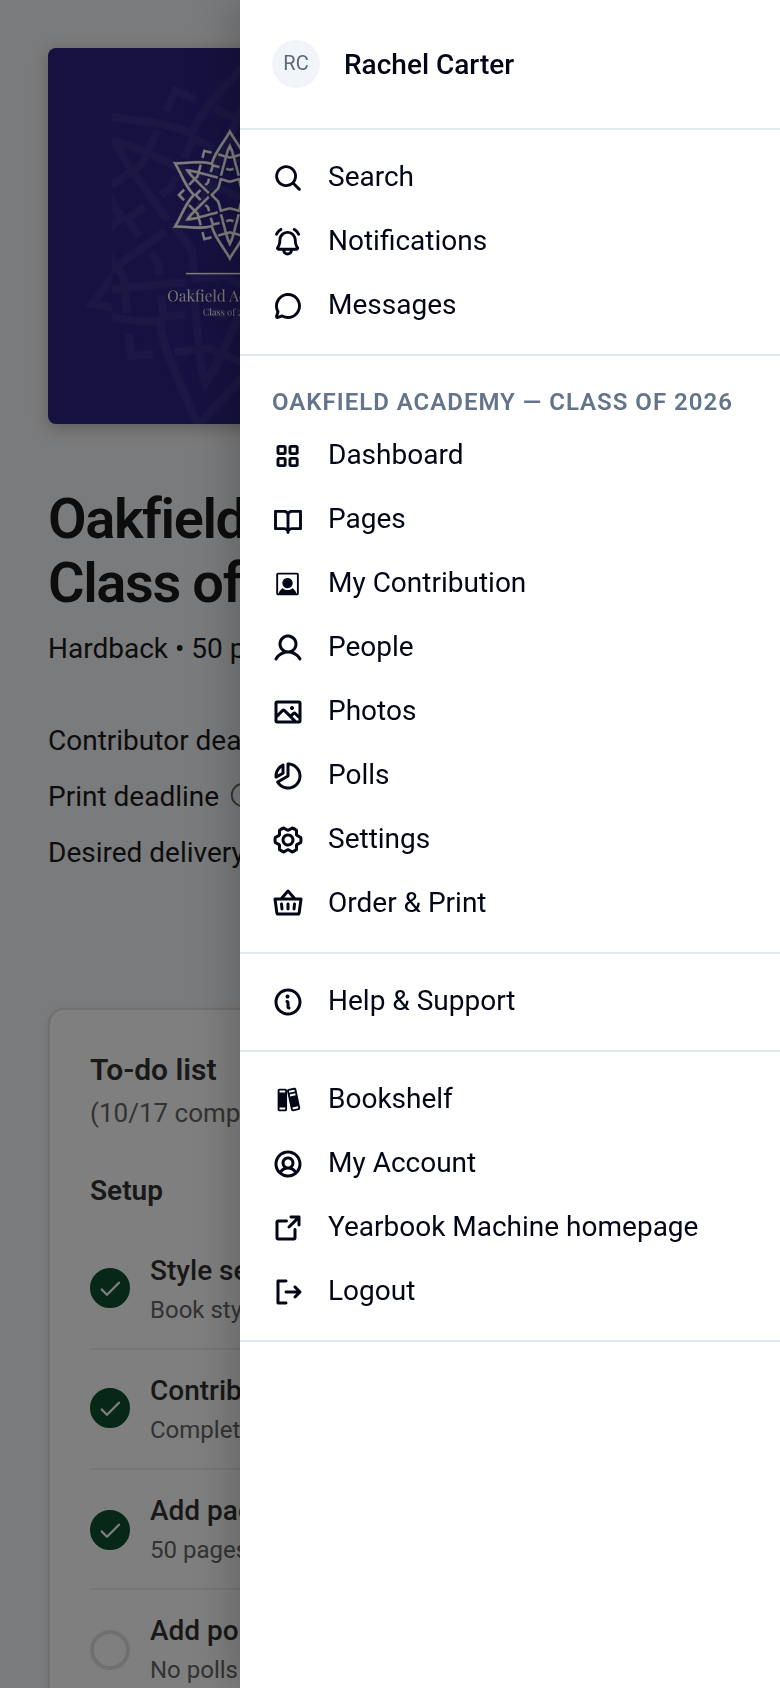
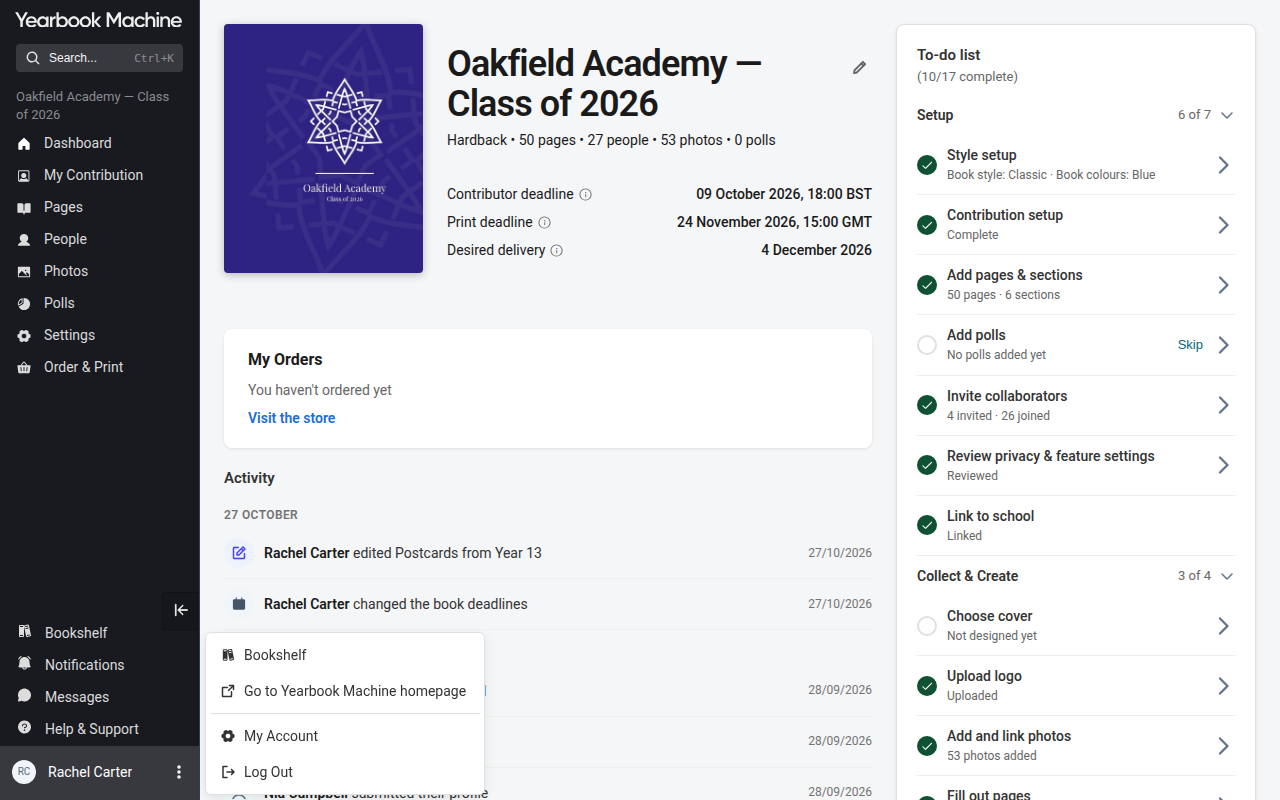
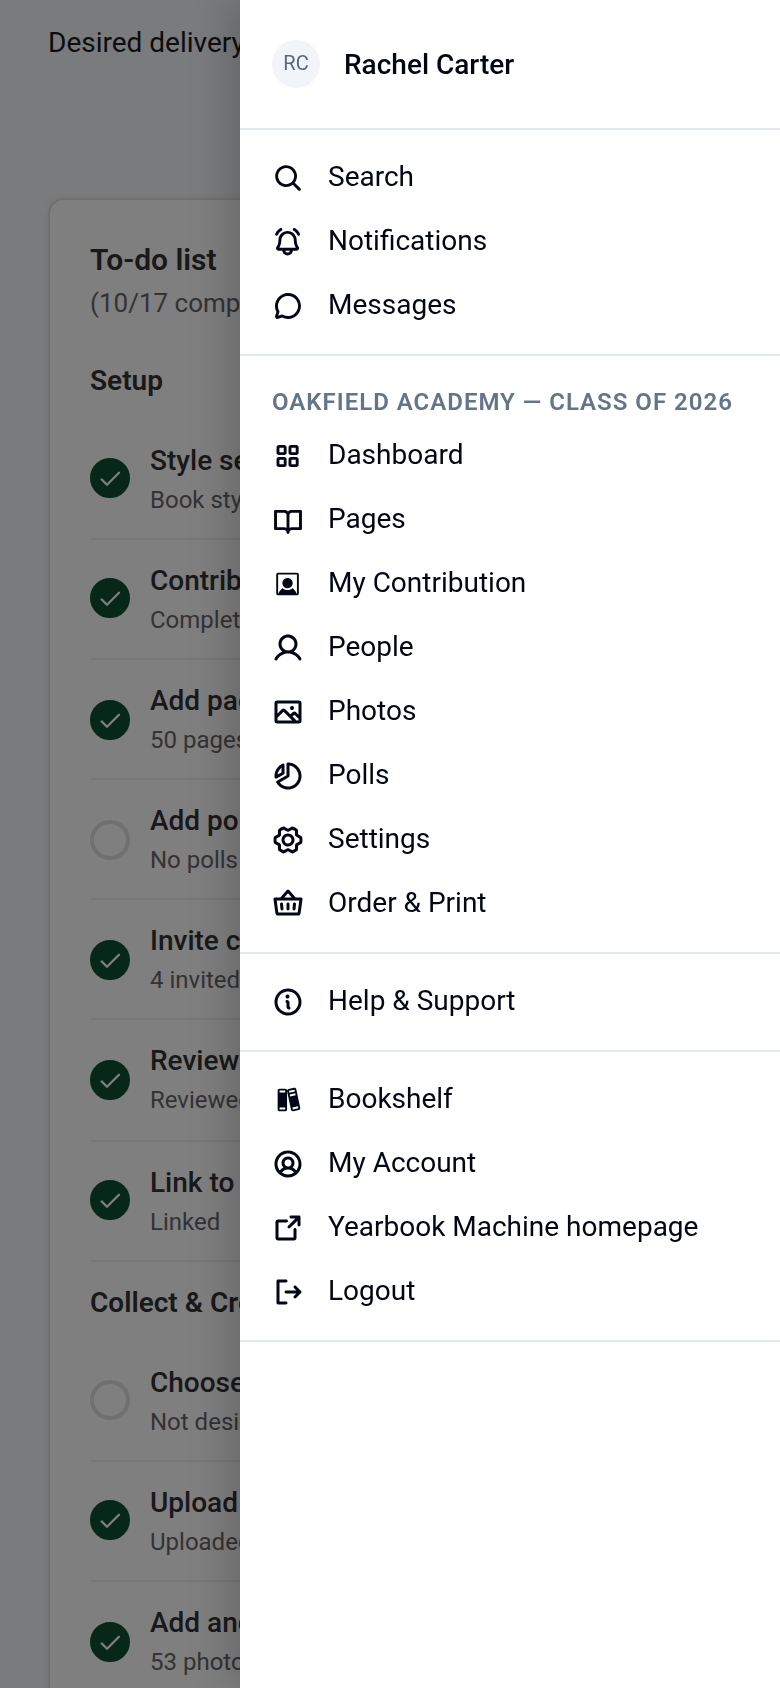
To switch to a different book at any time, click Bookshelf at the bottom left of the menu, and choose another one. On a phone, open the menu button at the top right; Bookshelf is near the bottom.
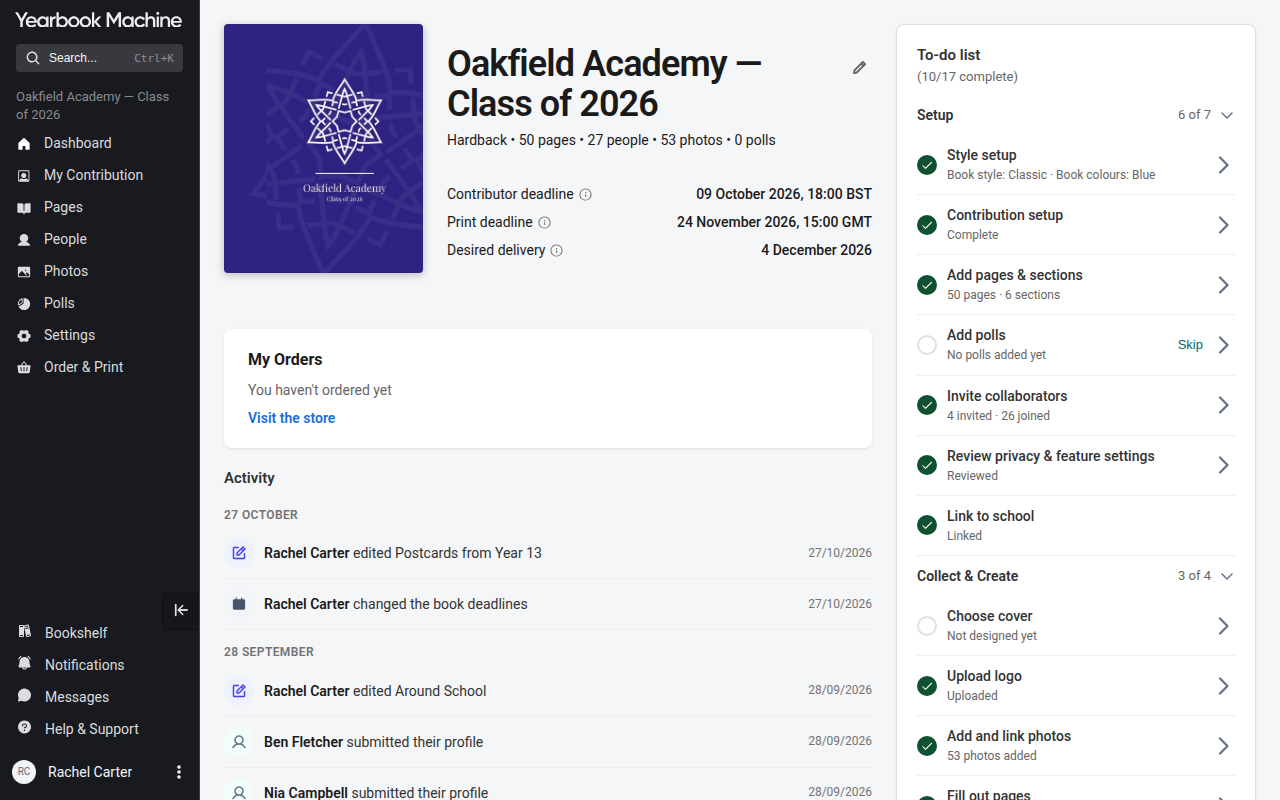
Can't see your book? Ask your book's editor to invite you. If you've been invited to your school's book, use the invite or join link they sent you. If you signed up with more than one email address, check you're signed in with the one your book is linked to. Work saved under one login won't show up under another.
Can't get into your old email account? You don't need it. Create a new account with an email address you can use, then ask your book's editor to invite you to the book from inside it.
Is your book telling you the deadline has passed? First, check you've opened the right book from your bookshelf. This matters most if you have both this year's book and last year's book on your shelf.
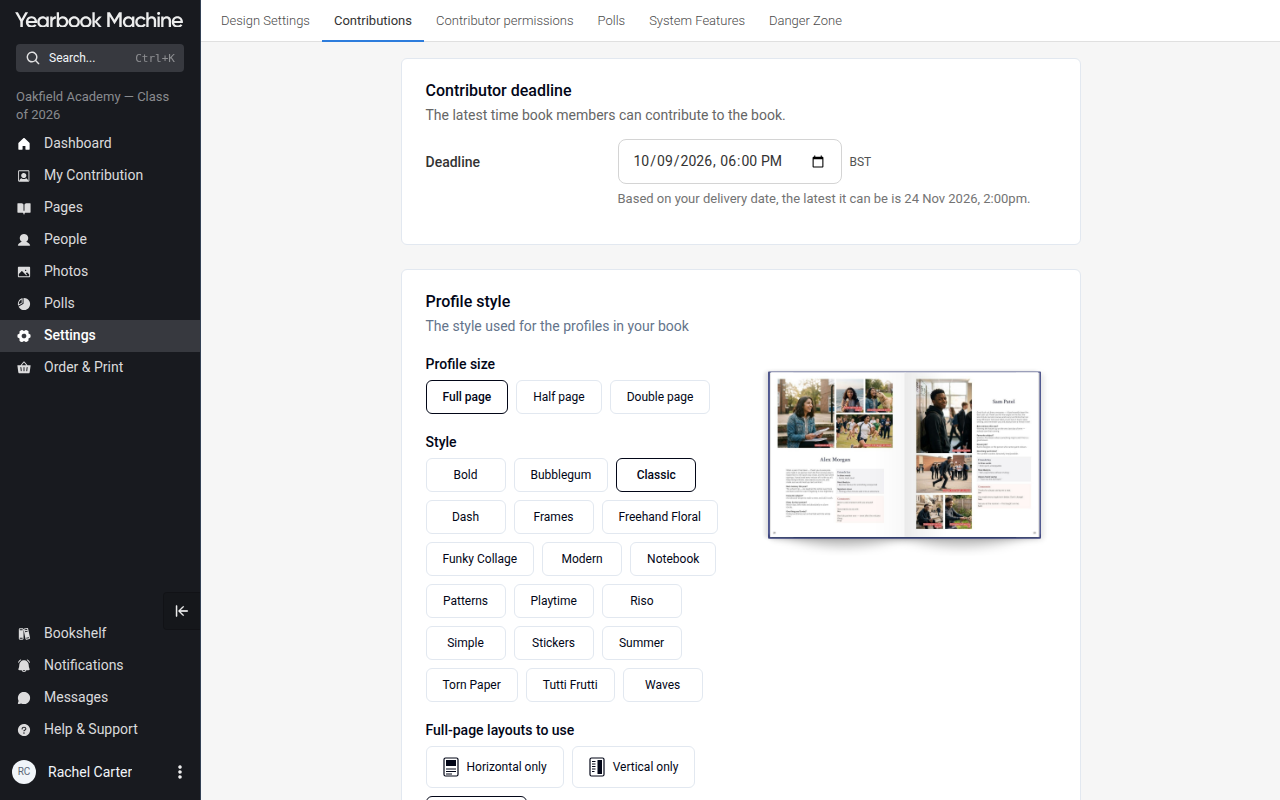
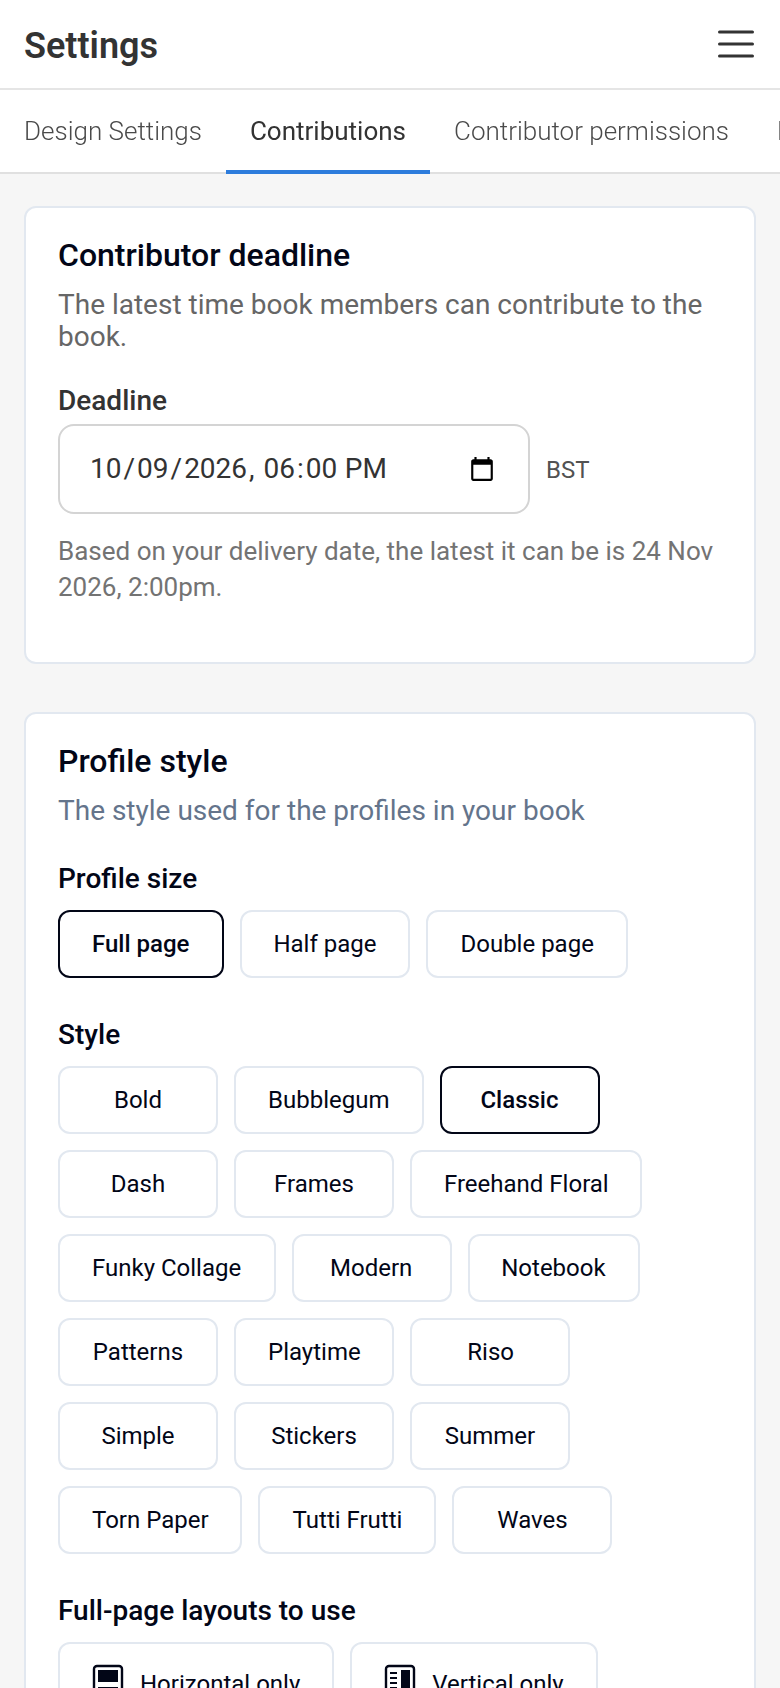
If it is the right book and you're a contributor, you'll need your editor's help. Once the contributor deadline passes, only editors can open the book. Ask your editor to extend the contributor deadline. Editors do this in Settings > Contributions, in the Contributor deadline card. Once they've saved the new date, open the book again.
First time signing in?
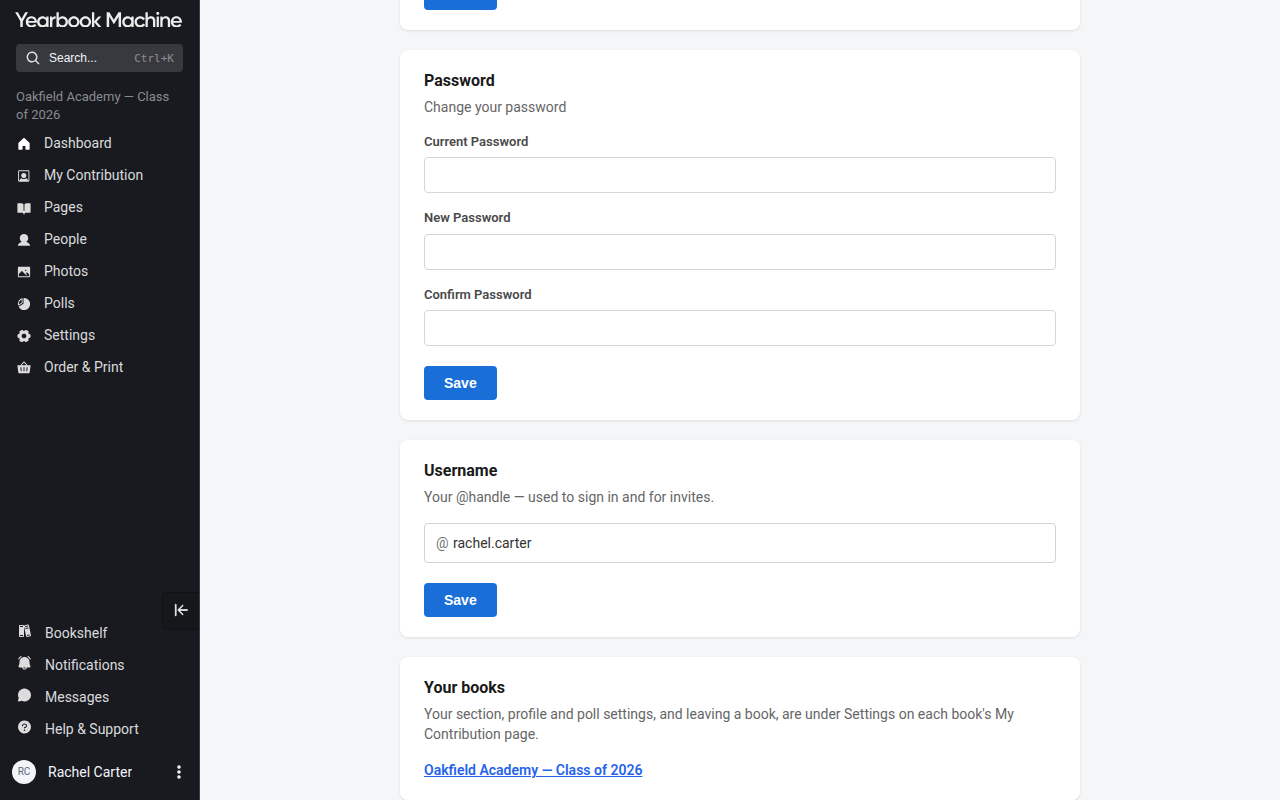
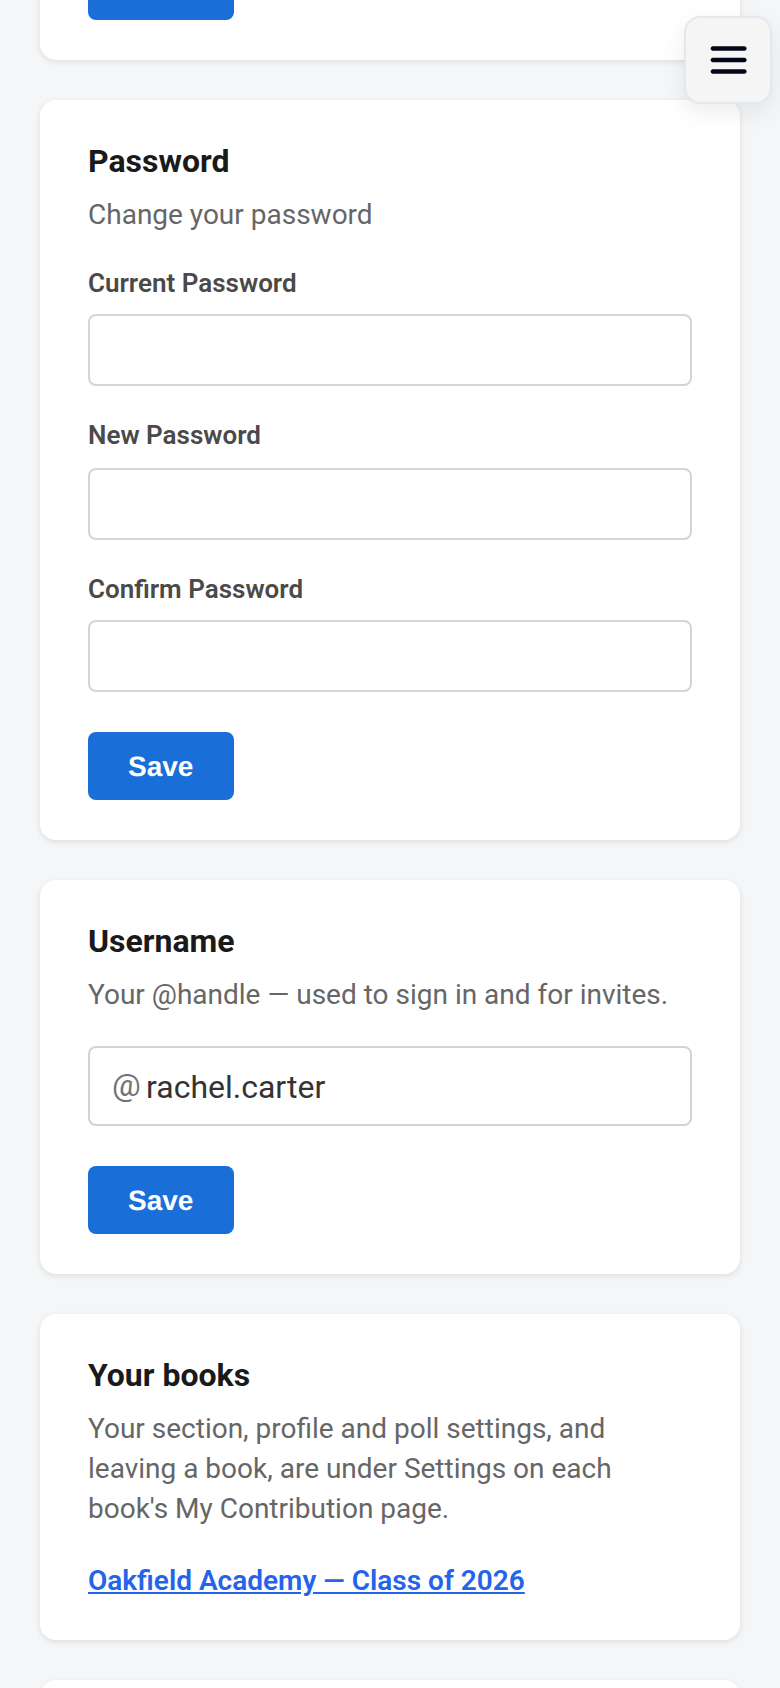
If we've emailed you login details, change your password straight away:
- Click your name at the bottom of the main menu. On a phone, open the menu button at the top right: your name is at the top of the menu.
- Choose My Account.
- Update your password.
Contributors seeing "too many sign-up attempts"?
This can happen when lots of people sign up from the same school network at once. If your contributors see this message, contact our support team and we'll sort it out for you.
Creating a new book
If you already have an account
Returning schools starting a new year's book should use this route.
- Sign in at yearbook.com/login. Signing in takes you to your Bookshelf.
- Click Create a book in the bottom-right corner, or Create a yearbook in the menu on the left.
- Follow the on-screen prompts to finish setting up your book. Creating a new yearbook explains each field on the form.
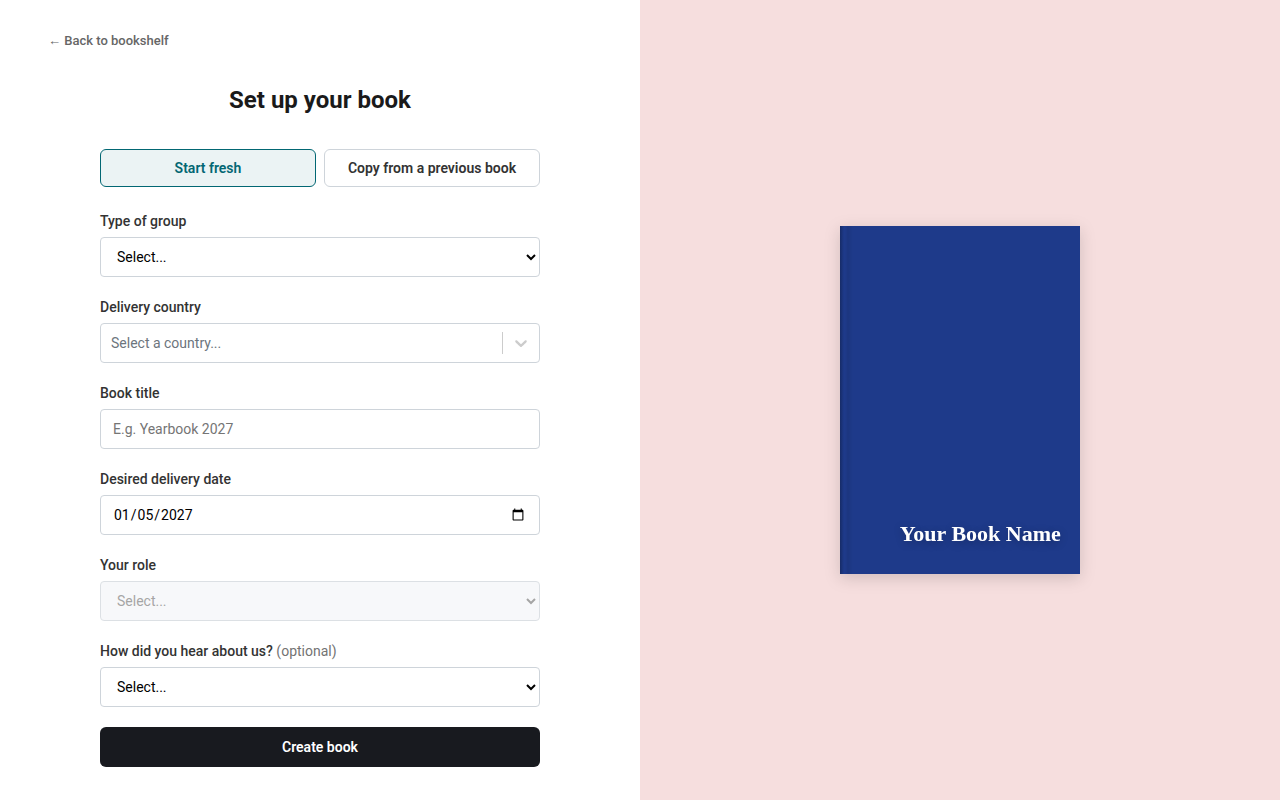
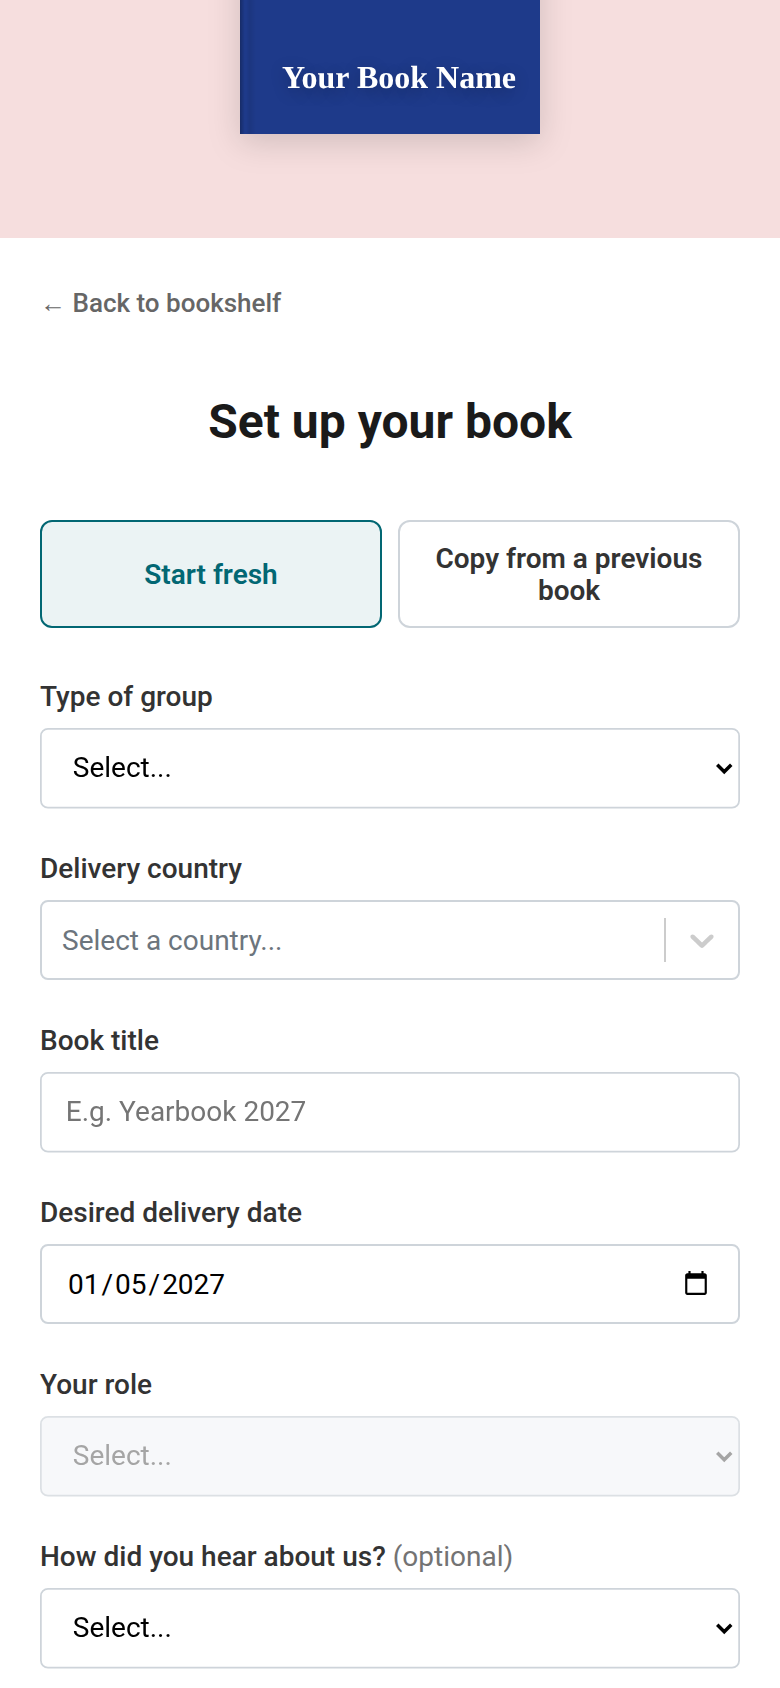
You can also start a new book at yearbook.com/get-started.
If you're new to us
- Go to yearbook.com/signup.
- Follow the guided set-up to create your account and your first book.
Signing up is free. If you'd like to try things out first, you can explore the templates and page layouts before you commit to anything. If you'd like to see the finished product, you can also request a free sample book.
Working on the book with others
Go to People in the main menu, click Add people, and choose whether to invite people as editors (full access to the whole book) or contributors (their own profile page, photos and polls). If you're asked to set up contributions first, do that or choose Use standard setup. Each person uses their own account.
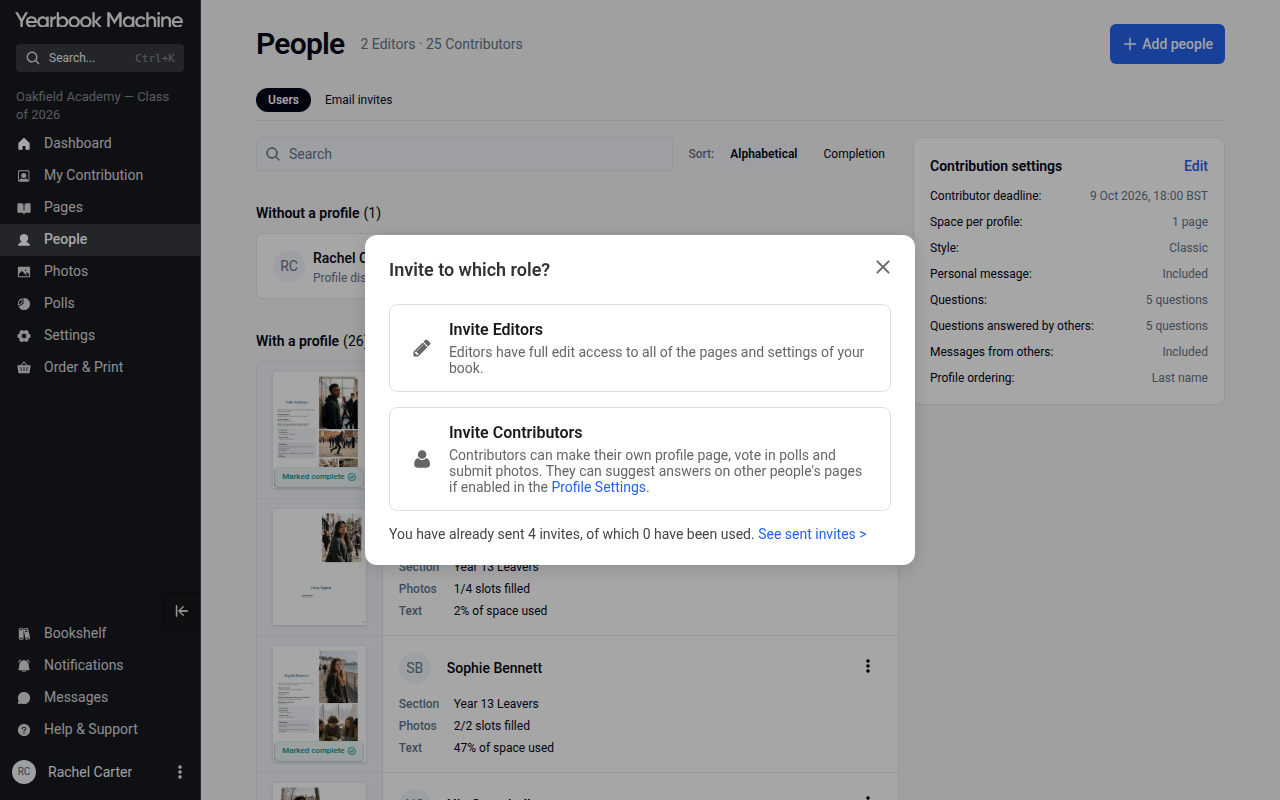
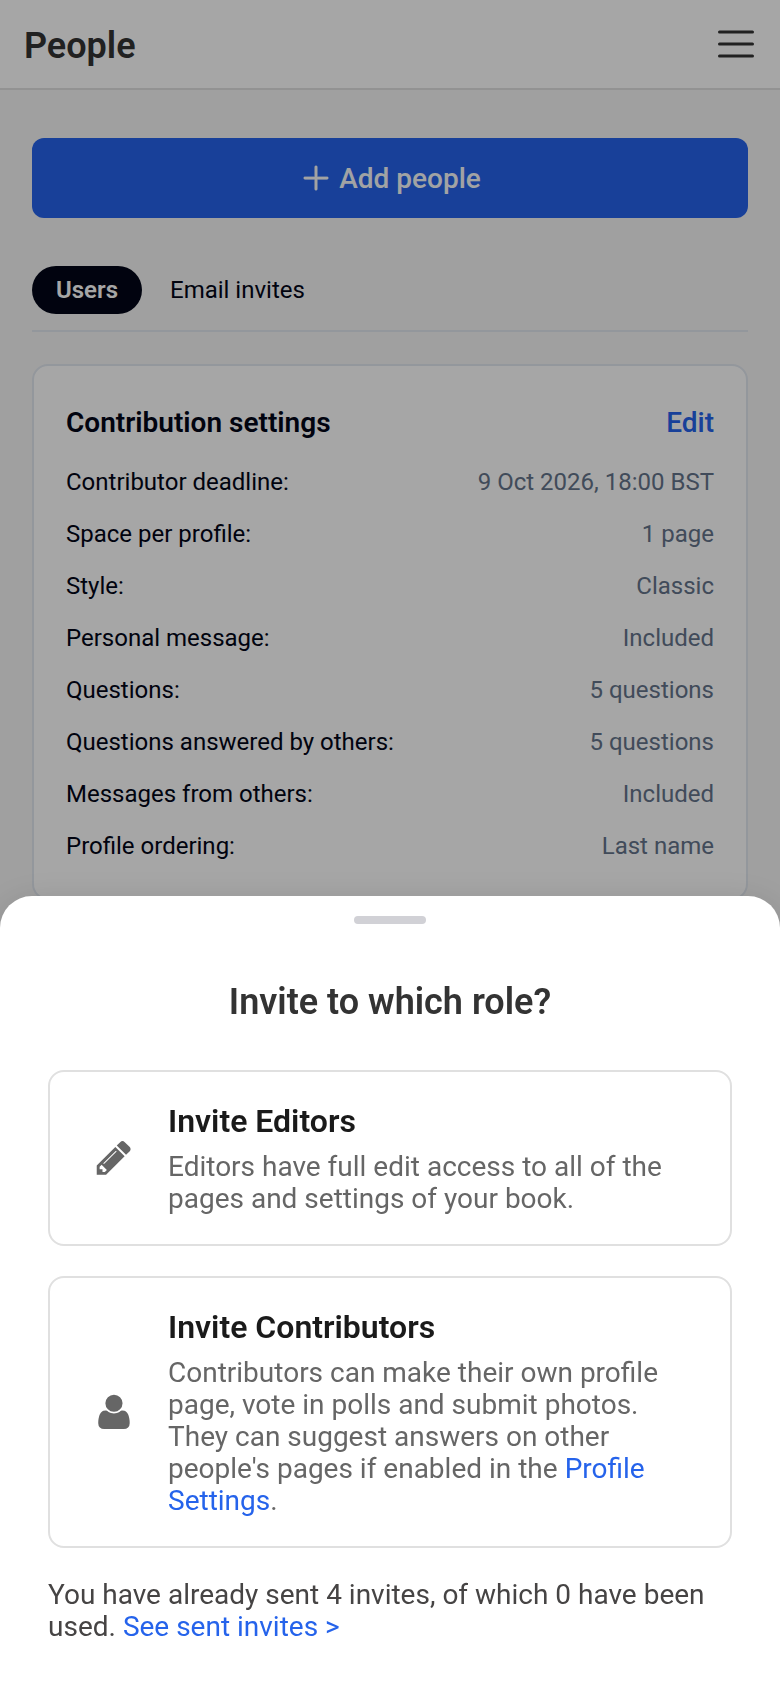
Good to know once your book is created
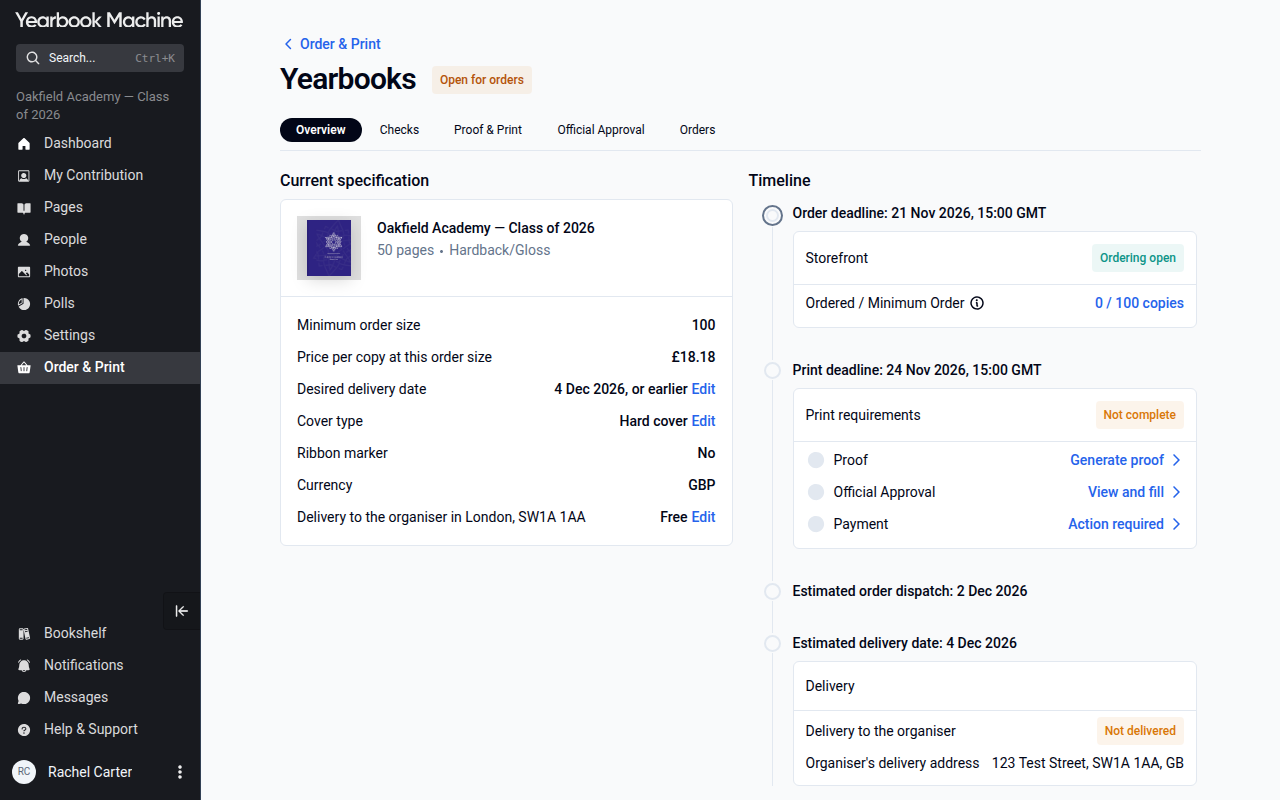
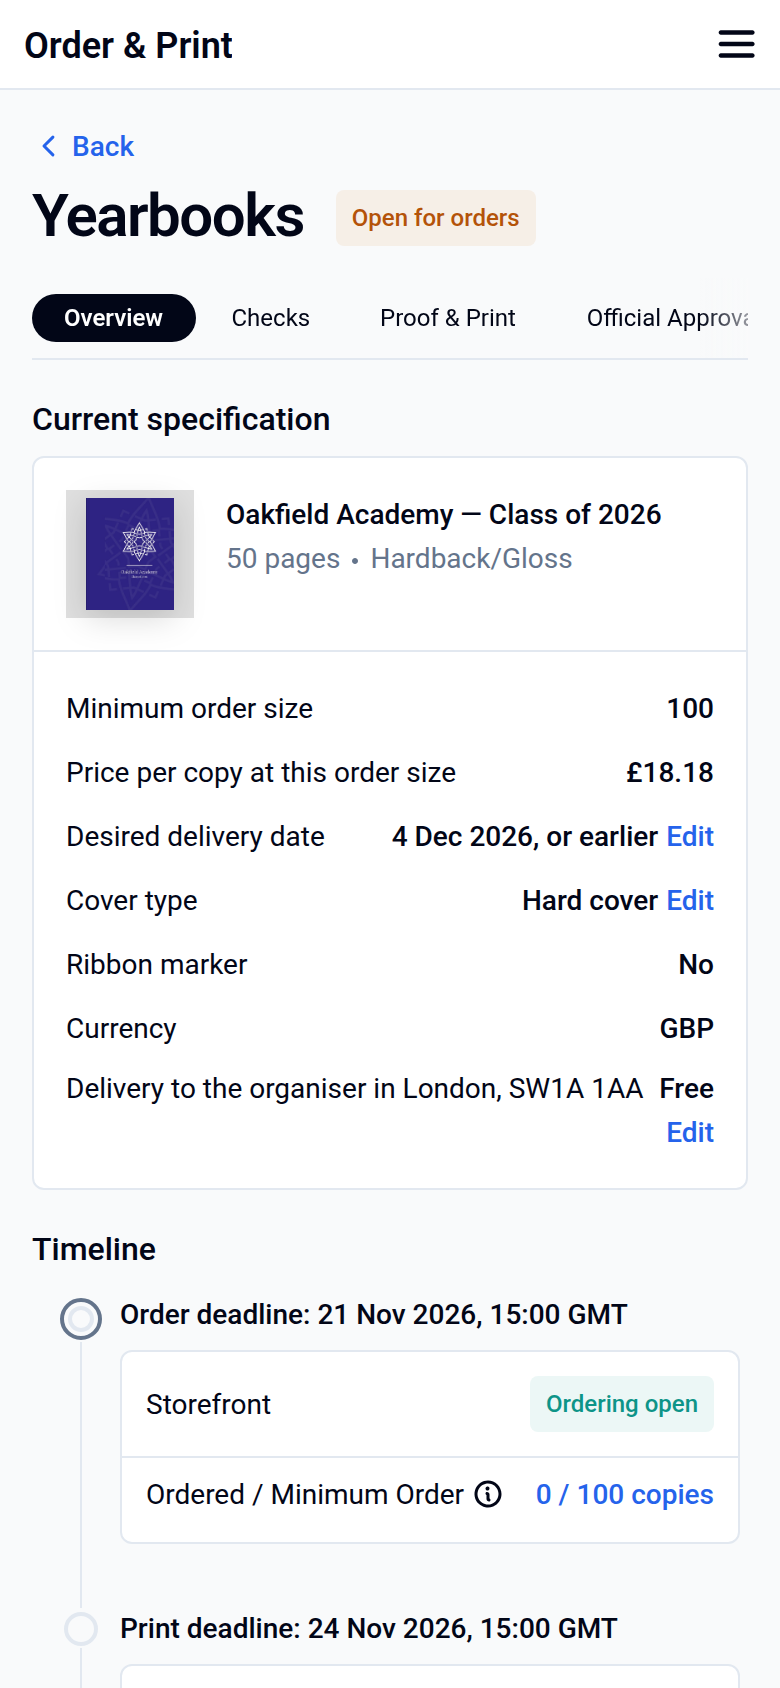
- Changing the delivery date: go to Order & Print > Yearbooks and change the Desired delivery date on the Overview tab. We recommend finishing your book about four weeks before the date you'd like it delivered. If your dashboard ever shows a different print deadline, go by the date in Order & Print.
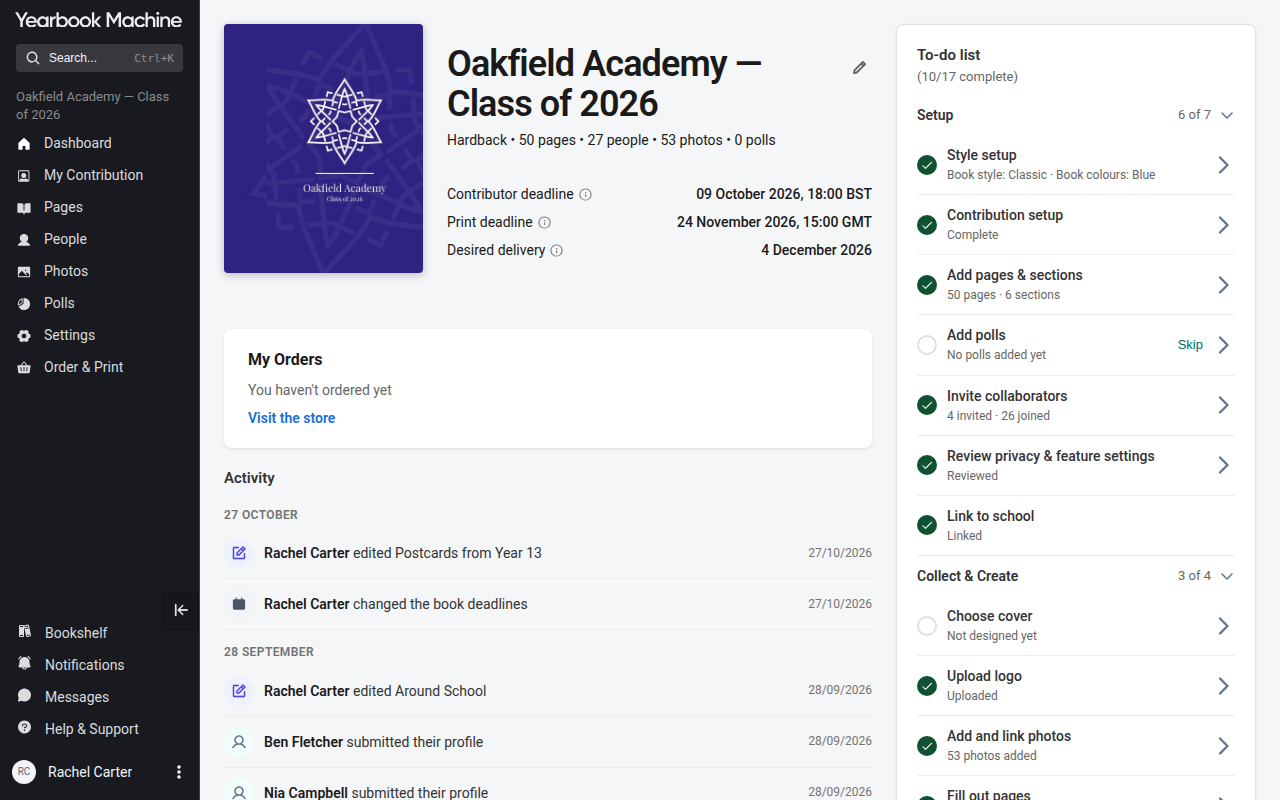
- Changing the contributor deadline: go to Settings > Contributions and change the date in the Contributor deadline card. You can also set it in Dashboard > Contribution setup.
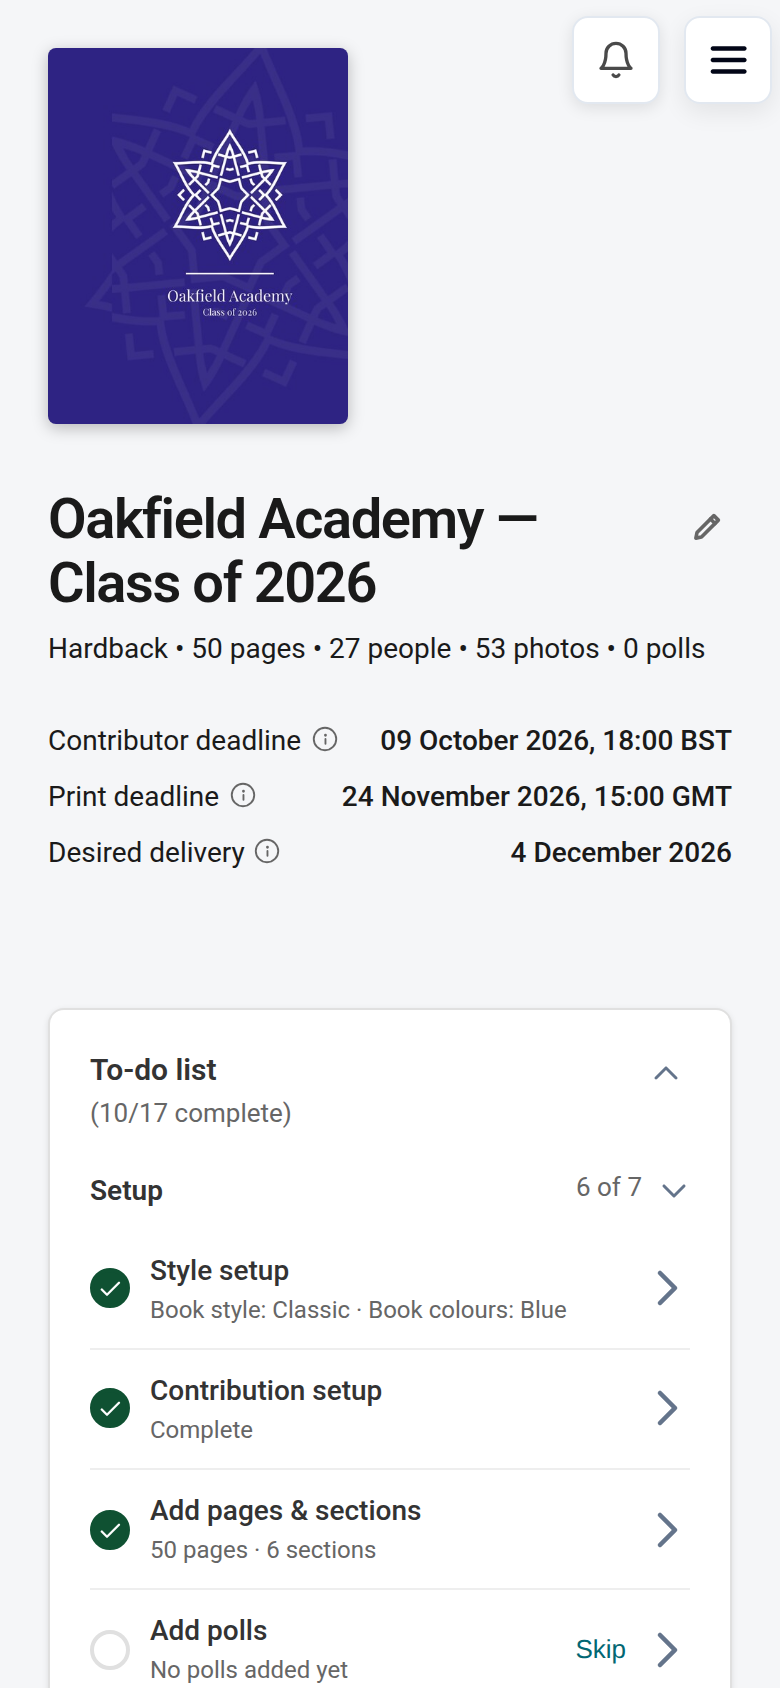
- Renaming a book: open the book's Dashboard and click the pencil beside the book's name.
- Page count: you can add or remove pages while you're working on your book. The page count is fixed once your proof is approved and payment is arranged.
Students and parents: join your group's book rather than creating one
If your school or group already has a yearbook, don't create a new book. Ask your yearbook coordinator for the invite or join link instead. If you create a separate book by mistake, your entry won't appear in the group's book. If you're not sure whether your school uses us, check with your school office or yearbook adviser.
Reusing last year's book
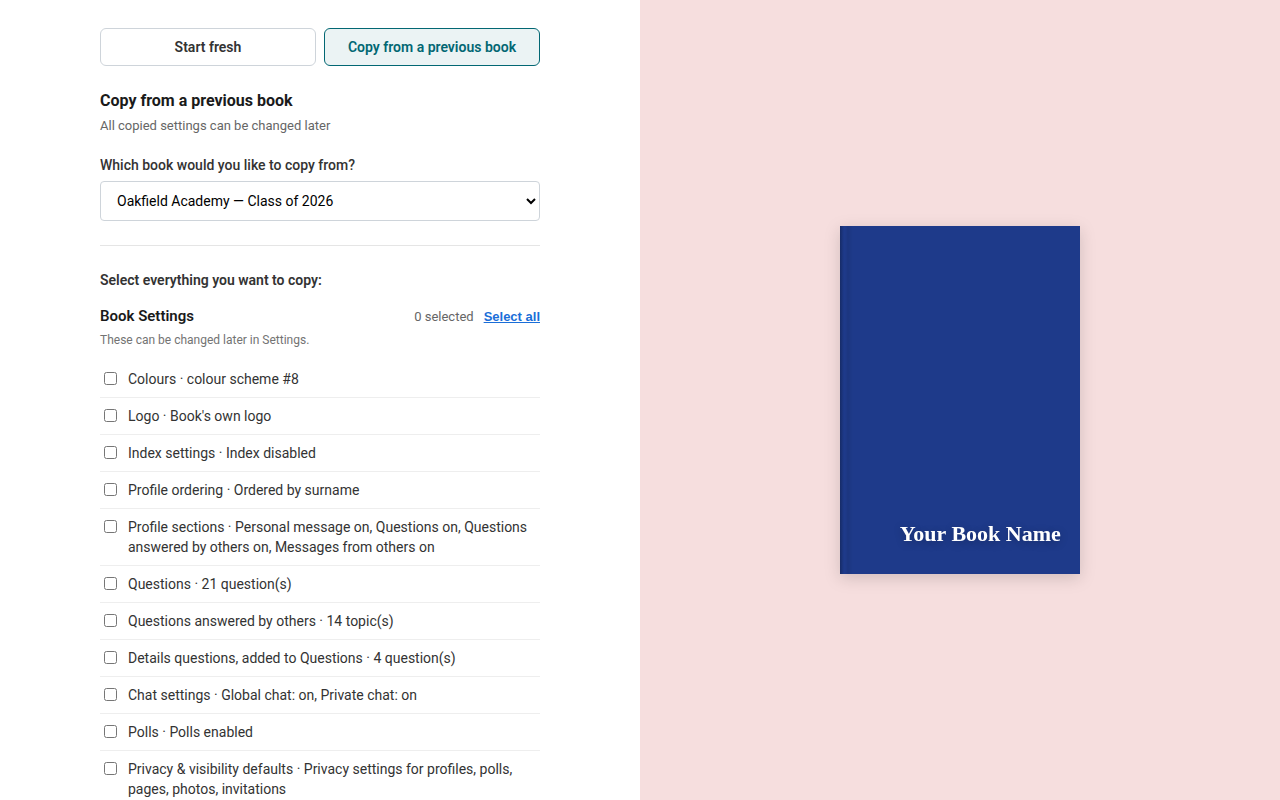
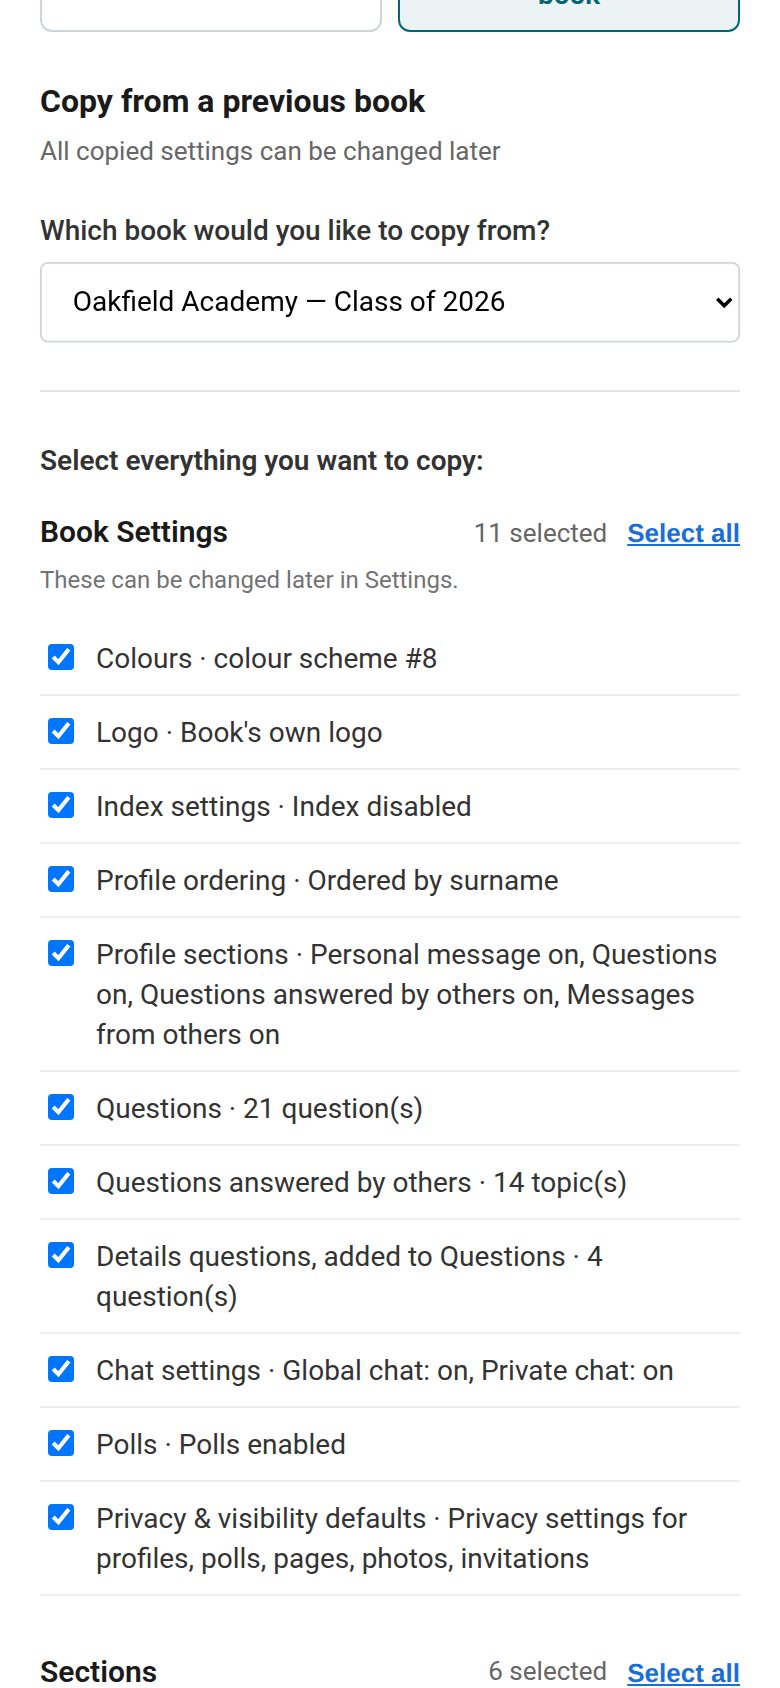
If you are an editor of last year's book, you can copy its set-up while creating the new one. On the create-book form, click Copy from a previous book, choose the book, and tick what you'd like to copy. Pages, photos and people are not copied. If last year's book belonged to someone else, ask them to make you an editor of it, or contact our support team.
Sign-up notifications and your emails
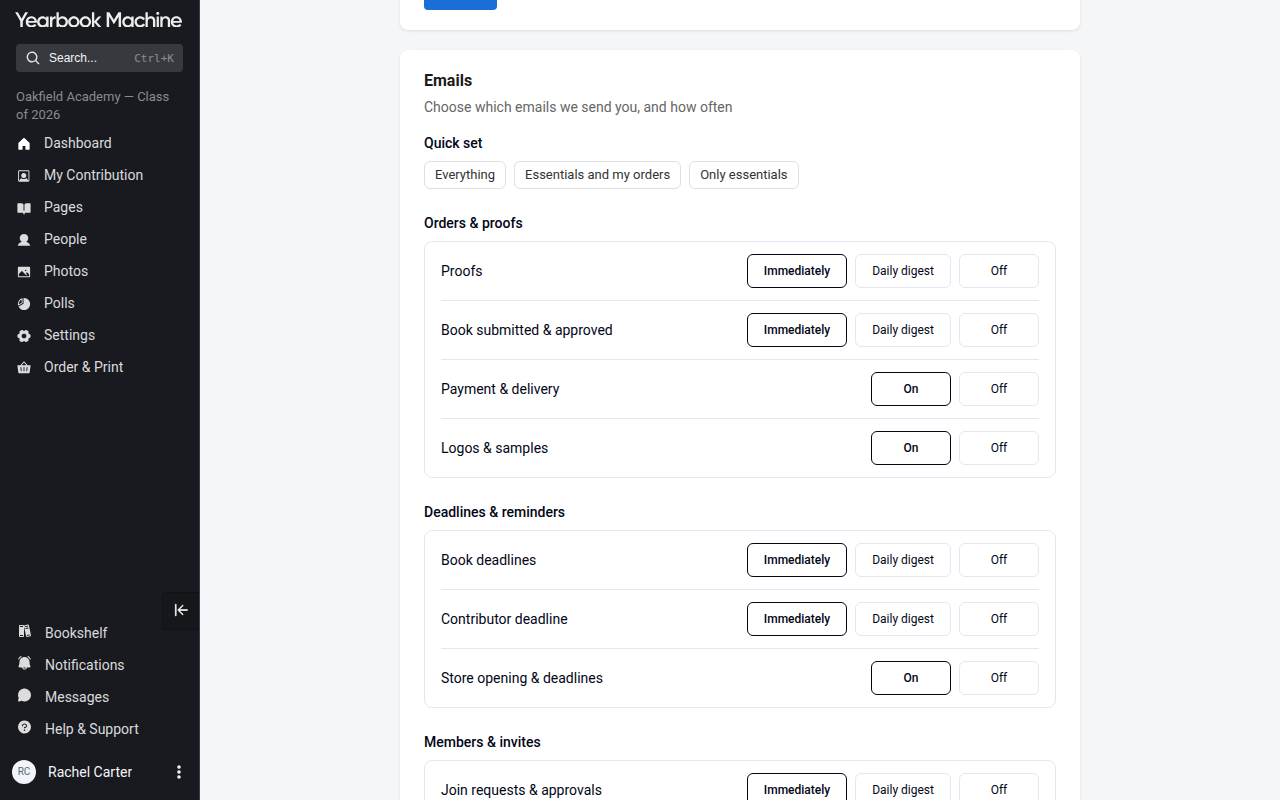
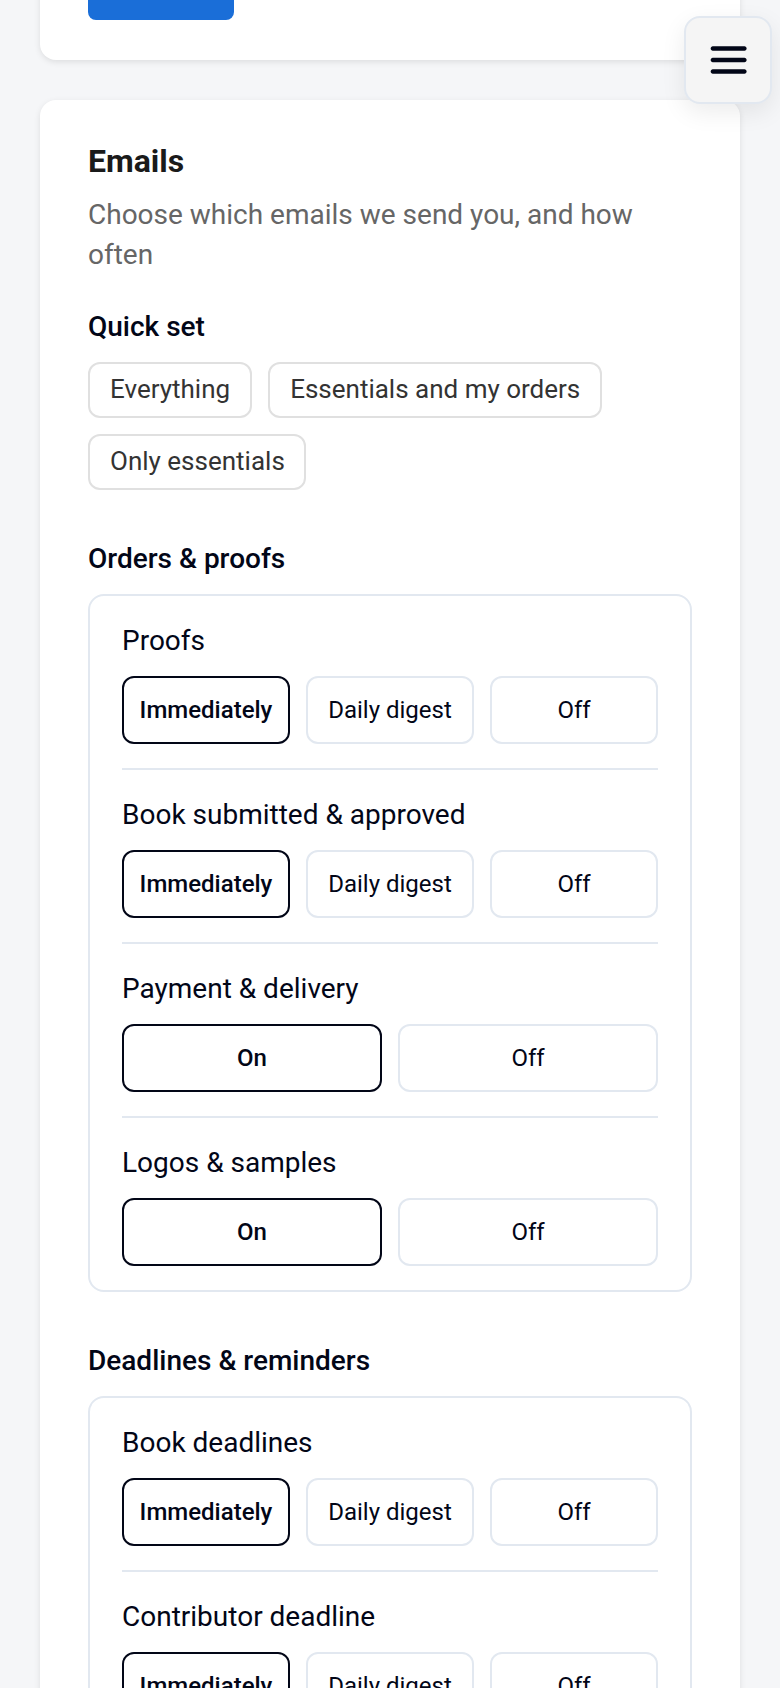
Join requests that need your approval can be emailed to you: choose how often under Join requests & approvals in the Emails card of My Account. Other sign-ups appear in your in-app notifications.
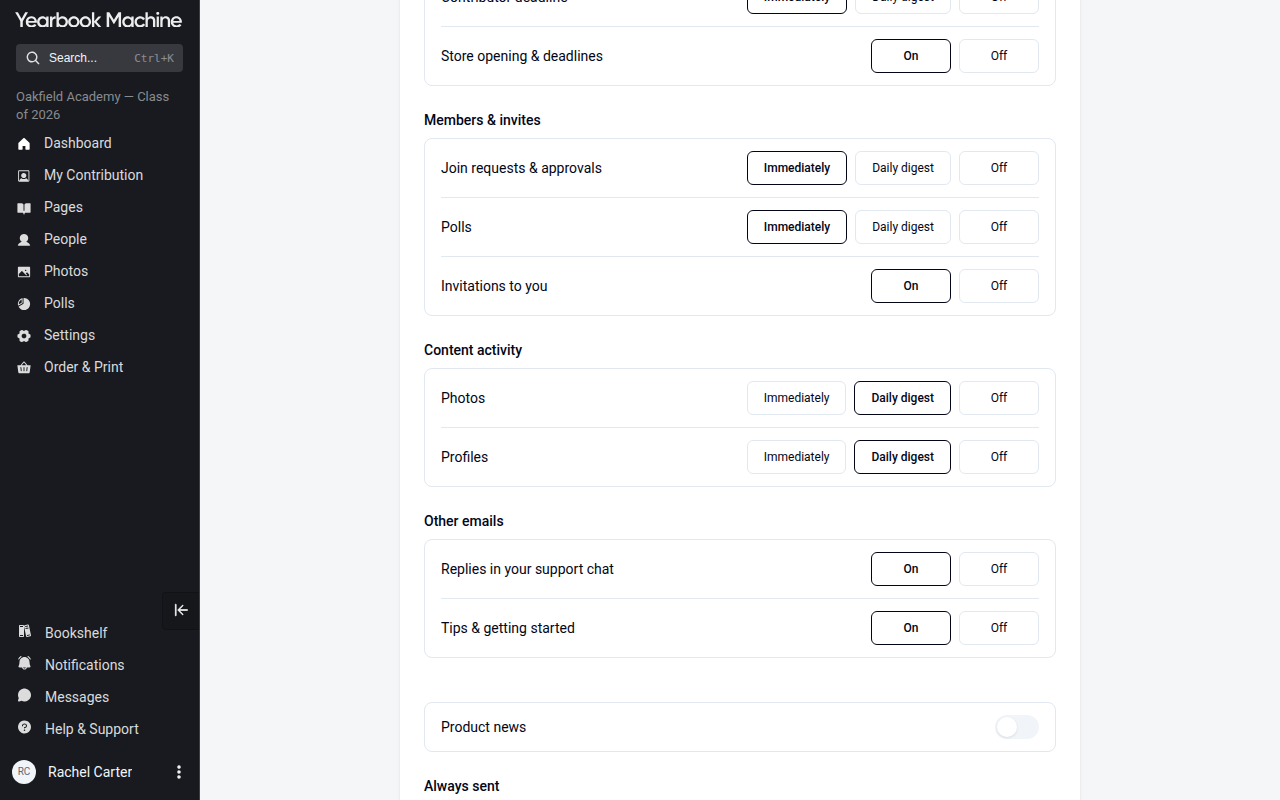
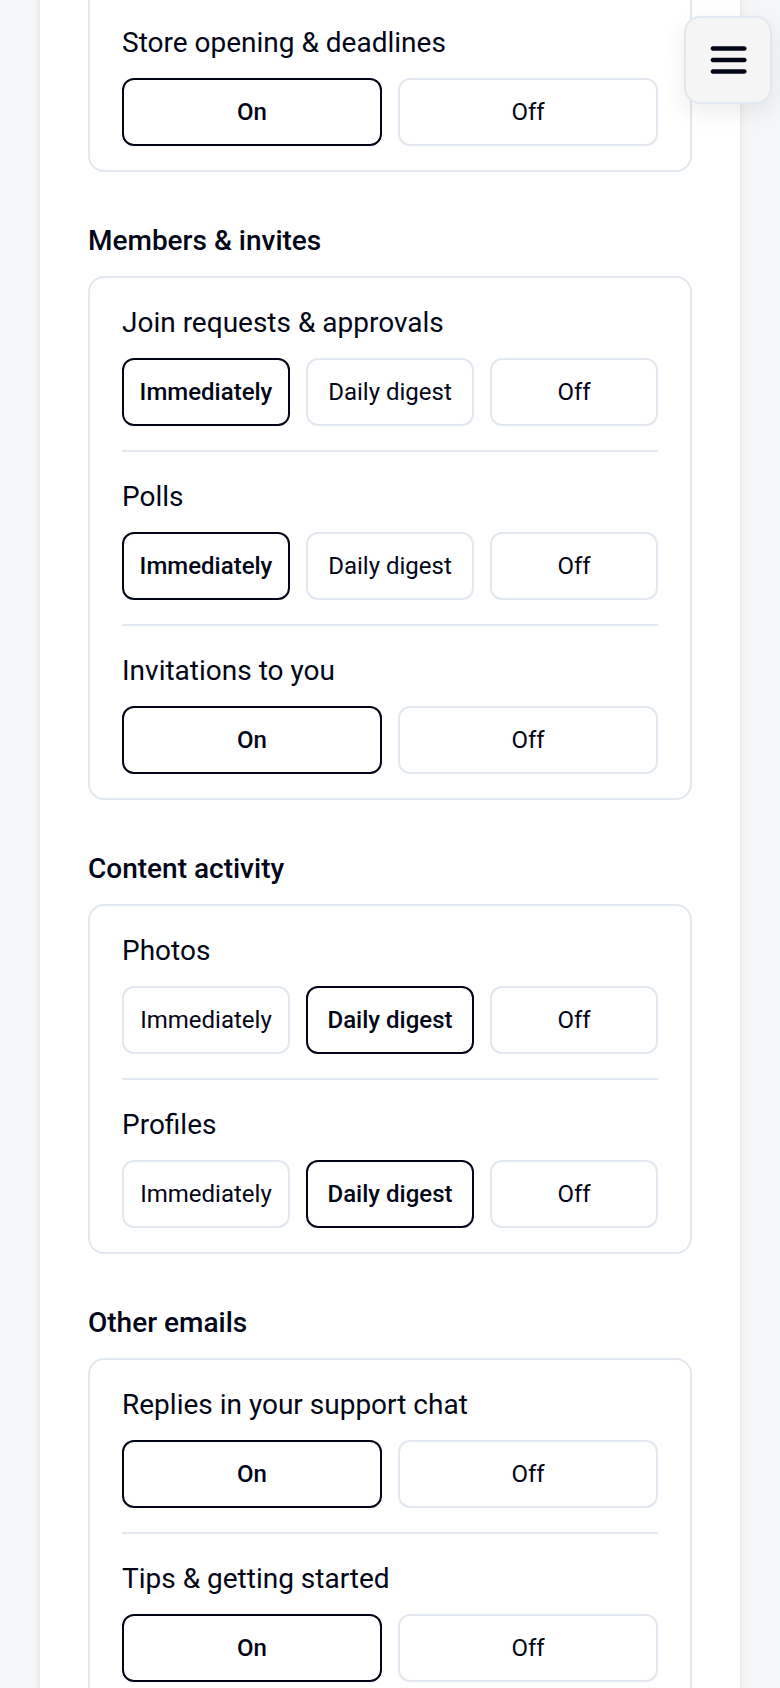
In the same Emails card you choose which other emails you receive. Set each type to Immediately, Daily digest or Off, or On / Off where that's all it offers, or use Quick set to change them all at once. This only changes your own account.
Was this article helpful?
Sorry, that didn't send. Please try again in a little while.
Thanks. That helps us improve this article.
Any other questions?
Email support@yearbook.com and we'll help you out.