
Book settings
Your book's settings let you choose its look, decide what contributors can do, give people more time and keep an eye on your deadlines. This guide covers the changes editors make most often.
Before you start: always press Save
Changes in Settings only take effect once you press Save.
- Sign in with your editor account. Signing in takes you to your Bookshelf. Click your book to open it.
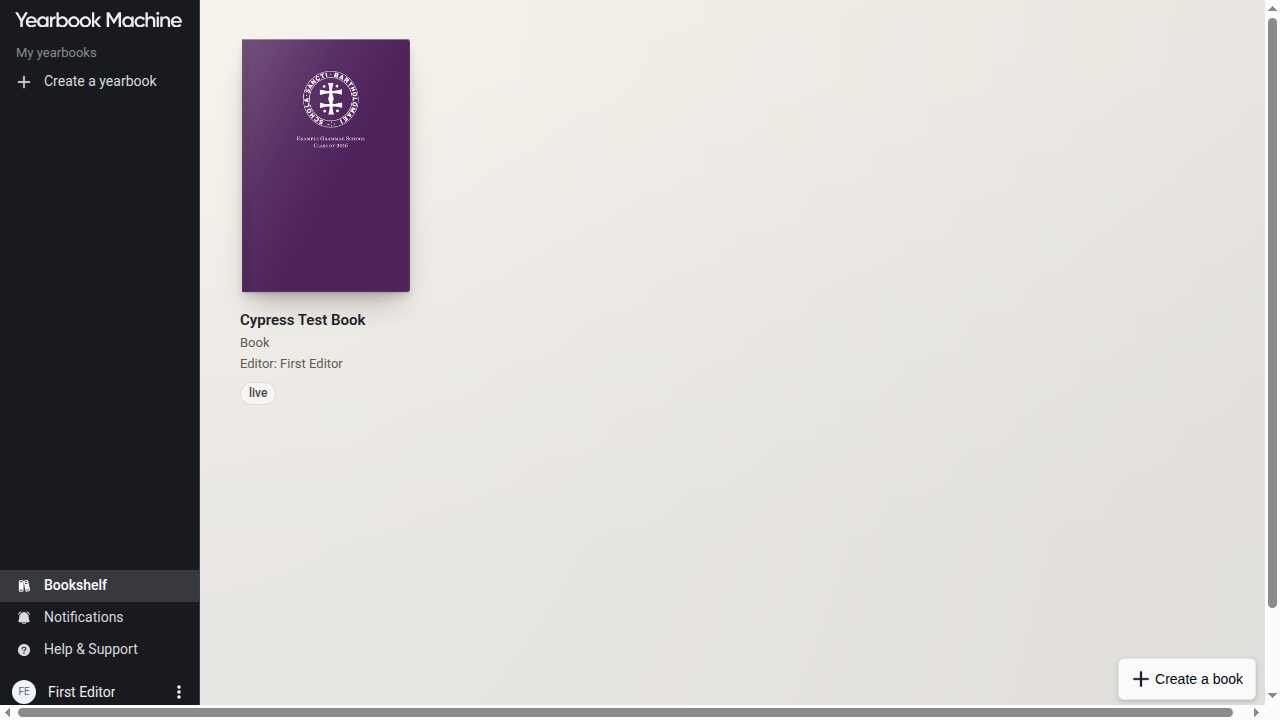
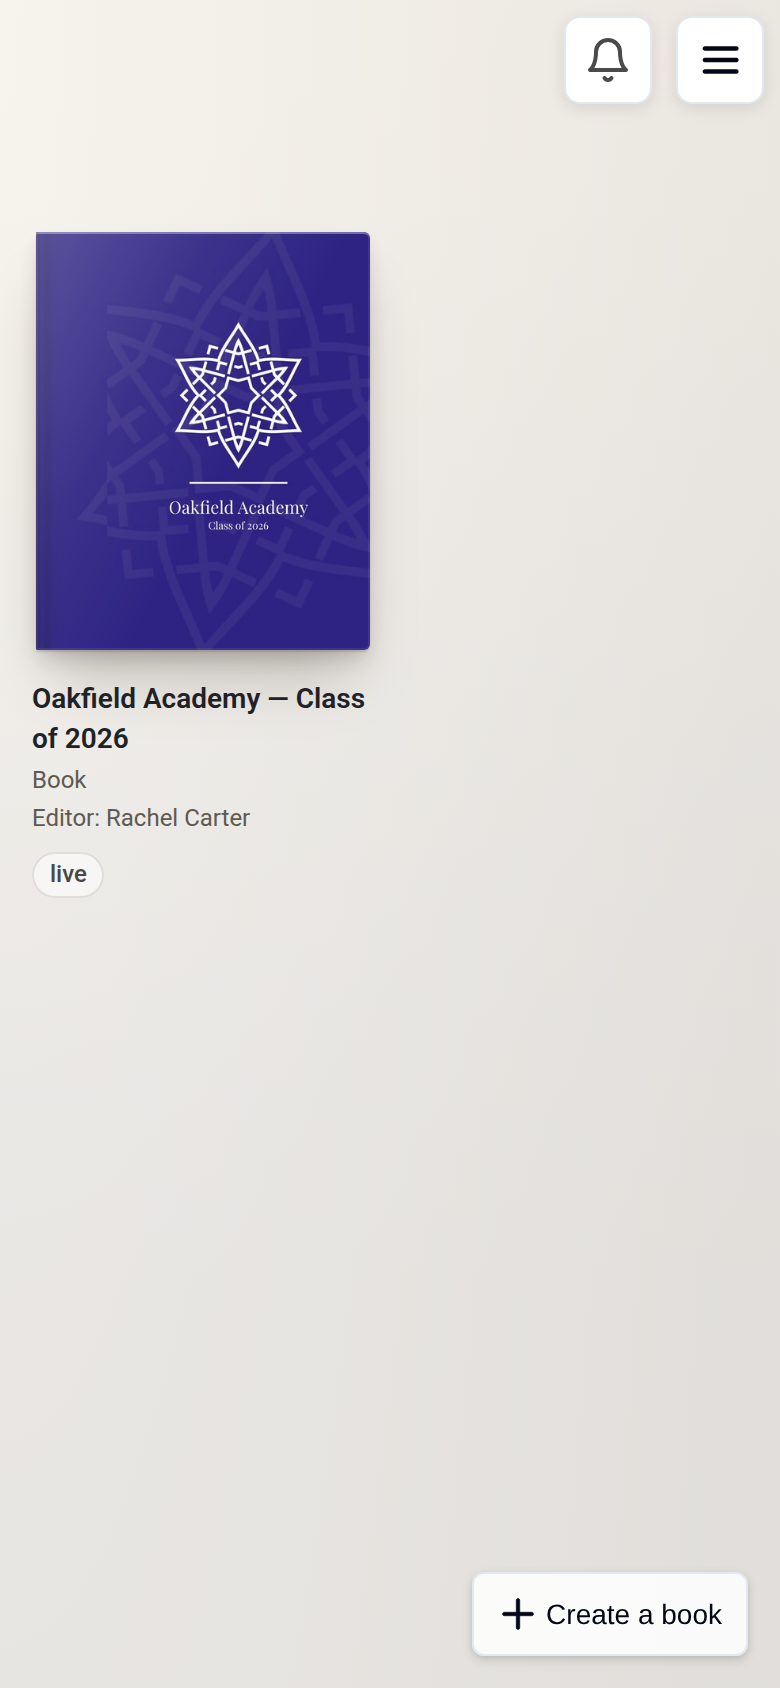
- In the left-hand sidebar, click Settings. On a phone, open the menu button at the top right instead. You'll start on the Design Settings tab. The number of copies and your delivery date aren't in Settings: you'll find them in Order & Print.
- Make your change. A bar with Discard and Save buttons will appear at the bottom of the screen.
- Click Save.
Save before switching tabs. If you move to another tab without saving, you'll be asked to confirm, and confirming will lose the changes you've just made.
Change your book's colours
- Go to Settings. It opens on the Design Settings tab.
- Under Book colours, choose Colour 1 and Colour 2.
- Click Save.
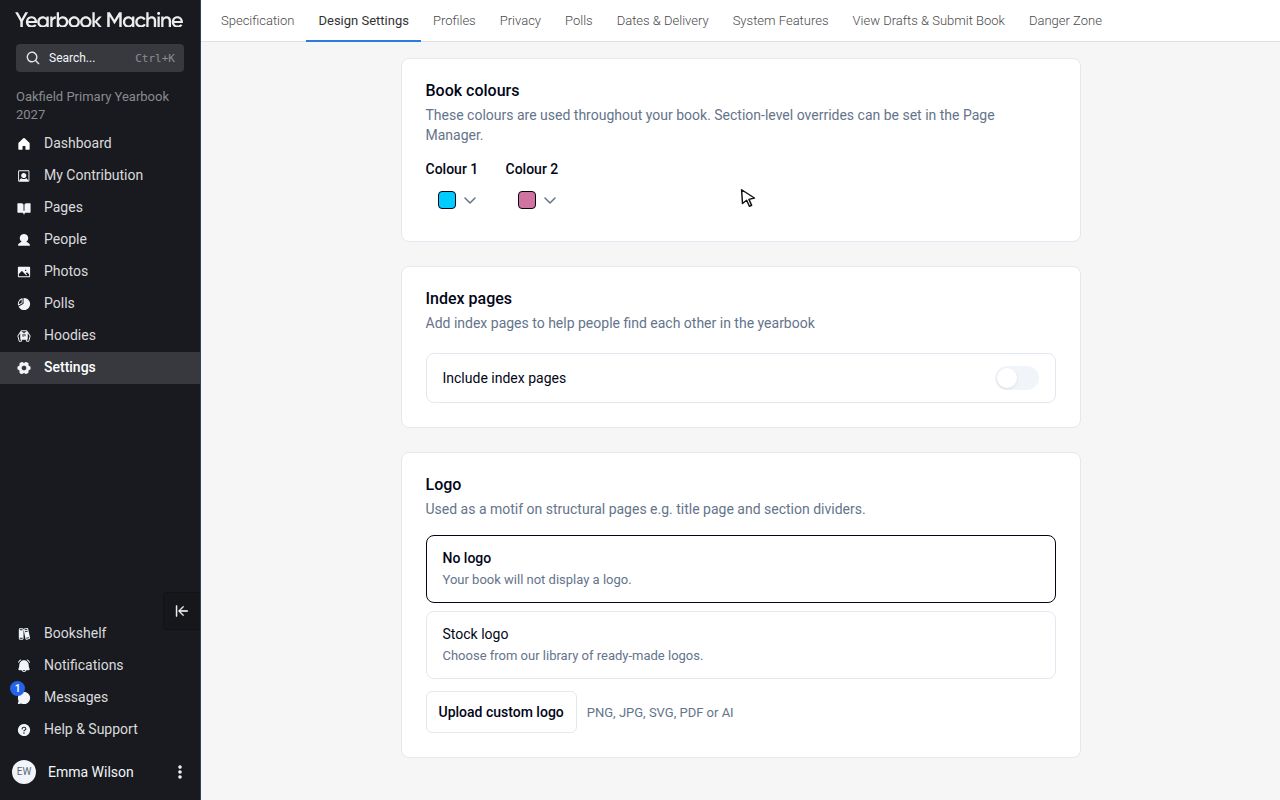
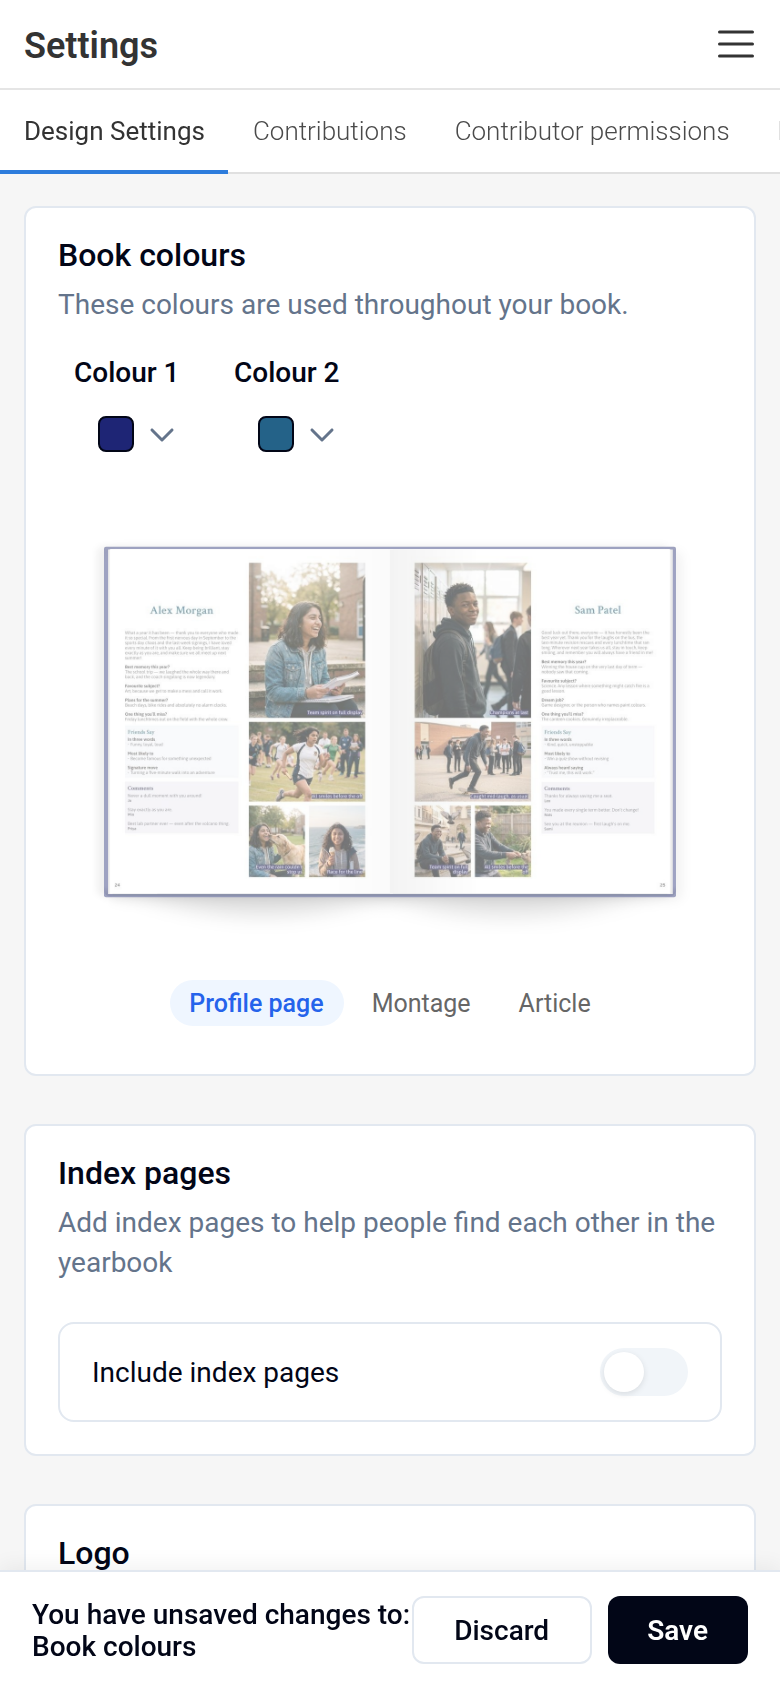
To change the colours of a single section:
- Go to Pages.
- Click the three dots beside the section's name.
- Choose Section settings and, under Colours, pick the section's own colours.
- Click Save.
If your section colours don't match your book colours after saving, please get in touch and we'll look into it for you.
Add or change your school logo
- Go to Settings > Design Settings.
- Scroll down to Logo and choose Upload custom logo.
- Click Save.
Please upload just the logo here, not a full cover design.
Ask students for details such as nicknames, phone numbers or email addresses
Profile details like these are set up as questions.
- Go to Settings and select Contributions.
- In the Questions card, click + beside a suggested question, or type your own question in the box at the bottom and click +.
- Click Save.
Choose what appears on the printed profile page
- Go to Settings and select Contributions.
- Each part of the profile has its own switch, such as Include messages from others and Include questions answered by others. Turn on the parts you want printed.
- The questions listed under Selected questions are the ones students answer.
- Click Save.
Choose who can see profiles
- Go to Settings and select Contributor permissions.
- Under Profile permissions, set each part of a profile, such as Messages from others or Questions answered by others, to Can view or Hidden.
- Click Save.
Make someone an editor
- Click People in the main menu.
- Find the person you'd like to change and click the three dots on their row.
- Choose the option to make them an editor, and confirm.
If you can't see the option to make someone an editor, contact us and we'll make the change for you.
Give contributors more time
Once the contributor deadline passes, anyone who isn't an editor can no longer open or add to the book. To let them back in:
- Go to Settings and select Contributions.
- In the Contributor deadline card, choose a later date.
- Click Save. Contributors can then open the book again.
If you're a contributor and can't get in, ask your book's editor to extend the deadline, then log back in. If you still see a missed deadline message after the deadline has been extended, contact us and we'll clear it for you.
It's also worth checking you've opened the right book: click Bookshelf in the bottom-left corner and select the correct one.
Check your deadlines and change your delivery date
To see your print deadline, go to Order & Print, select Yearbooks and look at the Overview tab. It's also shown on your Dashboard.
To change the date you'd like your books to arrive, go to Order & Print > Yearbooks and change the Desired delivery date on the Overview tab. If you're working towards an event such as a graduation, we'd recommend choosing a date with a little breathing space in case of delays.
Change your page count
You can add or remove pages while you're working on your book. Page counts are always an even number. Your page count is fixed once you've approved your proof for print, so make sure you're happy with it before then.
Proofs
Proofs are made in Order & Print > Yearbooks, on the Proof & Print tab.
Page names or footers not showing
If page names or footers are missing, log out and log back in. This usually brings them back.
If you'd prefer lowercase footers, switch your template from Modern to Classic. Modern uses uppercase footers.
Rename your book
- Go to your Dashboard.
- Click the pencil icon next to your book's name.
- Enter the new name and save.
This is especially handy if you have more than one version of a book.
Reuse last year's settings
You can start a new book from a previous one yourself:
- Sign in with the email address you used last year. Signing in takes you to your Bookshelf.
- Click Create a book.
- Select Copy from a previous book.
- Follow the steps to finish setting up.
If you're starting in a different account (for example, a new coordinator), or you'd rather we did it for you:
- Sign in to the account you'll use for the new book, or create one at yearbook.com/get-started.
- On your Bookshelf, click Create a book. You'll need a new book in the account, not just the account itself.
- Contact us and let us know which book you'd like copied, and which settings you'd like brought across.
We can copy things like your colours, school logo, section names and divider photos, profile questions, polls and chat settings. Photos, profiles, pages and votes aren't copied, as each year group builds their own. Once it's done, you can add your new students and photos.
Our books are 203mm wide by 254mm high, so check your pages after copying, as layouts from a previous book may look slightly different.
Emails when someone asks to join
Email choices belong to your own account rather than the book.
- Go to yearbook.com/my-account.
- Find the Emails card.
- Under Join requests & approvals, choose Immediately, Daily digest or Off.
Other sign-ups appear in your in-app notifications. This only affects your account, so other editors will need to change their own settings.
Need a hand?
If a setting won't save or doesn't seem to take effect, contact us and we'll be happy to help.
Was this article helpful?
Sorry, that didn't send. Please try again in a little while.
Thanks. That helps us improve this article.
Any other questions?
Email support@yearbook.com and we'll help you out.