
Photo library
The Photos screen is one shared place for every photo anyone has added to your book. Use it to find photos, gather them for pages, fix or remove them, and check which ones will be printed. Everyone in the book can browse photos and link them to pages, unless an editor has hidden Photos uploaded by other Contributors in Contributor permissions. Then contributors see only their own photos and the photos on pages they can edit. Editors and the person who uploaded a photo can also edit and delete it. To put a photo on a page, open the page, go to the Photos tab and drag the photo onto the page.
To add photos, click Add on the Photos screen and choose From device, From Dropbox or By email. You can also drag files onto the screen.
Finding a photo
- Click Photos in the main menu.
- Choose the tab that matches what you're looking for:
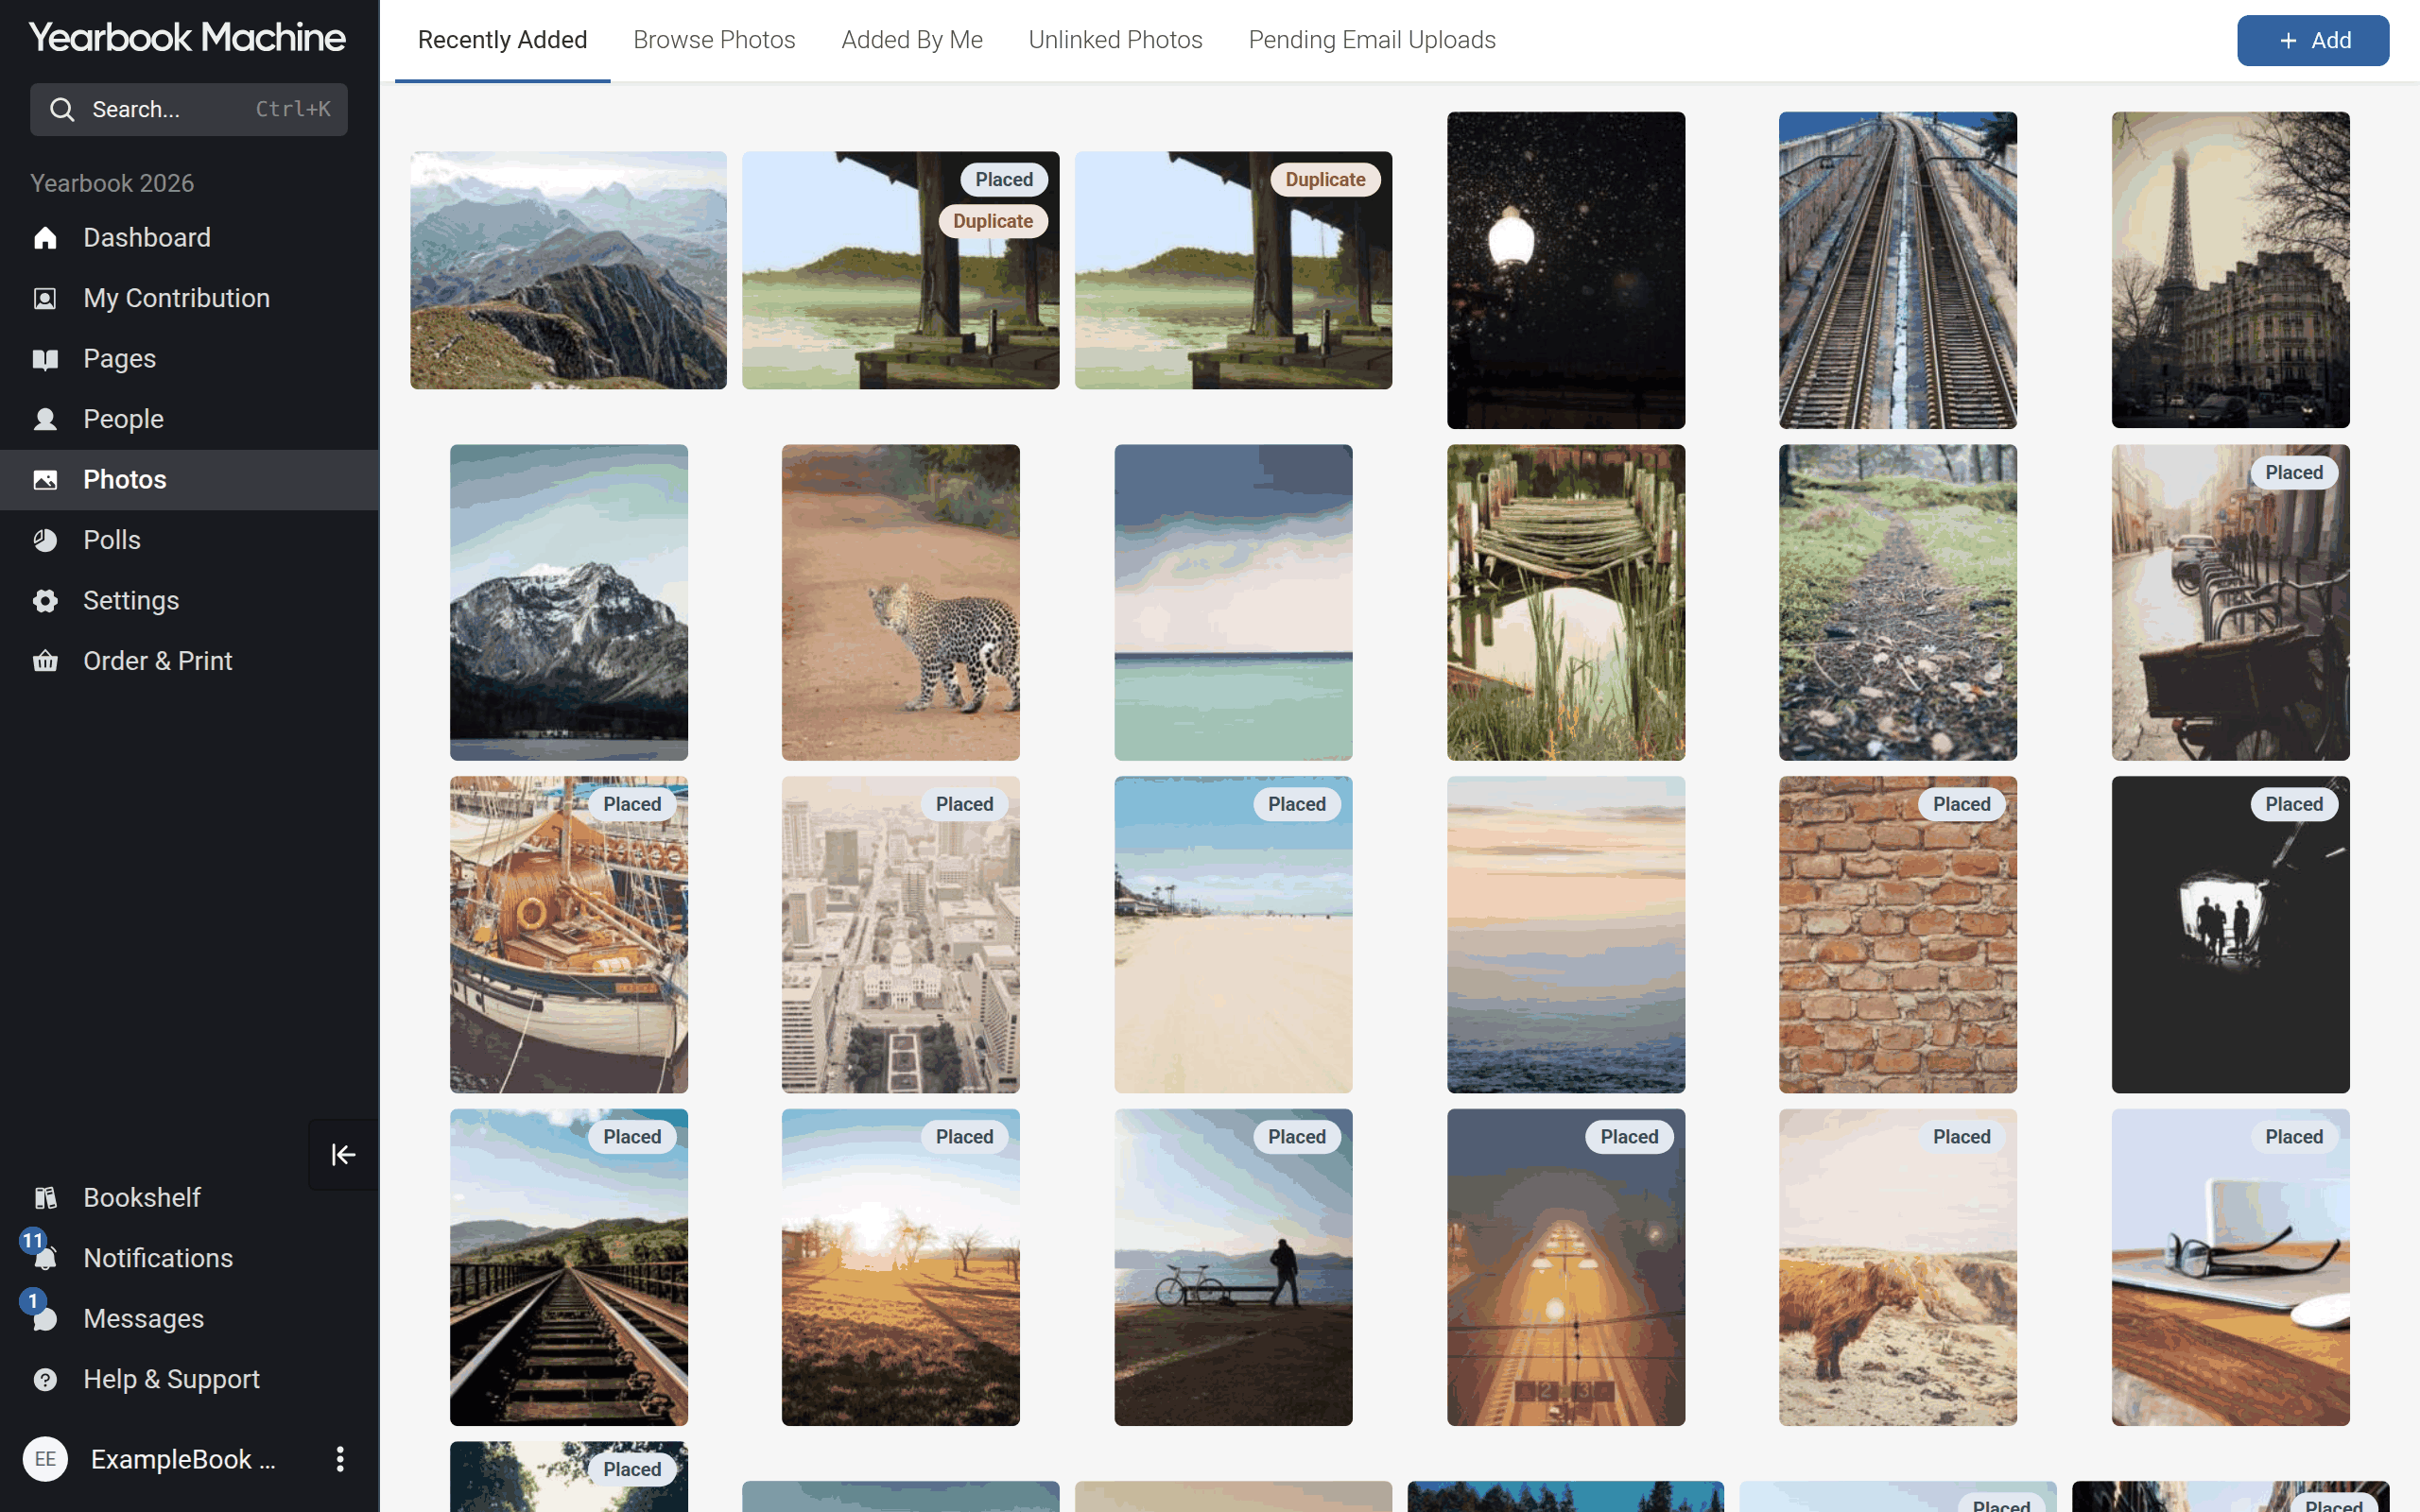
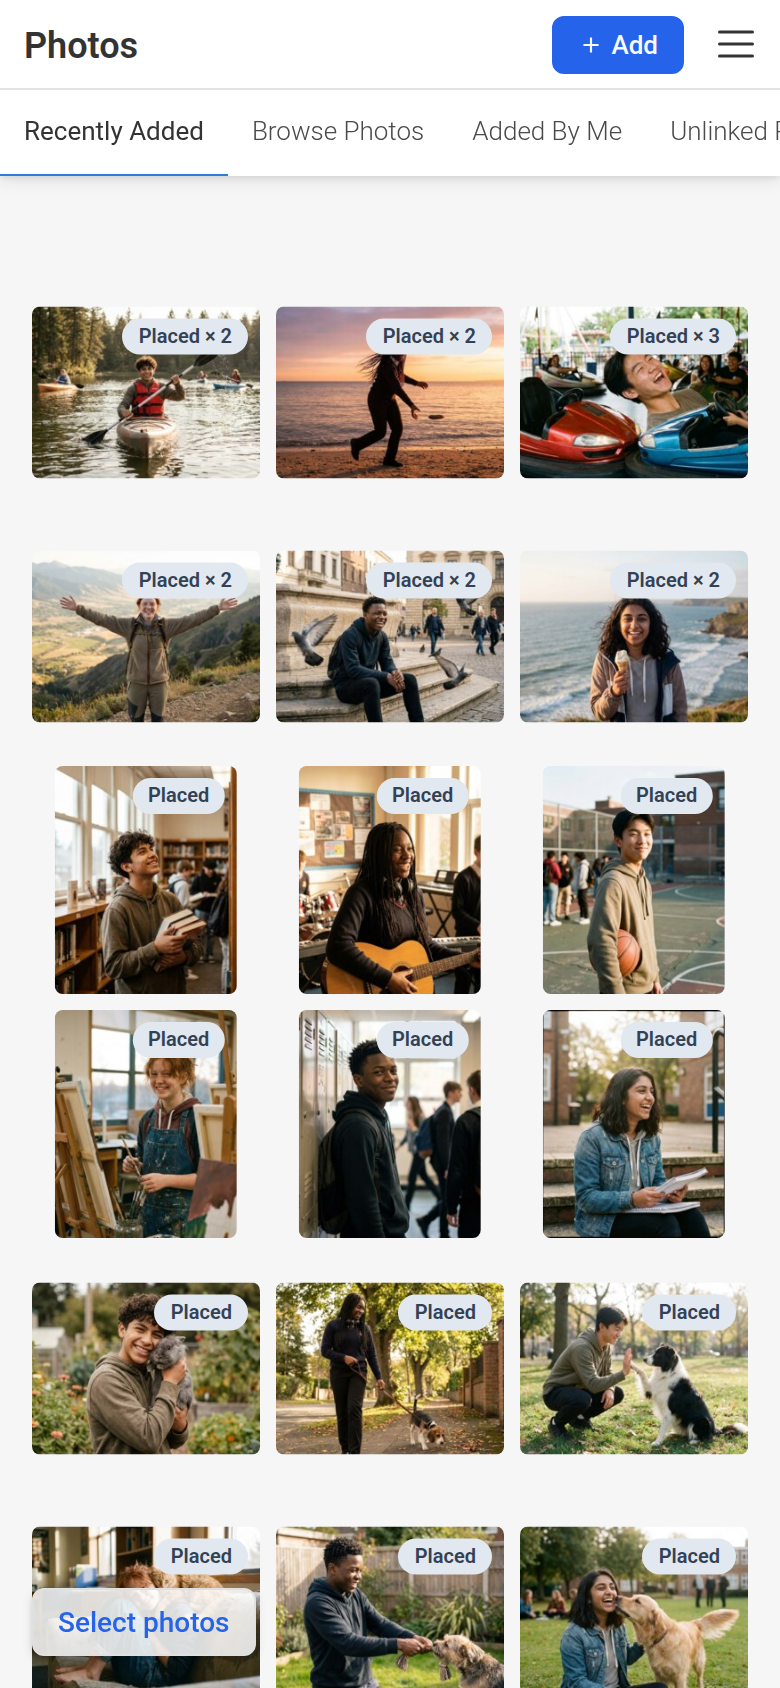
- Recently Added: every photo, newest first.
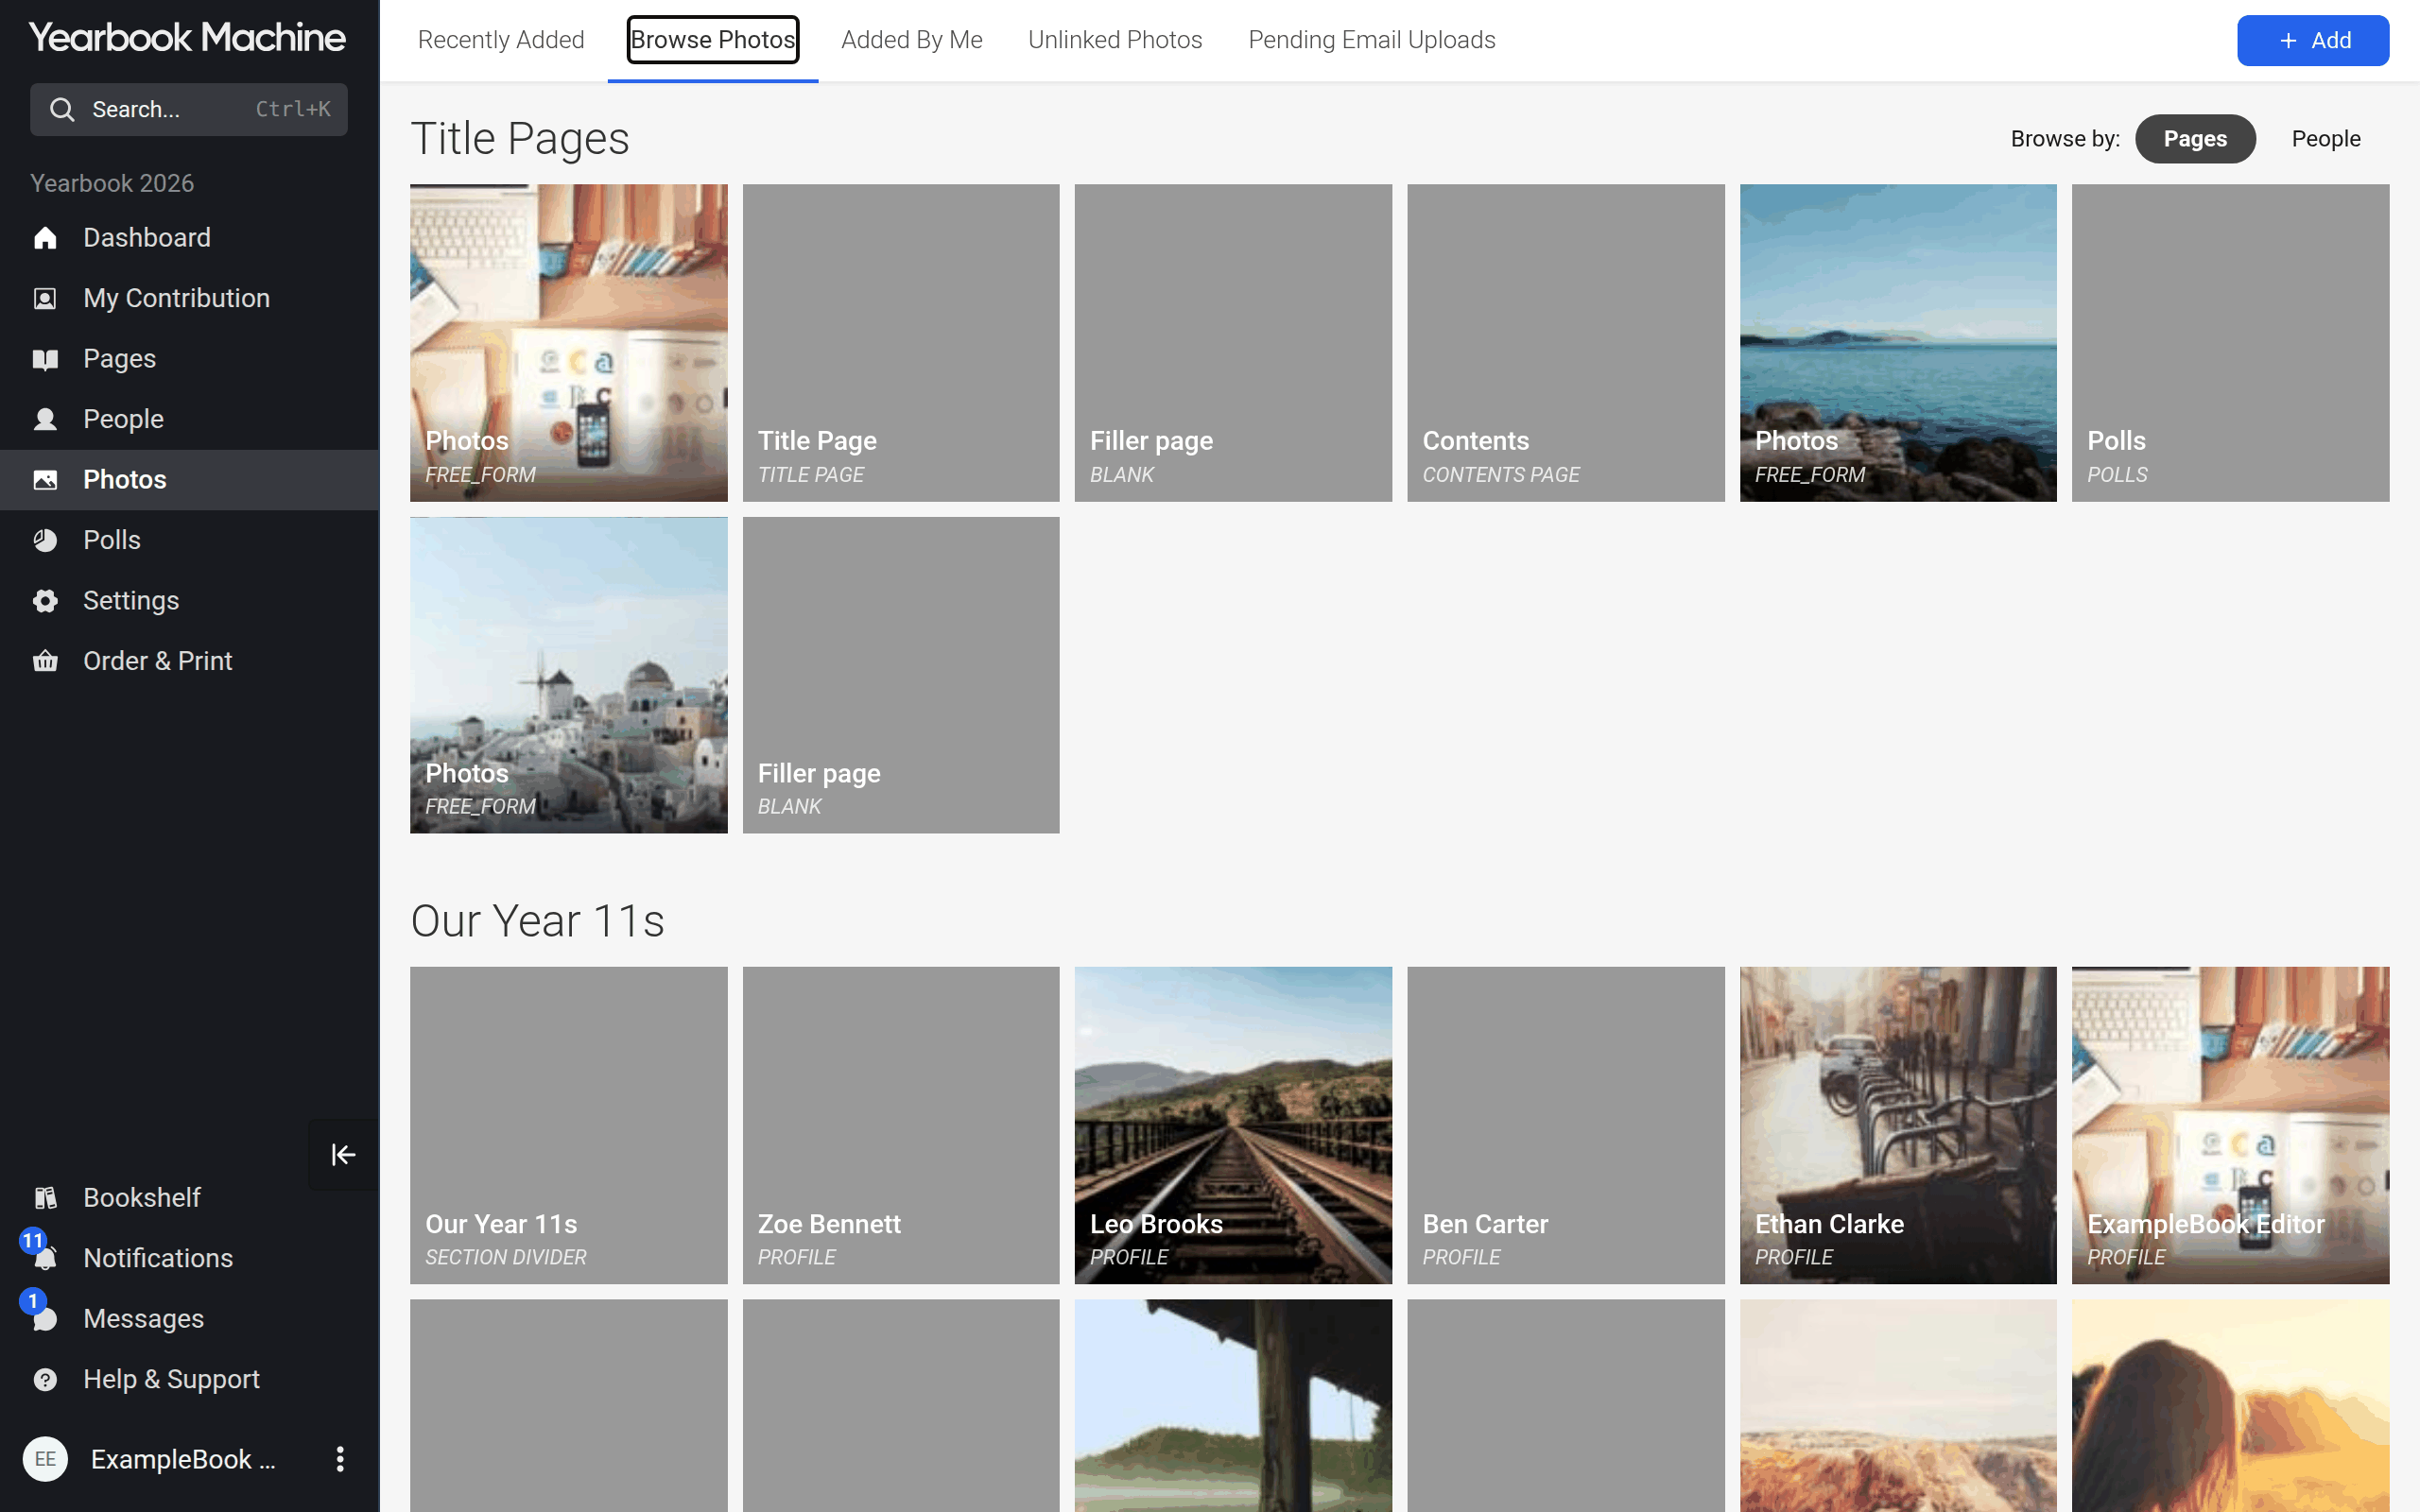
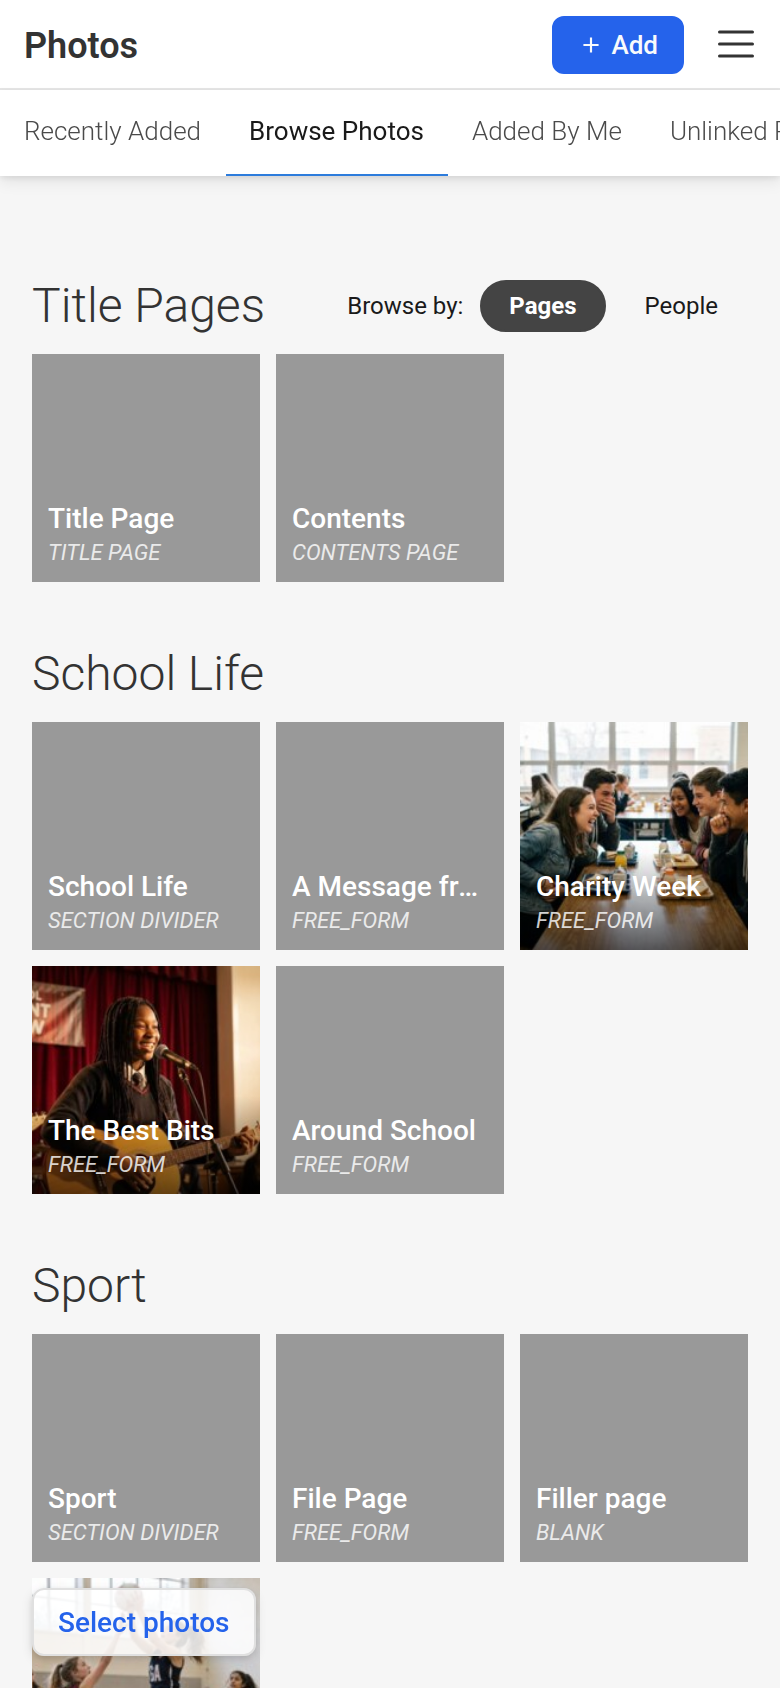
- Browse Photos: photos grouped by the page they're linked to, or by who uploaded them.
- Added By Me: only the photos you uploaded.
- Unlinked Photos: photos not yet linked to any page.
- Pending Email Uploads: photos emailed in by someone else, waiting for an editor to accept them.
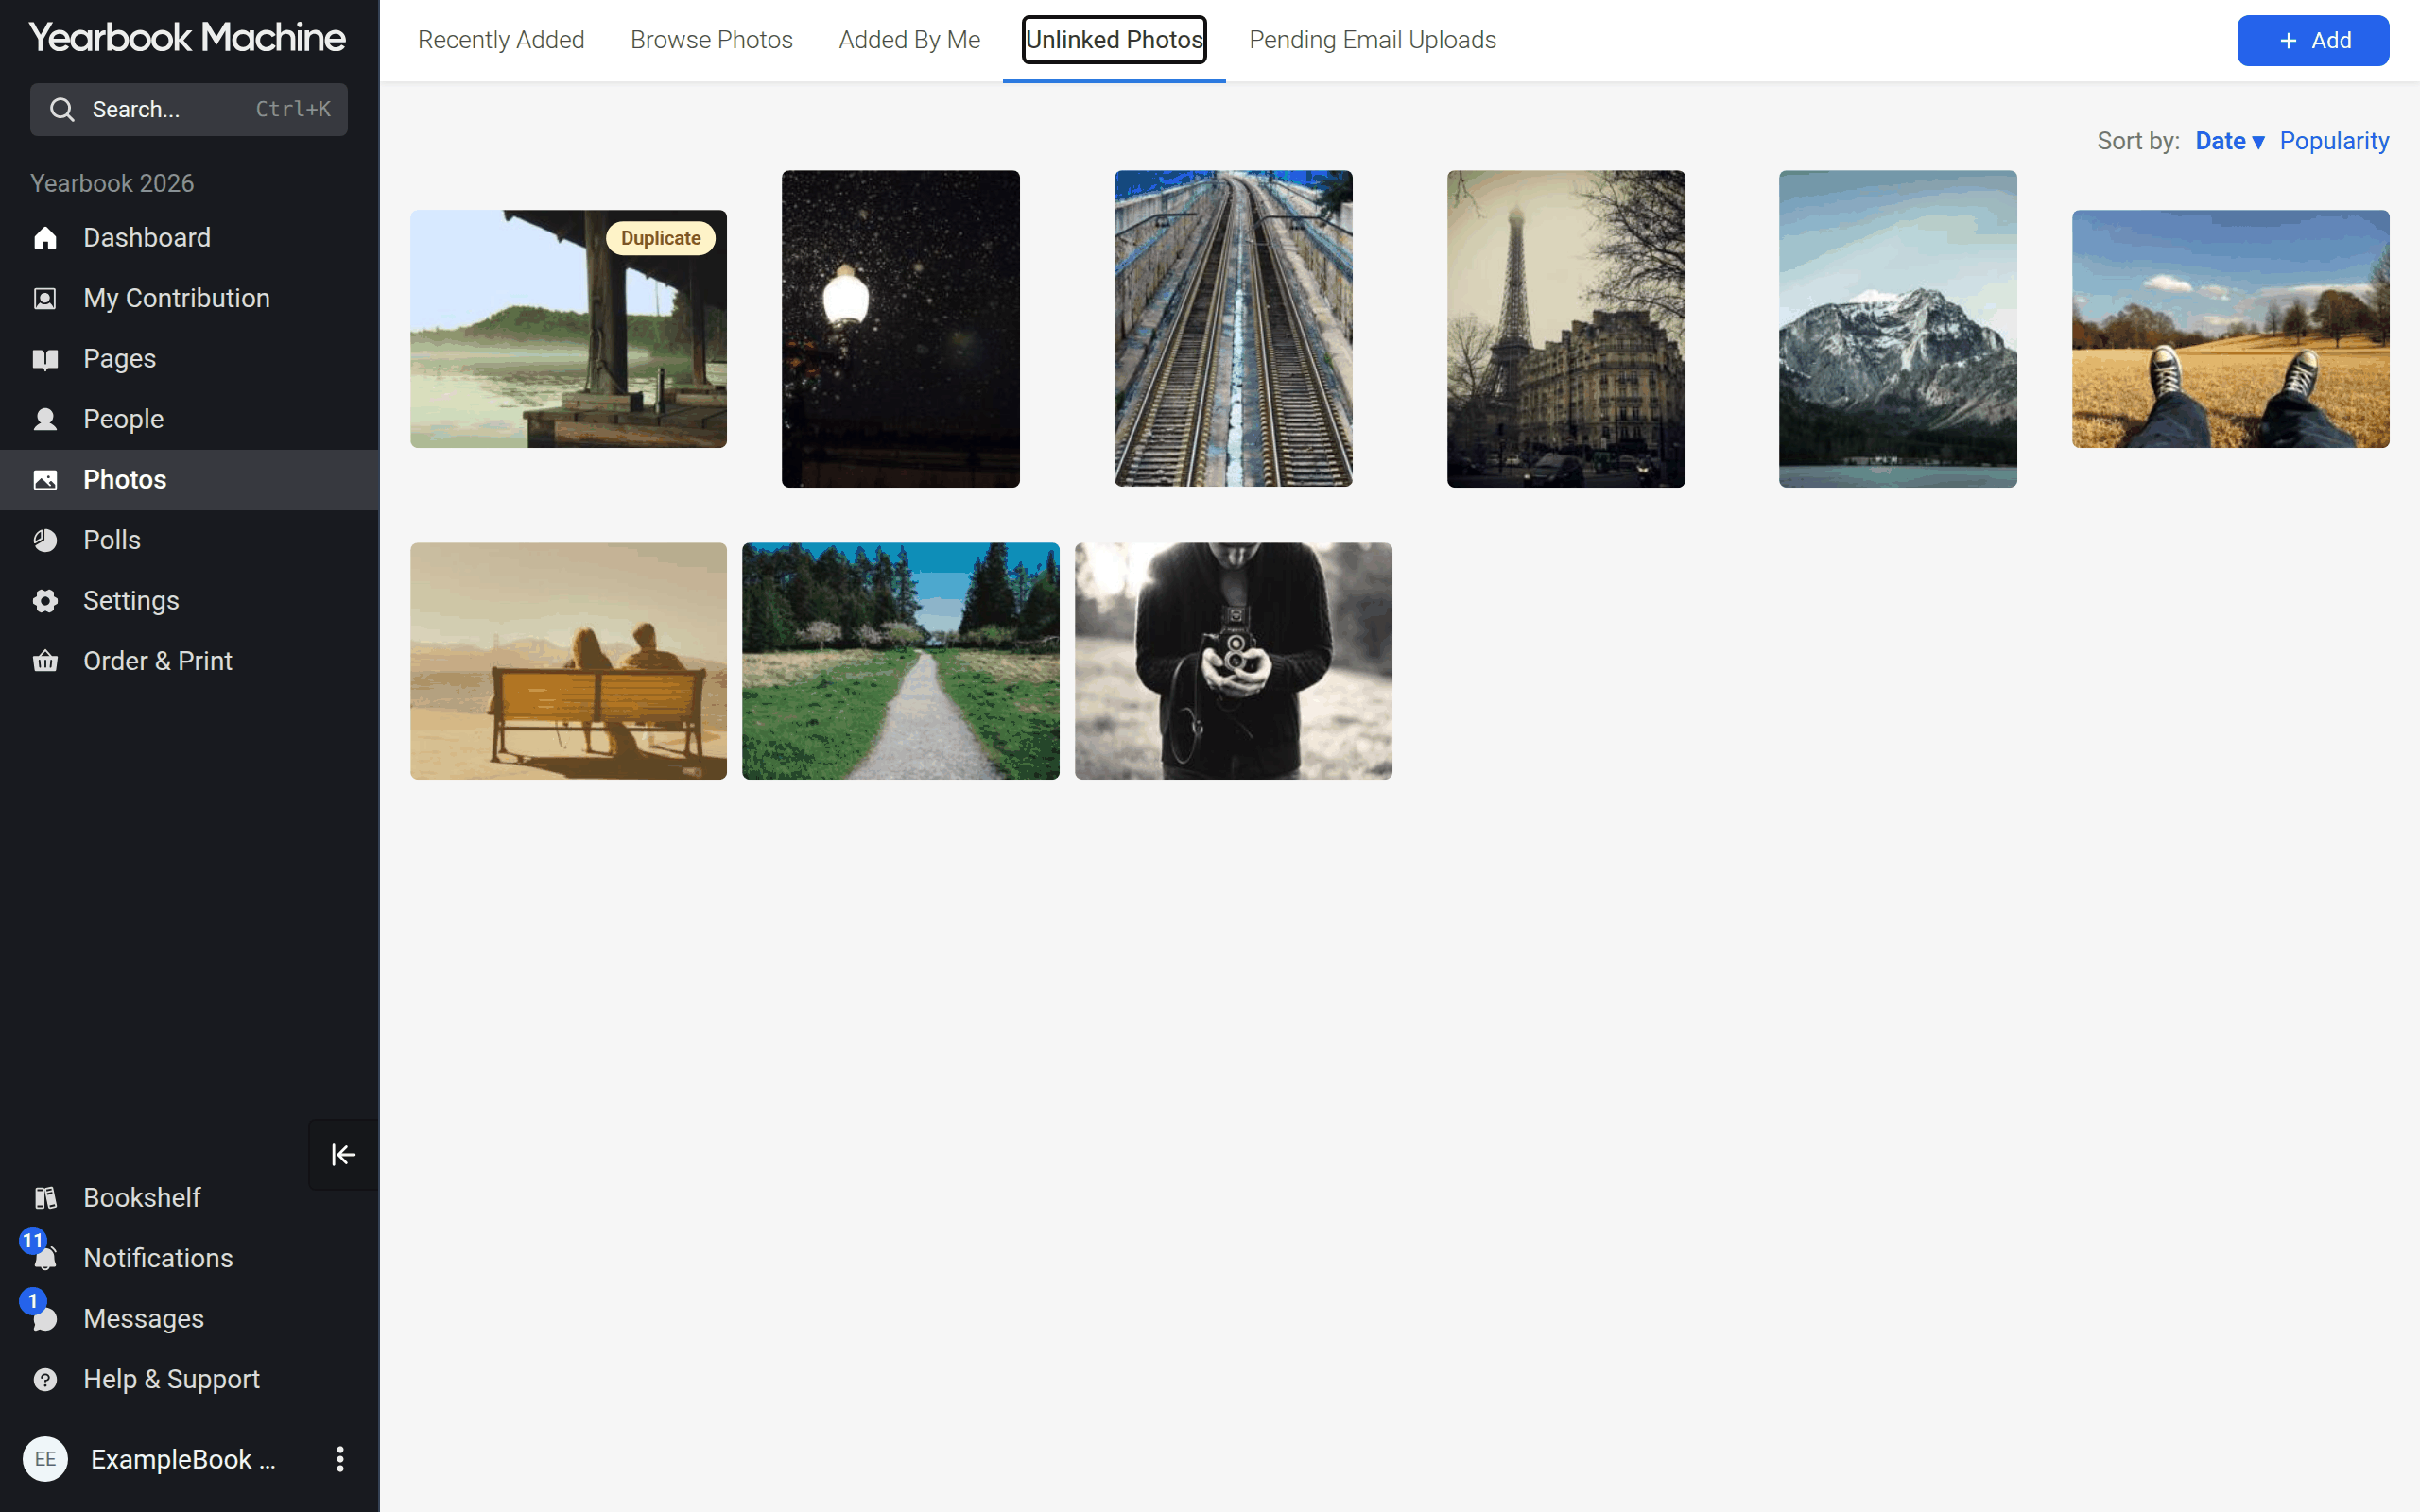
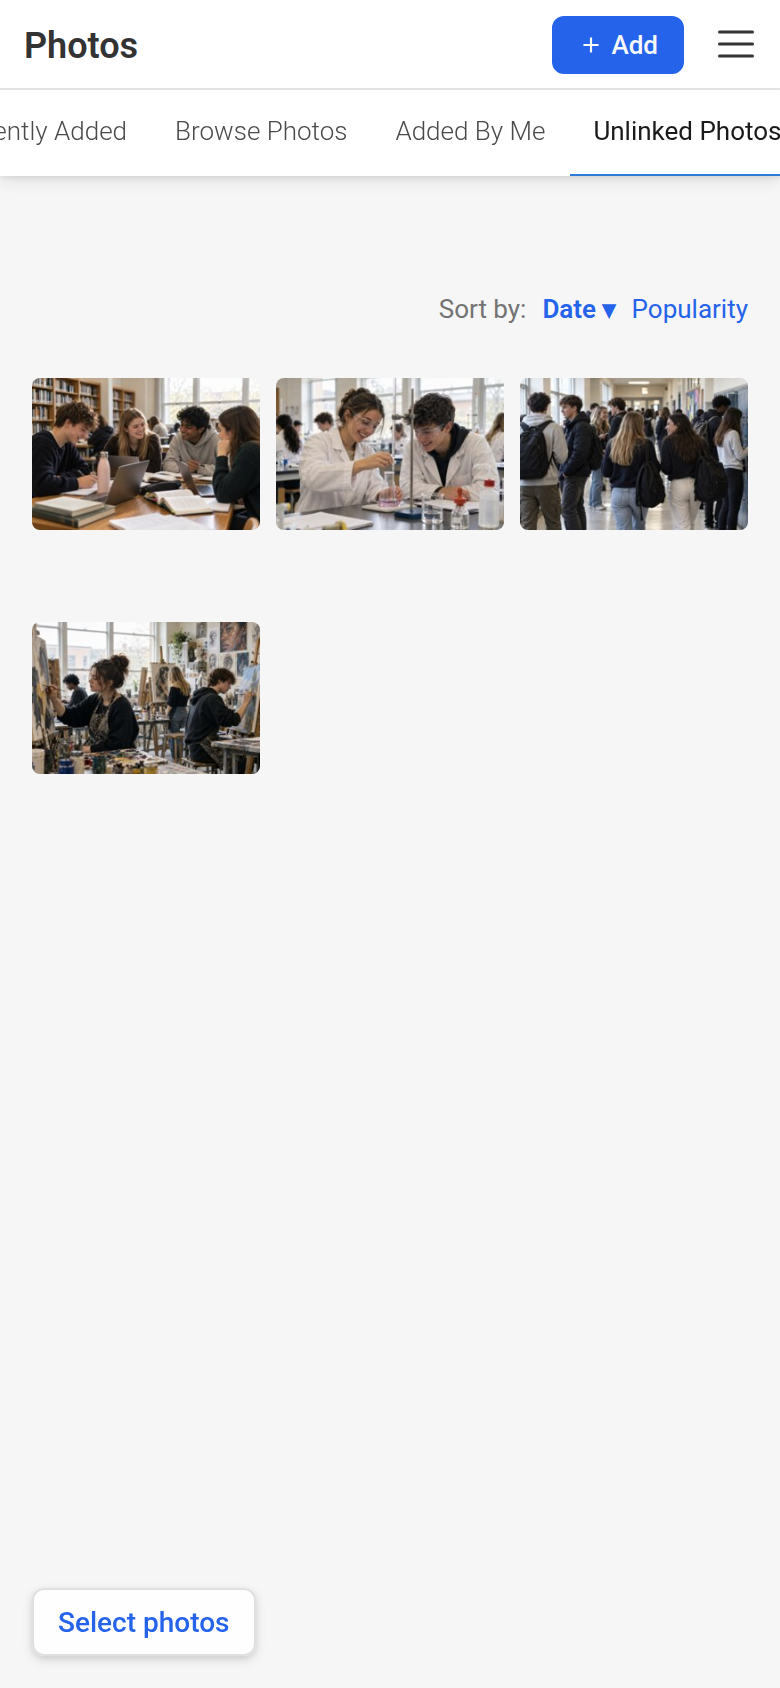
- Double-click a photo (tap it on a phone) to open it larger. Under the uploader's name you can see where it's used: Placed on lists pages where it sits on the page, and Linked to lists pages it's linked to but not yet placed on.
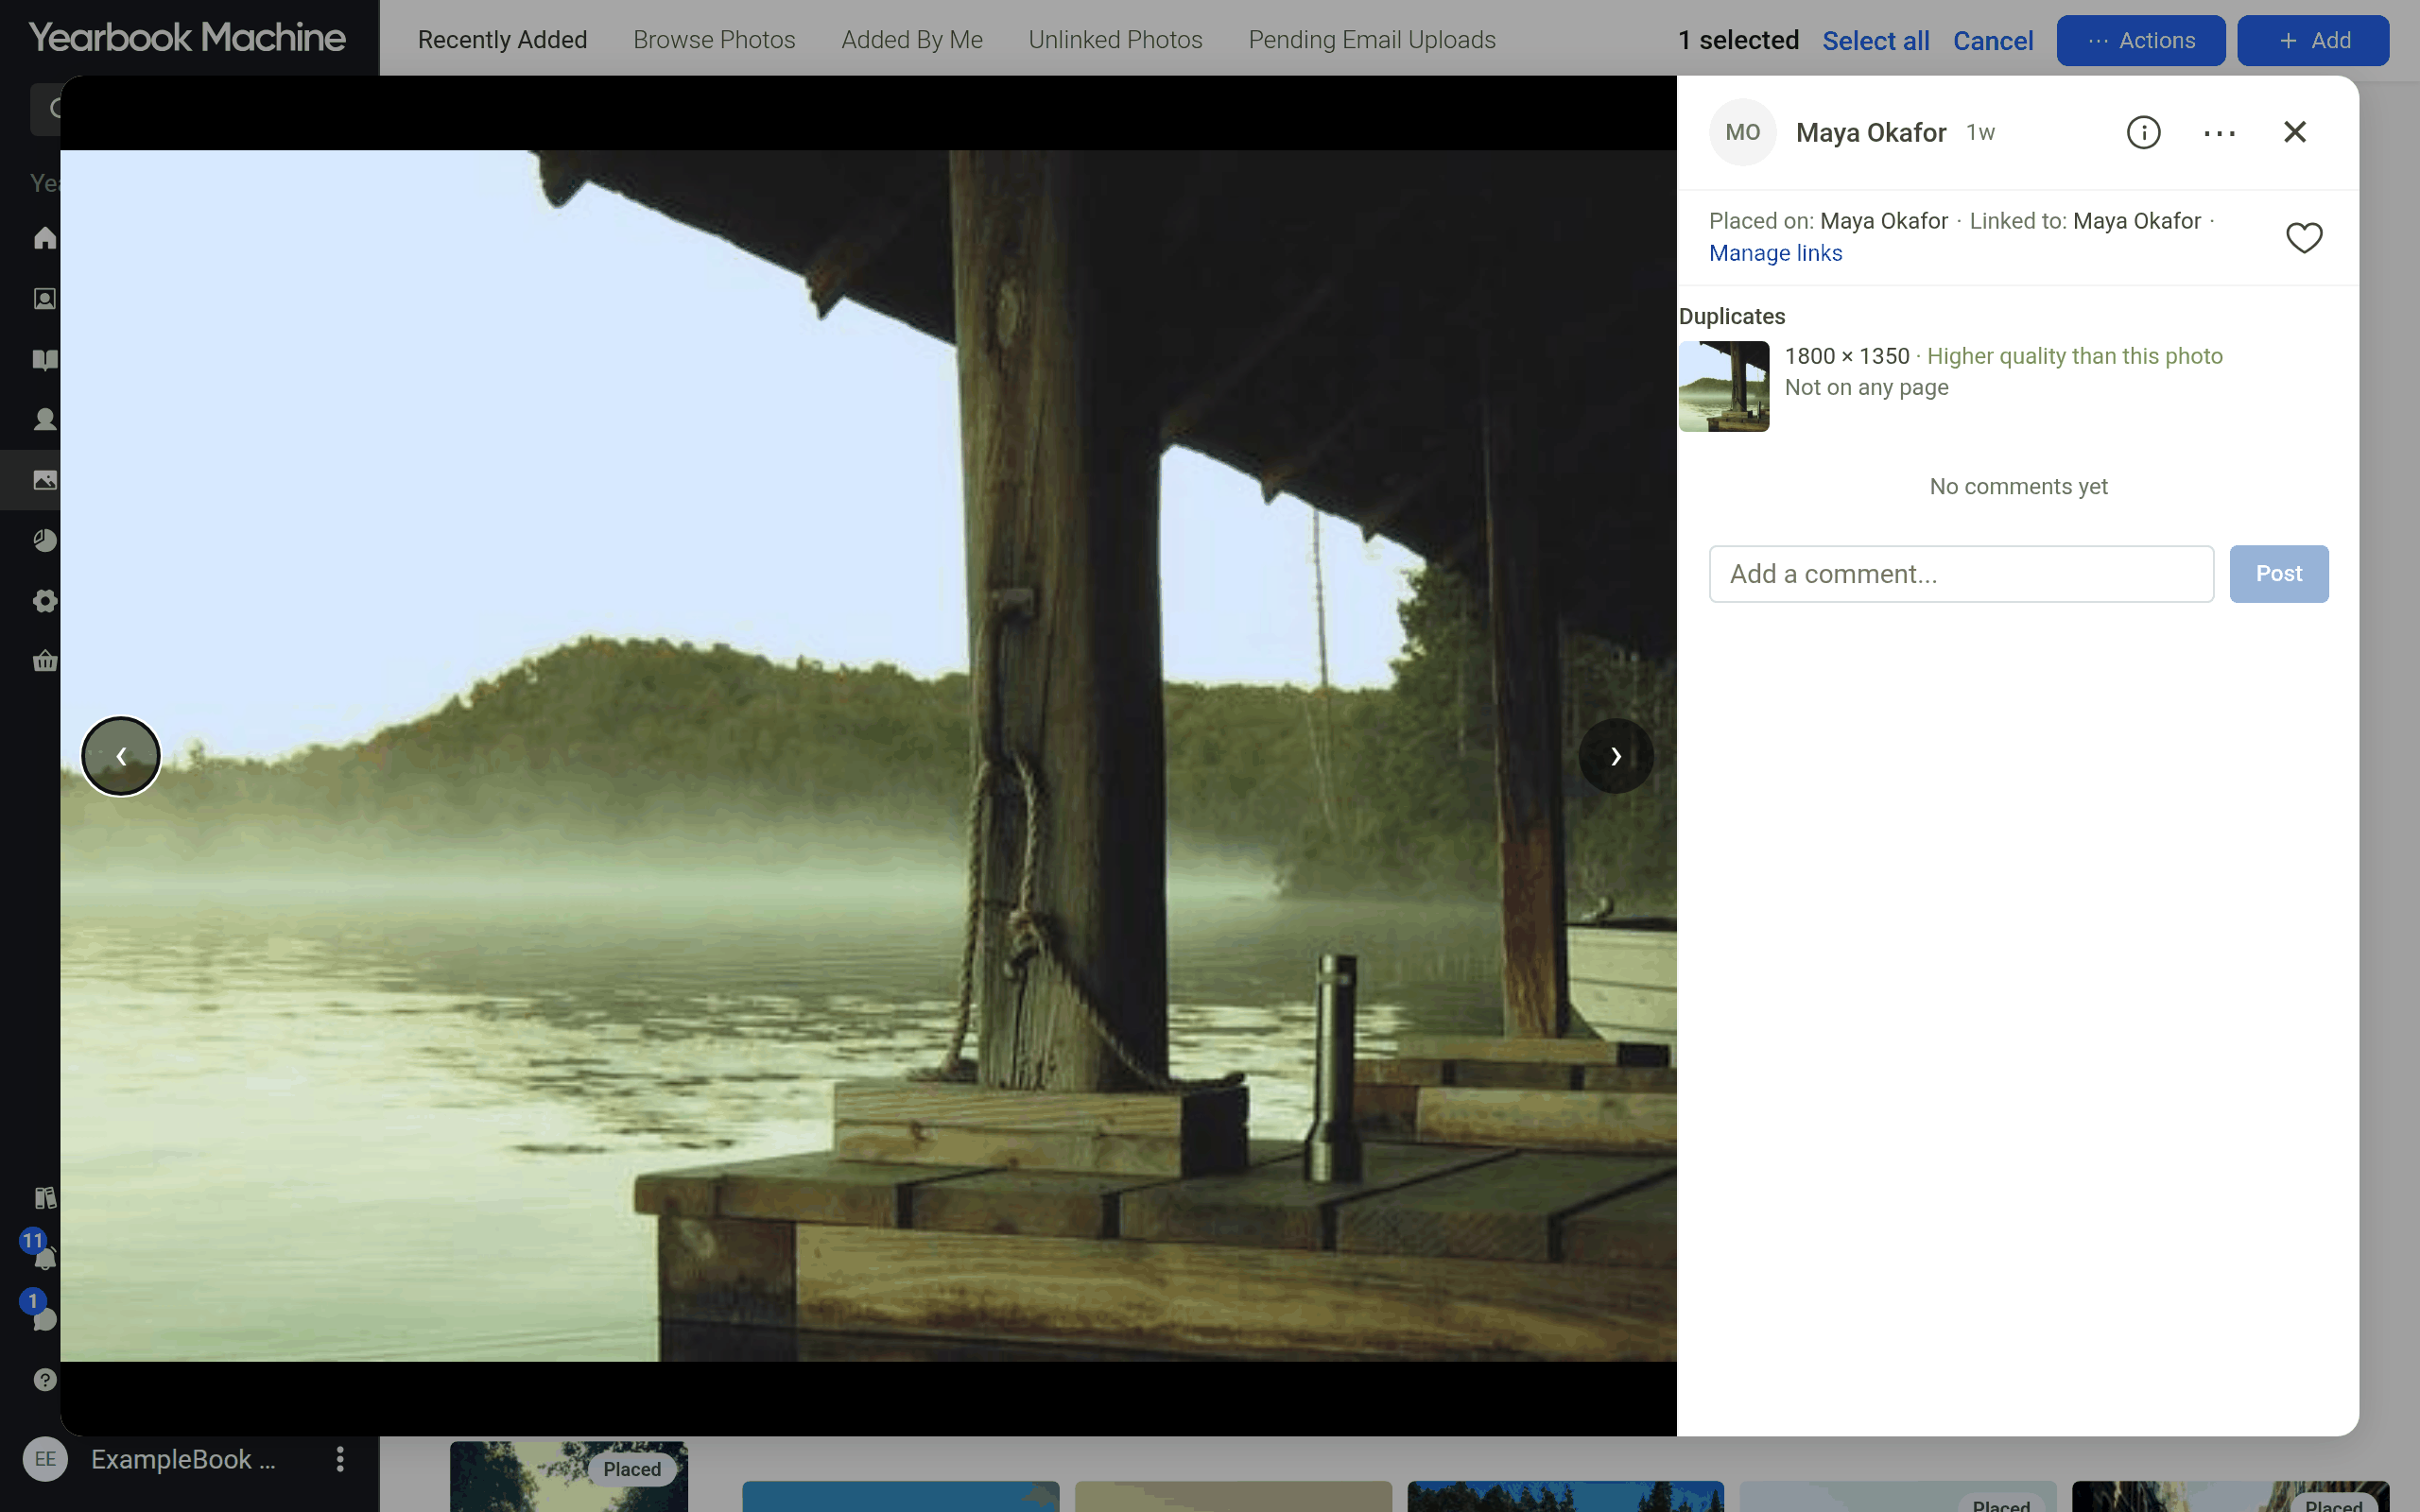
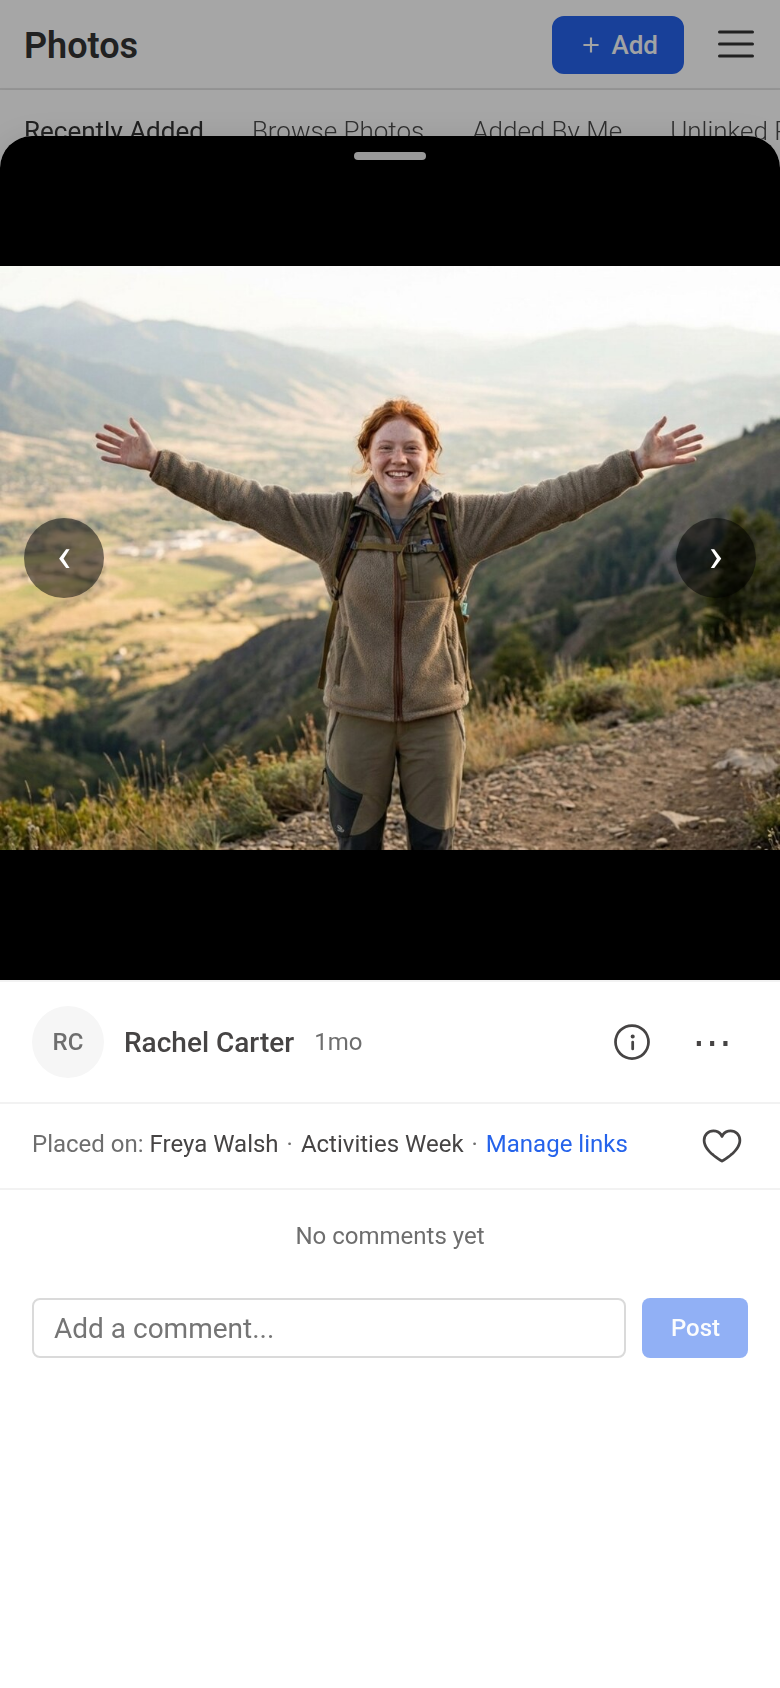
A photo that's on a page shows a Placed label on its thumbnail, or Placed × 2 and so on if it's on several pages.
Gathering photos for a page
Linking a photo to a page adds it to that page's own photo list, so it's easy to find when you work on the page. It doesn't put the photo on the page. You can link a photo to as many pages as you like.
To link several photos at once:
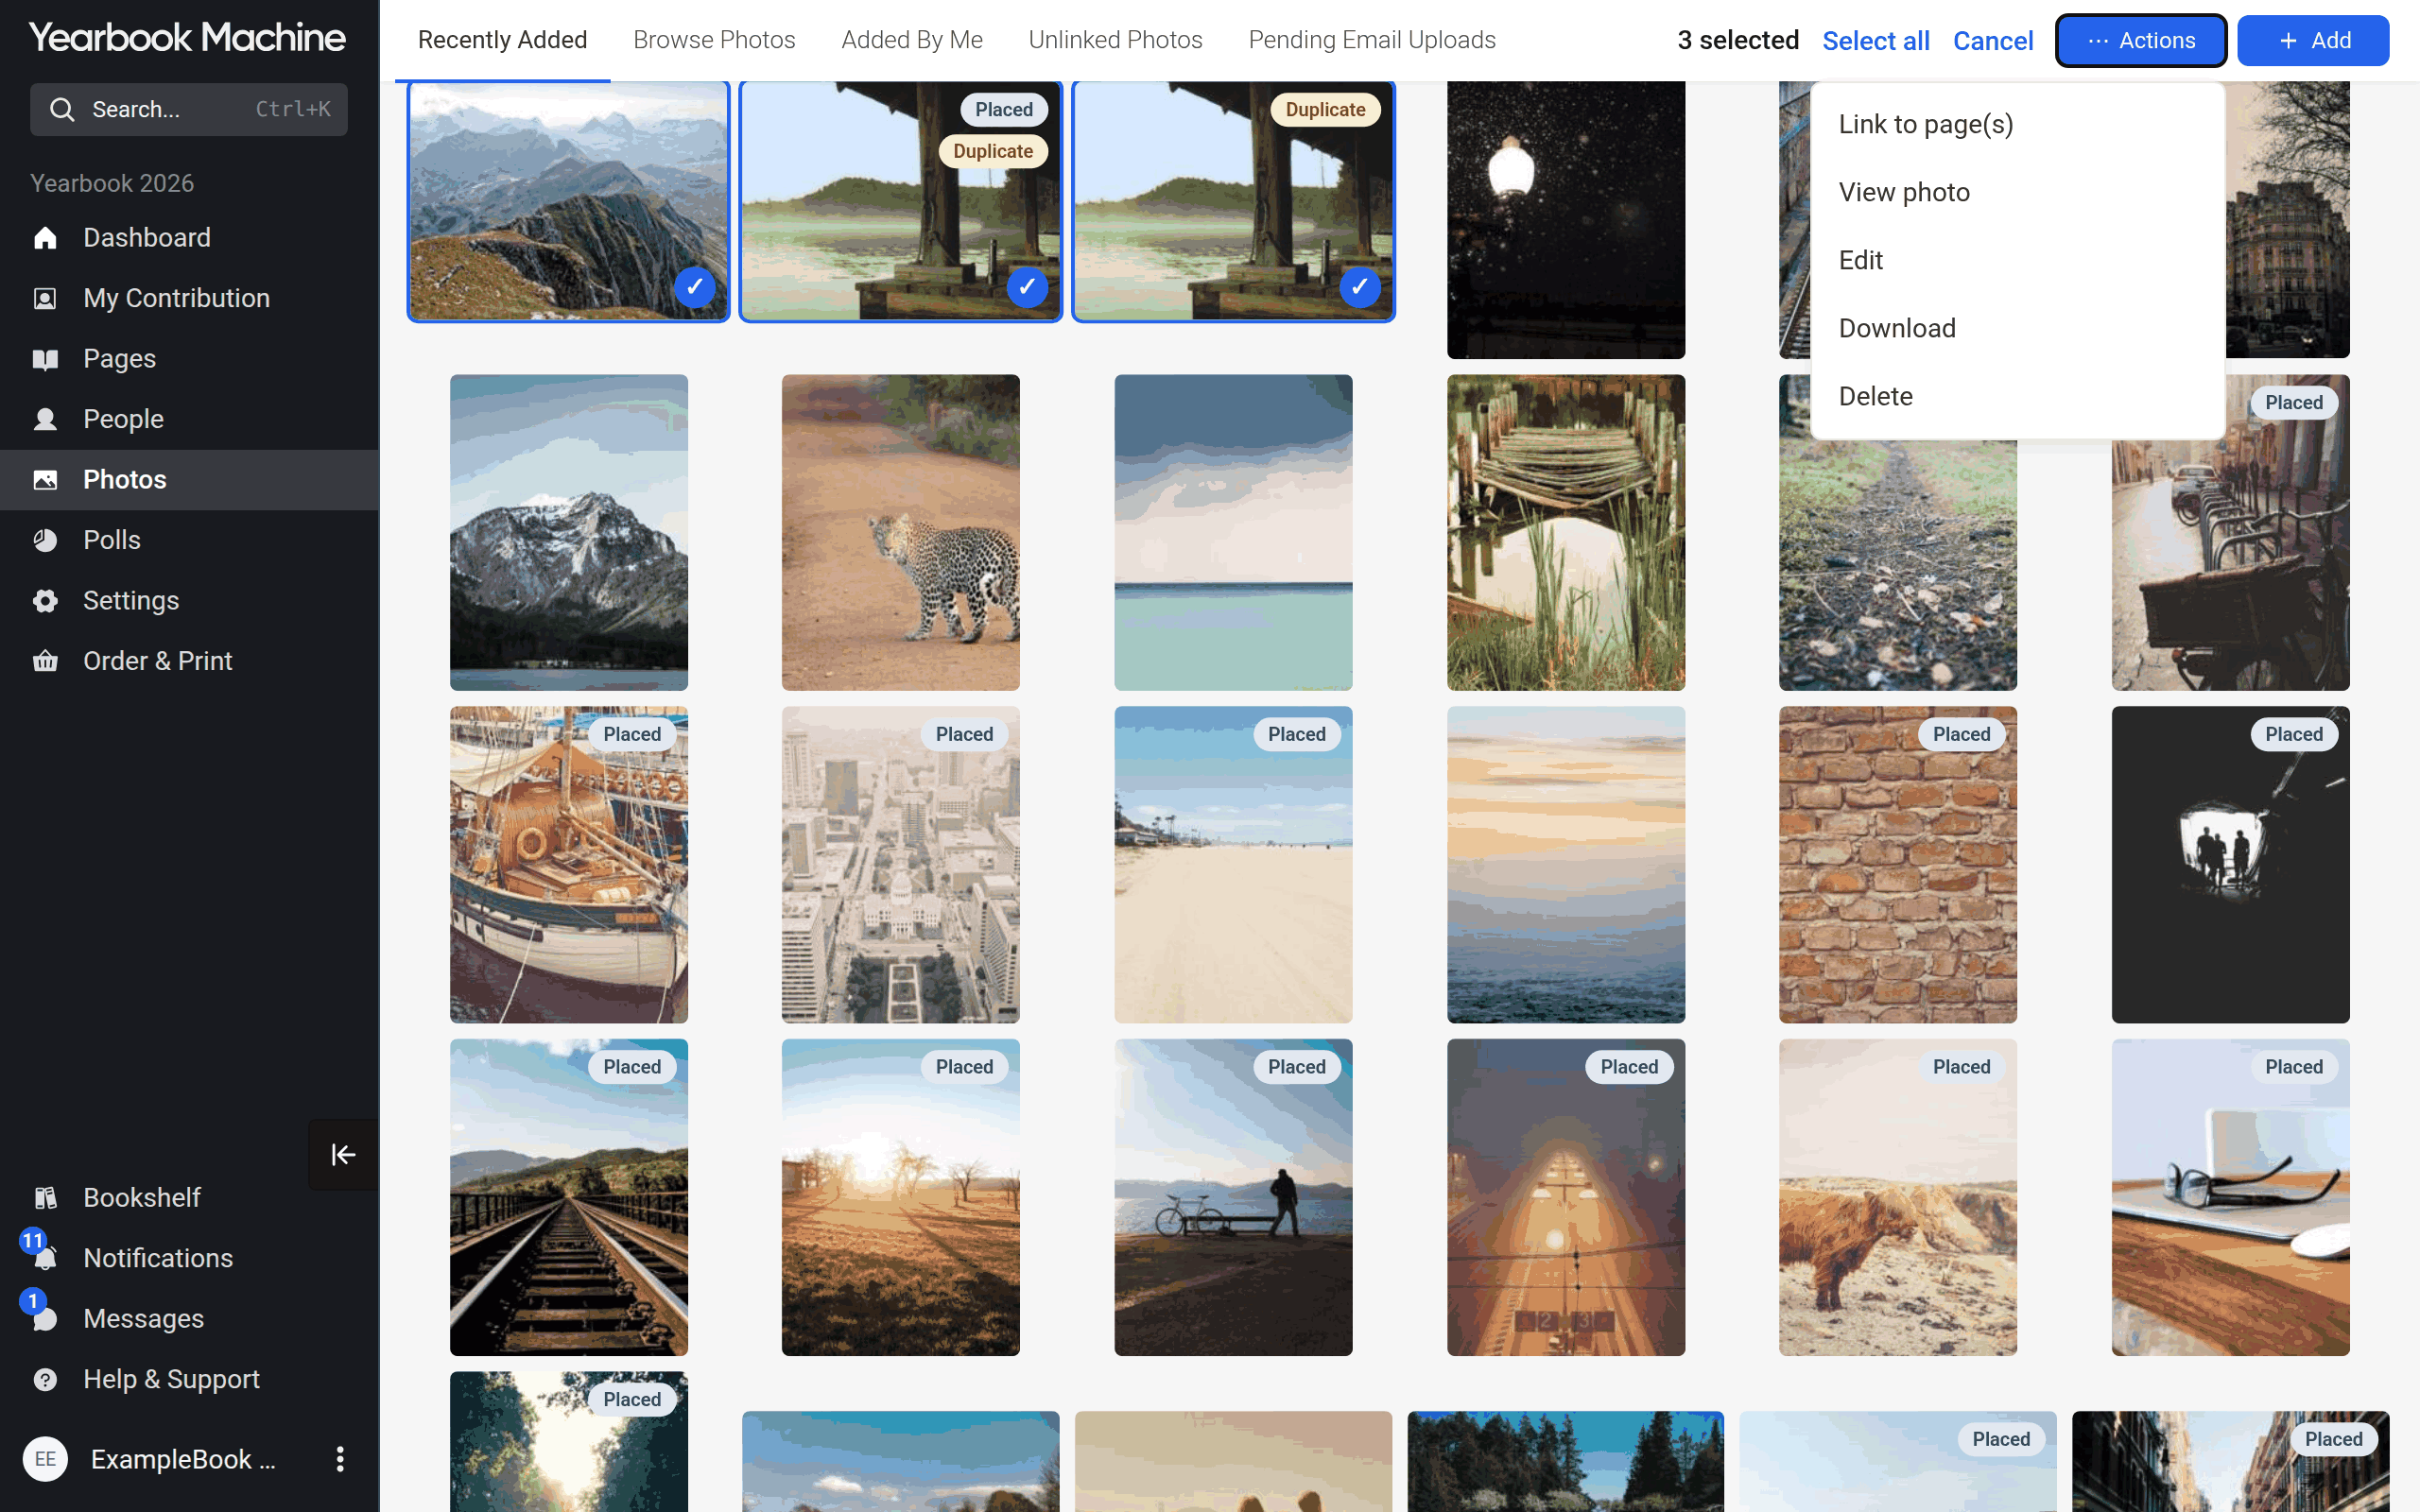
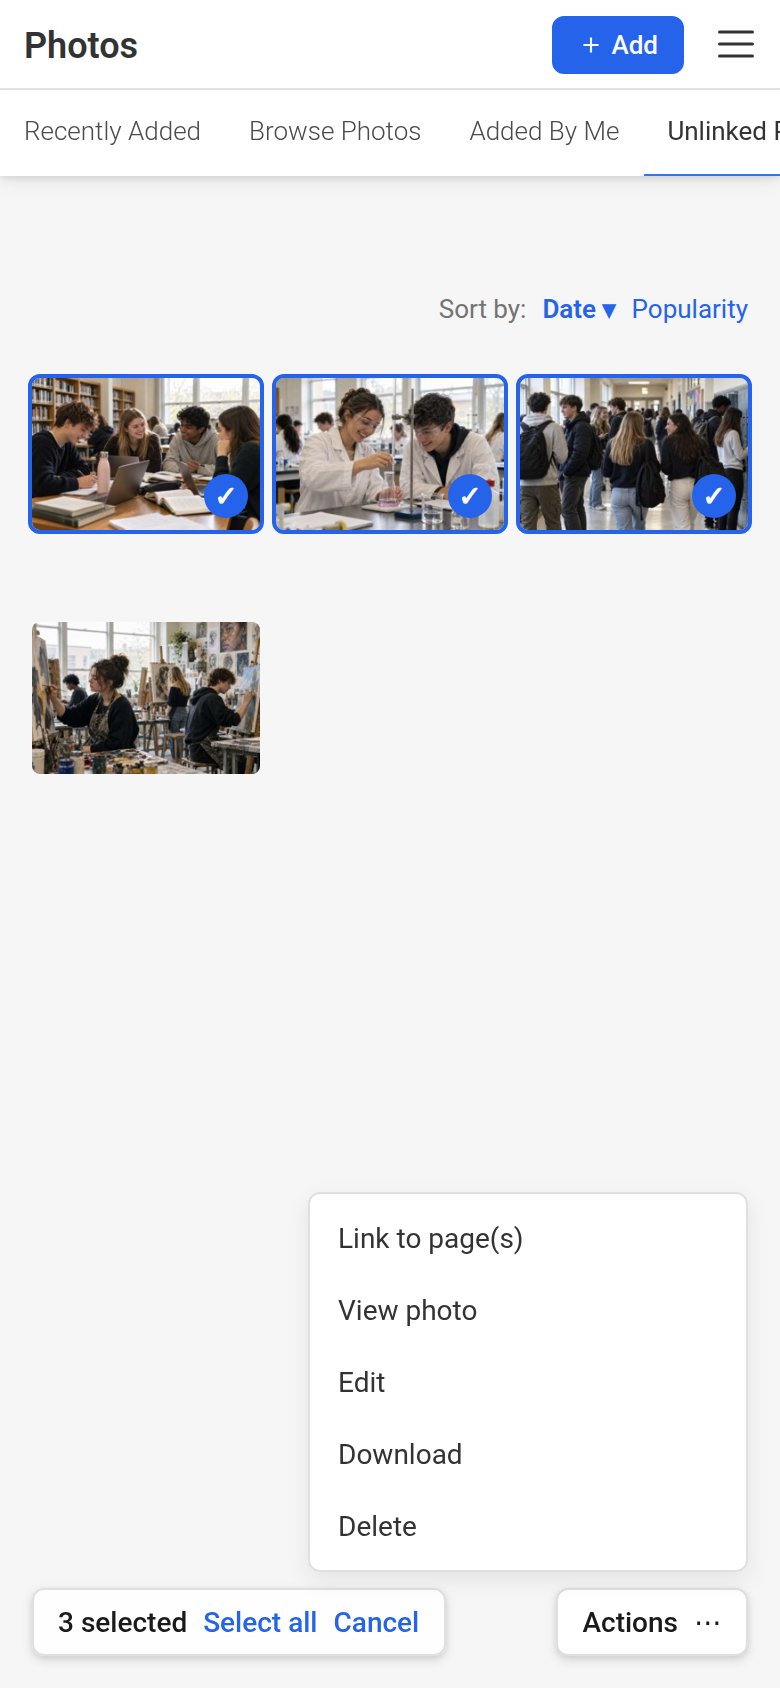
- On the Photos screen, click a photo to select it. Shift-click to select a run of photos, or Ctrl-click (Cmd-click on a Mac) to add single photos. On a phone, tap Select photos (or press and hold a photo), then tap each photo you want.
- Click Actions and choose Link to page(s). On a phone, Actions is in the bar at the bottom of the screen.
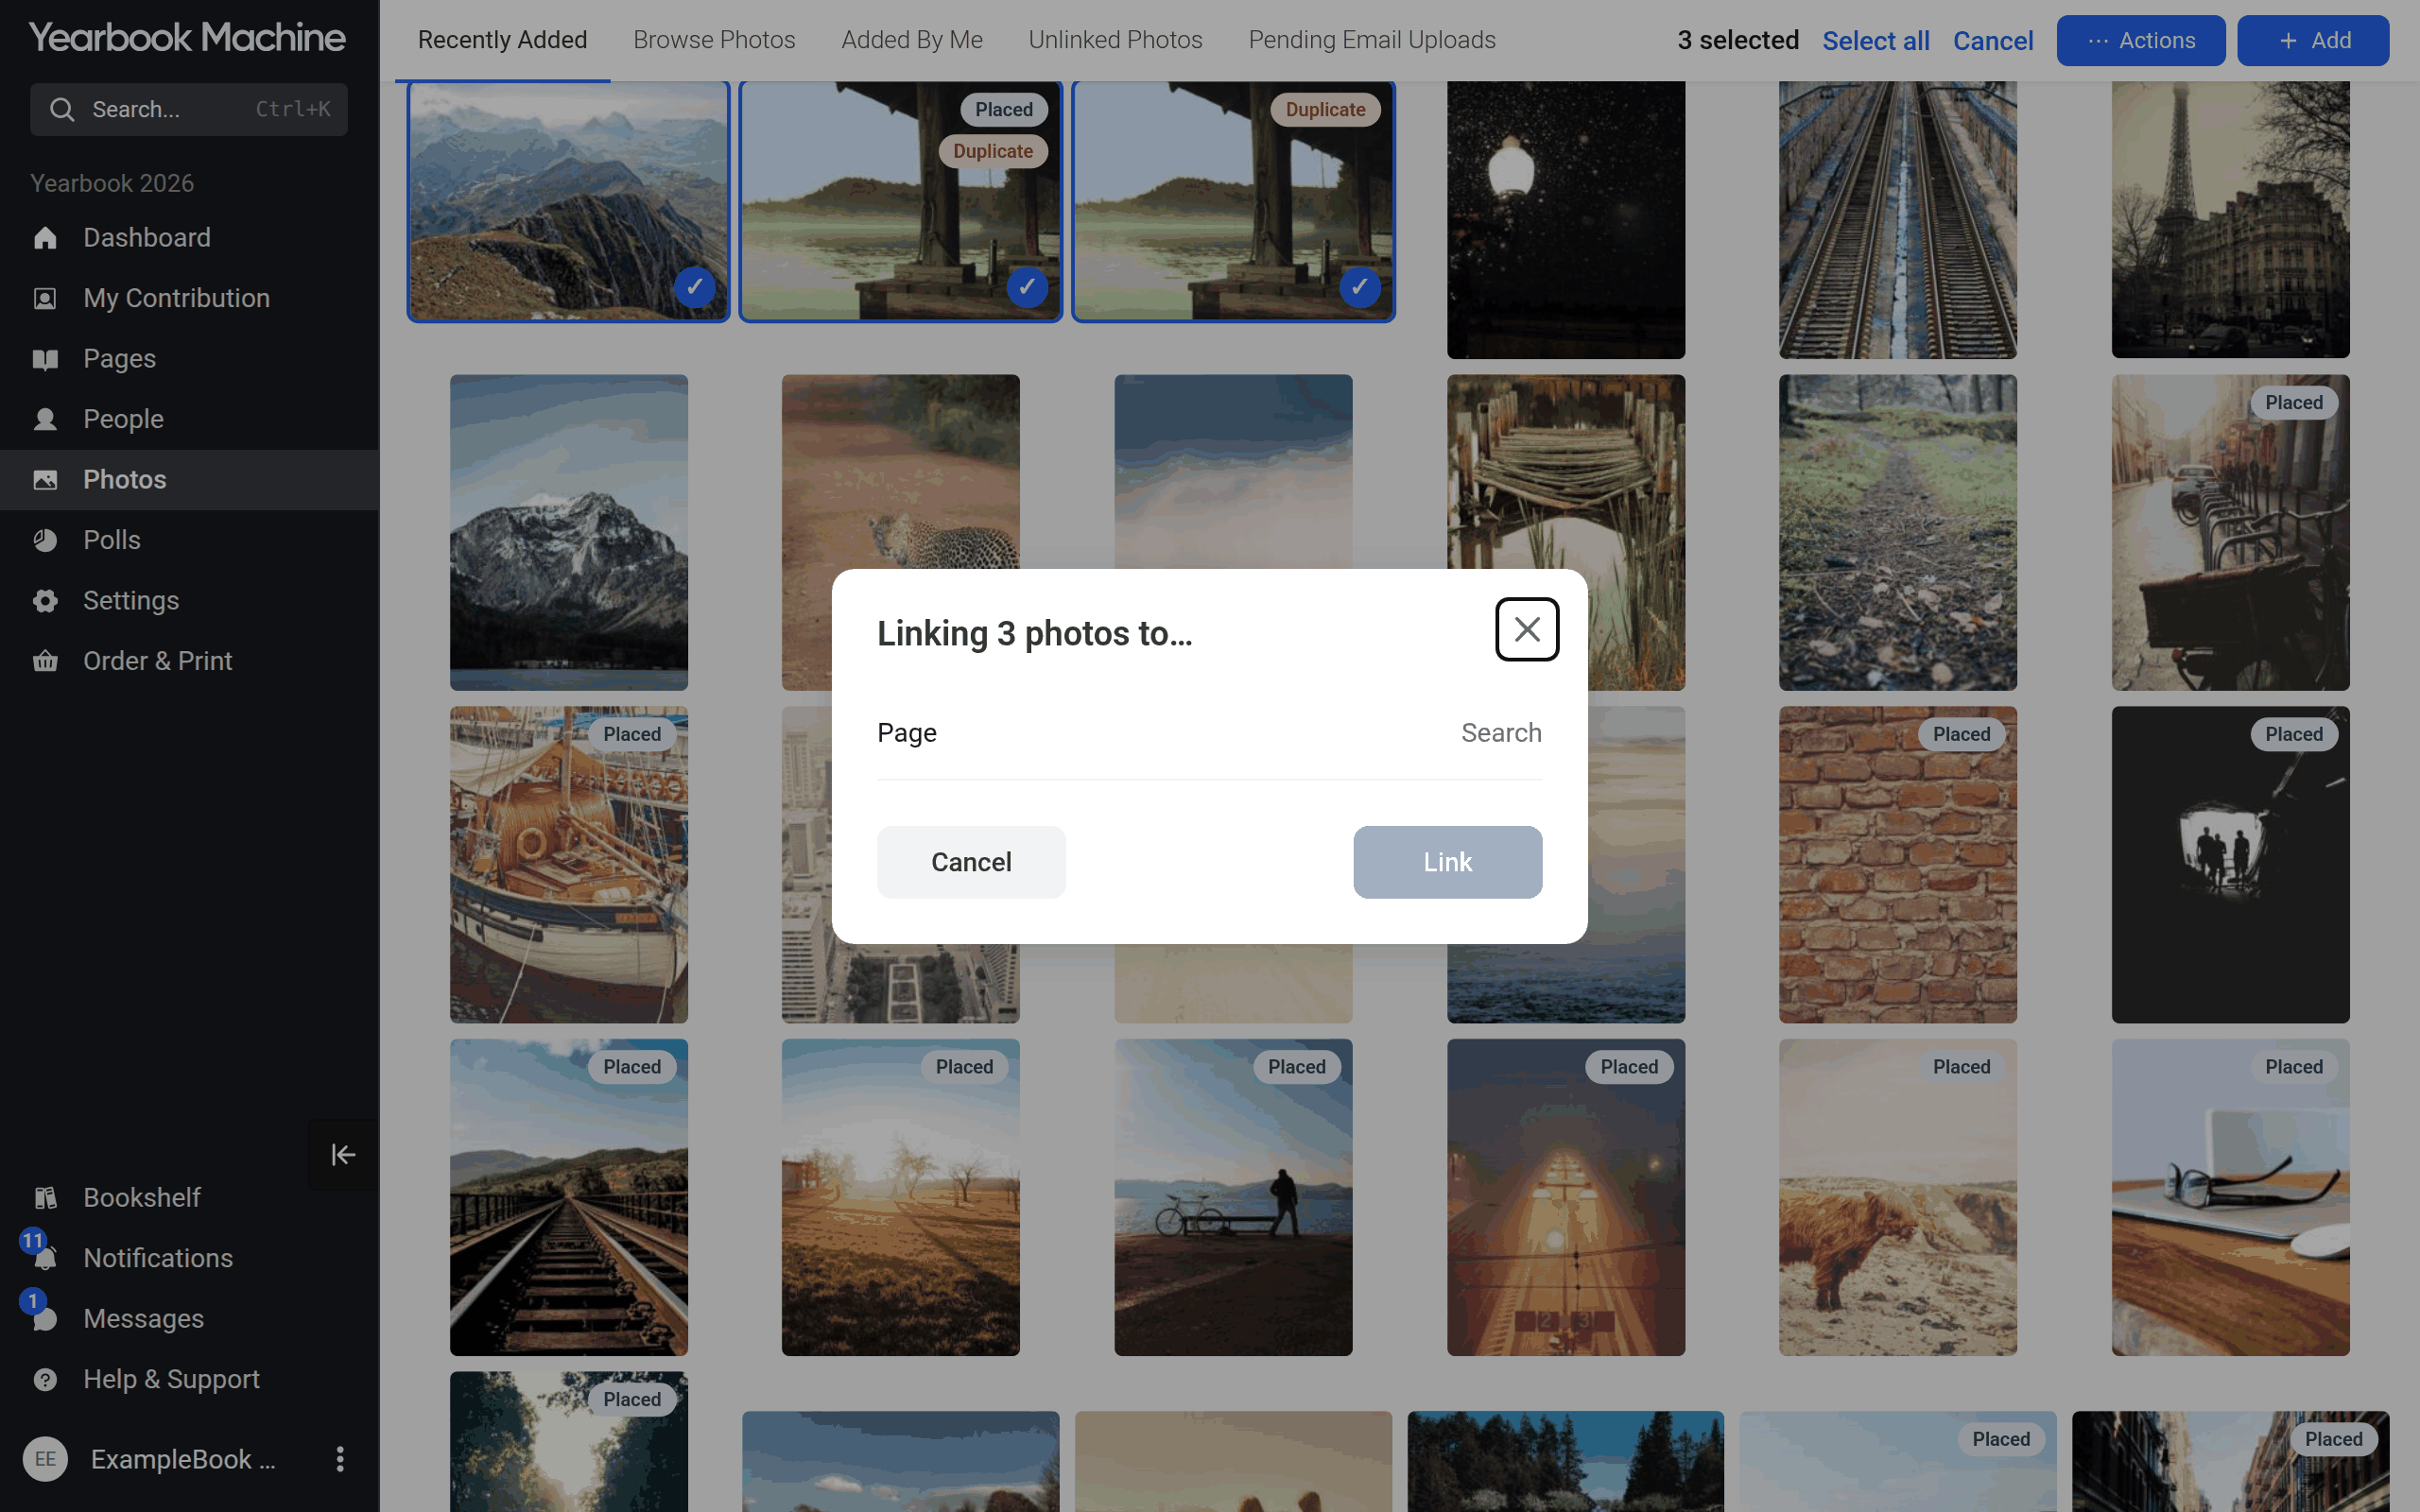
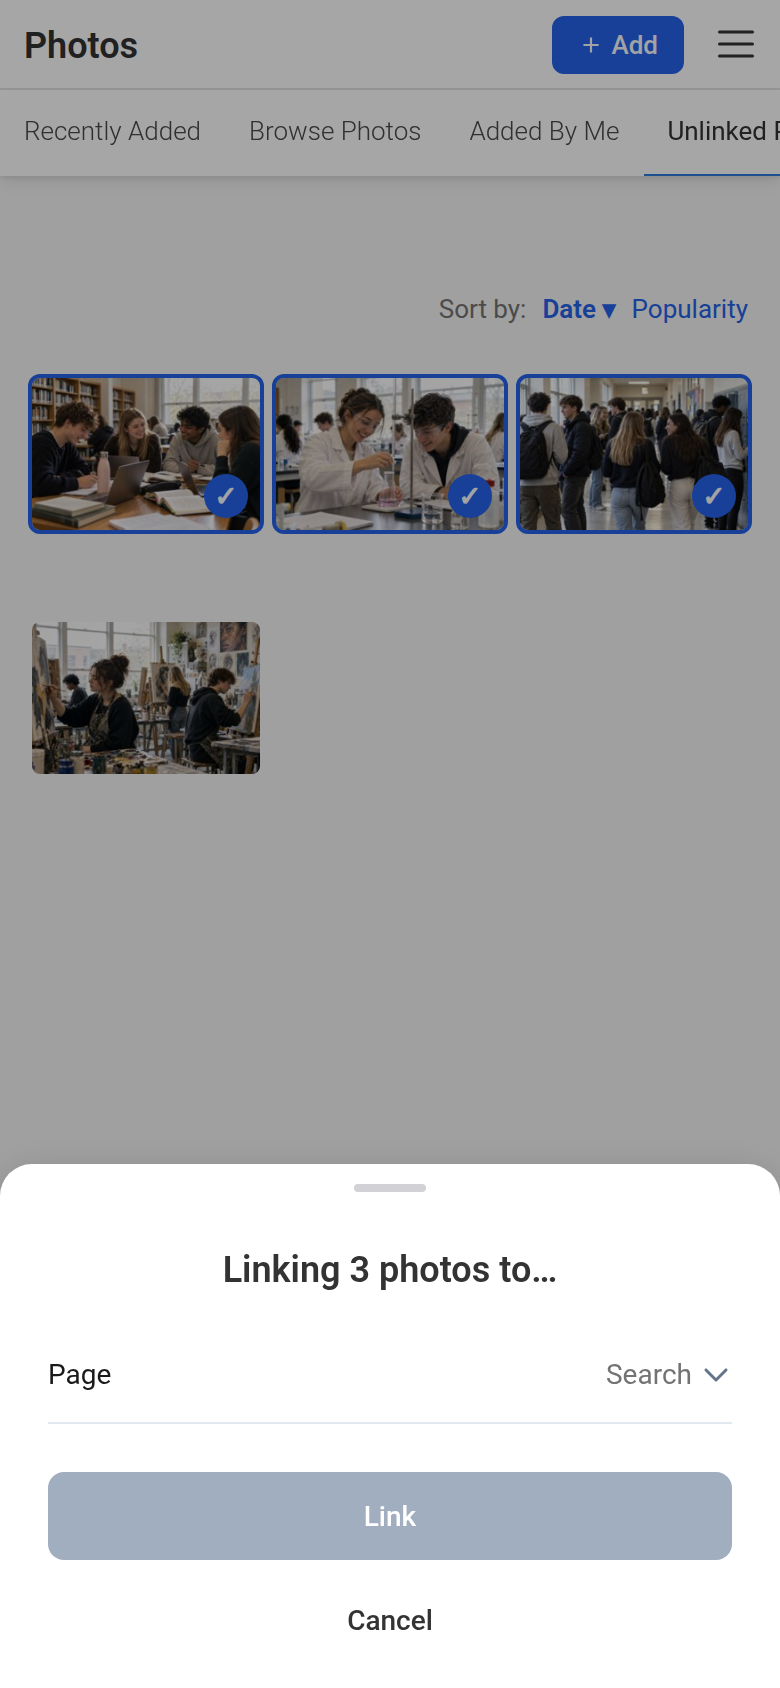
- Search for the page, choose it, and click Link.
To link or unlink one photo:
- Open the photo and click Manage links.
- Click Link to a page... to add a page, or Unlink beside a page to remove it.
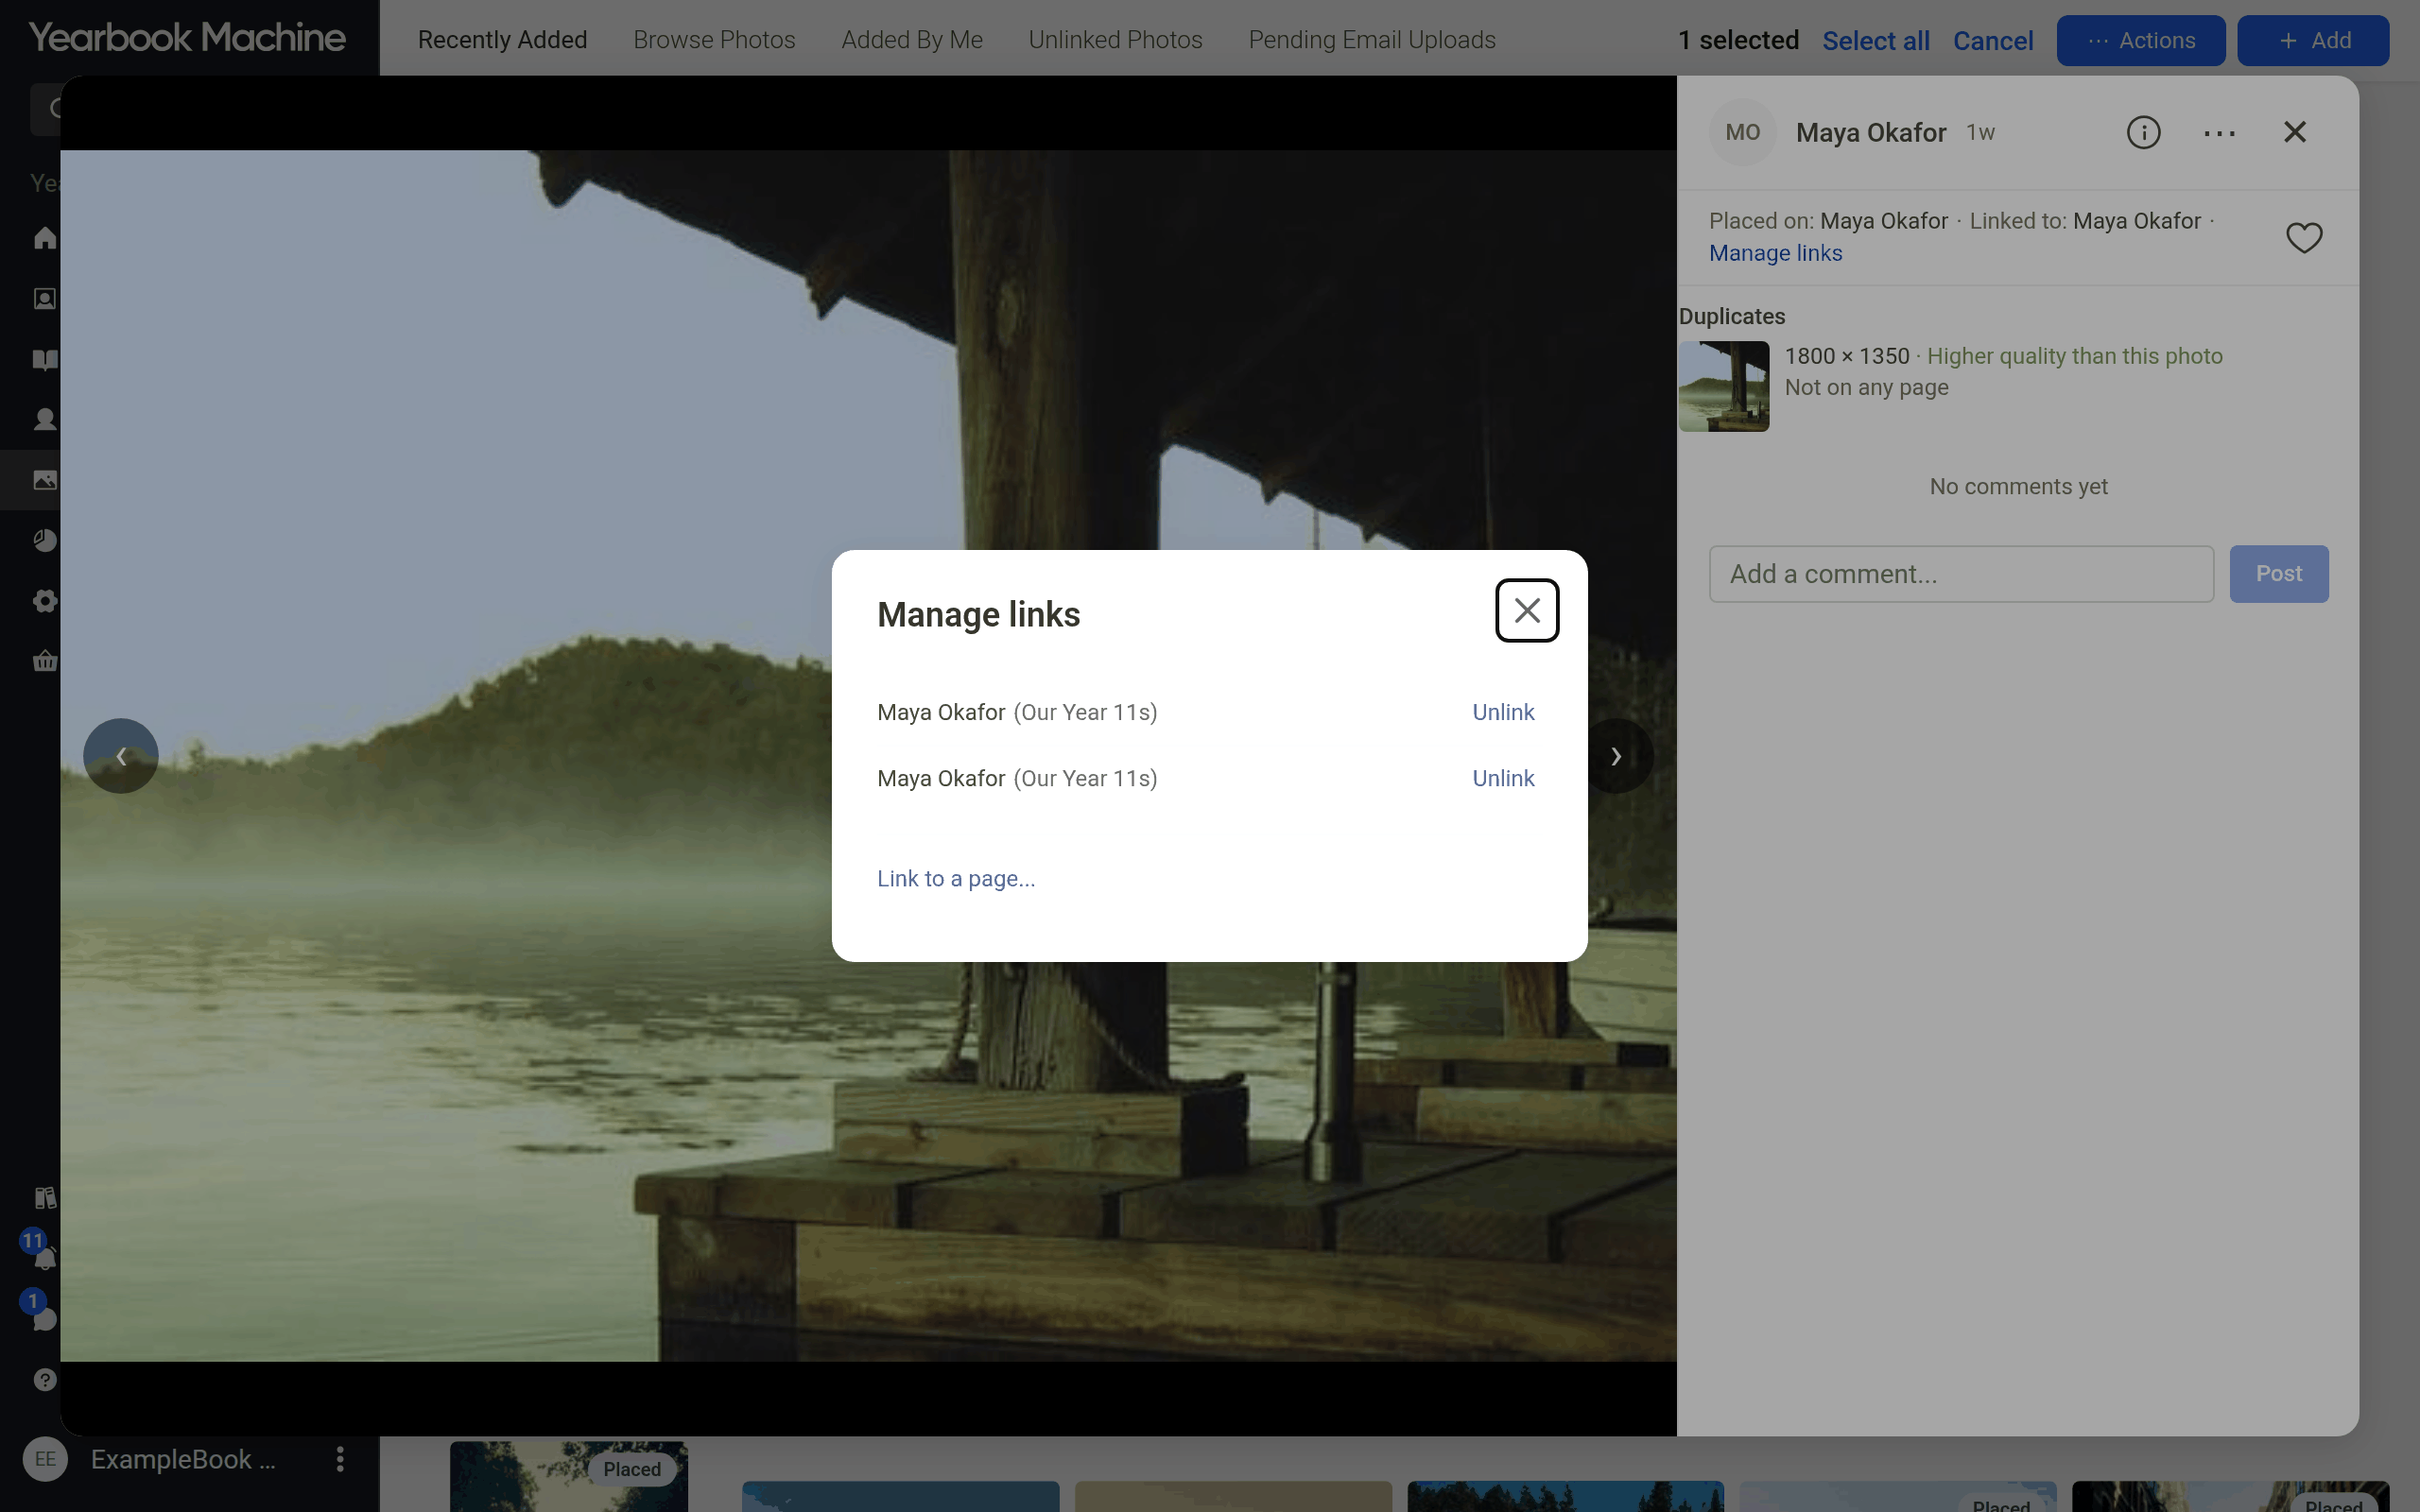
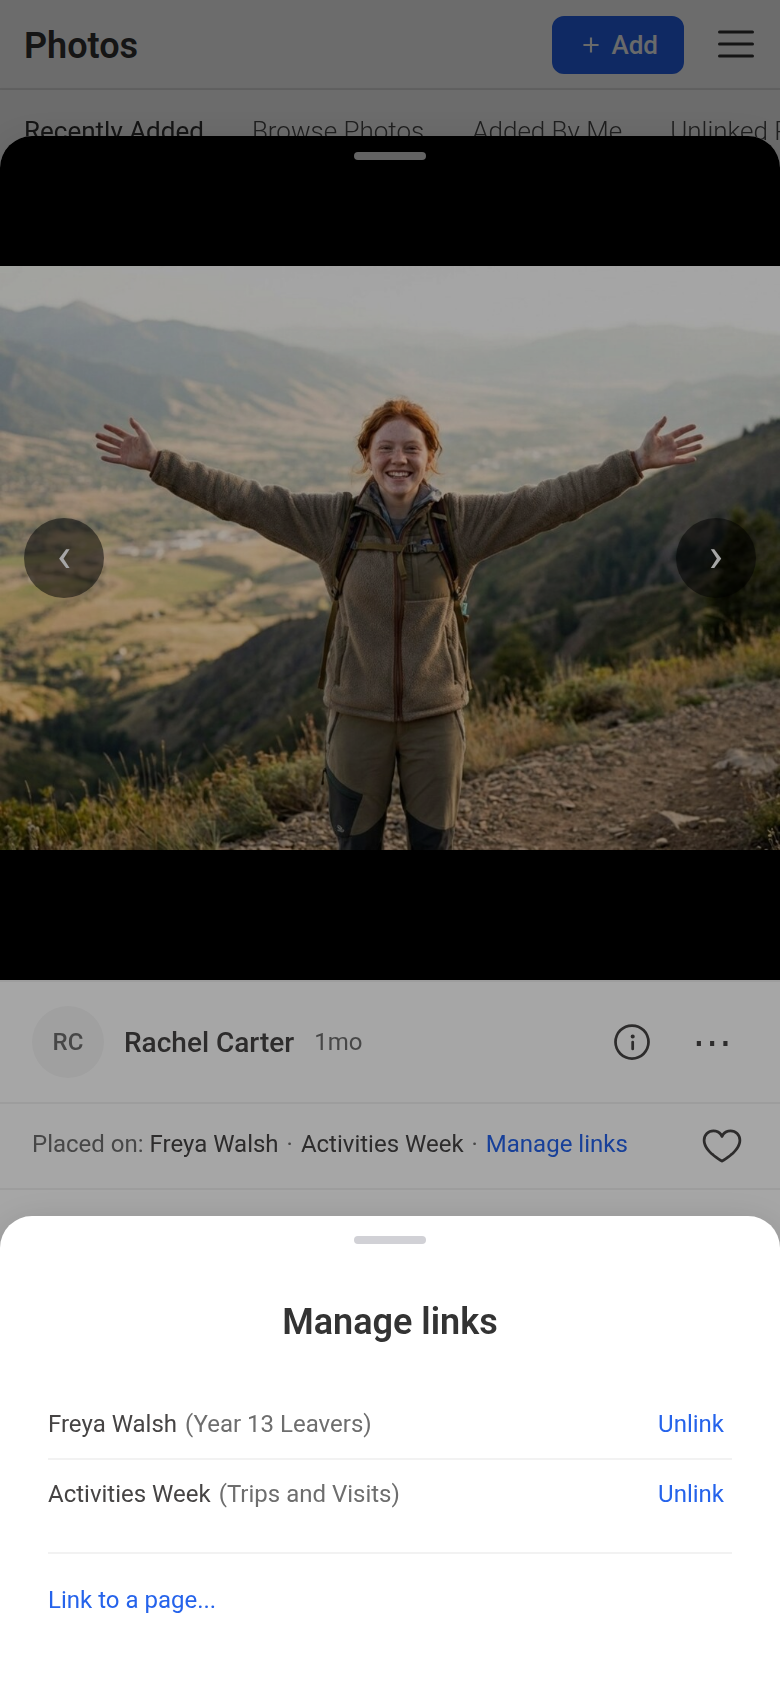
To unlink a photo, you need to be able to edit the page.
Photos you upload from the Photos tab of the page editor (the screen for working on a single page) are linked to that page automatically. If you're an editor, set Show: in that tab to Photos linked to this page to see just that page's photos.
Fixing how a photo looks
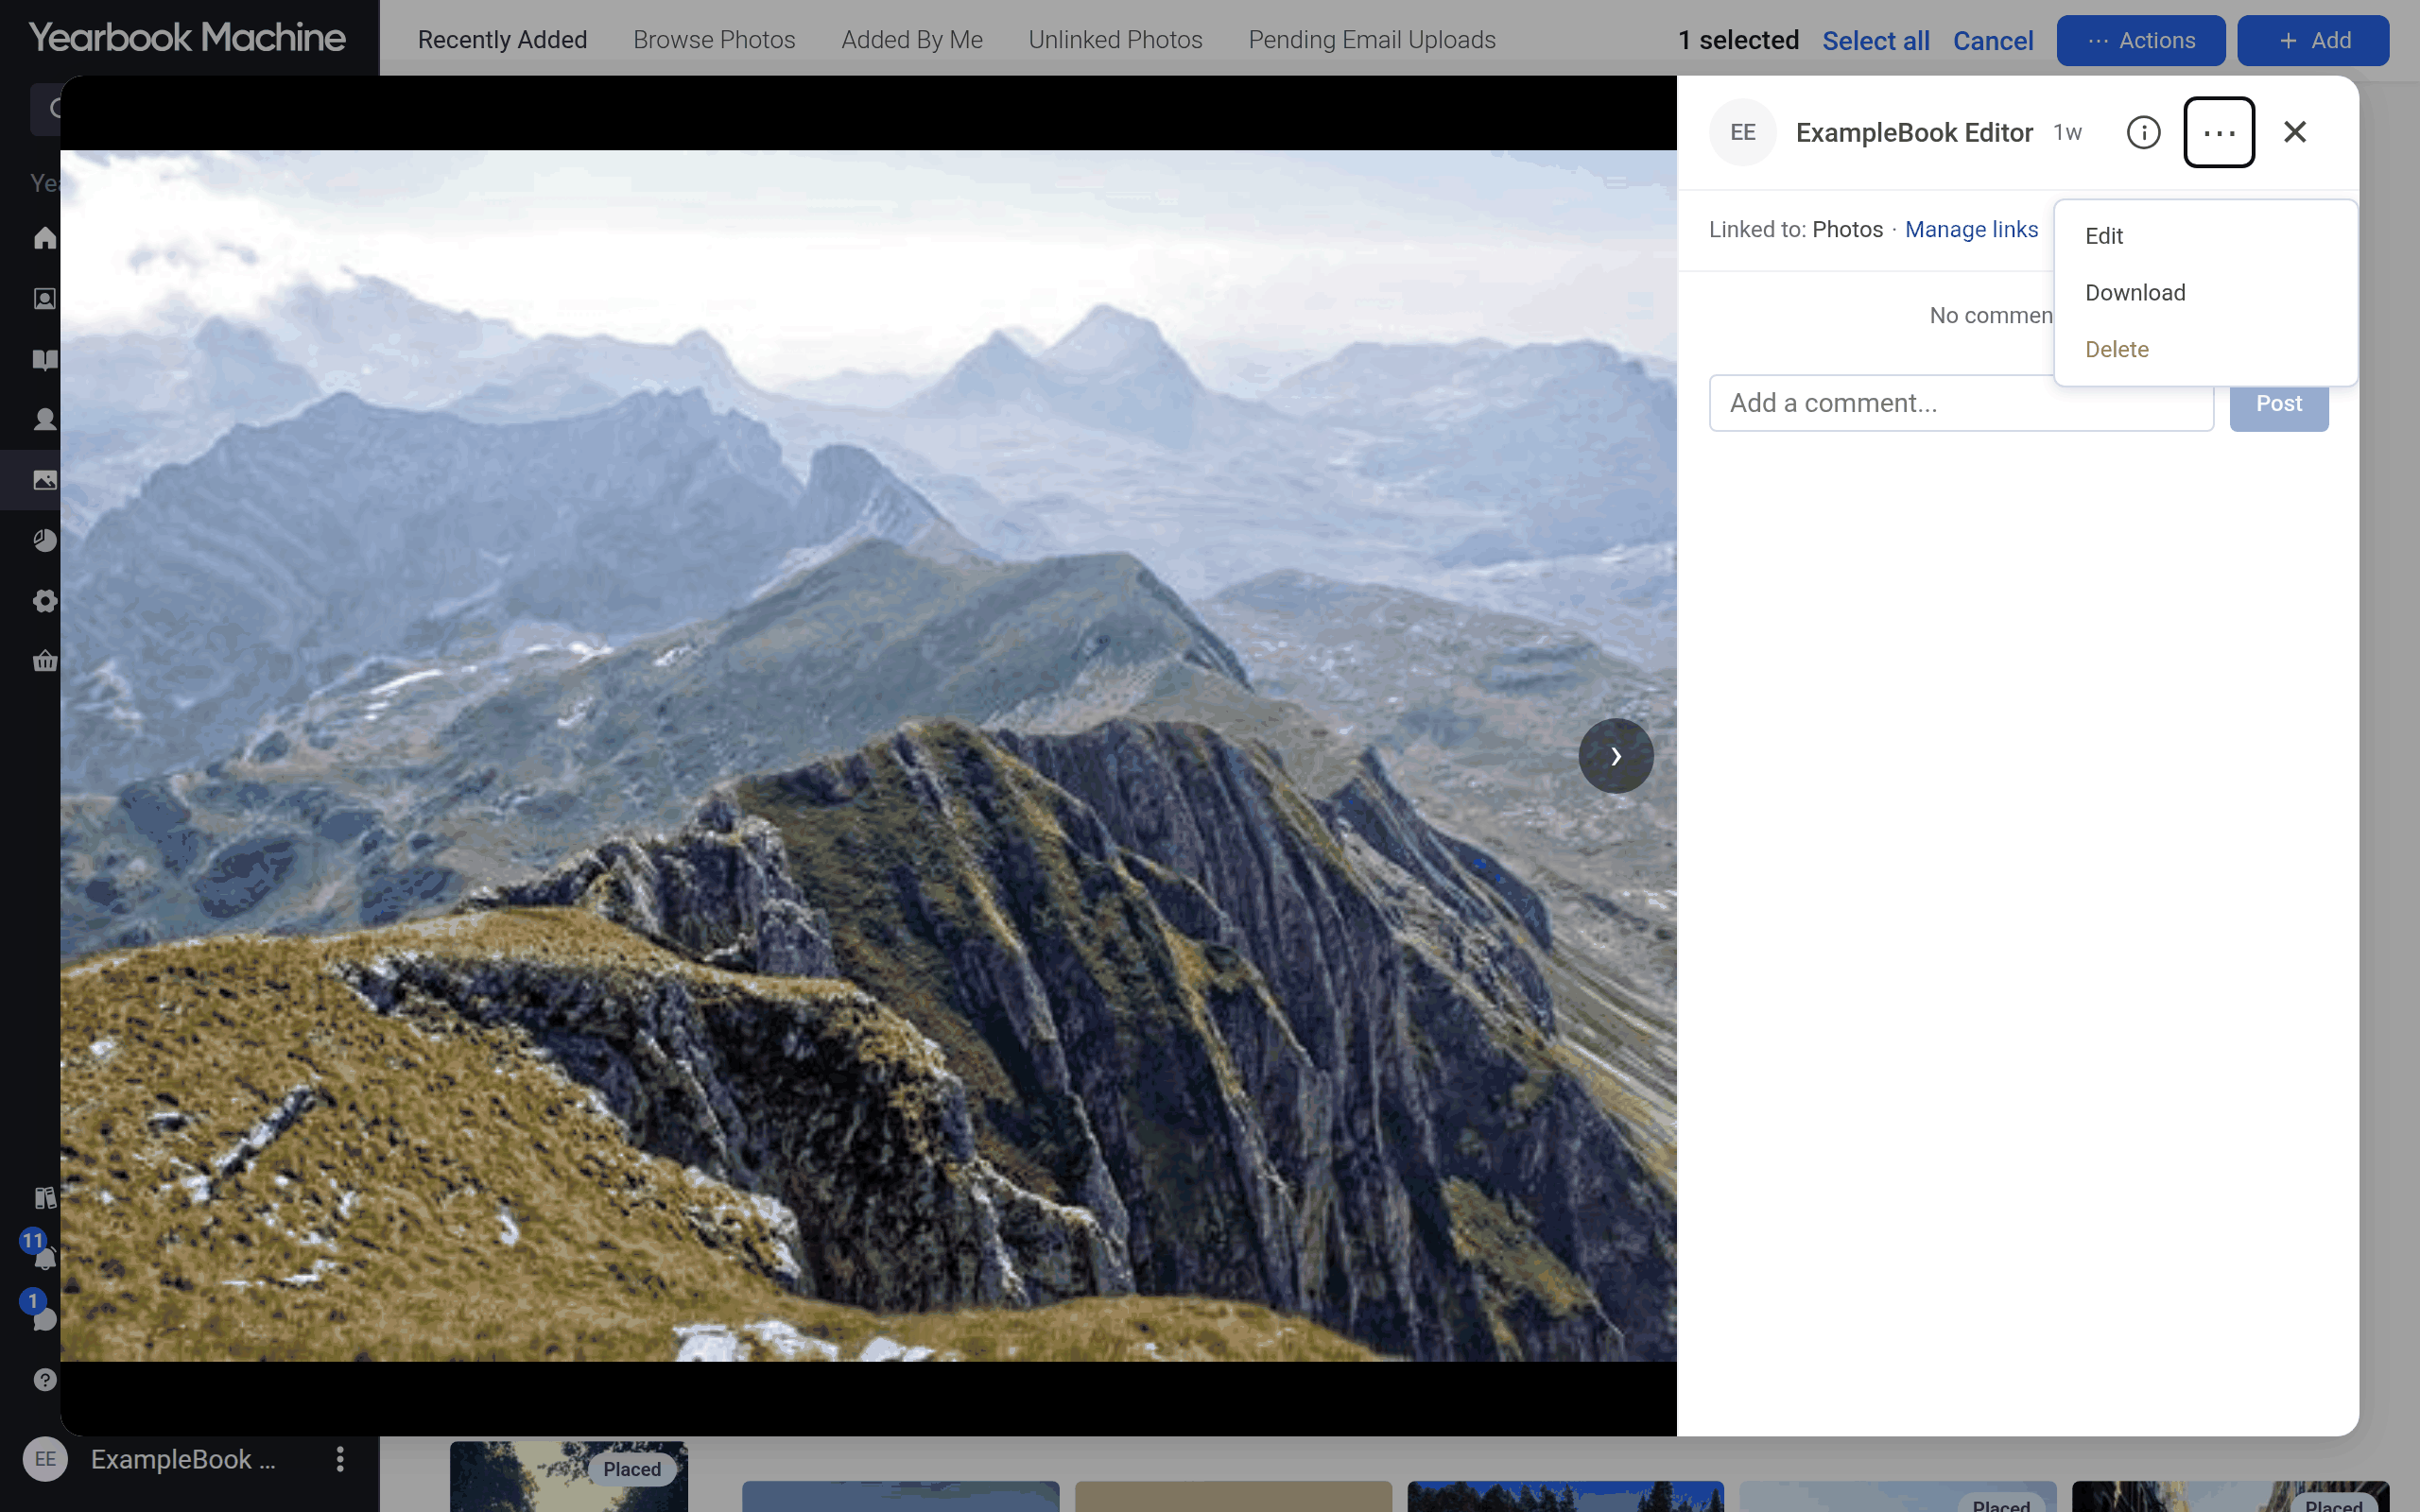
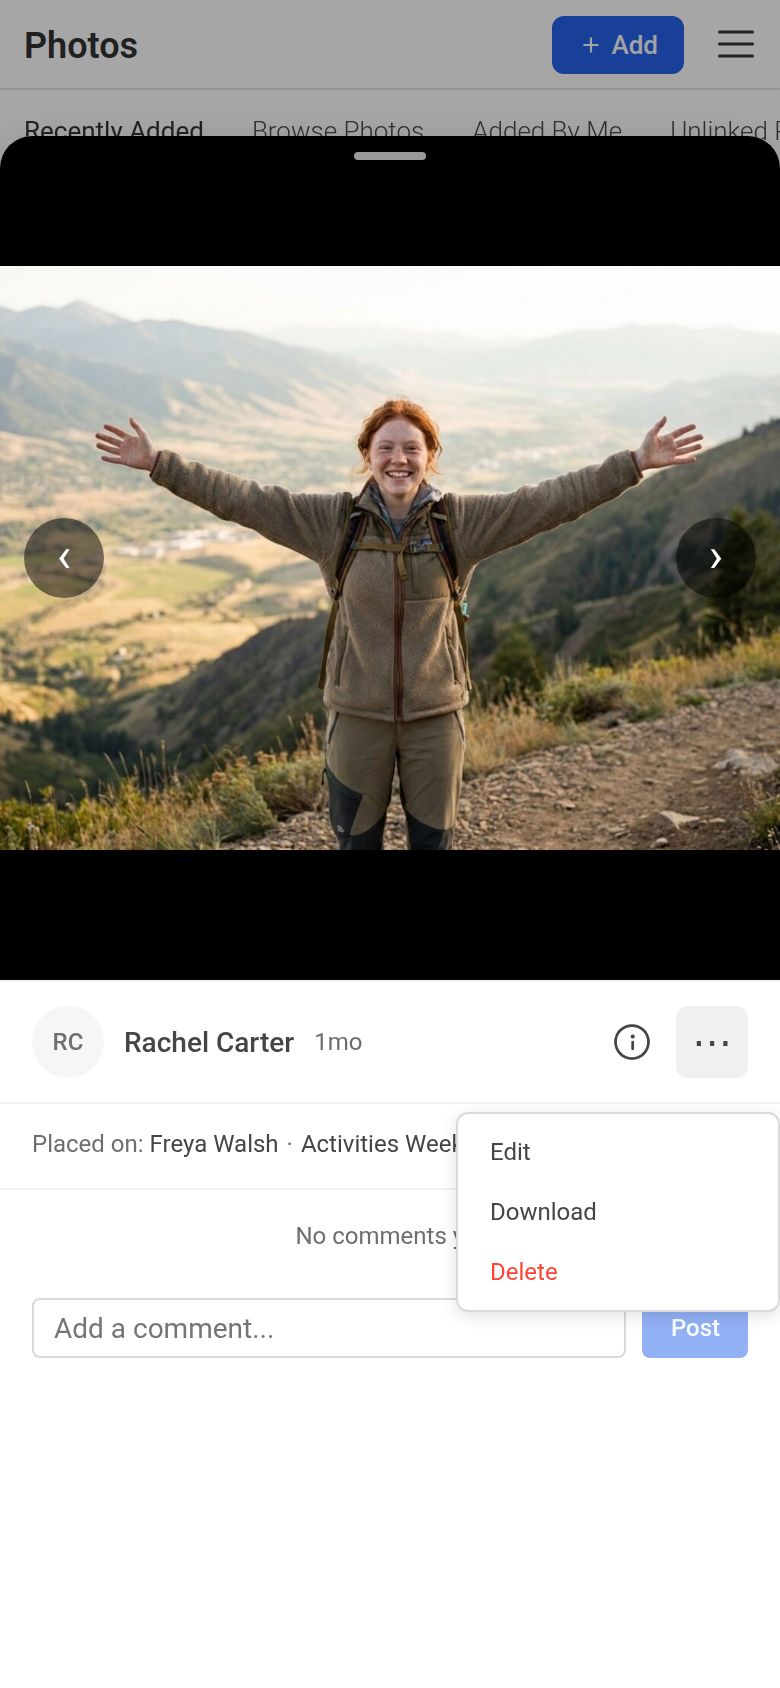
- Open the photo, click the three-dot menu and choose Edit. To edit several, select them and choose Edit from Actions.
- Use the rotate buttons, turn on Black & white (B&W on a phone), or adjust the sliders, such as Exposure, Contrast and Saturation.
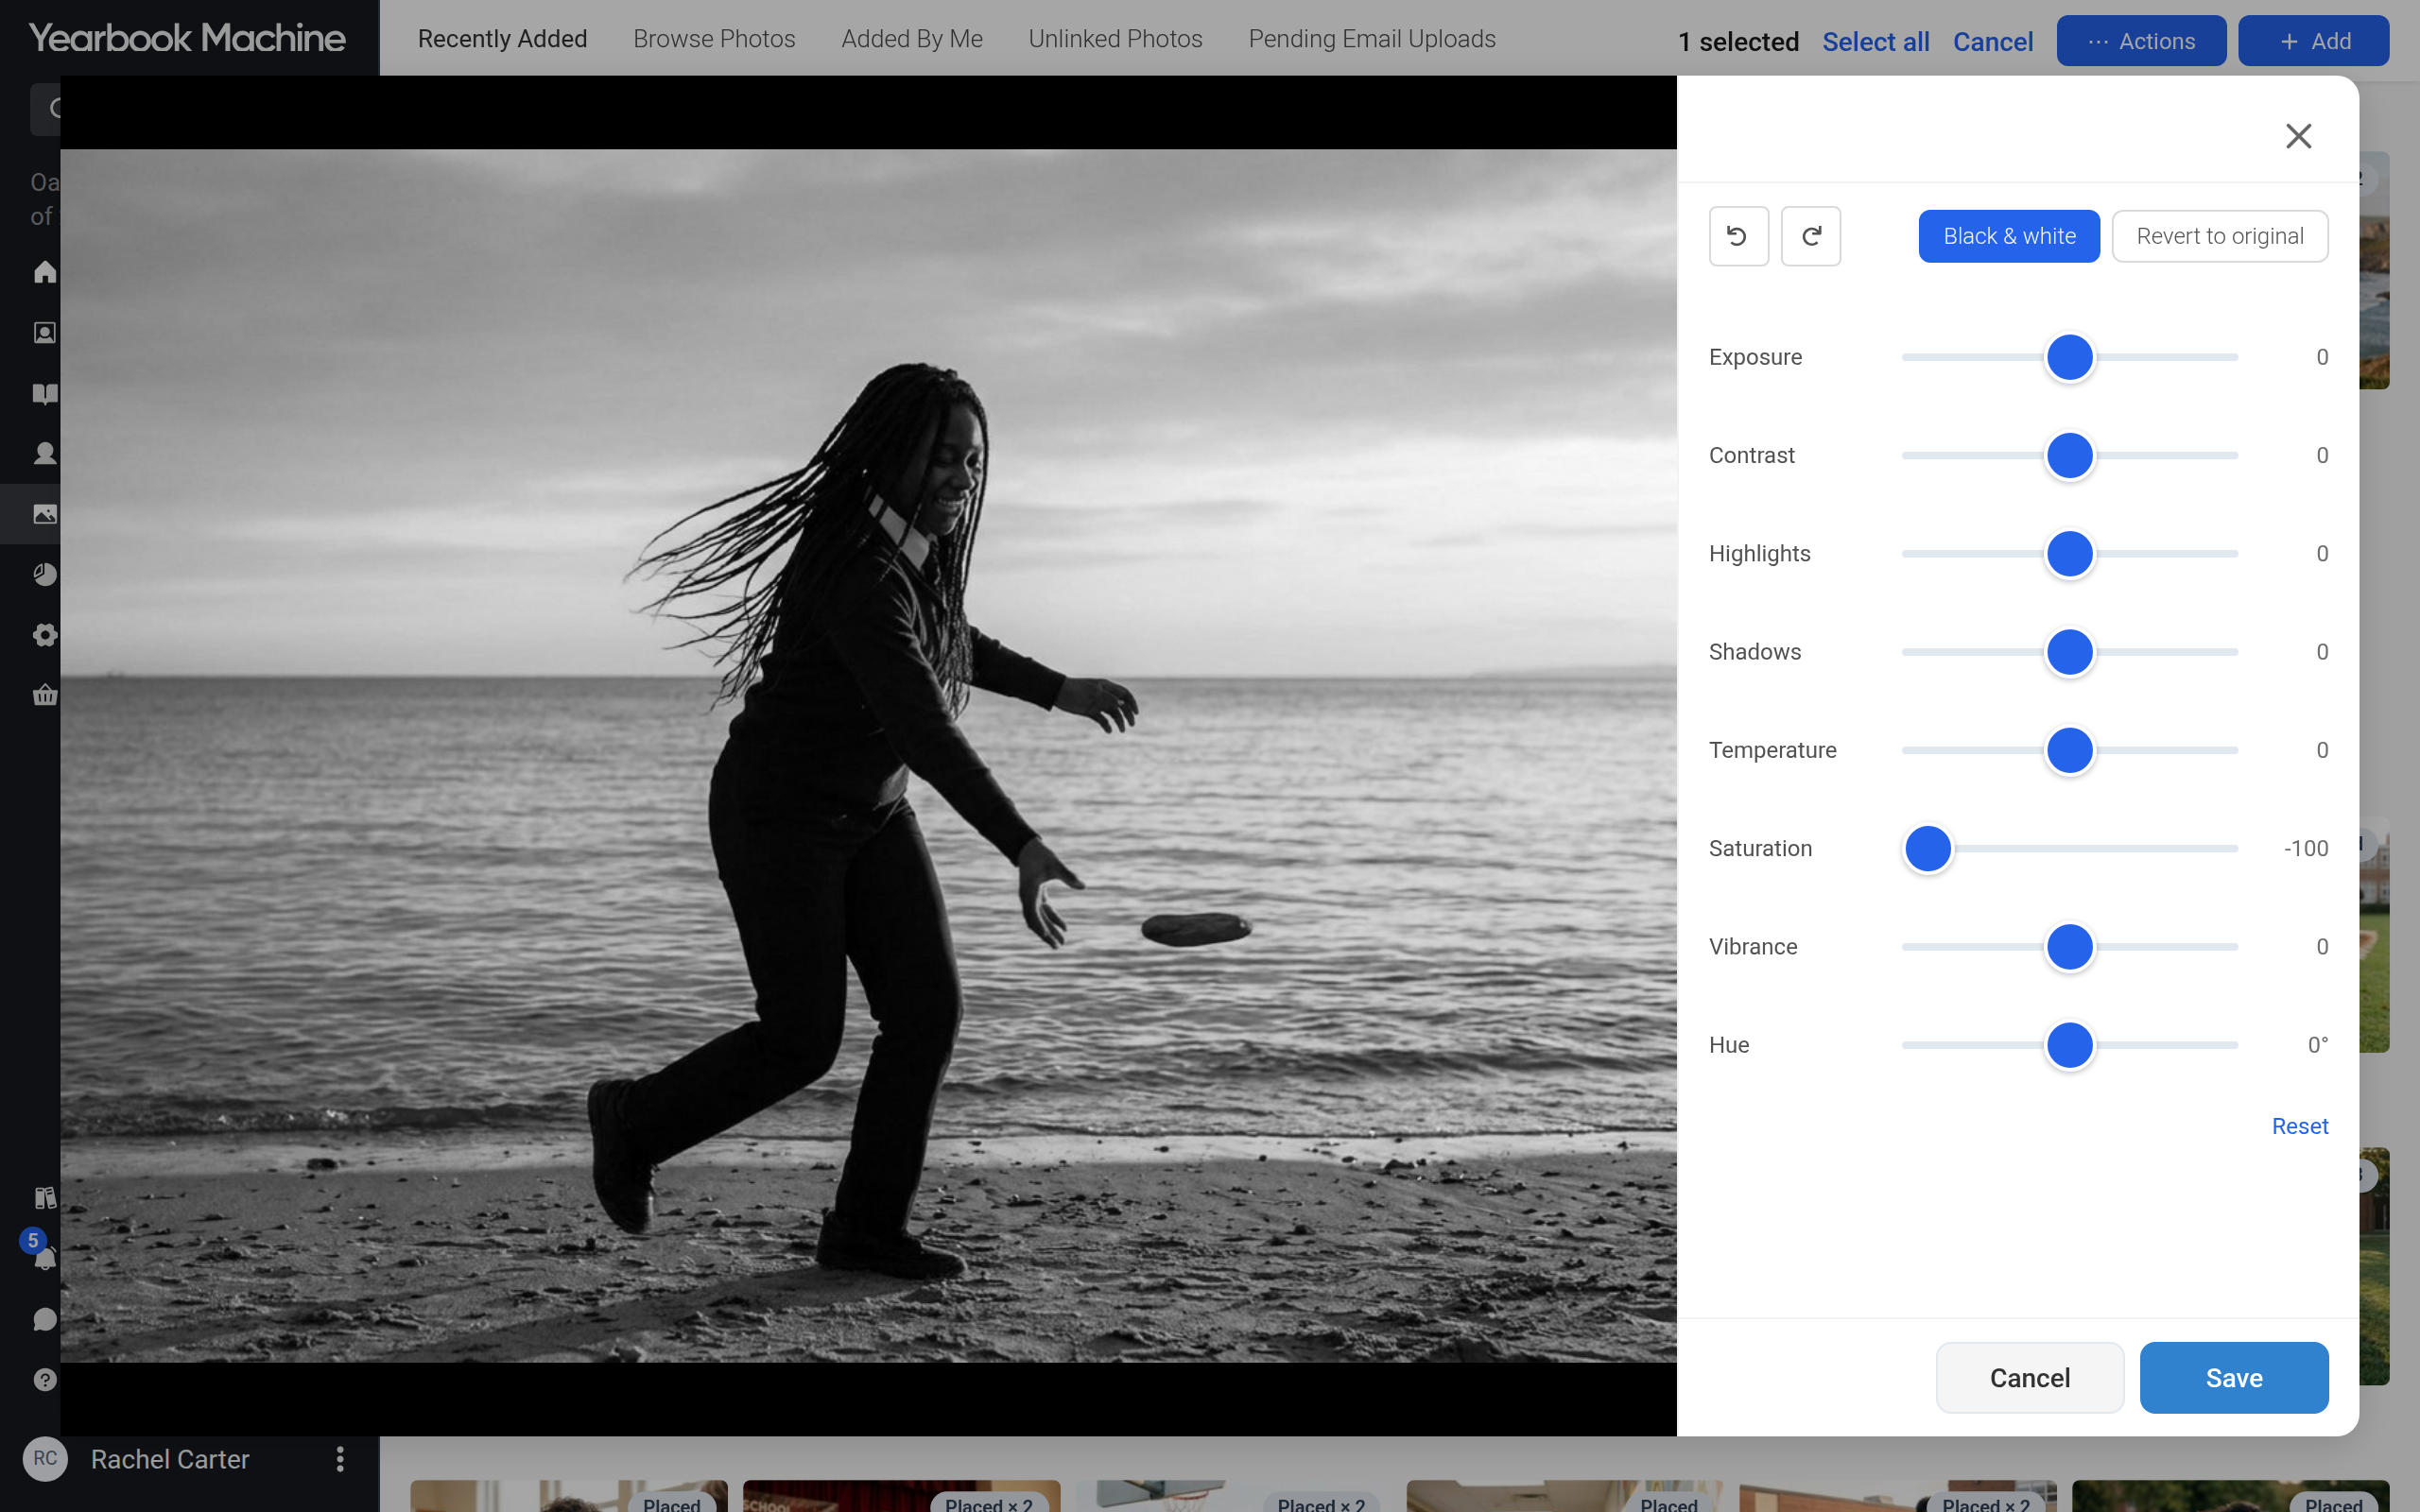
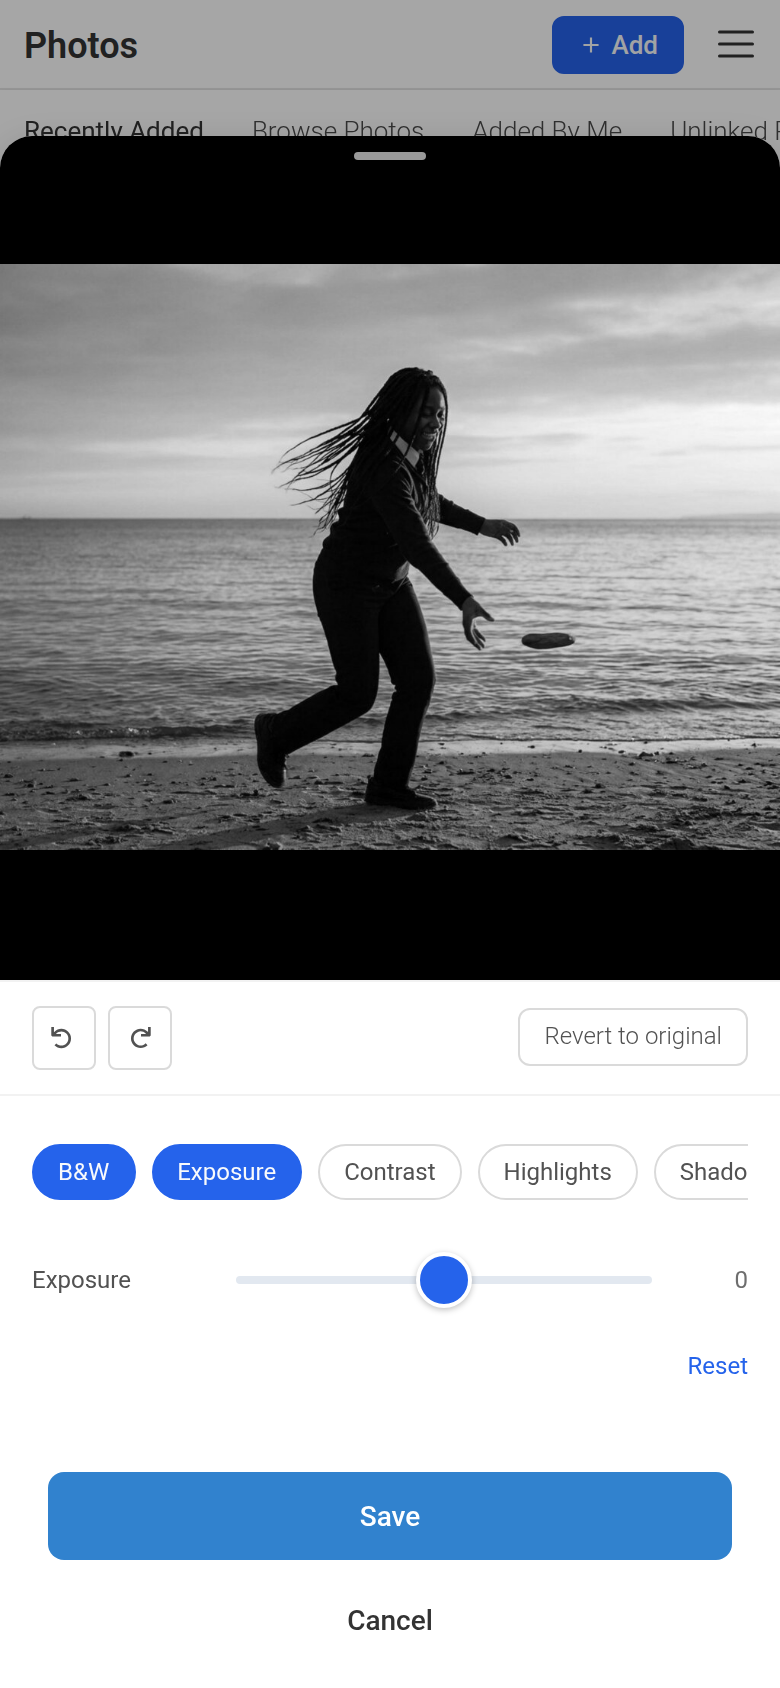
- Click Save.
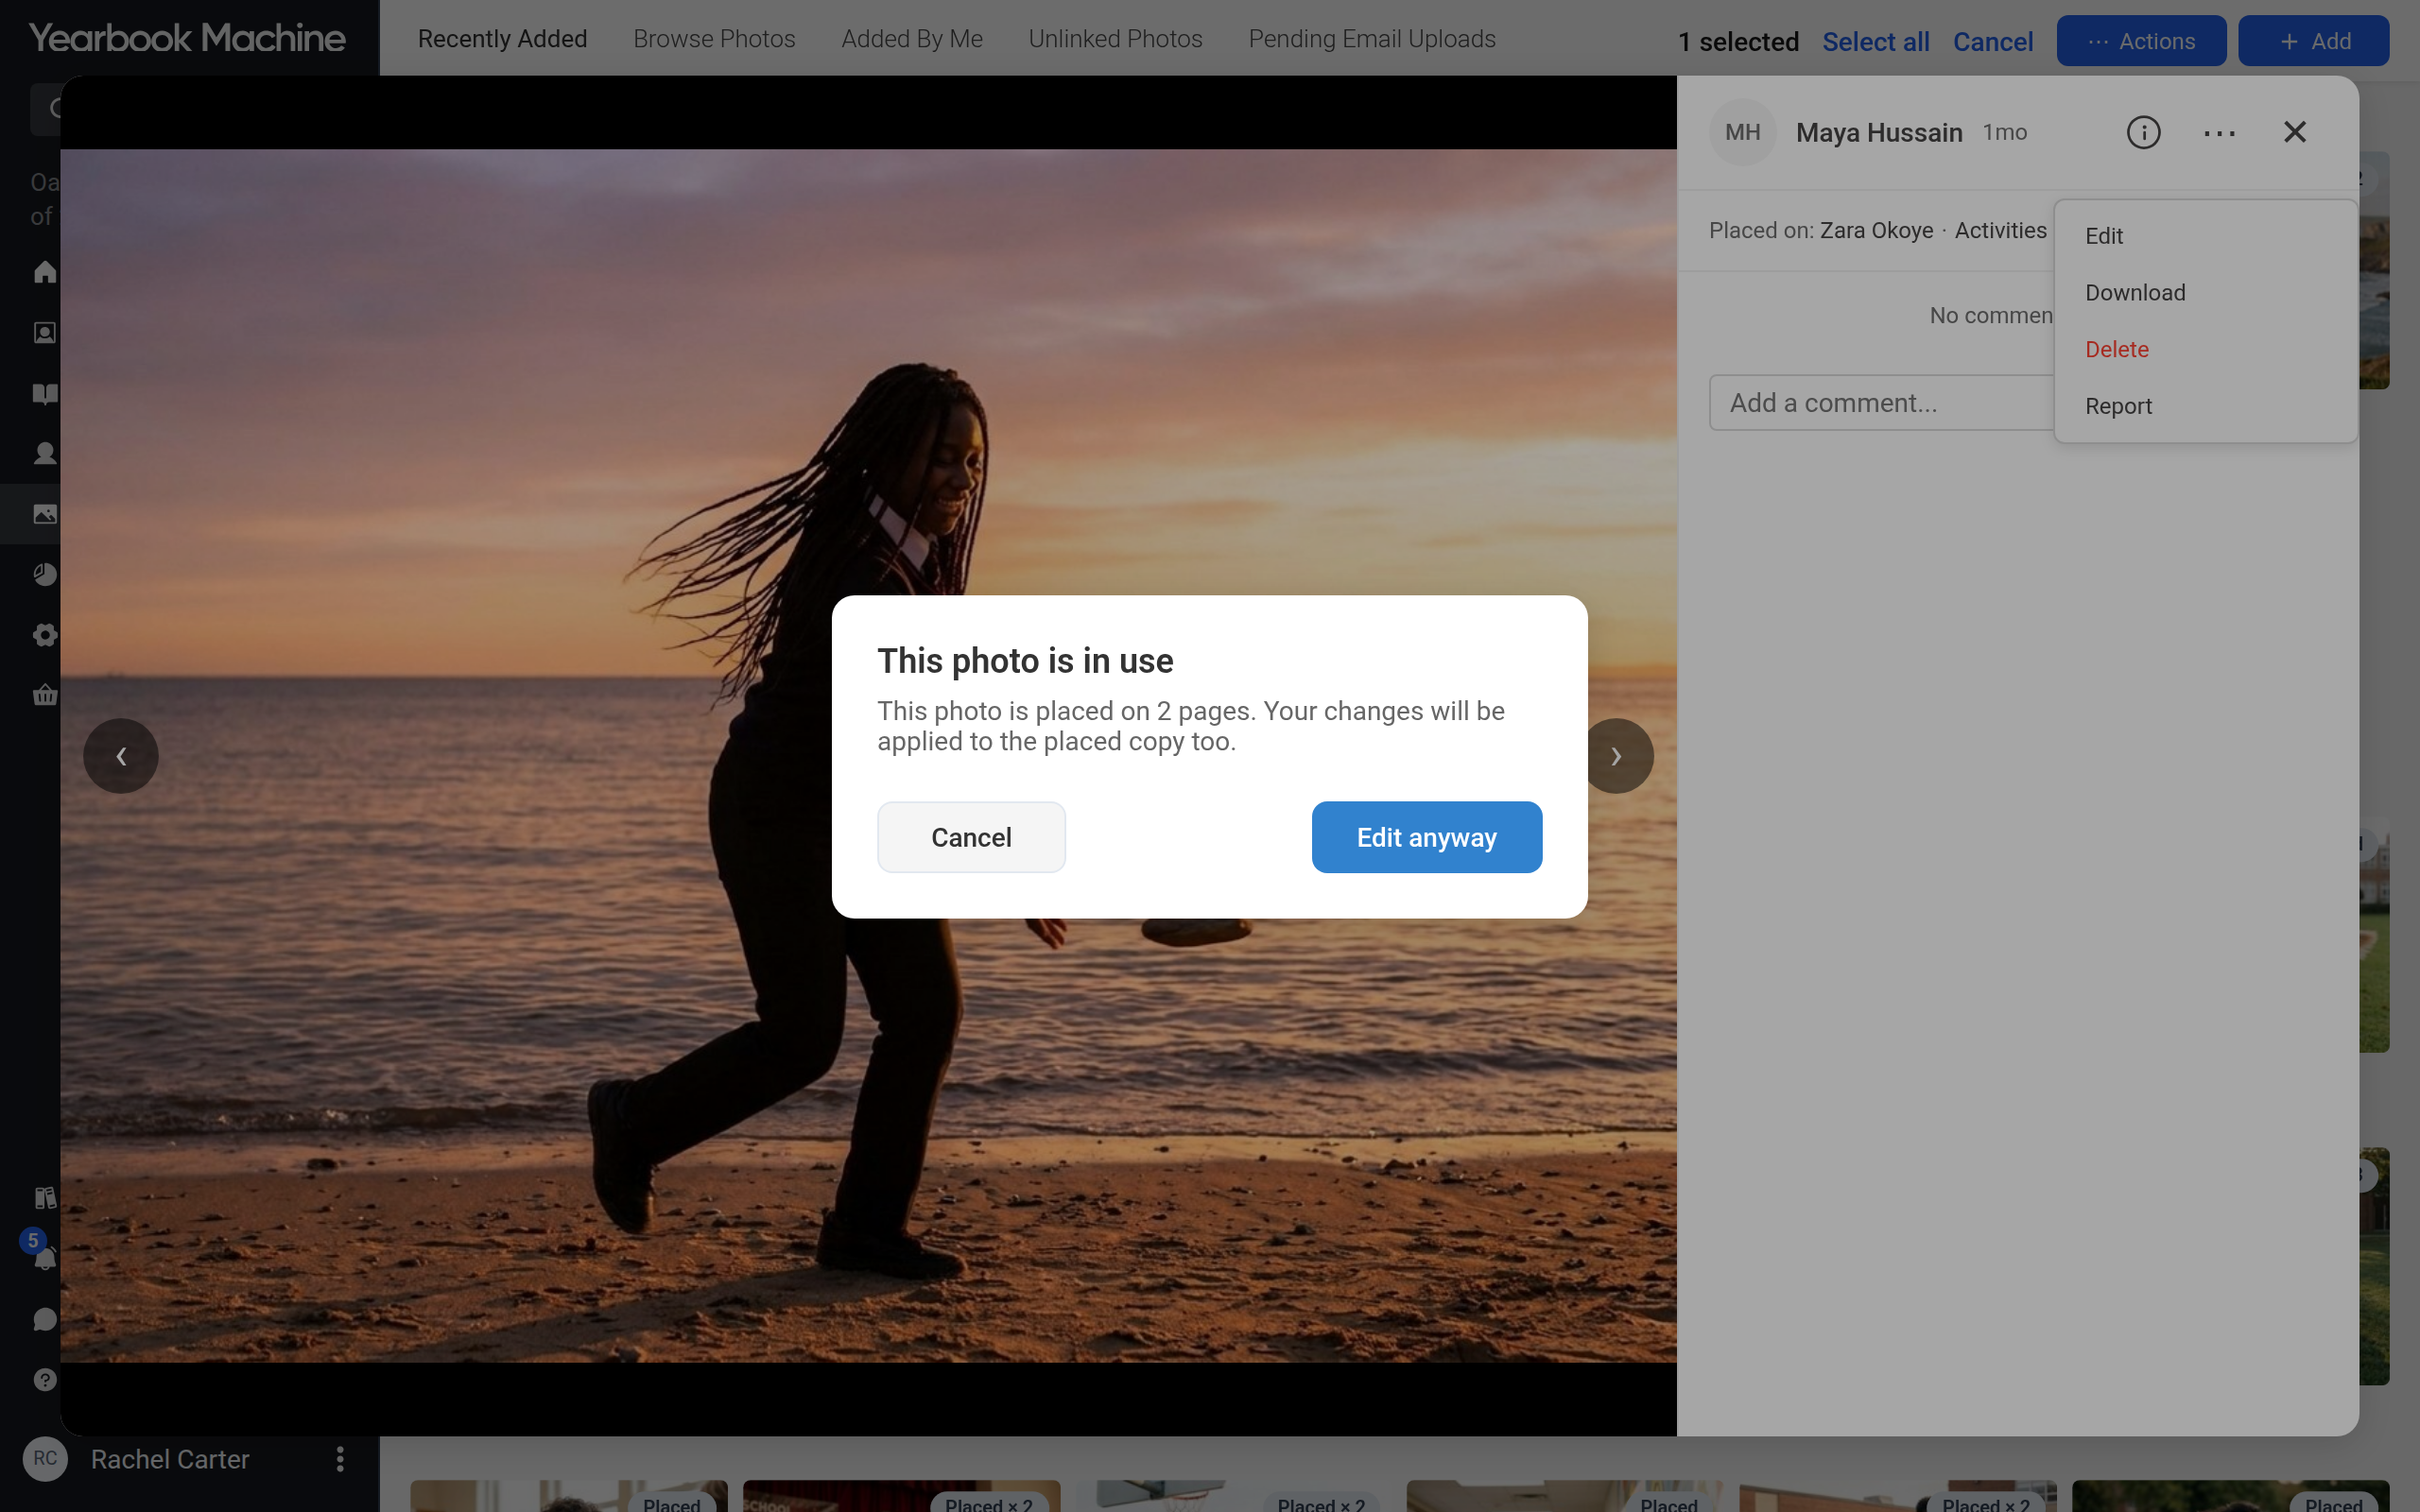
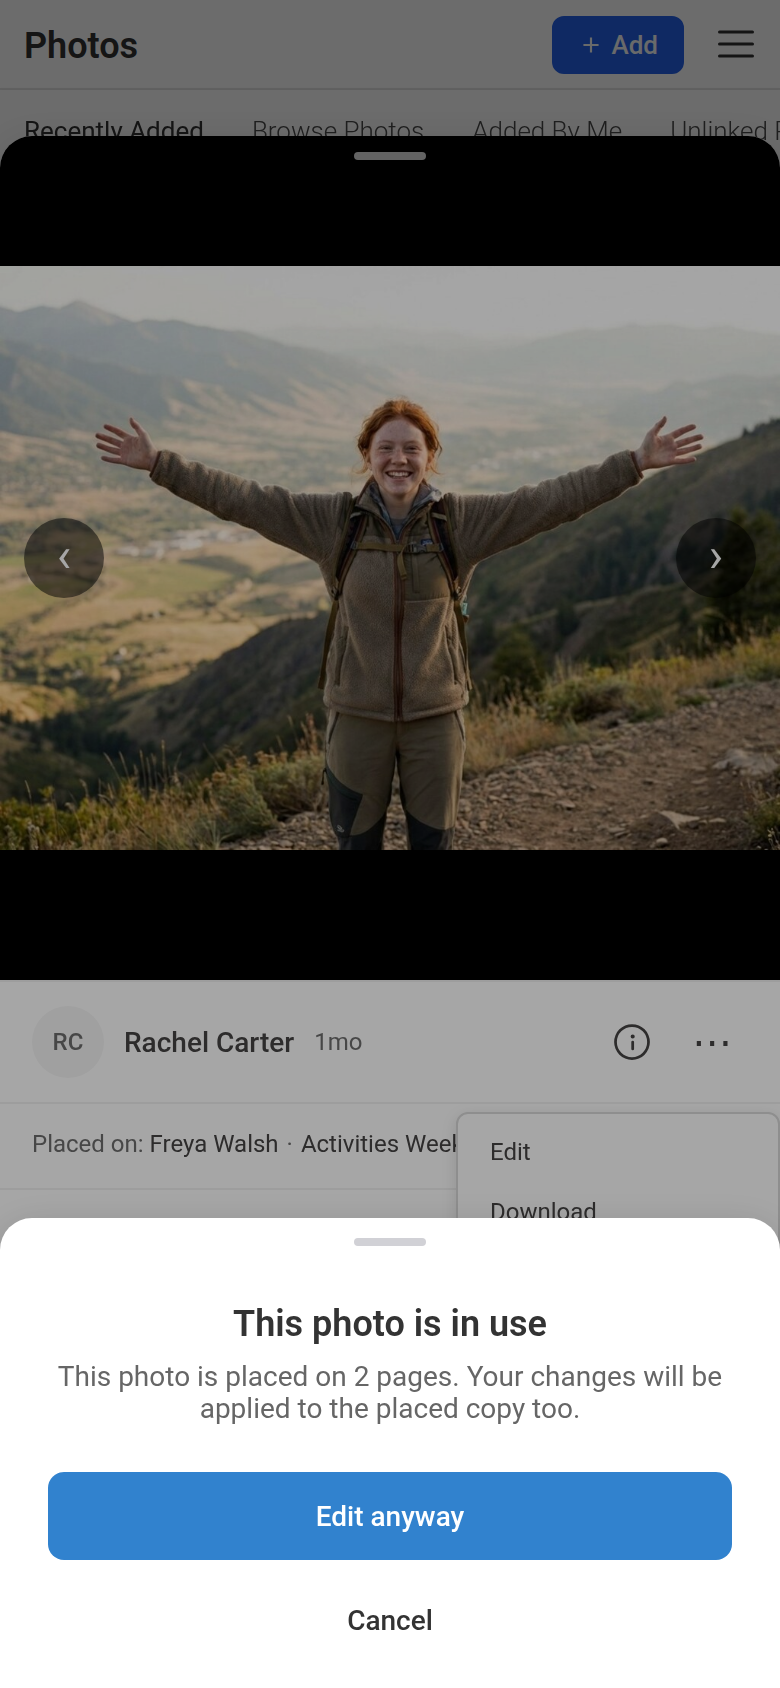
If the photo is already on a page, you'll see This photo is in use: your changes will also change the photo on the page. Click Edit anyway to carry on.
To undo every saved change, open the editor, click Revert to original and confirm with Revert.
Removing a photo
- Open the photo, click the three-dot menu and choose Delete. To delete several, select them and choose Delete from Actions.
- Click Delete to confirm.
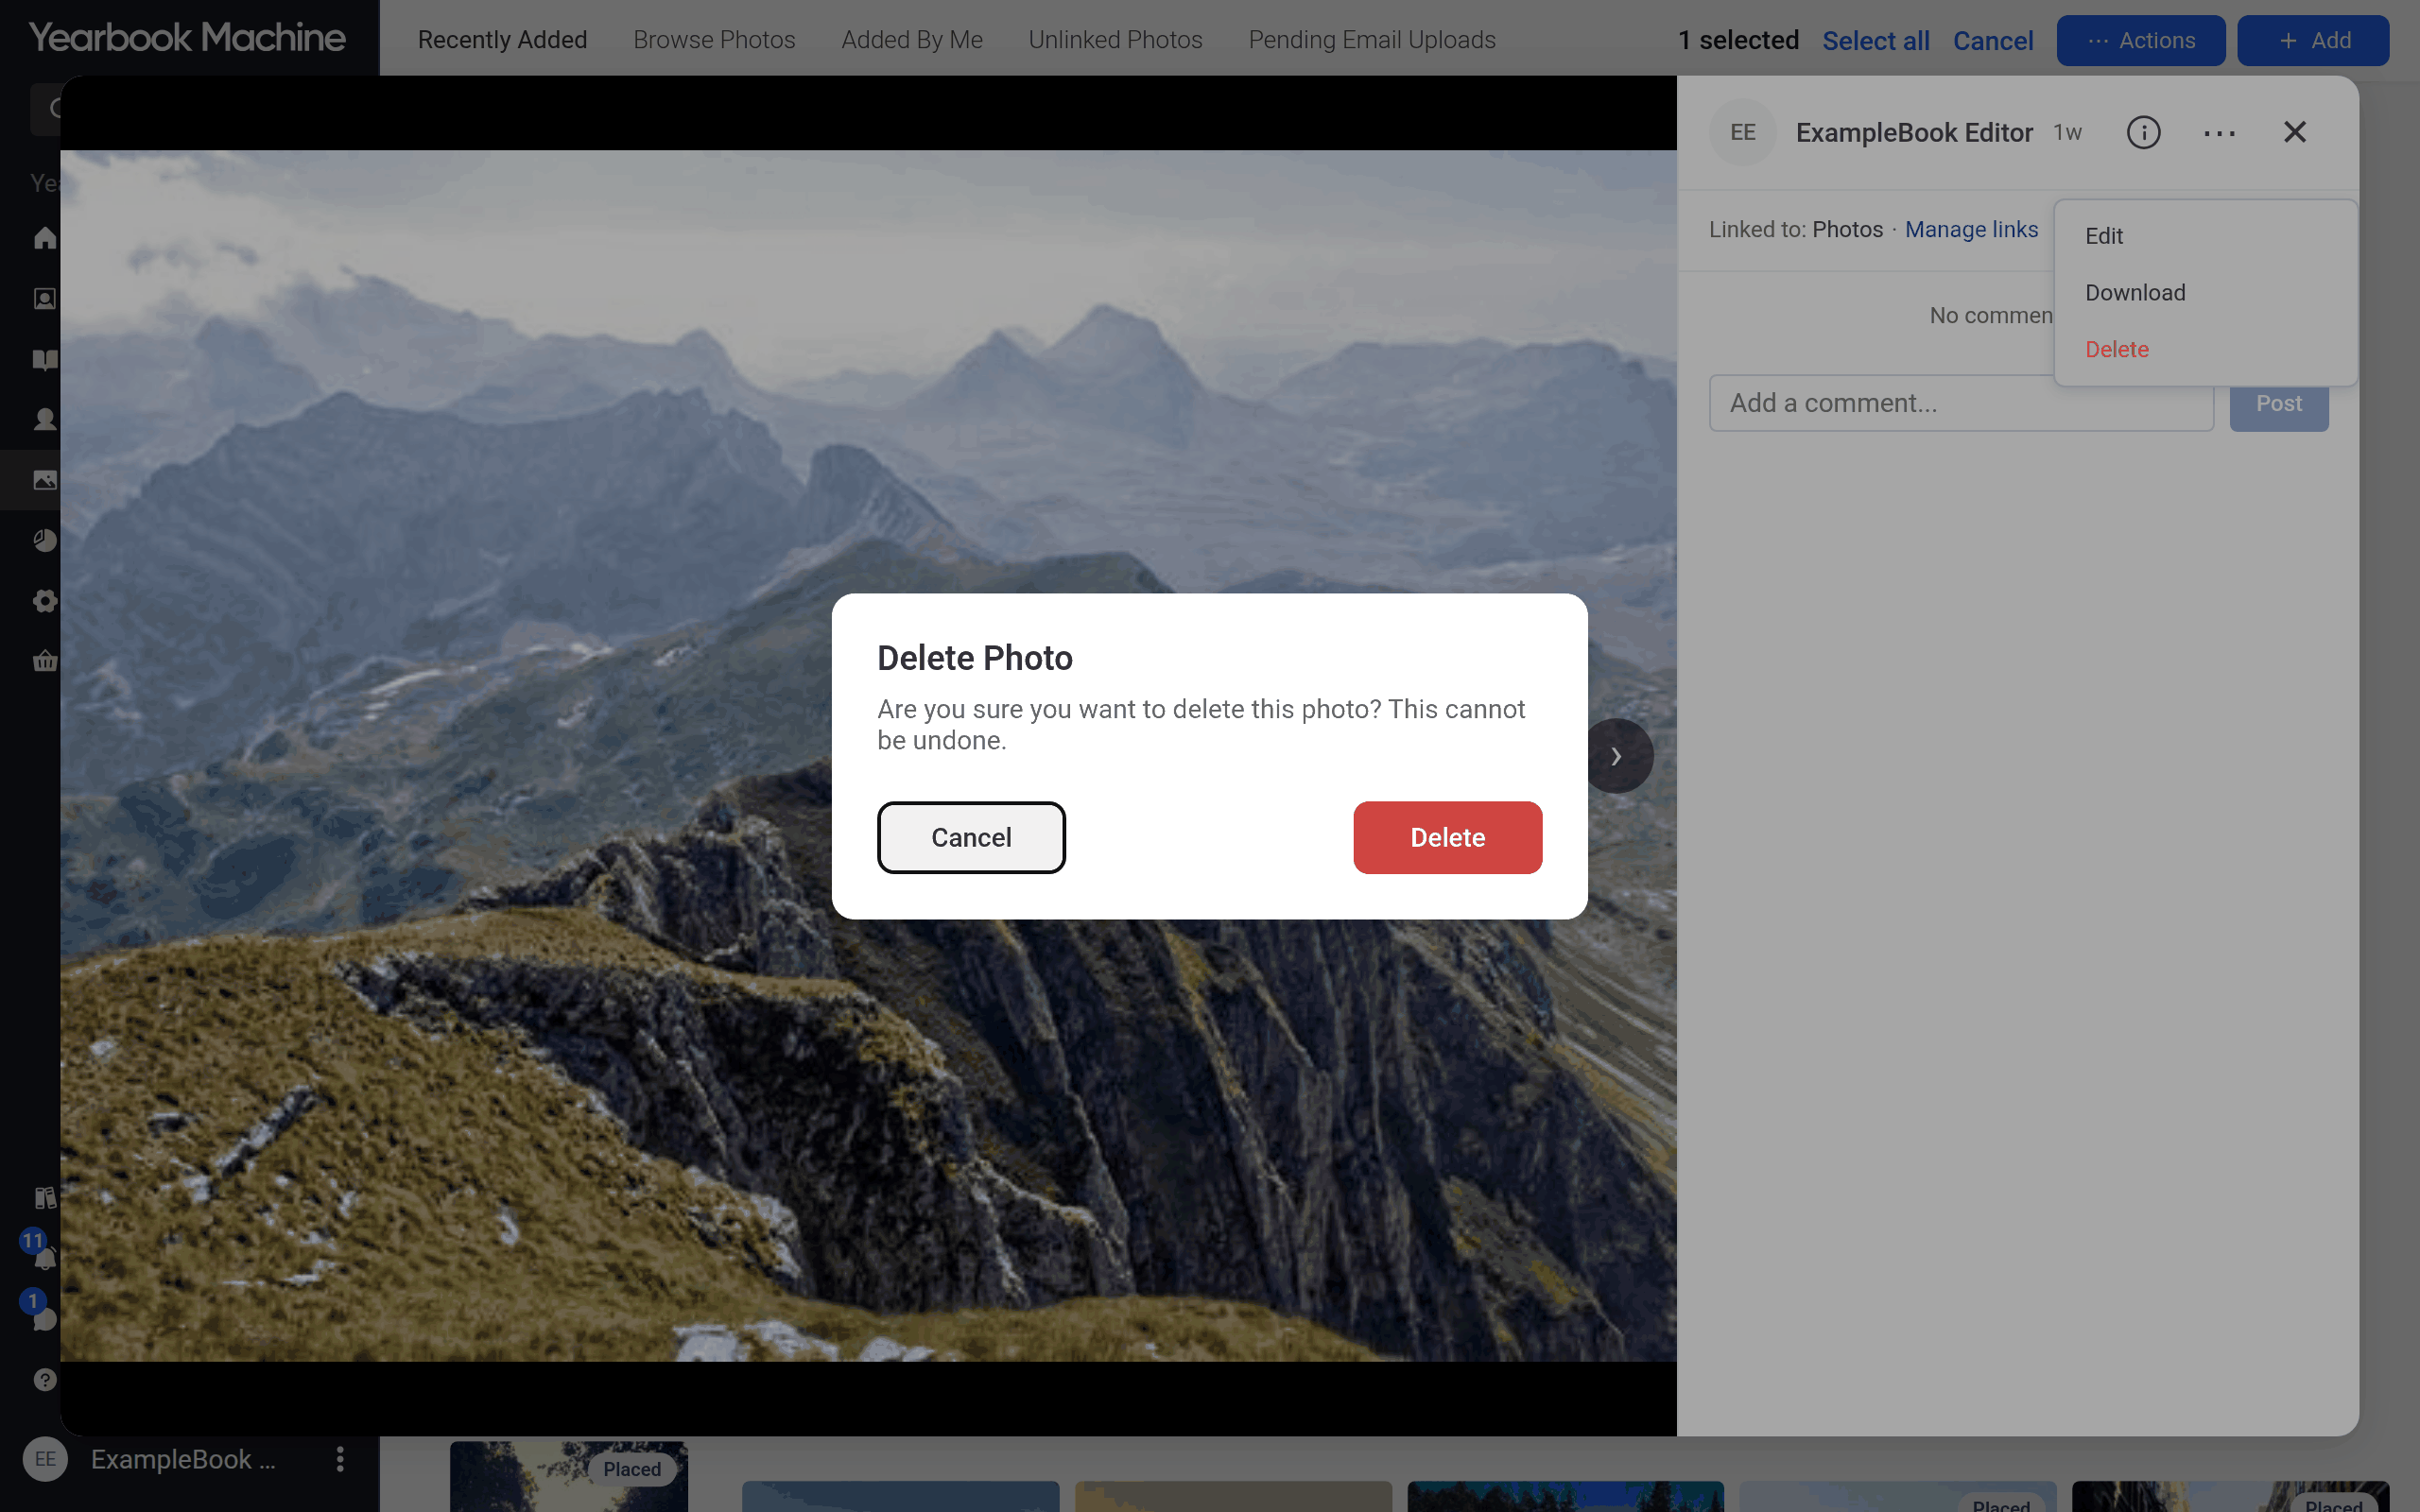
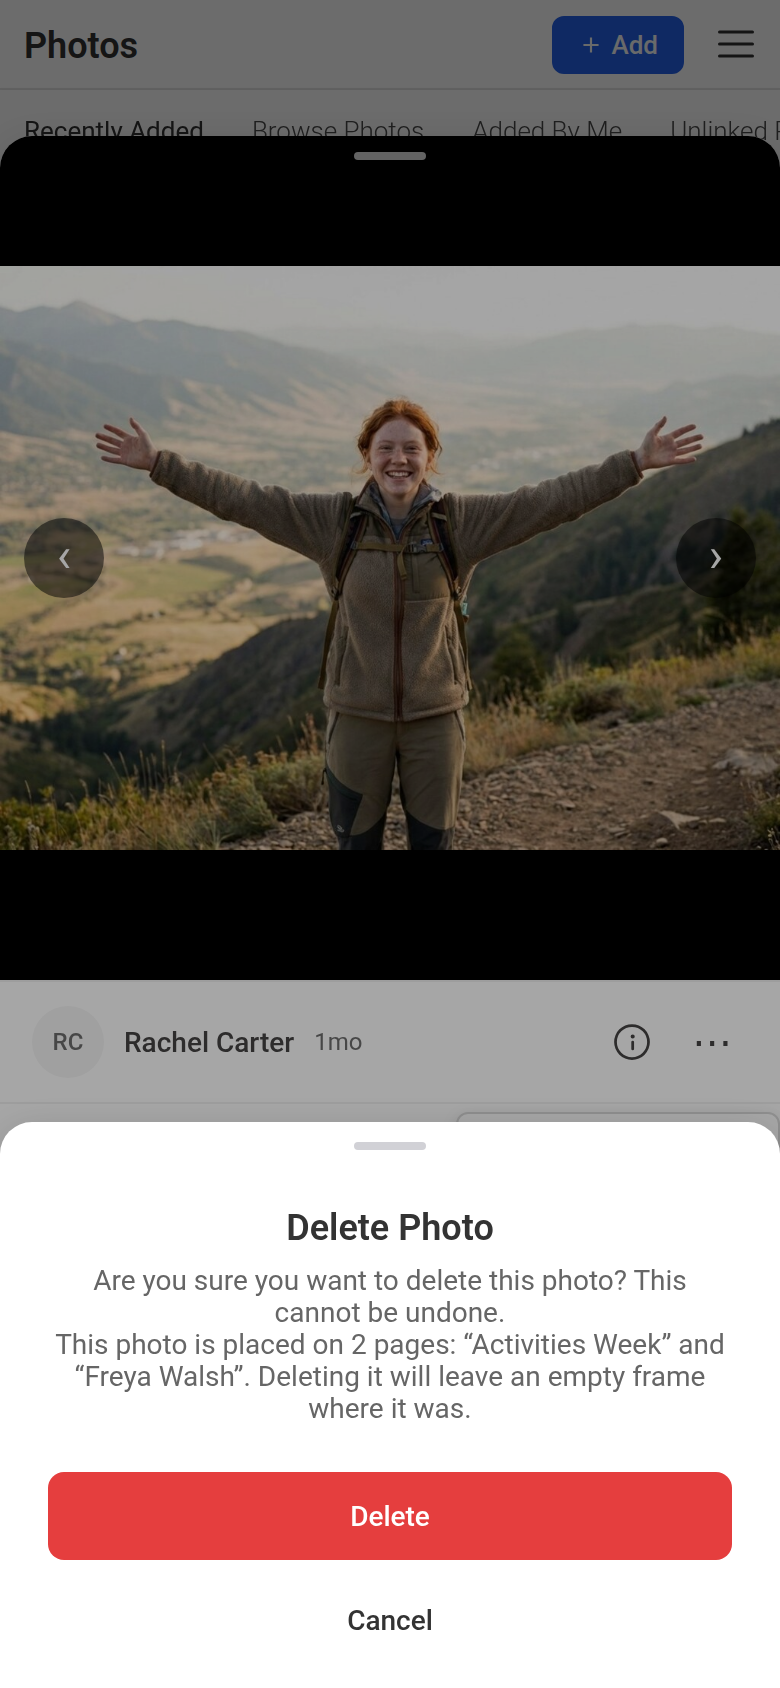
Deleting is permanent. The photo is removed from the library and from every page it was linked to or placed on.
Common questions
Which photos will be printed?
Only photos placed on a page. Uploading or linking a photo doesn't put it in the book. Look for the Placed label, or Placed on in the larger view.
Why can't I edit or delete a photo?
Only editors and the person who uploaded it can. Ask an editor.
Can I remove a link someone else made?
Yes, if you can edit the page. Otherwise, ask an editor.
I edited a photo. Will the page change too?
Yes. Edits apply everywhere the photo is used, which is why you're warned first.
How do I find photos nobody has linked to a page yet?
Open the Unlinked Photos tab.
Was this article helpful?
Sorry, that didn't send. Please try again in a little while.
Thanks. That helps us improve this article.
Any other questions?
Email support@yearbook.com and we'll help you out.