
Page design and content editing
Build your yearbook layouts, add your own artwork, set up student profile pages and get your cover looking just right. This guide also covers getting and checking your proof, and what to do if you spot a mistake after printing.
Getting started
- New to us? Sign up at yearbook.com/signup and follow the on-screen prompts.
- Already have an account? Log in at yearbook.com. You arrive on your Bookshelf; click Create a book. You can start designing straight away, before any online shop for your book is open.
- Want to see a book in person first? Request a free sample with your name, your school or group name, and the address to post it to, saying whether it is a home or school address.
Switching between your books
If you have more than one yearbook, make sure you're working in the right one:
- Log in to your account. Signing in takes you to your Bookshelf.
- Select the yearbook you want.
Inside a book, click Bookshelf at the bottom left of the menu to get back to your Bookshelf and choose another book.
How long you can keep editing
Editors can keep editing the book right up to its print deadline, which is shown on the Overview tab of Order & Print › Yearbooks and on your Dashboard. If that date has passed and you need more time, choose a later delivery date on the same tab.
If you can't edit, first check that you've opened the right book from your Bookshelf. If it's the right book and you're still stuck, get in touch and we'll help.
Reusing last year's book
You can start your new book from last year's design yourself:
- Log in using the email address you used last year.
- Open your Bookshelf.
- Click Create a book.
- Select Copy from a previous book.
- Follow the setup steps on screen.
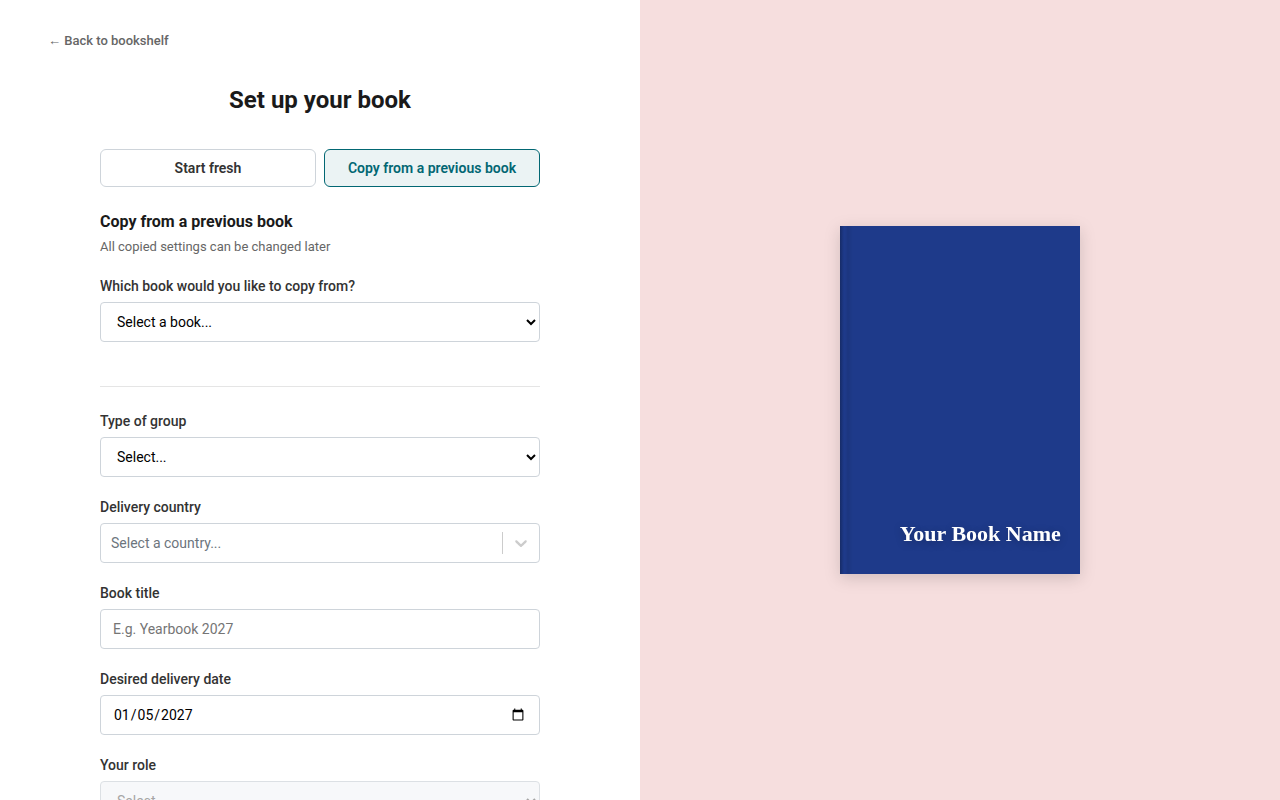
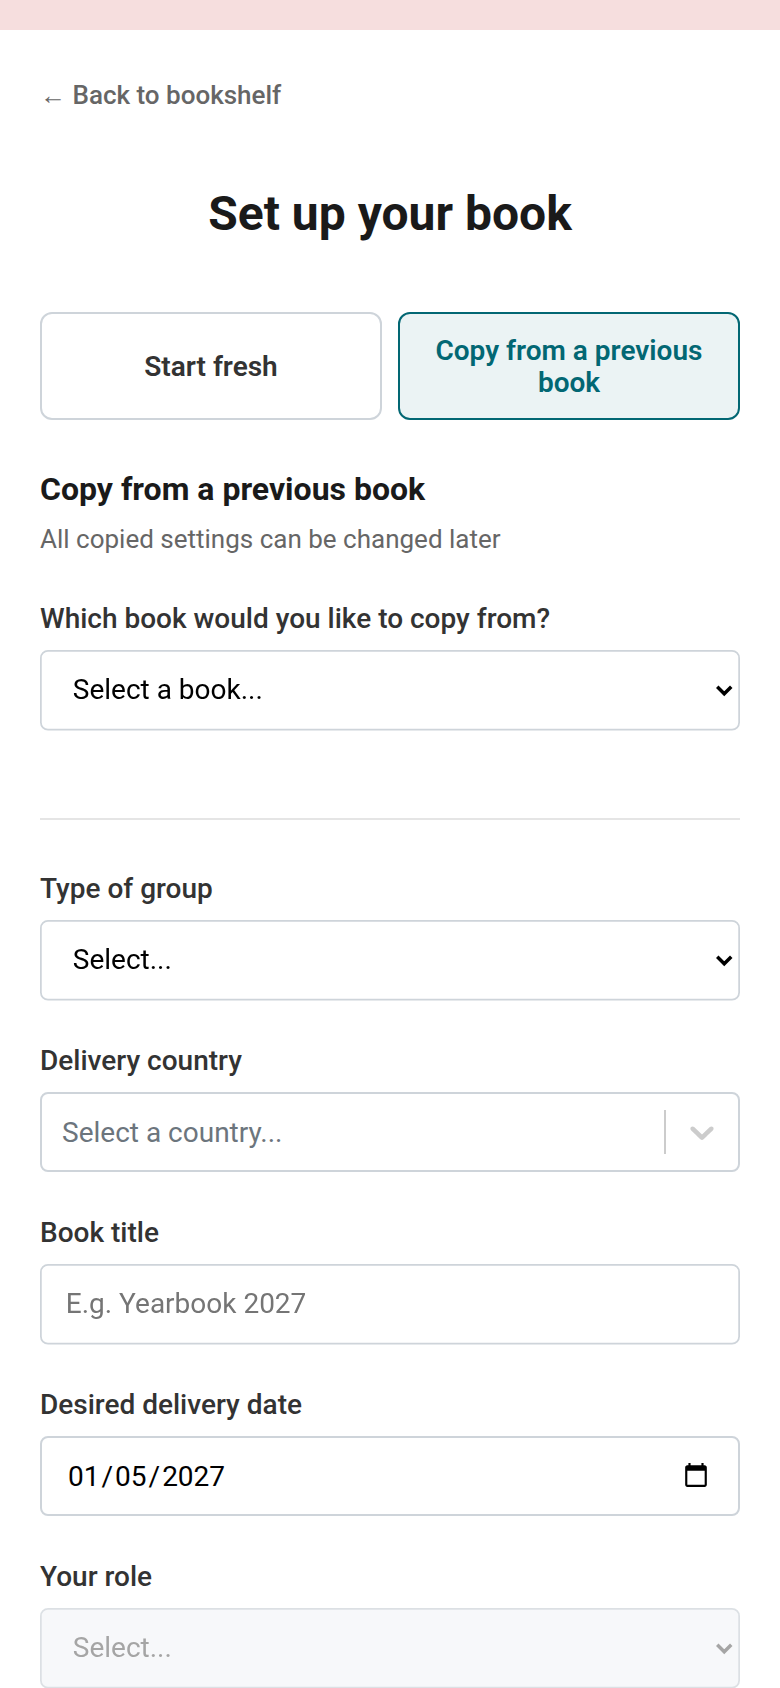
Some older designs may not carry over exactly, as page sizes and templates can differ between years. Look through your new book once it's created.
We can also copy an earlier book's setup across for you. This can include its structure, colours, school logo, section names and divider photos, ribbon marker, profile page settings, profile questions, polls and chat settings.
- Set up your new yearbook first.
- Make sure the main owner of the earlier yearbook is happy for it to be copied and lets us know.
- Get in touch, tell us your new book is ready and say which settings you'd like copied.
- Once we've let you know it's done, look through your new book to check it's set up the way you want.
Students' photos, profiles and votes aren't copied, as each year group creates its own.
Would you like a PDF copy of a past yearbook? Ask us, and have the main author of that year's book contact us to give permission. We'll send the PDF once we've heard from them.
Inviting people to your book
Click People in the main menu, then click Add people. Choose Invite Editors for anyone who needs full editing access, such as co-organisers, or Invite Contributors for students.
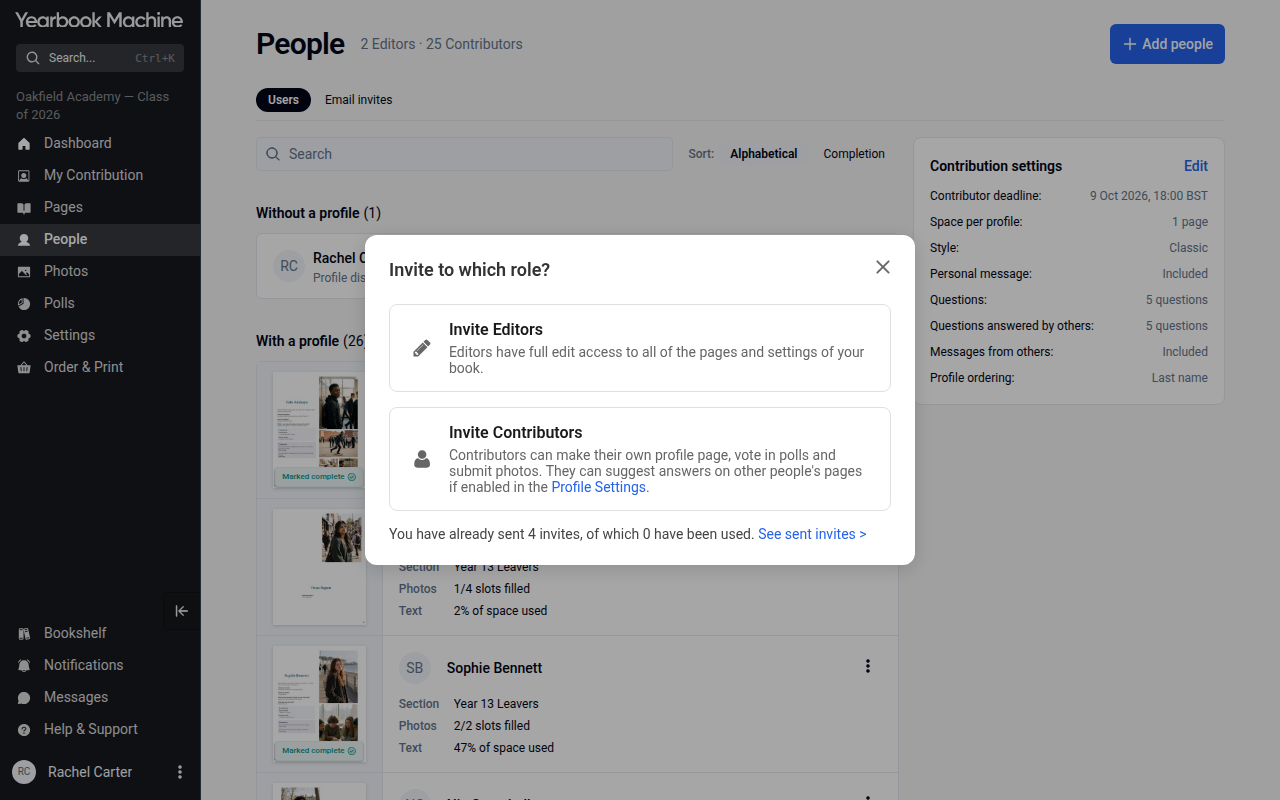
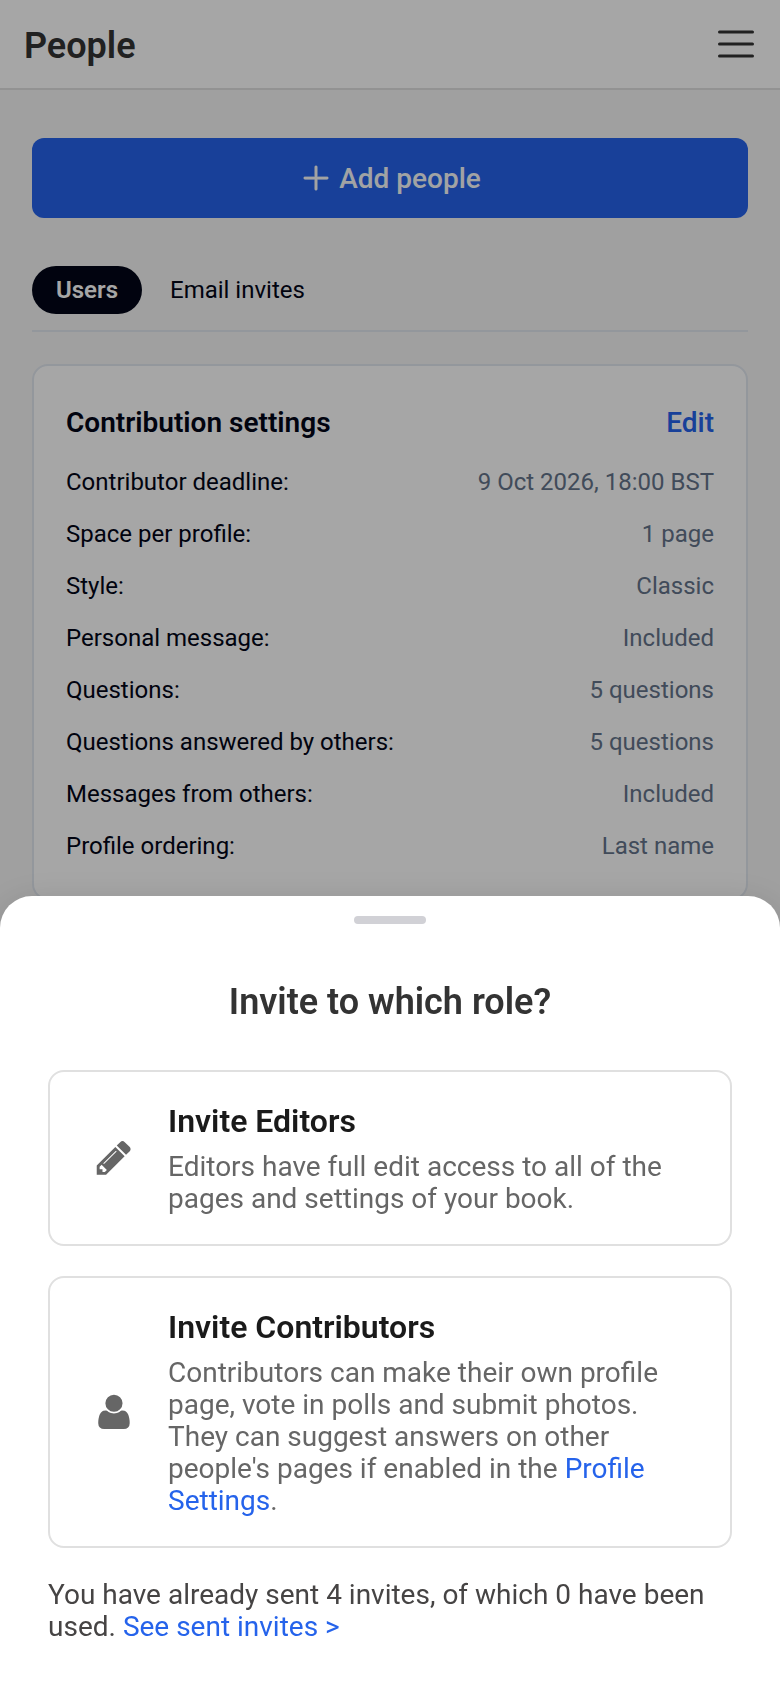
Each contributor gets their own profile page automatically when they sign up, so you don't need to add these pages yourself. Before inviting everyone, it's worth planning which extra pages you'd like, such as montages, polls and messages, within your page allowance.
You can decide whether students (or parents) fill in their own profiles, or whether editors create profiles on their behalf. Editors can also choose whether people can view or comment on other people's profiles.
Student profile pages
Adding profile pages yourself
As an editor, you can create profile pages for students who won't be signing up:
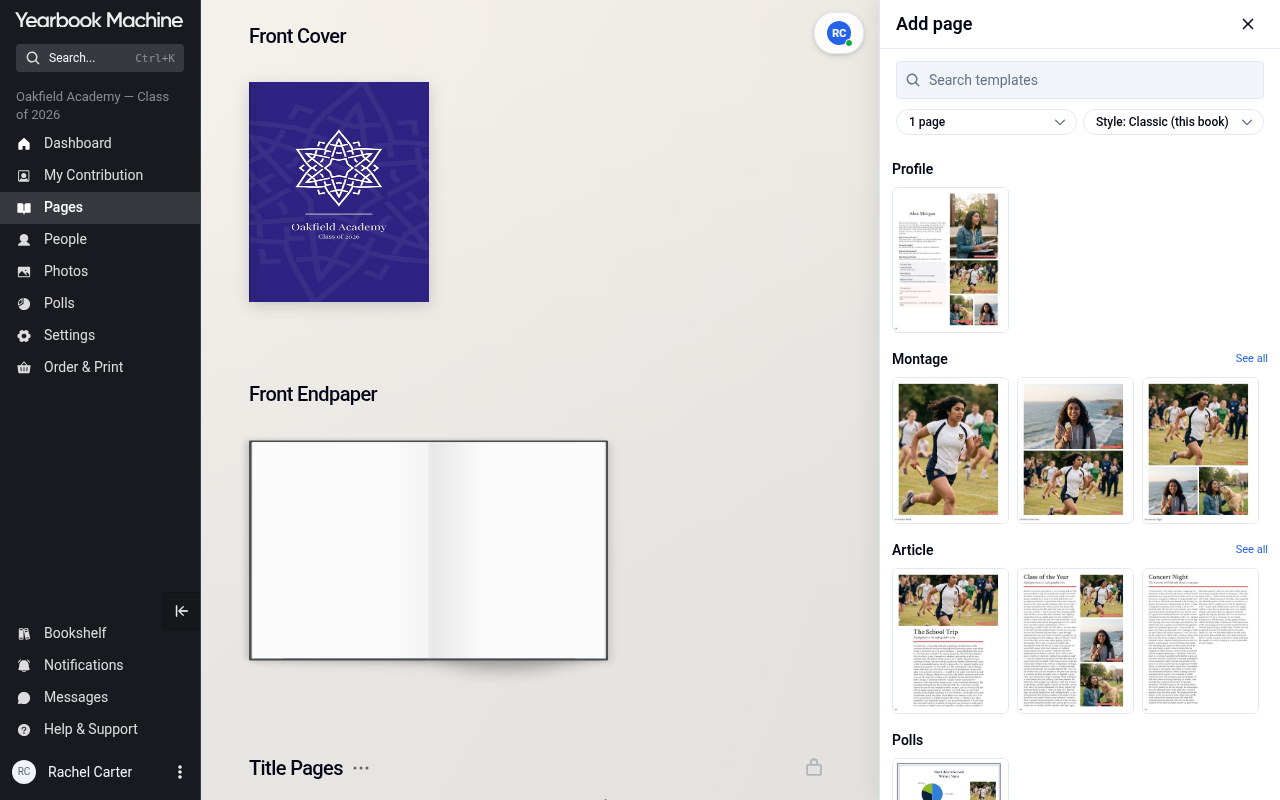
- Go to the Pages section.
- Click Add page(s).
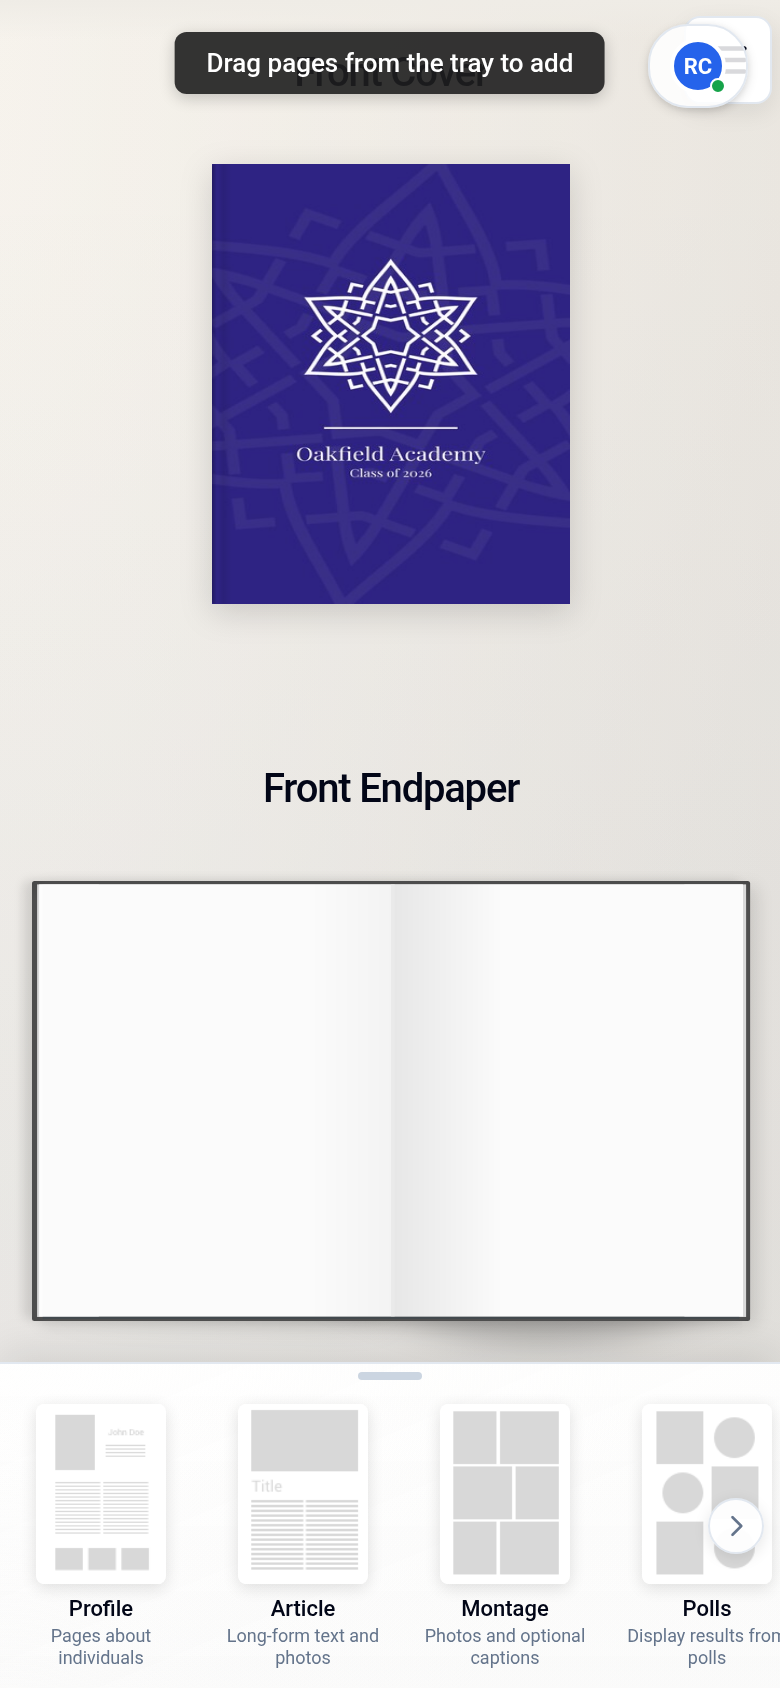
- Drag the Profile card into a section. On a phone, press and hold the card in the tray at the bottom, then drag it up into the book.
- Choose the option to add profiles manually.
Choosing how many photos each profile has
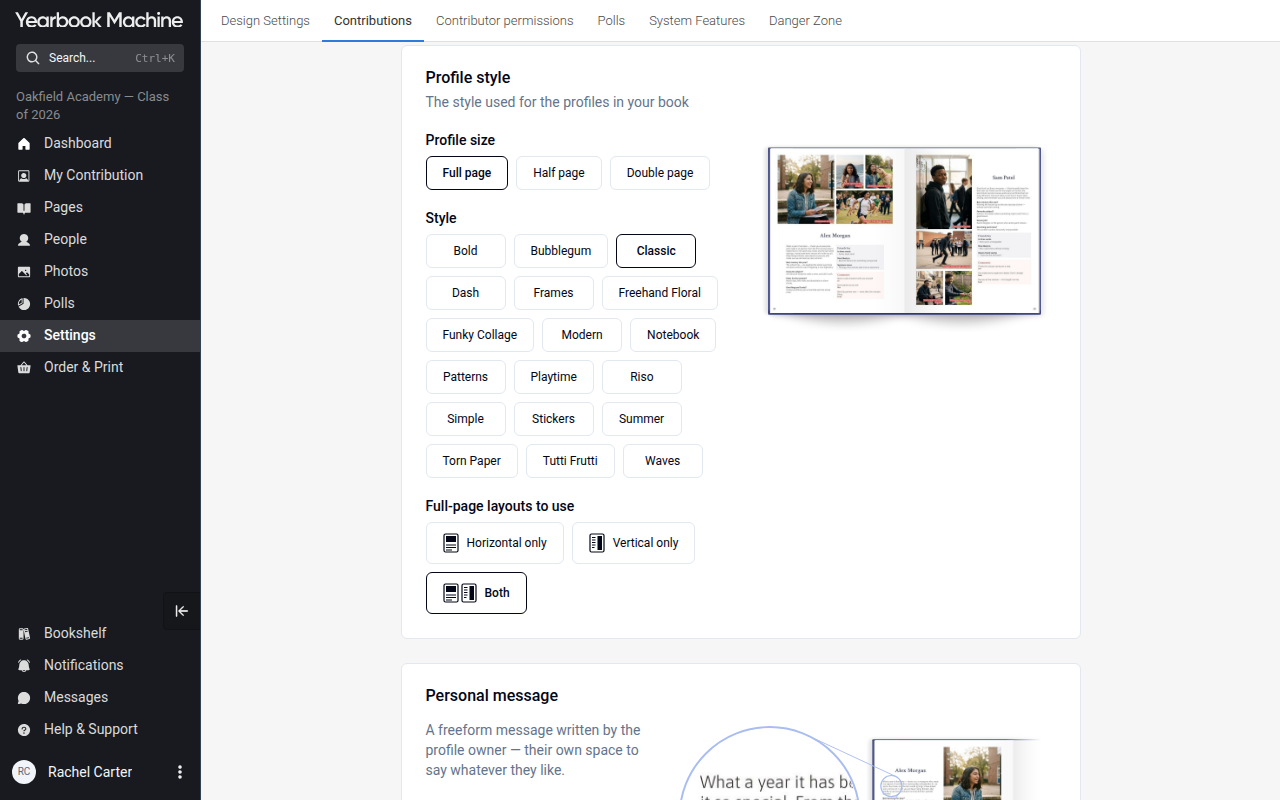
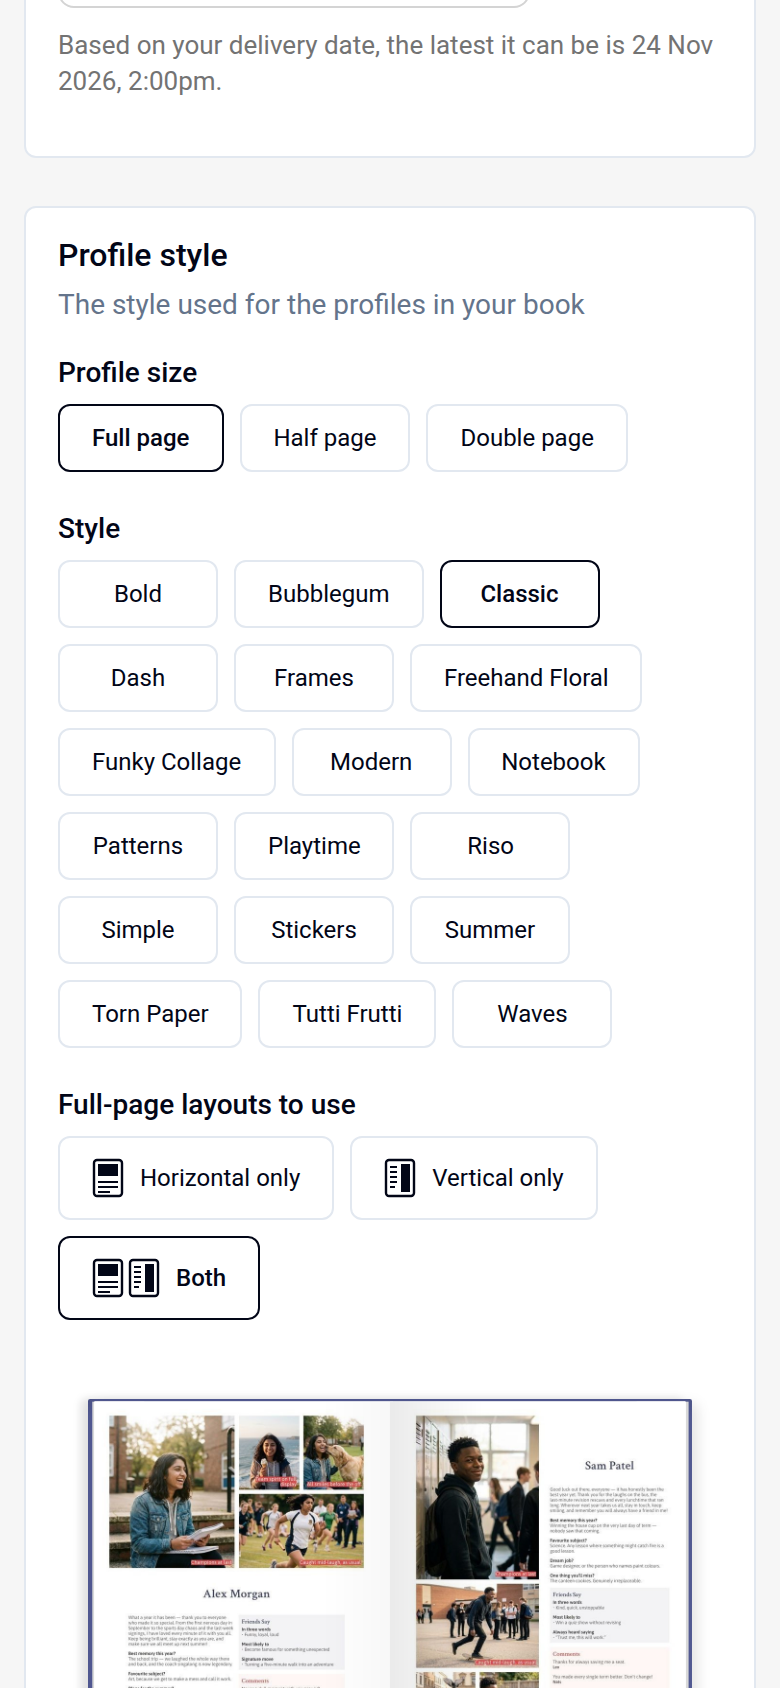
Editors set how much space each profile takes in Settings > Contributions > Profile style, under Profile size; Half page and smaller sizes give each profile fewer photos. To choose a different arrangement of photos for one profile, open the profile page and go to its Layout tab.
Adding a profile photo
Open your profile page, go to the Photos tab, upload your photo and drag it into a photo frame.
Making profile questions appear on the page
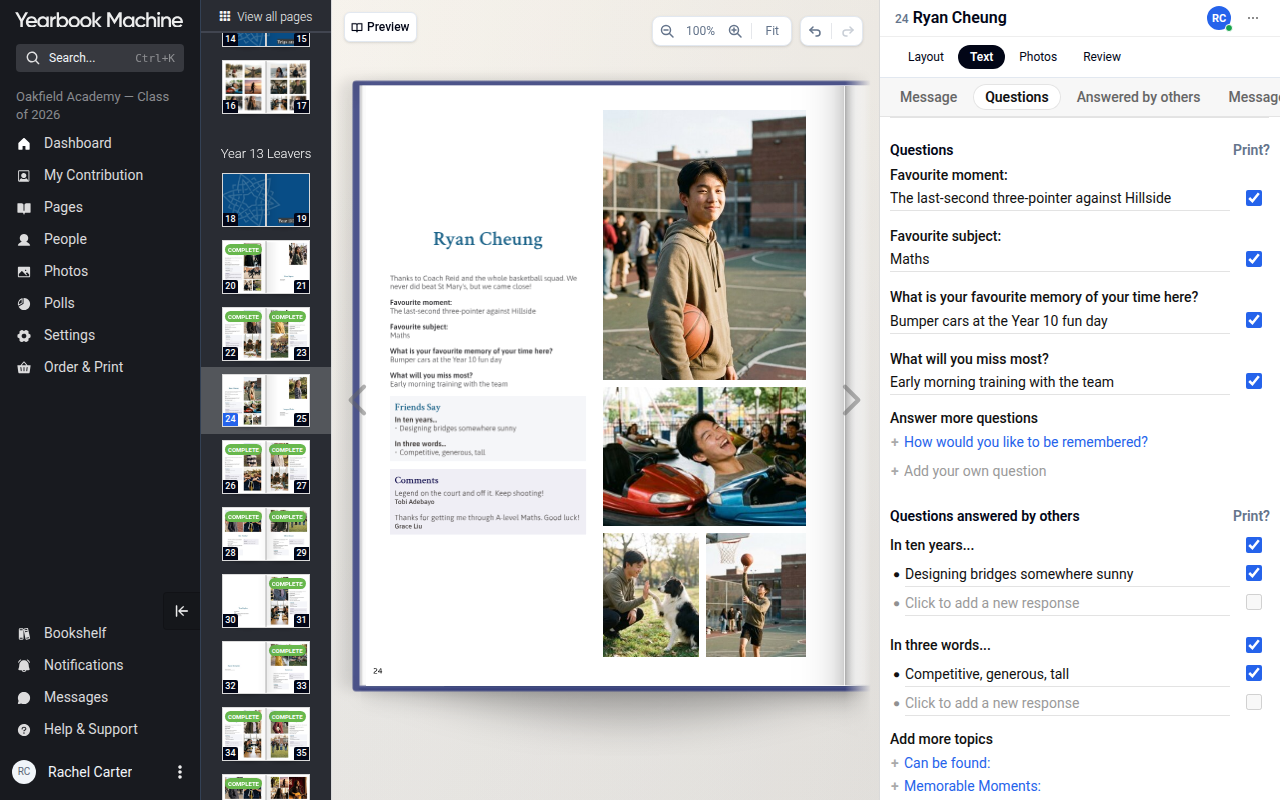
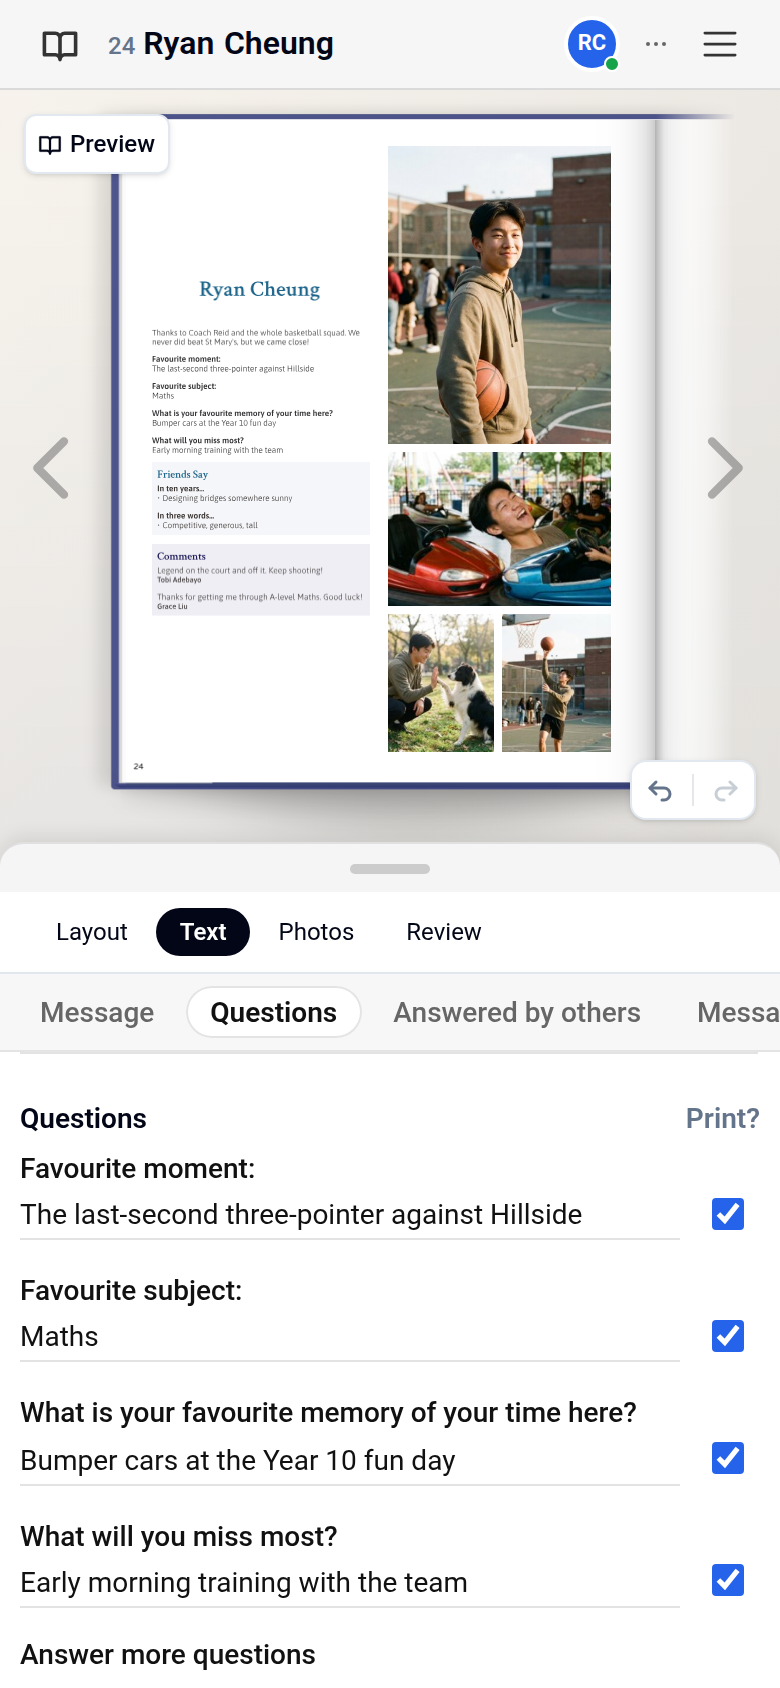
Editors choose the questions for every profile in Settings > Contributions, under Selected questions. On a profile page, open the Text tab and tick Print? beside each answer you want printed. An answer without Print? ticked does not appear in the preview or the printed book.
Sections where others write on a profile
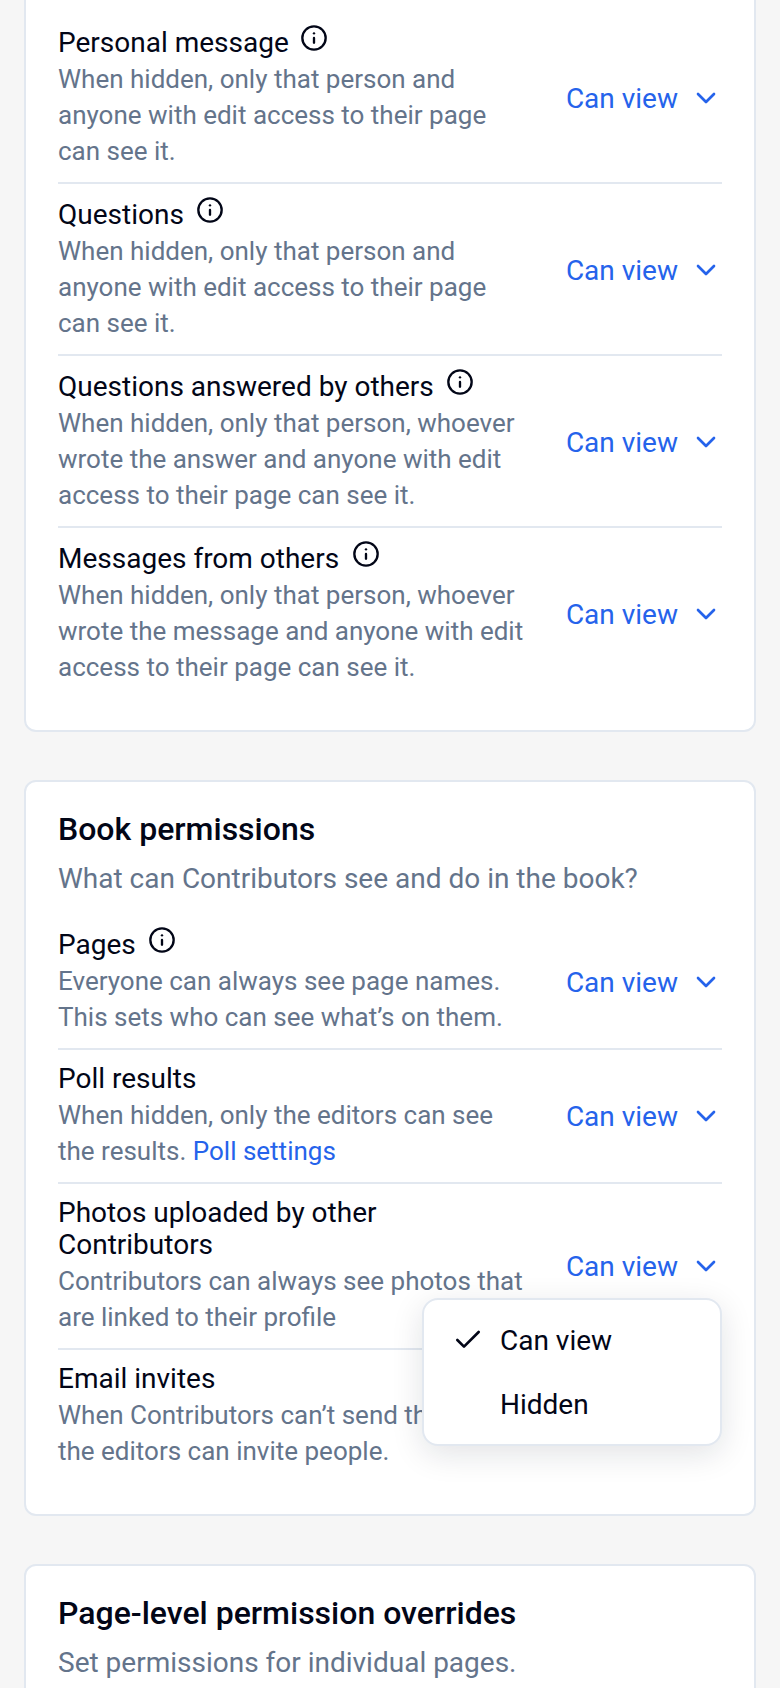
The two sections where other people write on someone's profile are Questions answered by others and Messages from others. You'll find them on the Text tab of a profile, or in Settings > Contributions.
Text, headers and colours on profile pages
- Text on profile pages can't be centred.
- Profile pages can't use alternating colours from one spread to the next.
- If you'd like the header text on your profile pages changed, get in touch and we'll update it for you.
Adding pages to your book
To add any page to a section, drag and drop it into place. Clicking on a page layout won't add it. On a phone, press and hold a tile in the tray at the bottom, then drag it up into the book.
Making a photo montage page
- Go to Pages > Add Page.
- Drag a montage page into the section and drop it where you want it.
- Choose a layout option for the montage.
- Add your photos to the page.
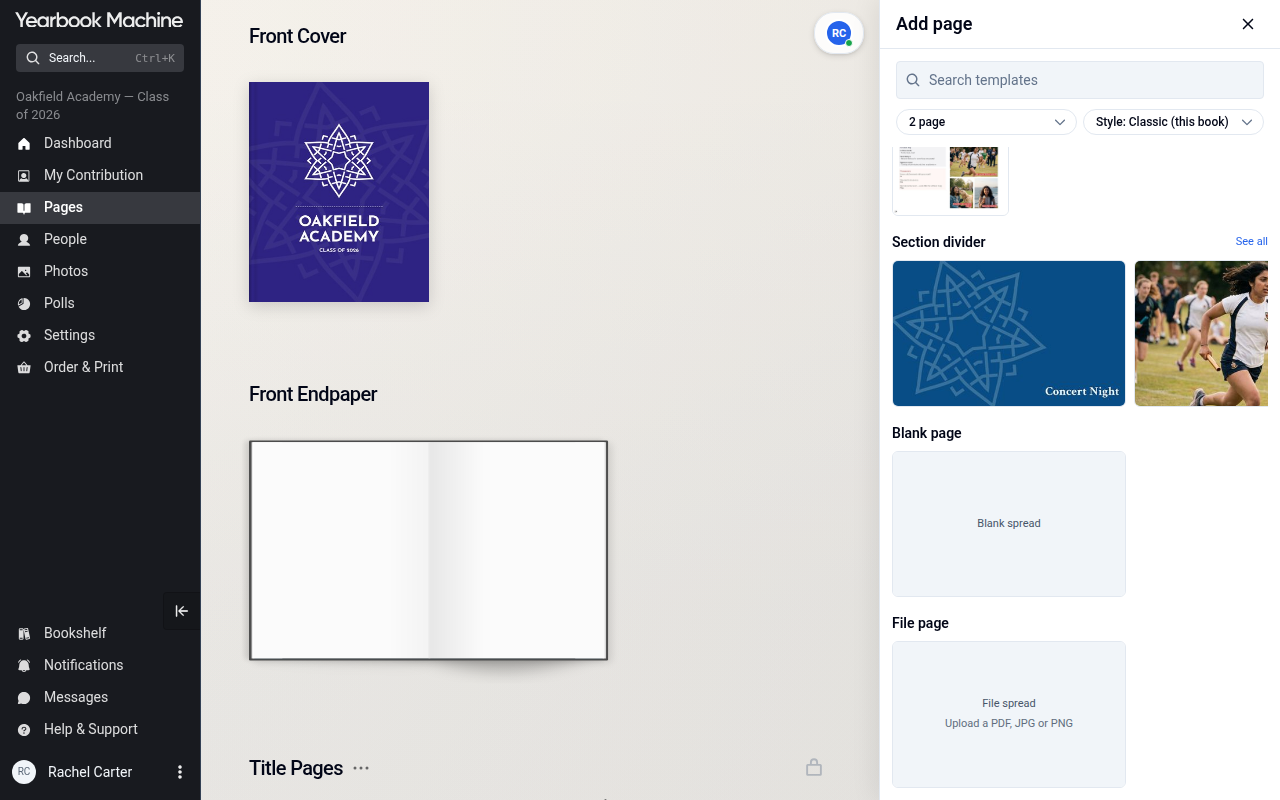
For a finished design that runs across a double-page spread, choose 2 page in the Add page panel and drag in a File spread. The phone tray has no 2 page choice, so add a File spread on a computer.
Other pages
- Polls: go to Pages > Add Pages > Polls, then assign each poll to a slot so it shows in the book.
- Quotes or other free text: add a blank page and place text boxes wherever you like.
- Messages: click Add page(s) and drag the page into the Messages section.
For pages other than profiles, you can pick a template or use Manual mode to arrange the layout yourself.
Changing colours, fonts and text
Changing the colours of a section
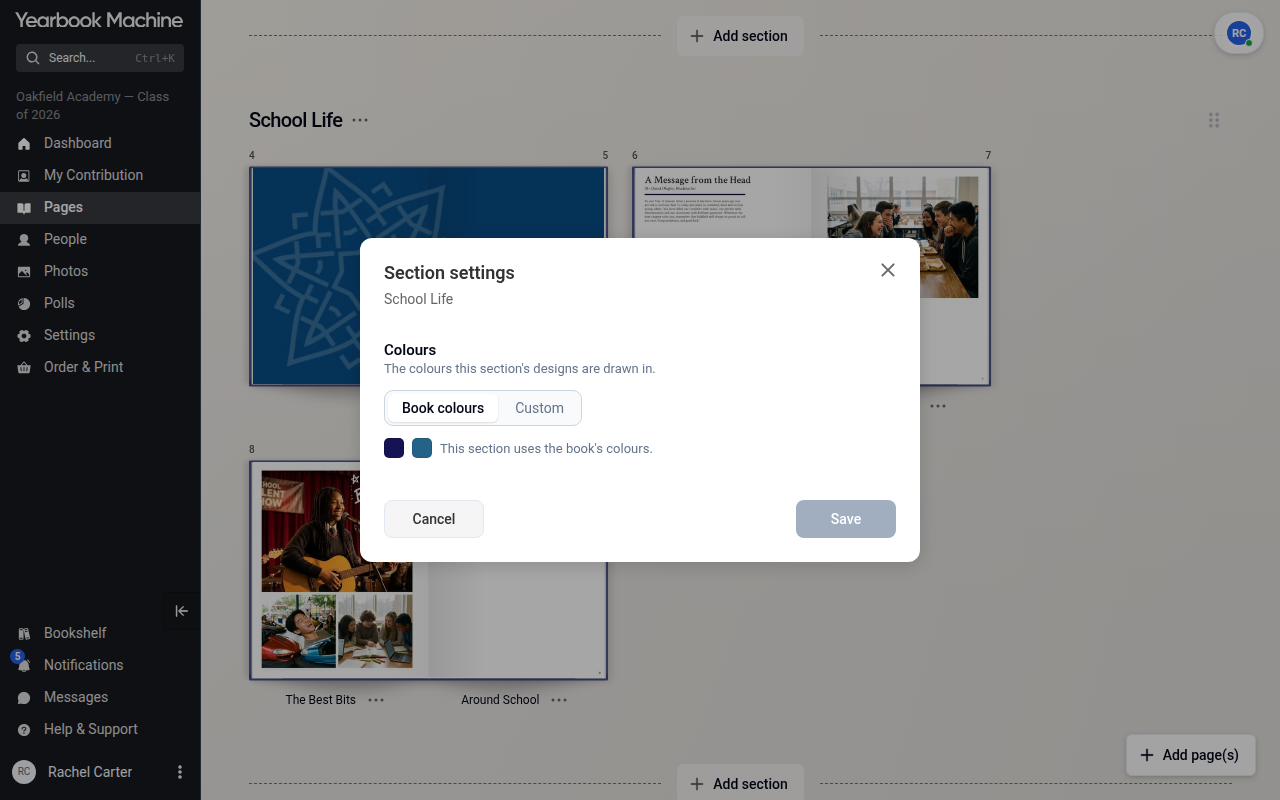
- Click the three dots beside the section's name.
- Select Section settings.
- Under Colours, choose your new colours.
- Click Save.
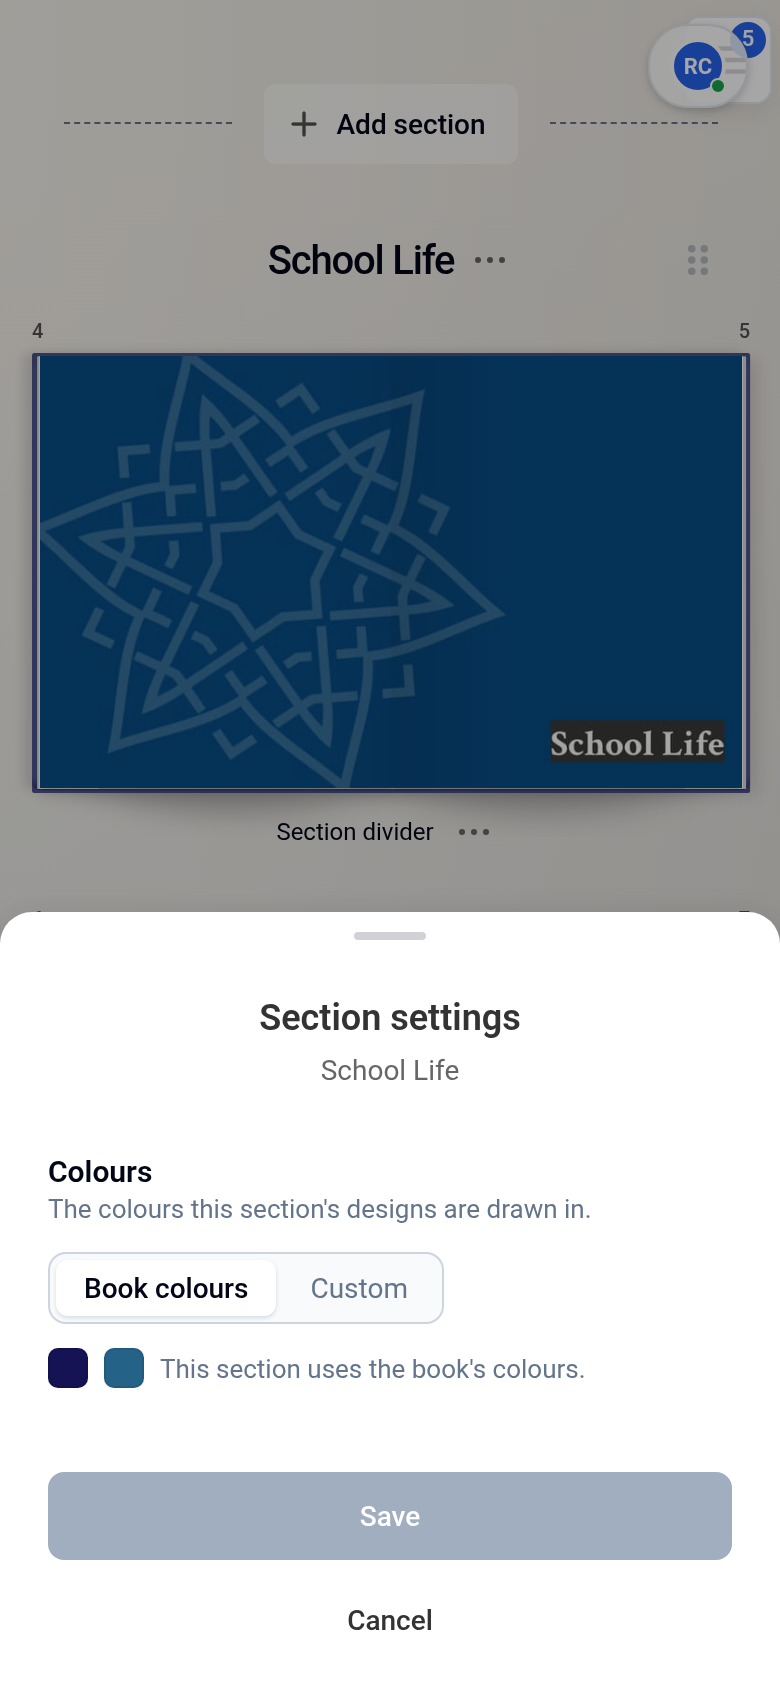
If your new colours don't stick after you've clicked Save, let us know which section it is and the colours you chose, and we'll fix it.
Changing the colour of the contents page
The colour of the left-hand page on the contents spread comes from your book's main colour settings. Change the main colour there and the contents page will follow.
Fonts
- Contents page: click the text in the preview and use the formatting toolbar. Or turn on Manual mode, click Text, click the text you want to change and pick your font and colour.
- Section dividers: go to the section divider and switch to Manual mode to change the font.
- Footers in capitals or lower case: the Modern template shows footers in capitals; the Classic template shows them in lower case. Switch template to change this.
Page numbers and page names
The page's Layout tab has Page numbers with Show page numbers.
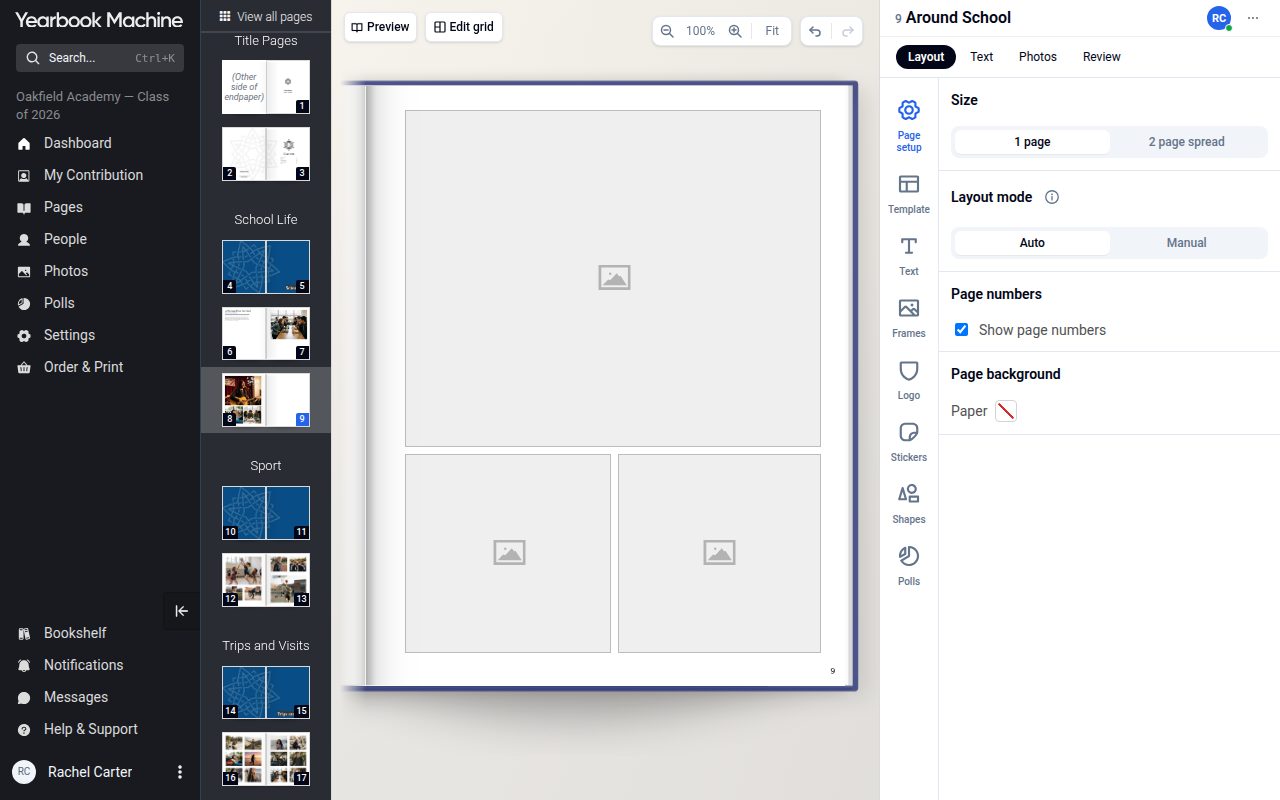
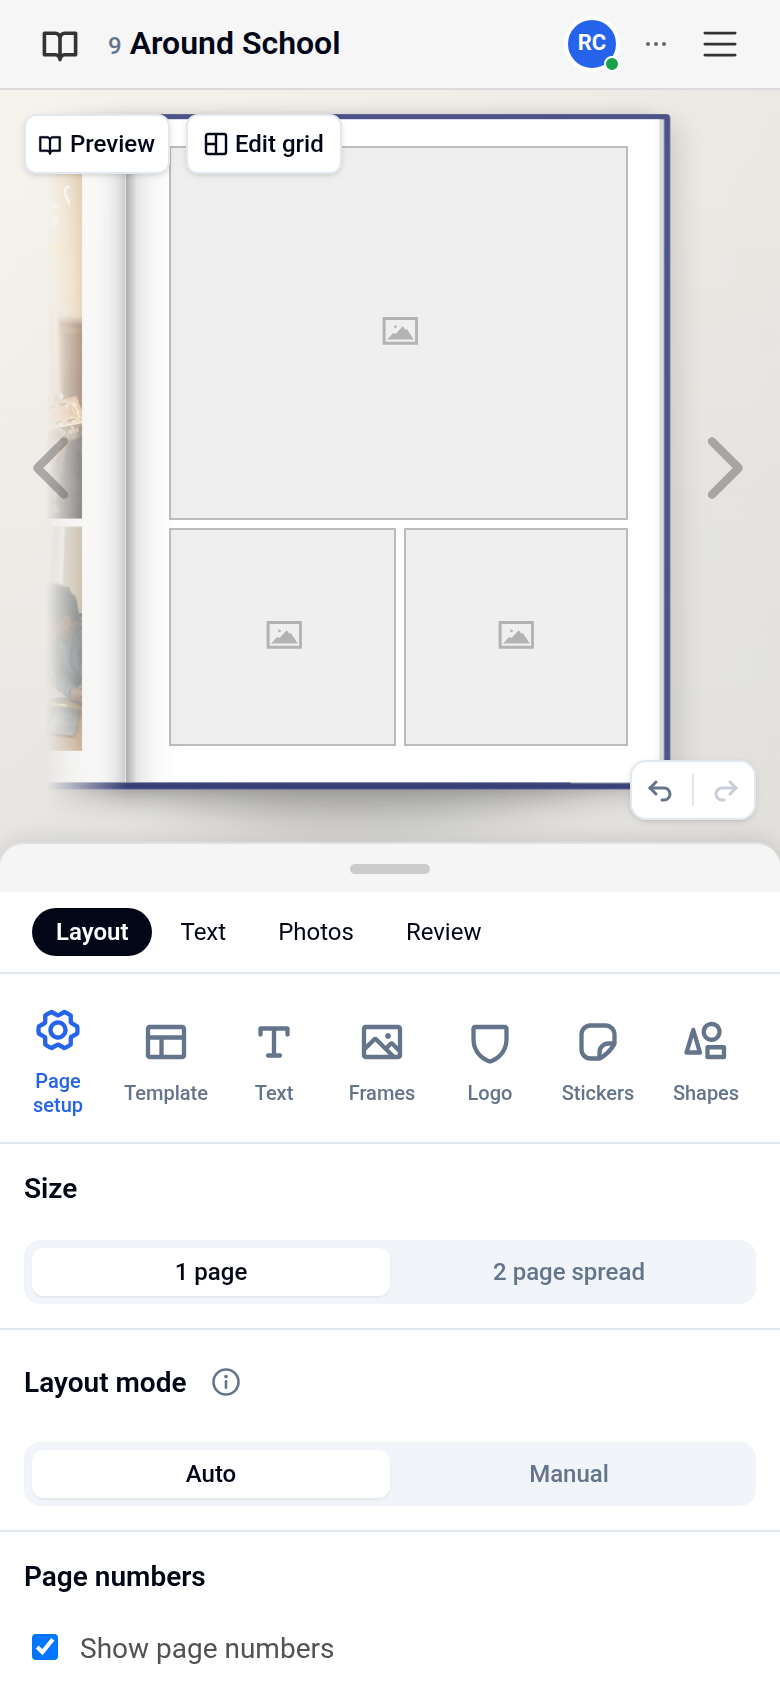
If page numbers, a page name or a footer still isn't showing, get in touch and we'll take a look.
Choosing which photos go in the book
On general photo pages, photos that contributors upload don't go straight into your book. They wait, unplaced, until an editor puts them on the page, so you decide what gets printed.
- Let contributors upload their photos and link them to the right pages.
- As an editor, open the page and go to its Photos tab, which lists the photos linked to the page.
- Drag the photos you're happy with onto your page layout.
- Leave any photos you don't want unplaced.
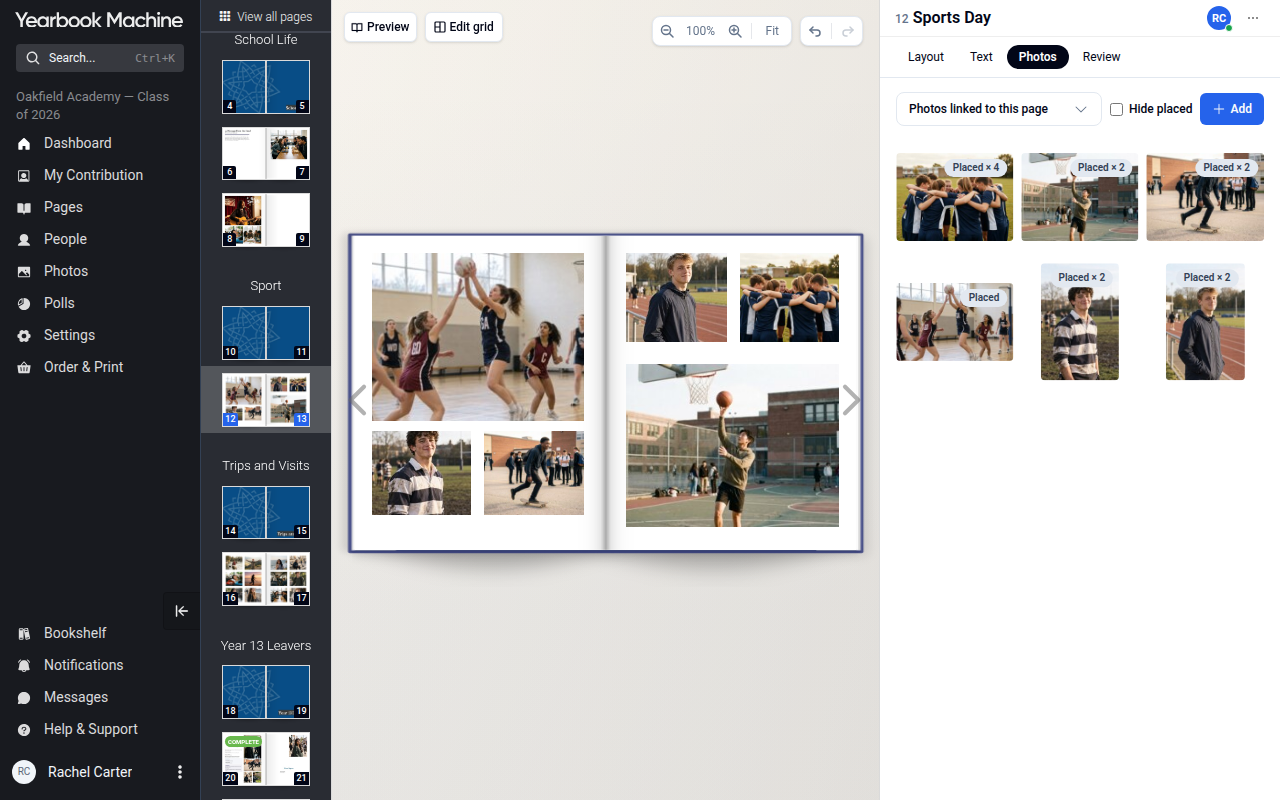
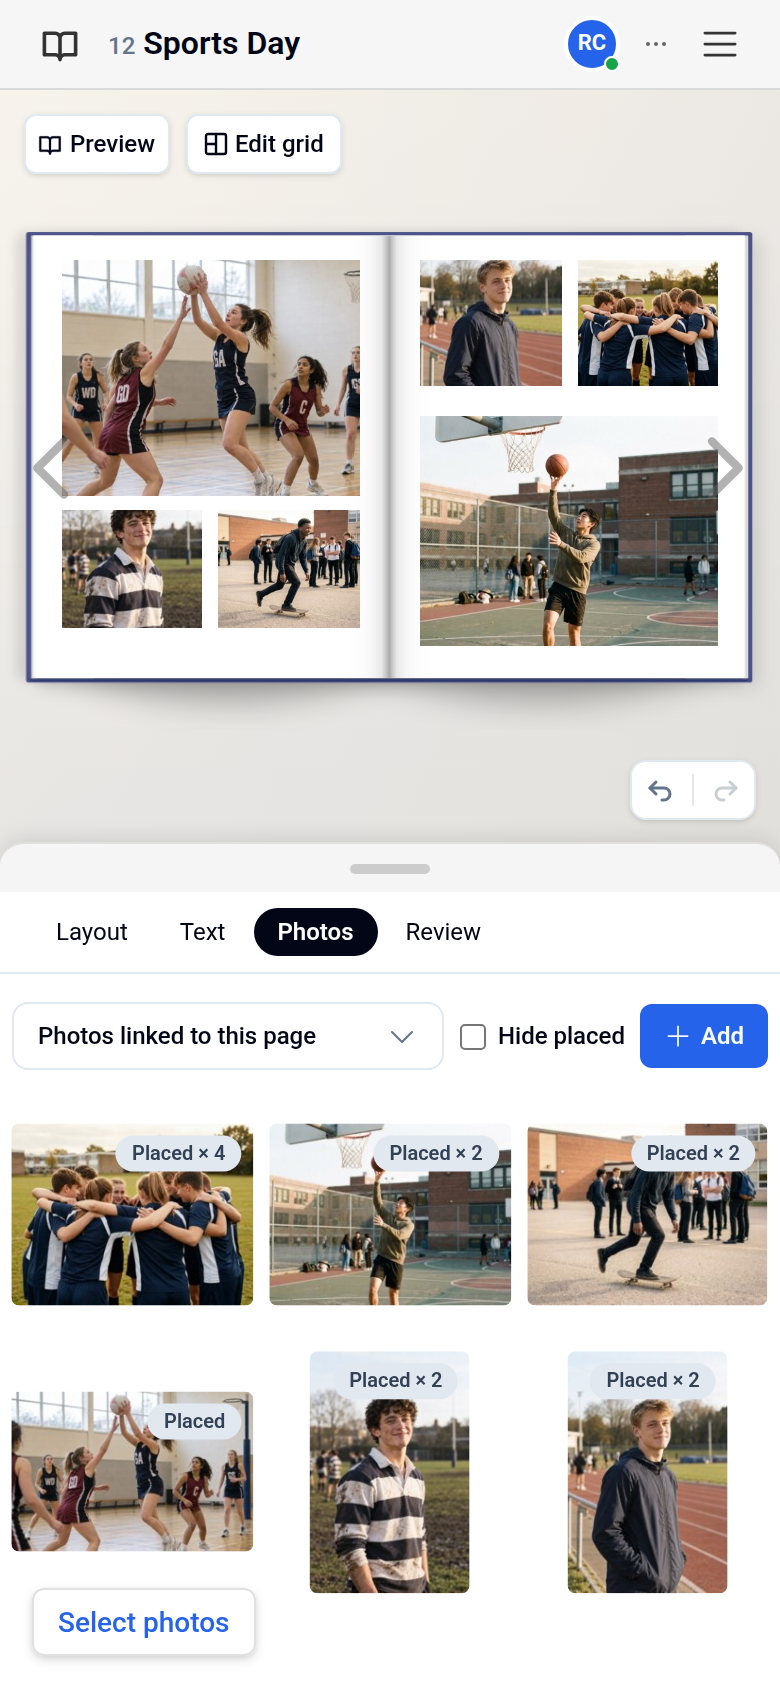
Photos you don't place won't be printed, so there's no need to remove them.
Profile pages work differently. Contributors can add photos directly to their own profile, so these don't wait for an editor. Look through your profile pages and tell us about anything you'd like taken out. Our designers can remove it before your book is printed.
Adding your own designed pages
If you've designed a page in another tool such as Canva, you can add it as a file page. Anything designed outside the editor, such as profile photos with drawings or text over them, needs to be uploaded as a finished image or PDF page.
Click Add page(s) and drag File page into the section where you want it. For a design across two facing pages, choose 2 page and drag File spread. Make your design the same shape as a page in your book (most books are 203 mm wide x 254 mm high; ask us if you are not sure of yours), or use our official Canva template. Upload it as a PDF, JPEG, PNG, HEIC or WebP file.
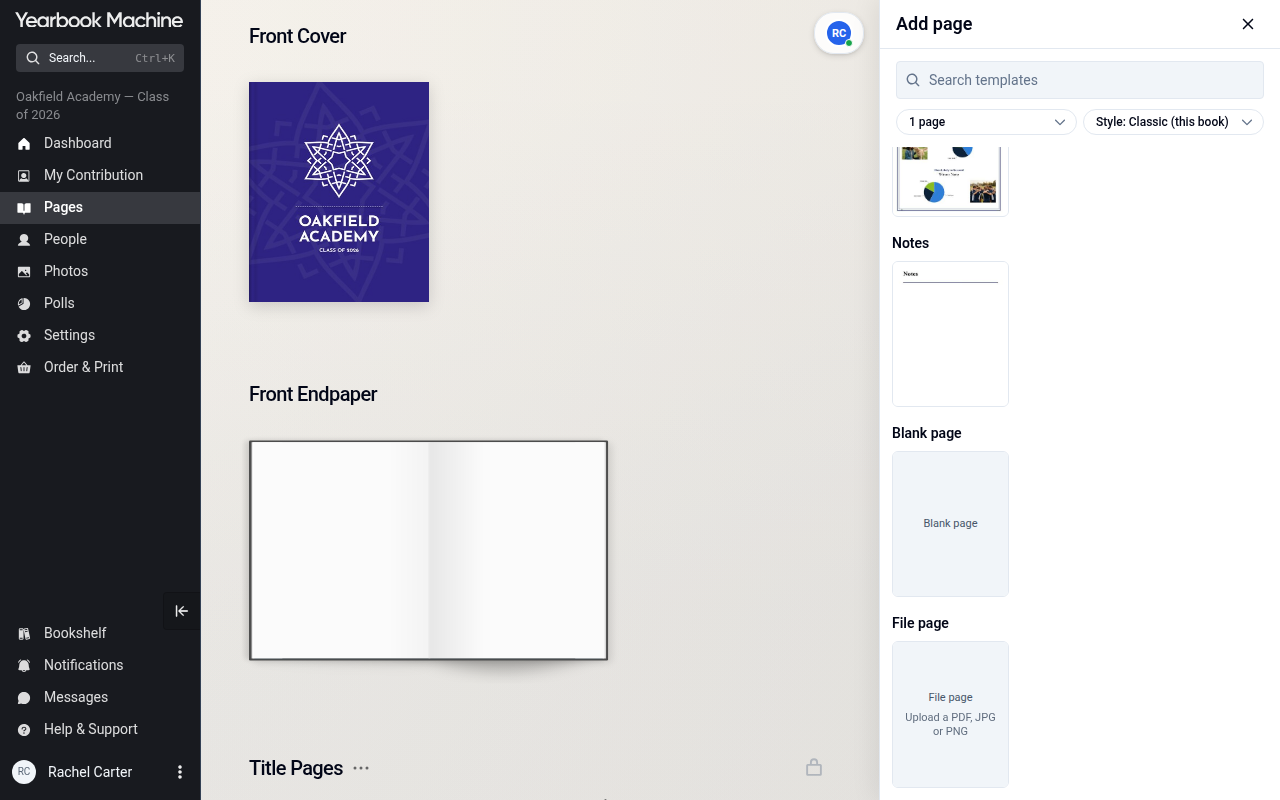
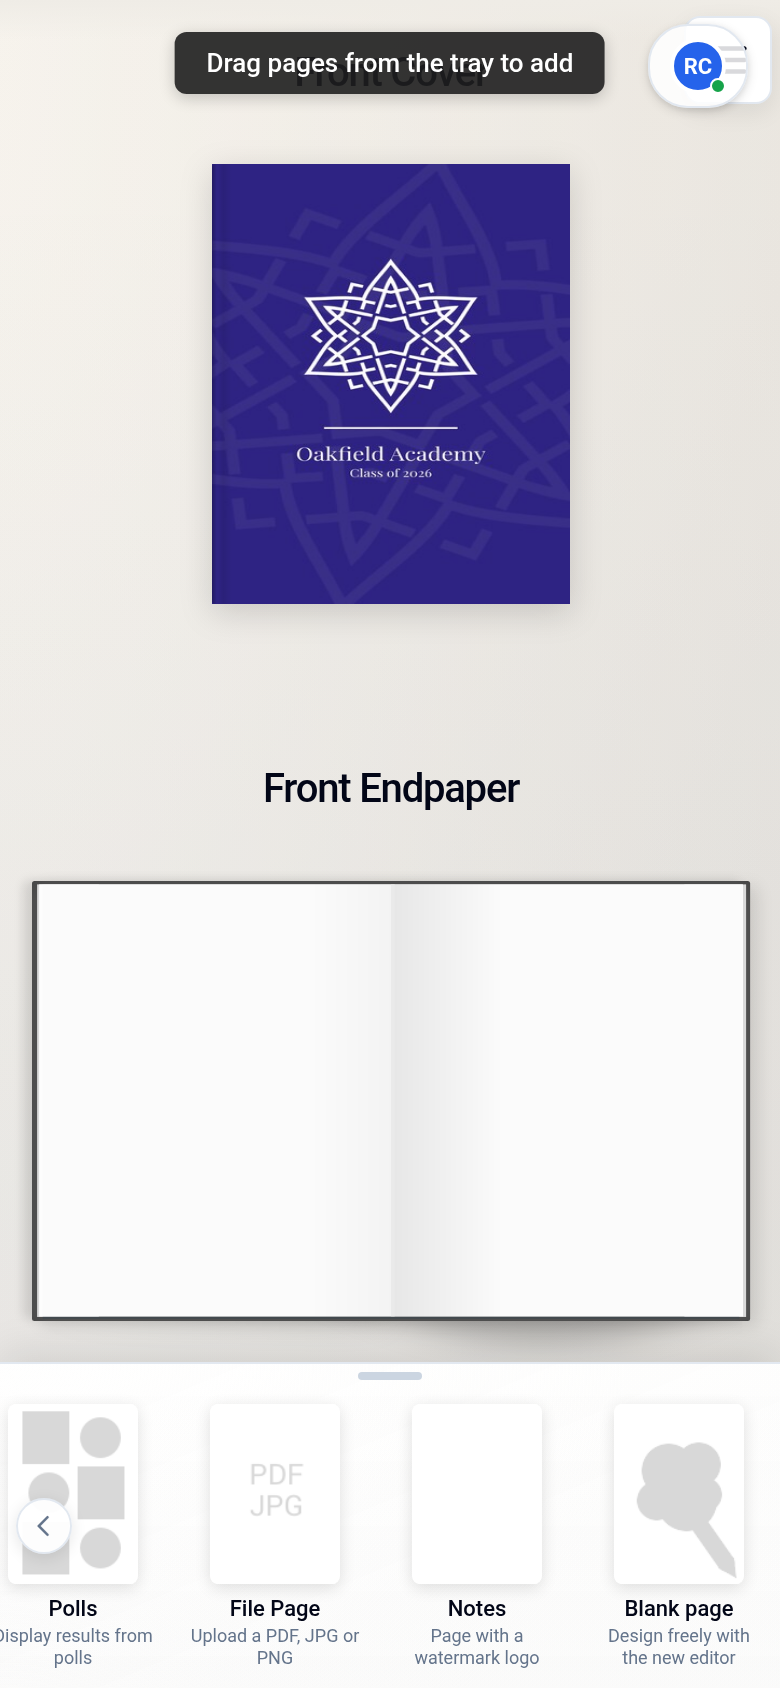
Pages that aren't exactly the right size won't fit properly. If you're not sure which size your book uses, ask us before you start designing.
If your Canva pages look stretched or distorted
This usually means the design wasn't made in the latest version of our Canva template.
- Ask us for the latest Canva template link.
- Copy or drag your existing designs into the template.
- Make the top and bottom margins even, or the bottom margin slightly larger, so the page looks balanced.
- Export the design as a PDF or image.
- Upload it to your yearbook page again.
If you can't copy or drag anything into the template, the link may be view-only. Let us know and we'll send one you can edit.
Getting artwork ready for print
- Use original image files. If you see a low-quality warning, upload the original photo rather than one shared through a messaging app, as sharing reduces the quality.
- Colours can look different on paper. If an exact match matters, send us your CMYK colour values (see Matching your school's colours below).
Adding your school logo
- Log in to your online book project.
- Go to Settings > Design Settings and scroll to Logo.
- Choose Upload custom logo and upload your file. If the book already has a logo, the button reads Upload a different logo.
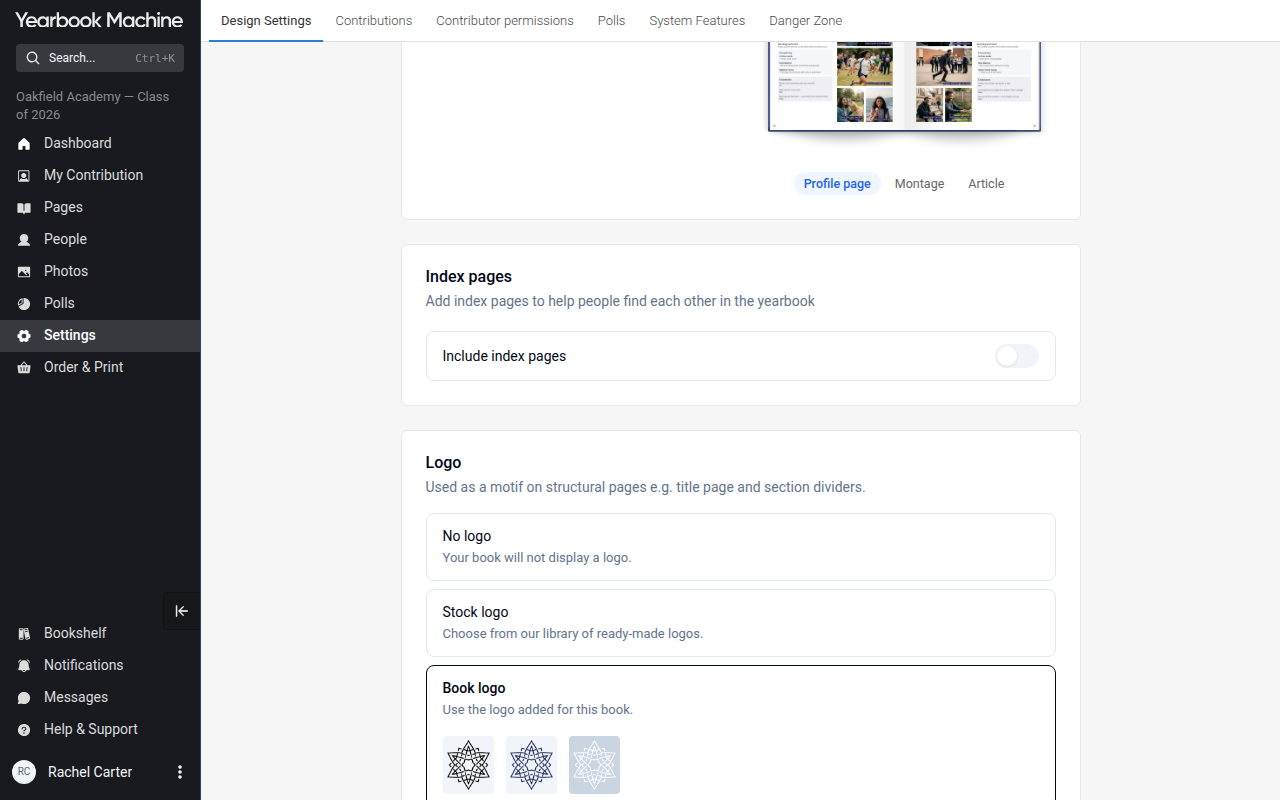
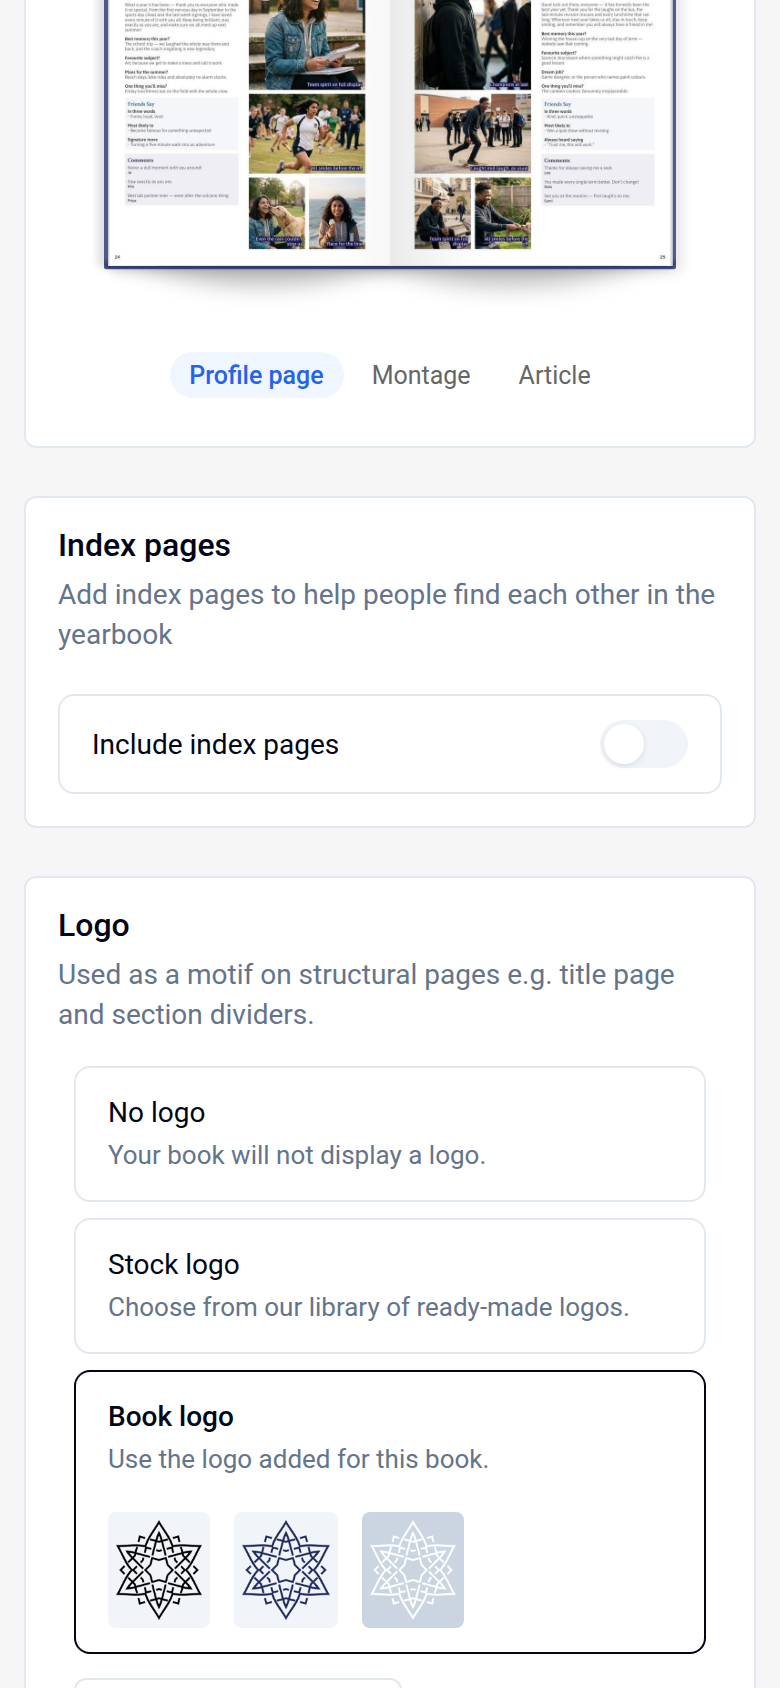
If you've already had a proof, generate a new one so you can check the logo in place (see Getting your proof below).
If your logo is too low in resolution to print well, we'll ask you for a higher-quality version. Just trying things out with a placeholder logo? That's fine, just let us know when we get in touch. Want the same logo as last year? Just ask and we can reuse it.
Designing your cover
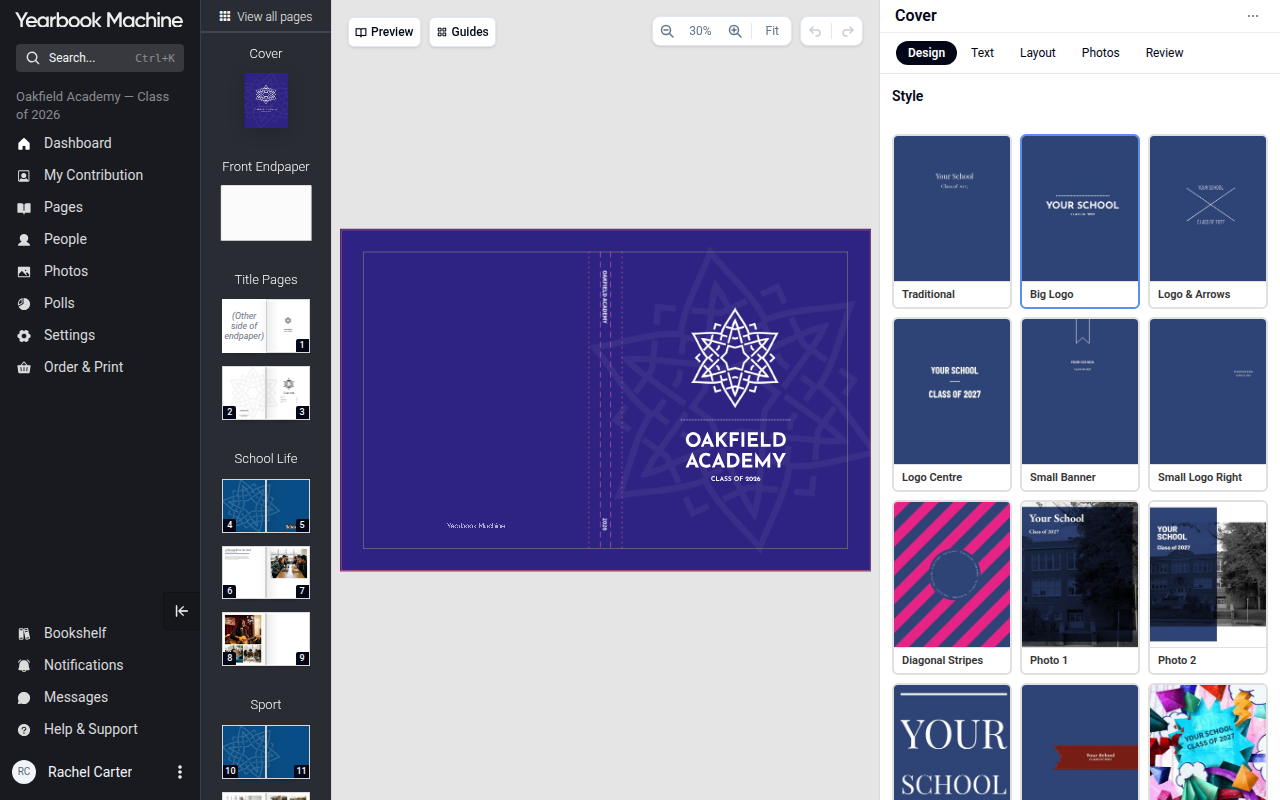
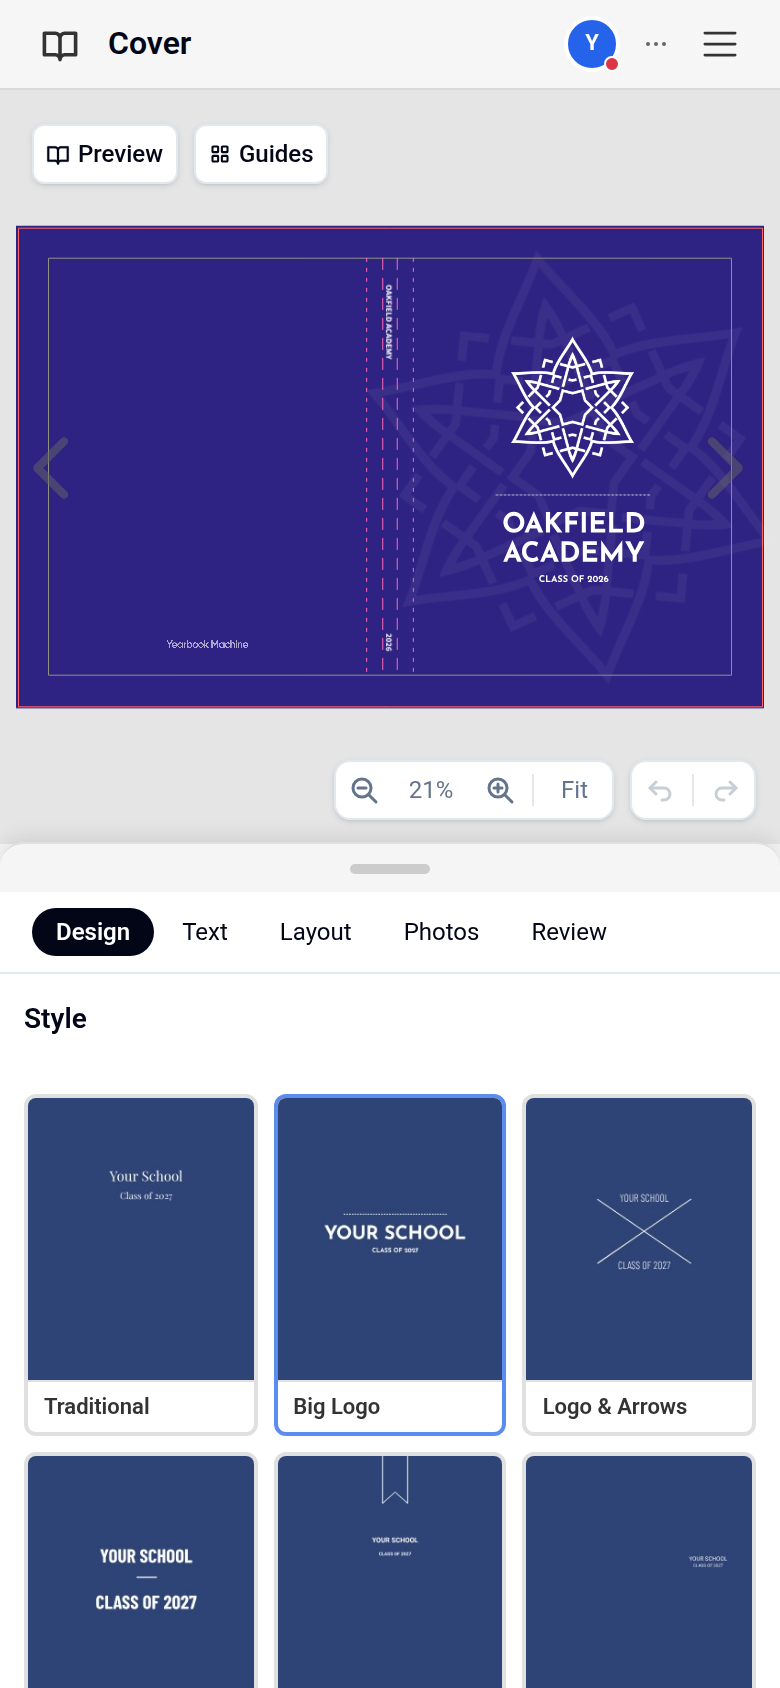
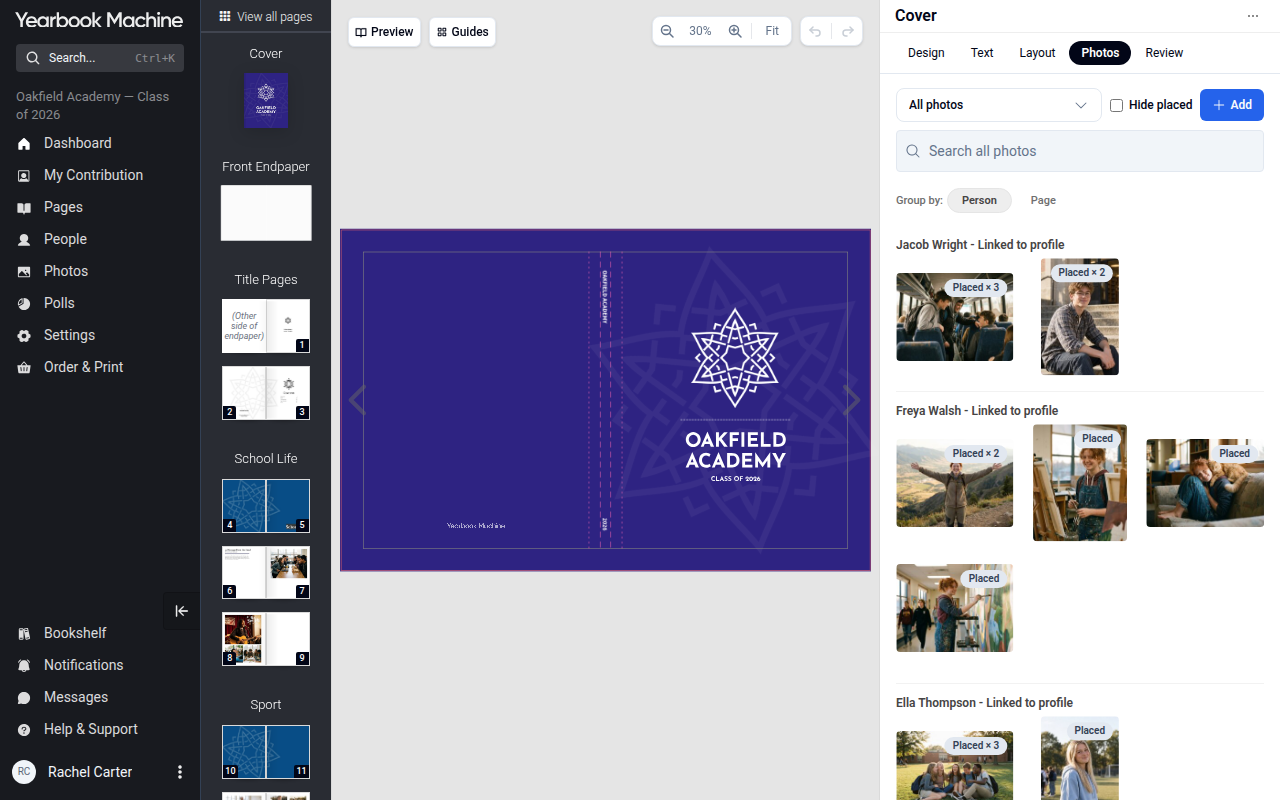
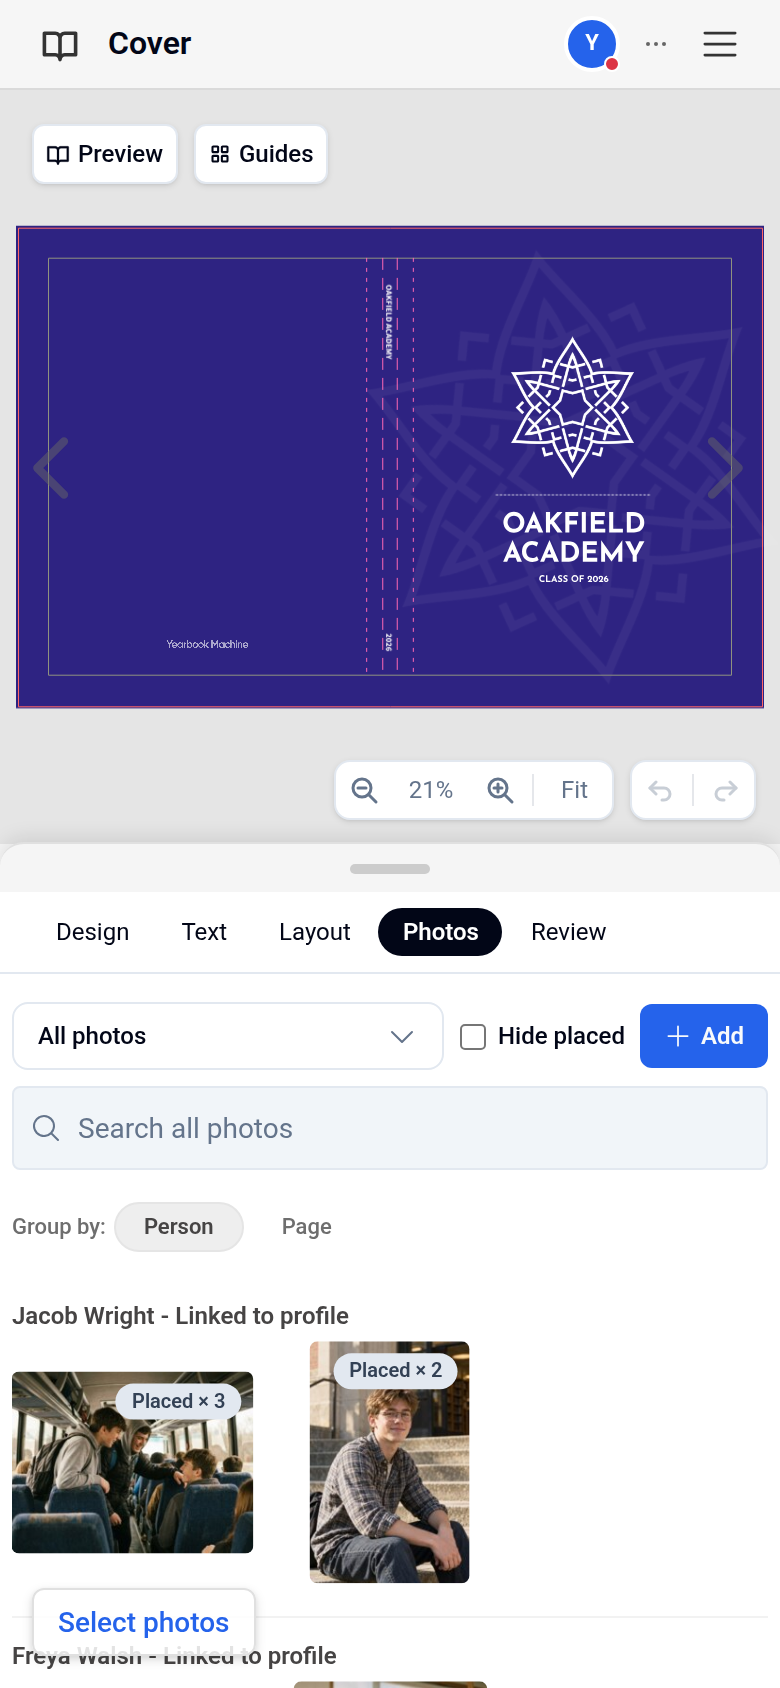
Click Pages in the main menu and click the front cover at the top to open the cover designer. Choose a design on the Design tab and add your image on the Photos tab.
A photo across the whole front endpaper
If you'd like a photo to fill the entire front endpaper (the page inside the front cover) with no white border, get in touch and we'll adjust the layout. You can then check it on a new proof.
Matching your school's colours
If you need an exact colour match, send us your CMYK values and we'll check them for you.
If you only have your school's website (RGB or hex) colour codes, send them to us. We'll convert them to CMYK and also check the colour in your logo, so you can compare both and choose. Make sure you send the main website colour rather than the darker shade buttons turn when you hover over them.
Removing your title page
If your title page isn't working the way you'd like, get in touch and we can remove it for you.
Getting your proof
- Go to Order & Print, click Yearbooks and open the Proof & Print tab.
- Click Generate proof.
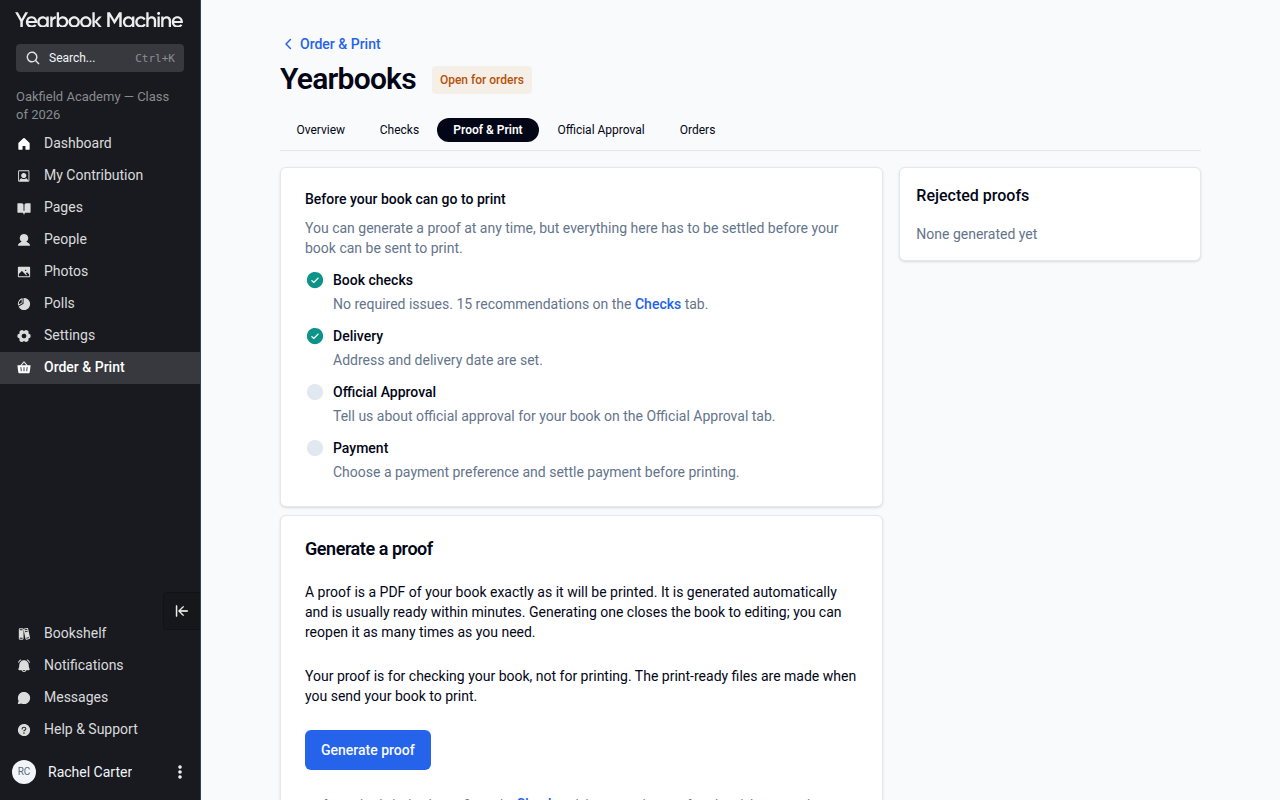
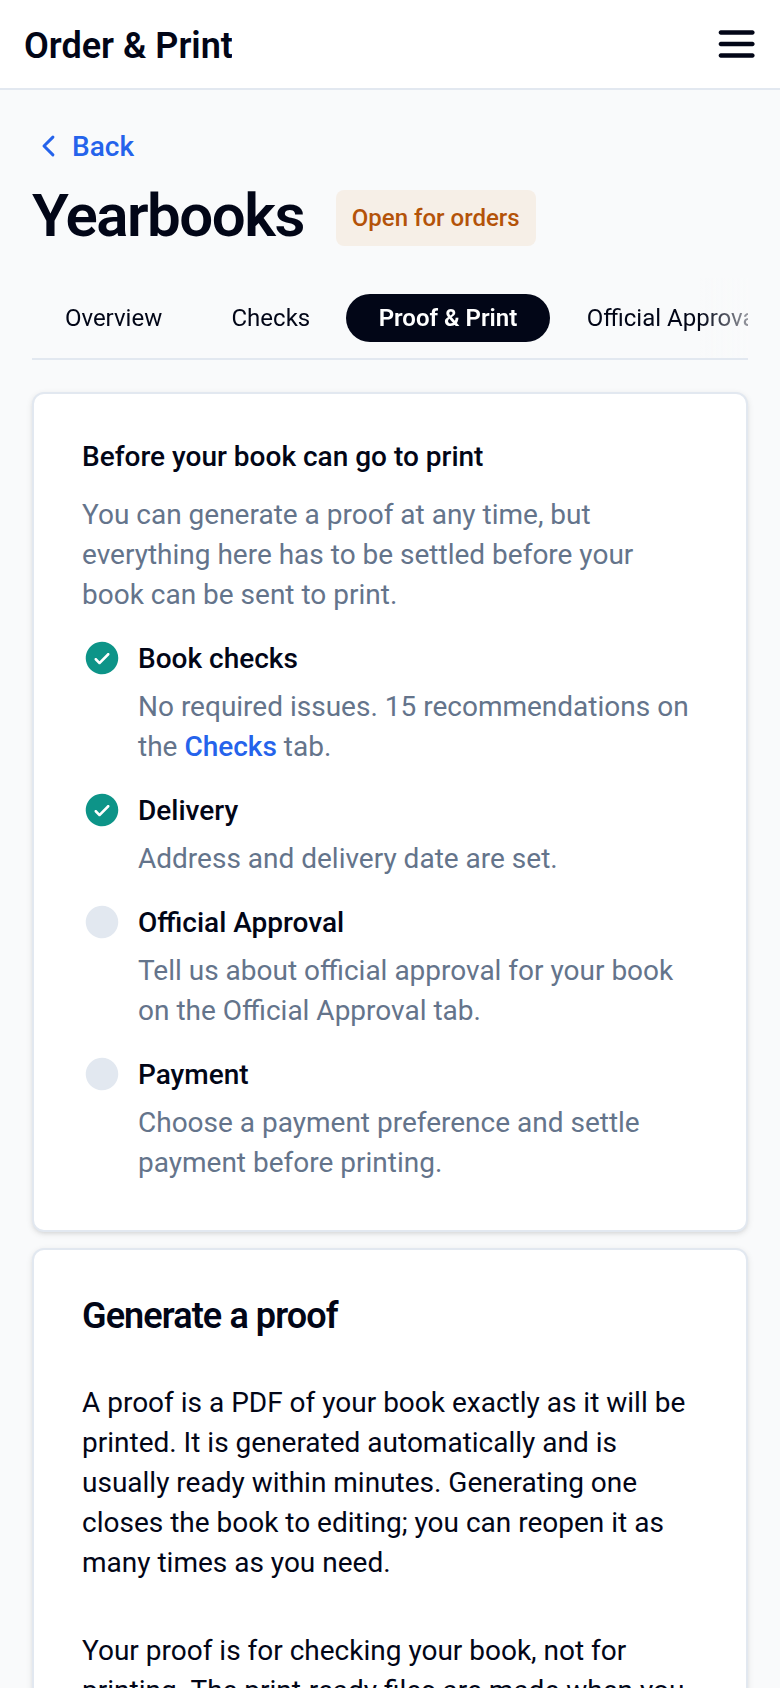
Your proof is usually ready within minutes.
If you've asked us to remove something from a page, you can still generate your proof. Our designers make these changes before printing.
Checking your proof
Your proof shows exactly how your book will be printed, including cover cropping and image alignment. Nothing is cropped further after you approve, so only approve once you're completely happy.
- Check that images are lined up and cropped the way you want.
- On the cover, check the wrap-around image and margins look as you expect.
- Look carefully for typos.
Making changes after a proof
- On the Proof & Print tab, reopen the book for changes.
- Edit your book, for example to fix a typo or re-upload updated cover artwork.
- Generate a new proof and check it again.
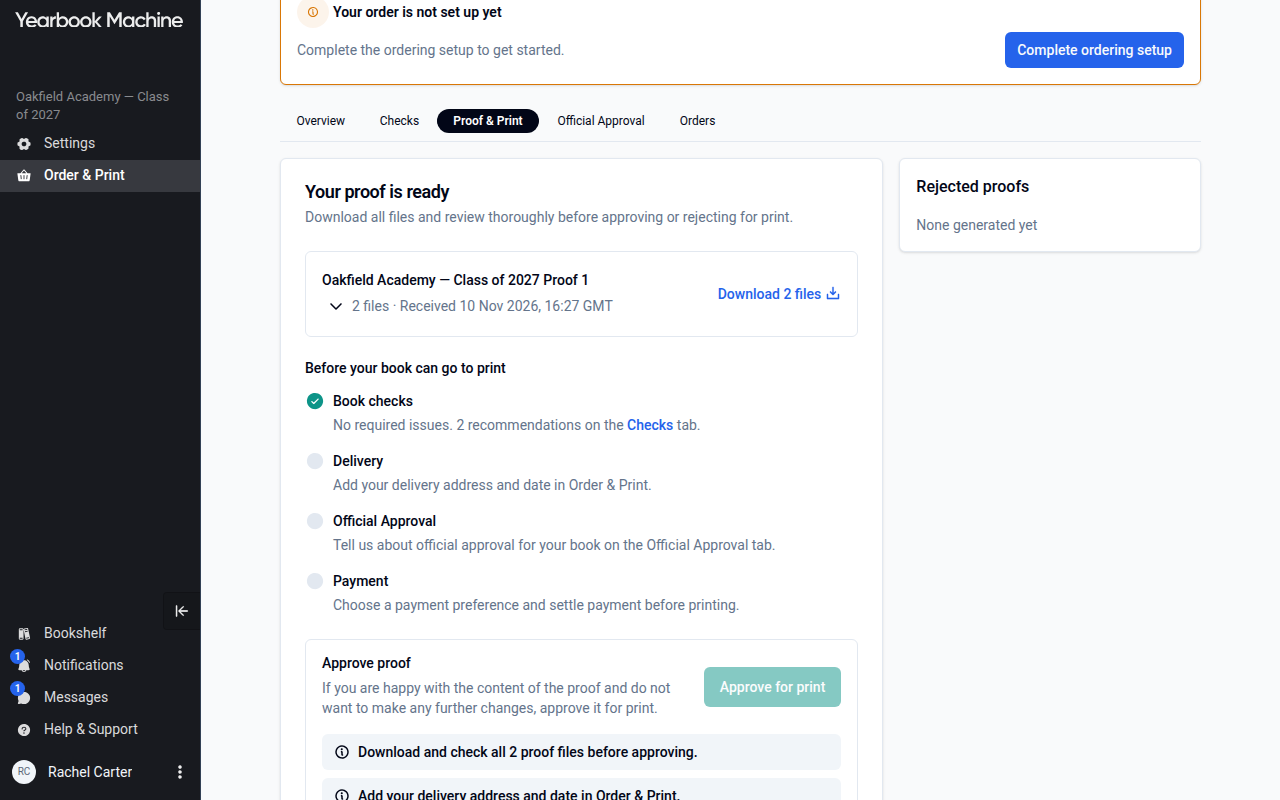
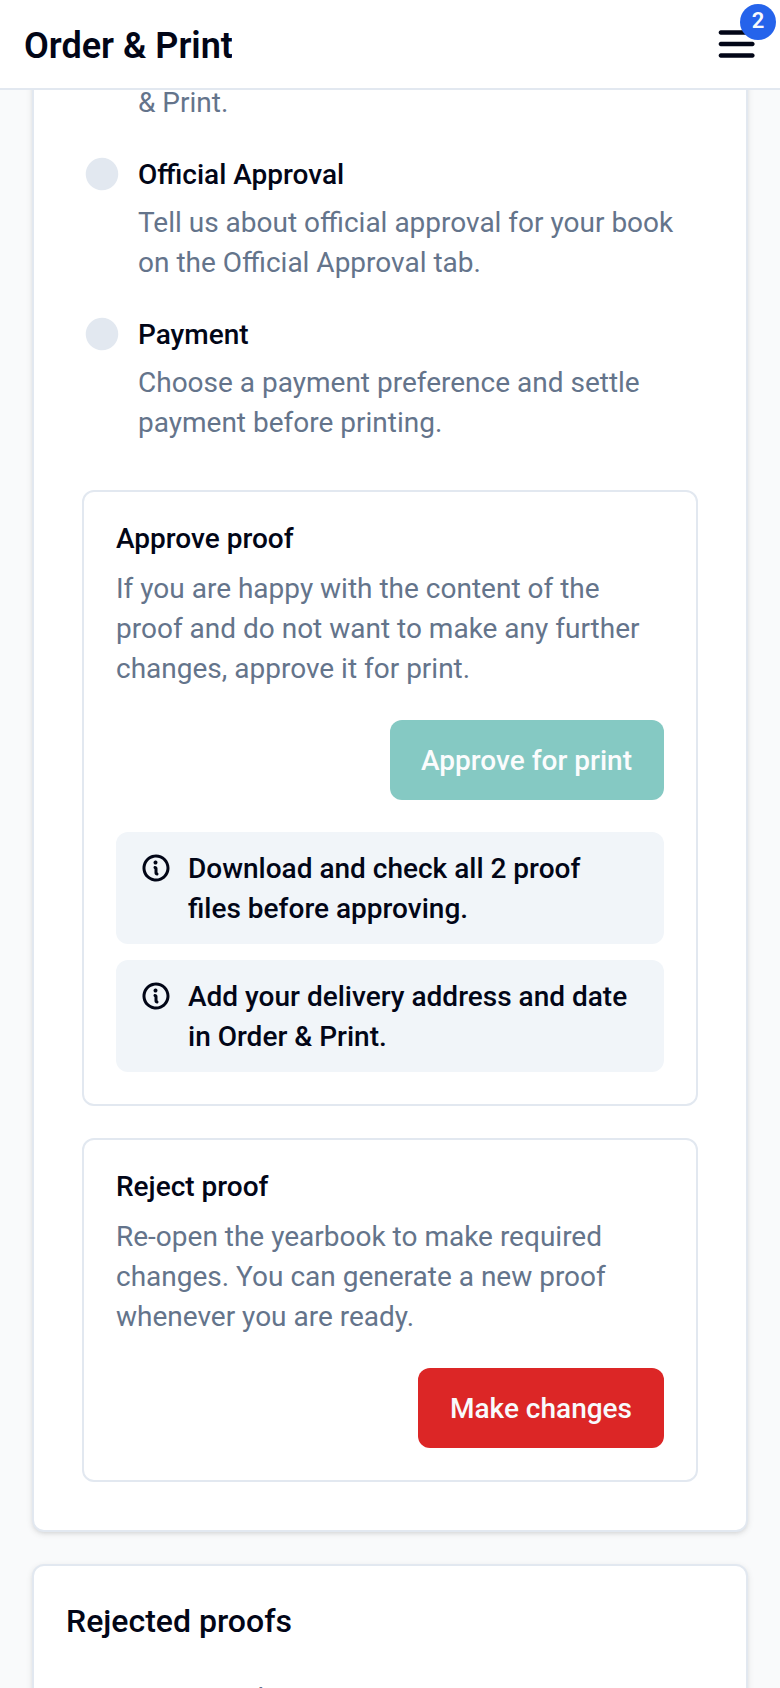
If you'd like us to check something on your proof, such as whether your cover colours now match, just ask.
Spotted a mistake after your book is printed?
We can still help, with either a correction sticker or a reprint.
- Get in touch and ask us to reopen your book for editing.
- Make your corrections in the editor, or ask us to help with things like image adjustments.
- Choose how you'd like to fix it:
- Overlay sticker: a replacement page printed as a sticker to go over the original, from around £15.
- Reprint: a new run of books. Single copies and small reprints are possible, and there usually isn't a minimum. We confirm each reprint with our printer.
- Check and approve the new proof.
- Pay the invoice using the payment link we send.
A reprint is priced for its own quantity. Very small runs can cost more per copy than your original order; we look at each reprint individually and can sometimes reduce the price in that case.
Your order goes into production once the new proof is approved and payment has arrived. Not sure if your payment has arrived? Ask and we'll check.
Controlling what contributors can see
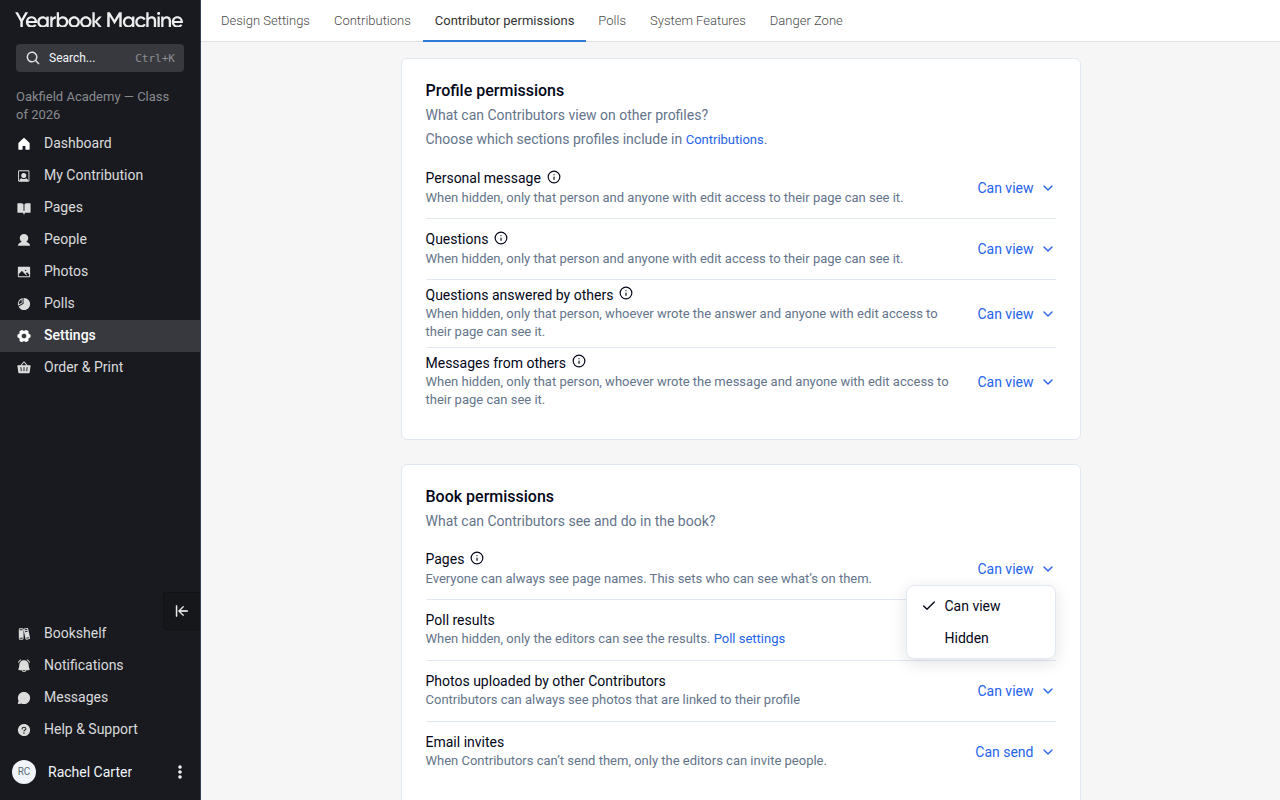
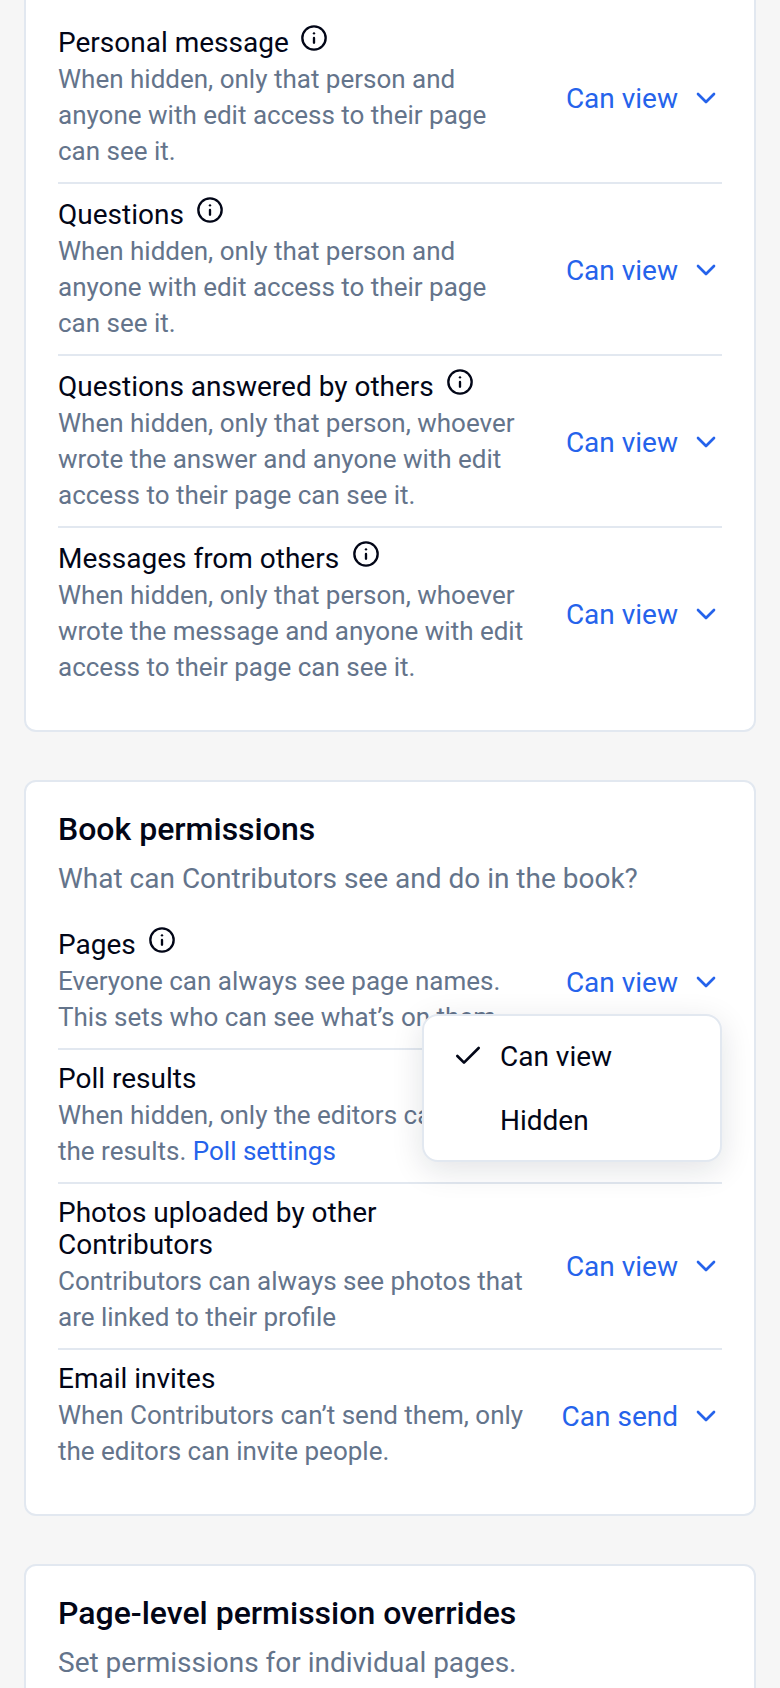
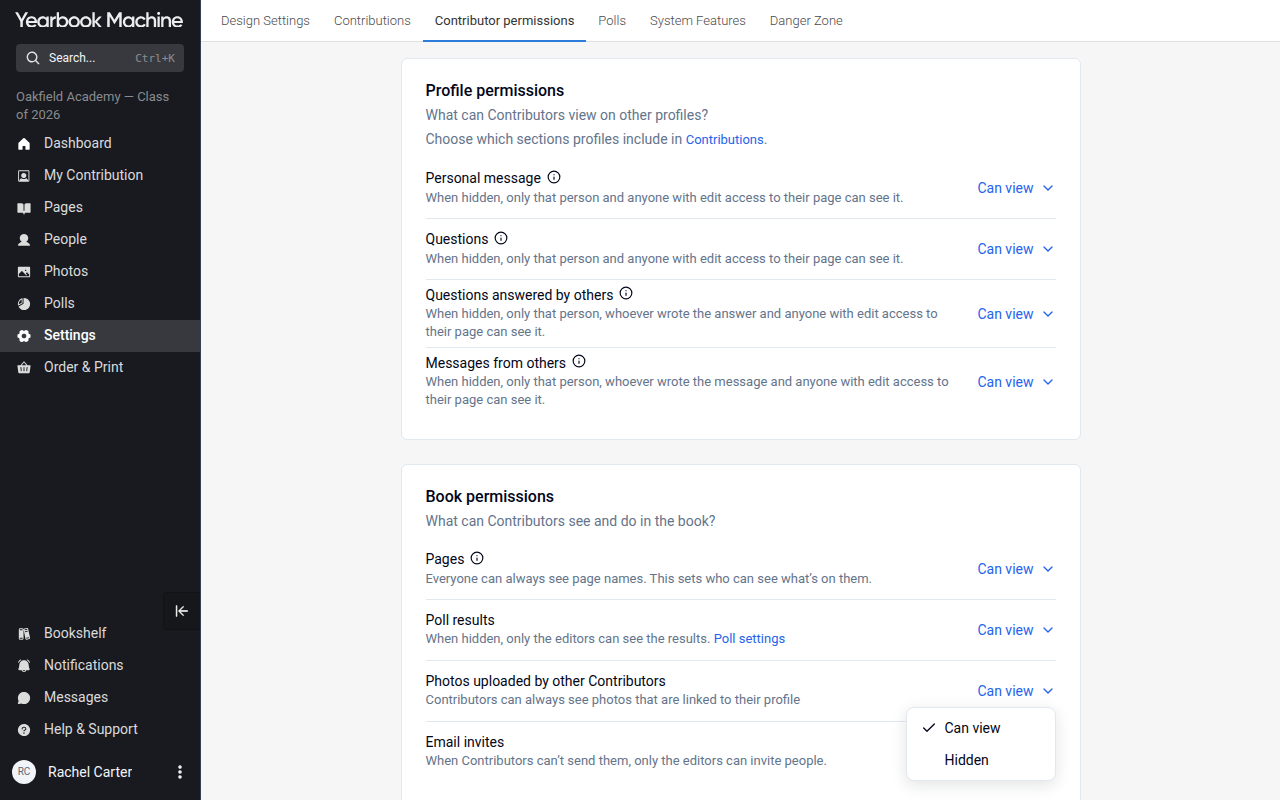
Editors control what contributors can see in Settings > Contributor permissions. Set Photos uploaded by other Contributors to Hidden and contributors see only photos linked to their own profile. Set Pages to Hidden and contributors see page names but not what is on other pages.
Was this article helpful?
Sorry, that didn't send. Please try again in a little while.
Thanks. That helps us improve this article.
Any other questions?
Email support@yearbook.com and we'll help you out.