
Adding your school logo
Your logo, such as a school crest, appears on the pages that give your book its structure, for example the title page and section dividers, and it can appear on your cover. This article covers choosing or uploading a logo, checking the print-ready version we make from it, and placing it yourself. Only the book's editors can do this.
Choosing your logo
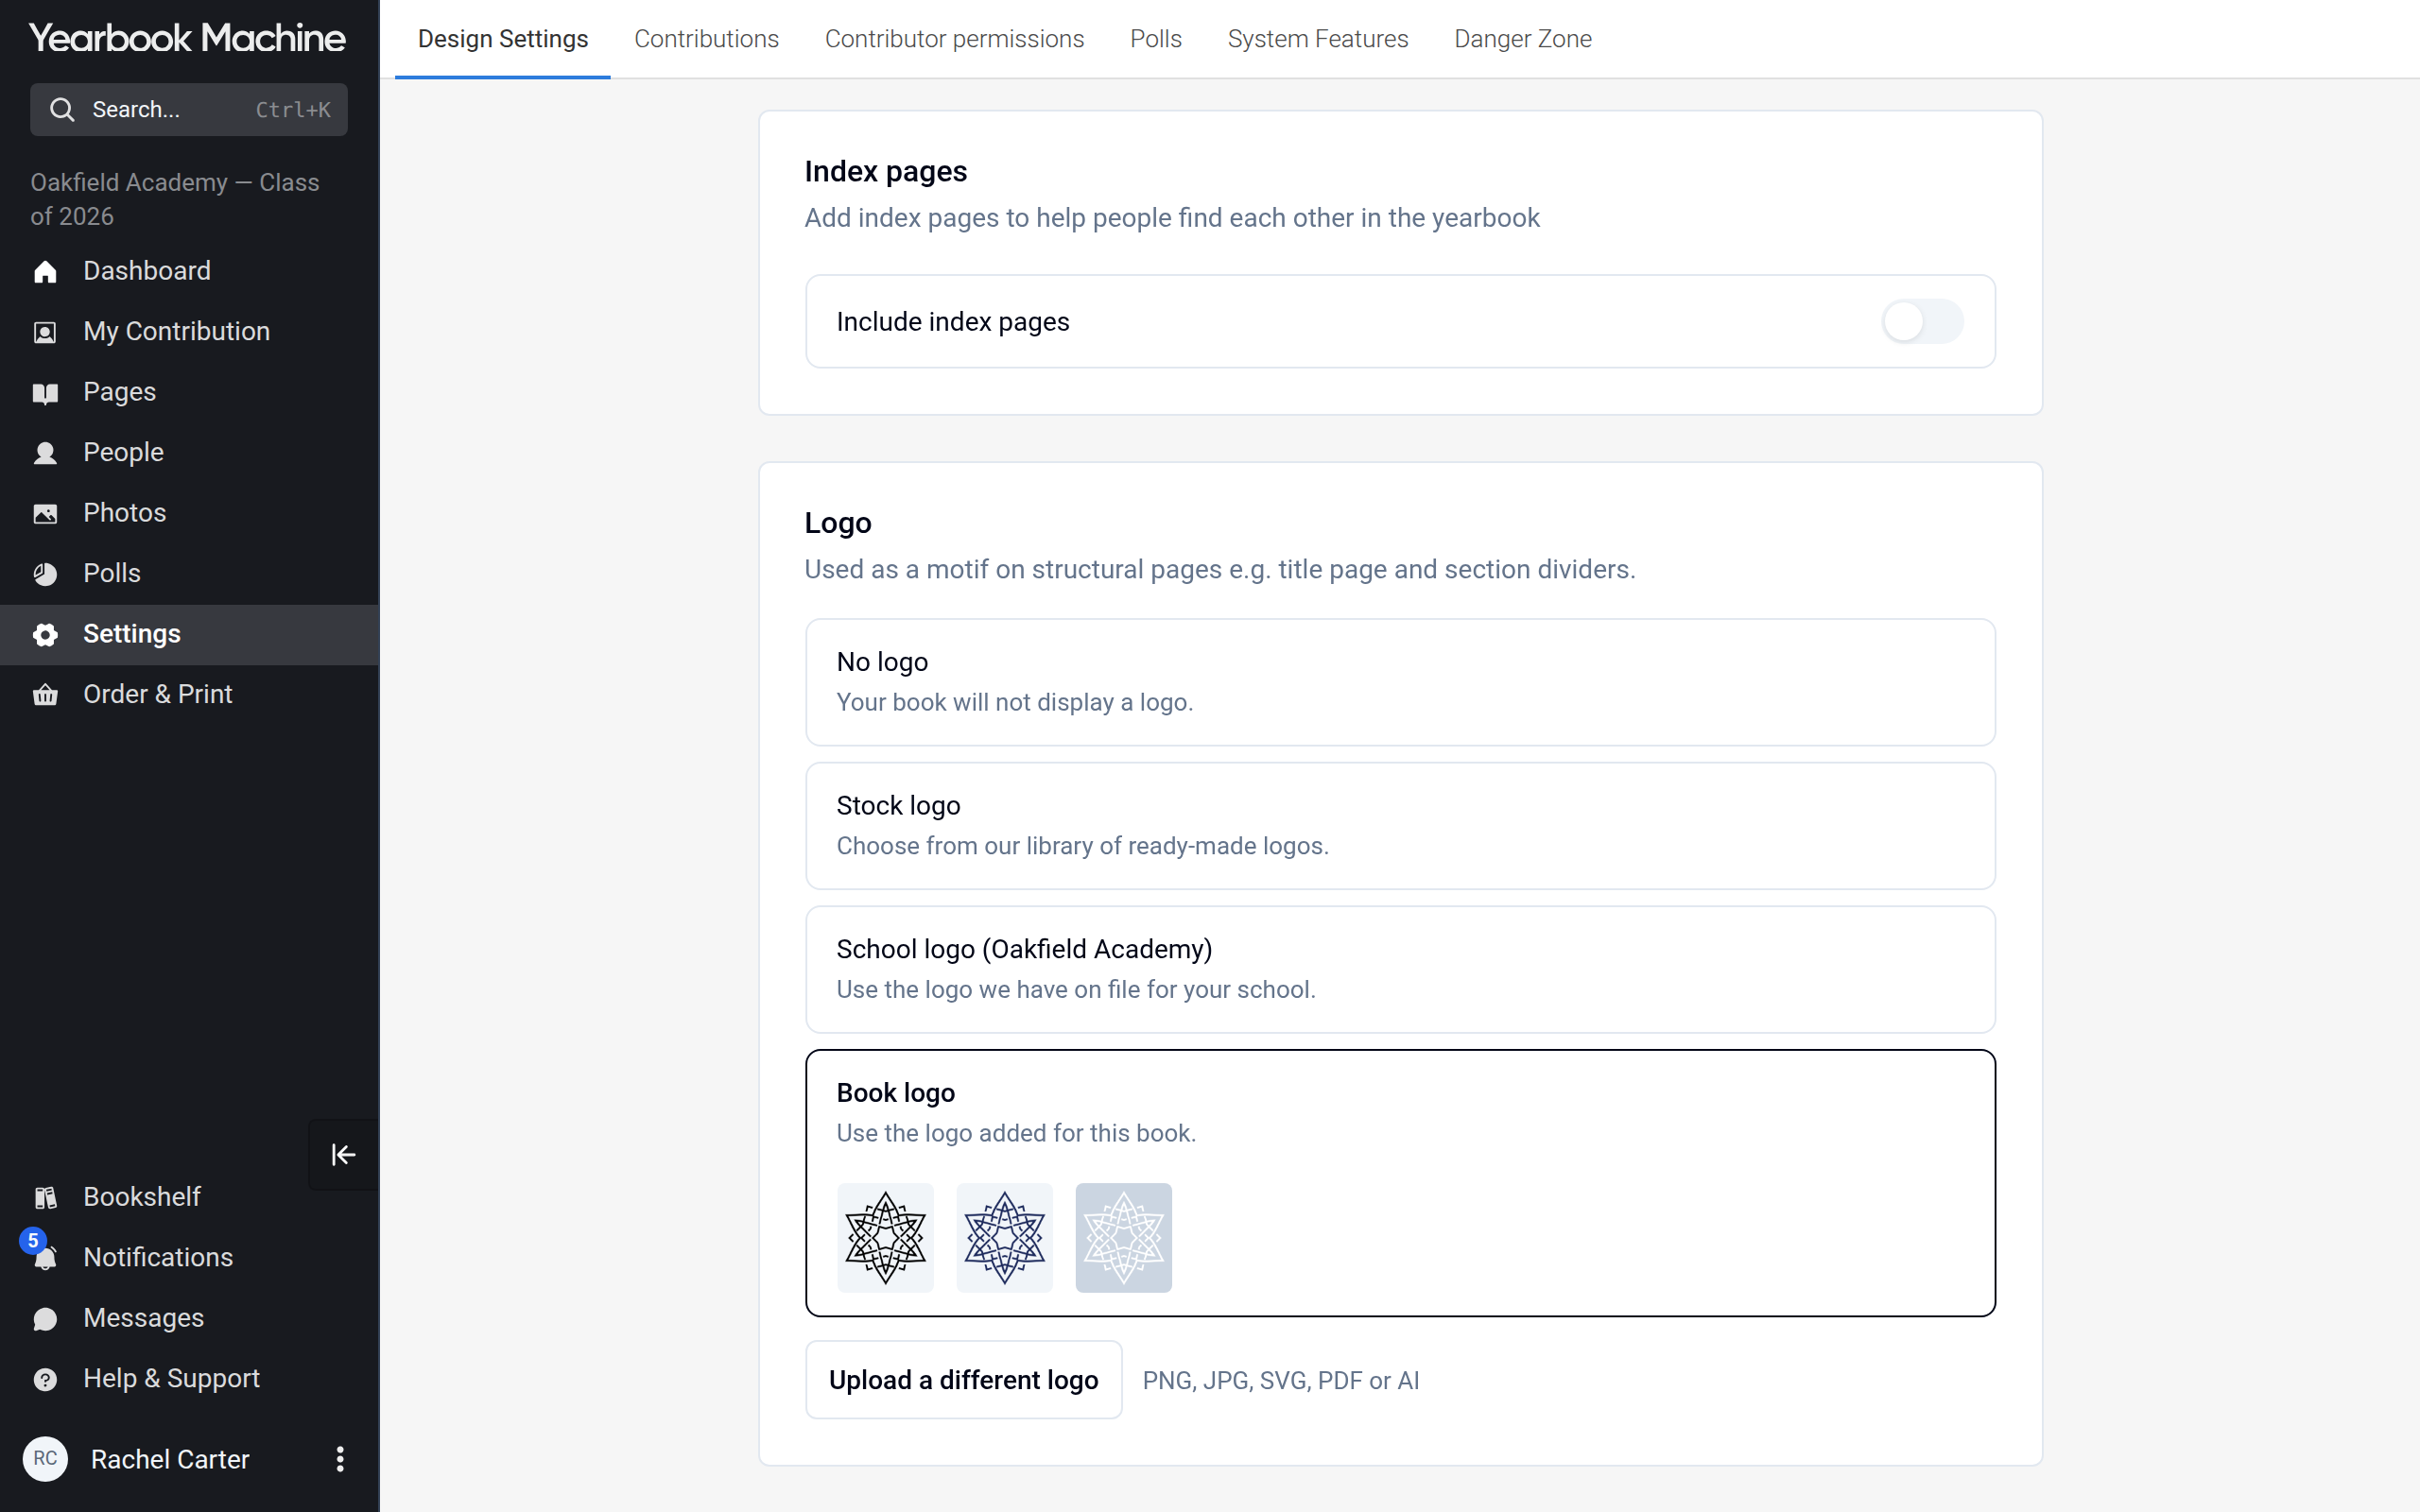
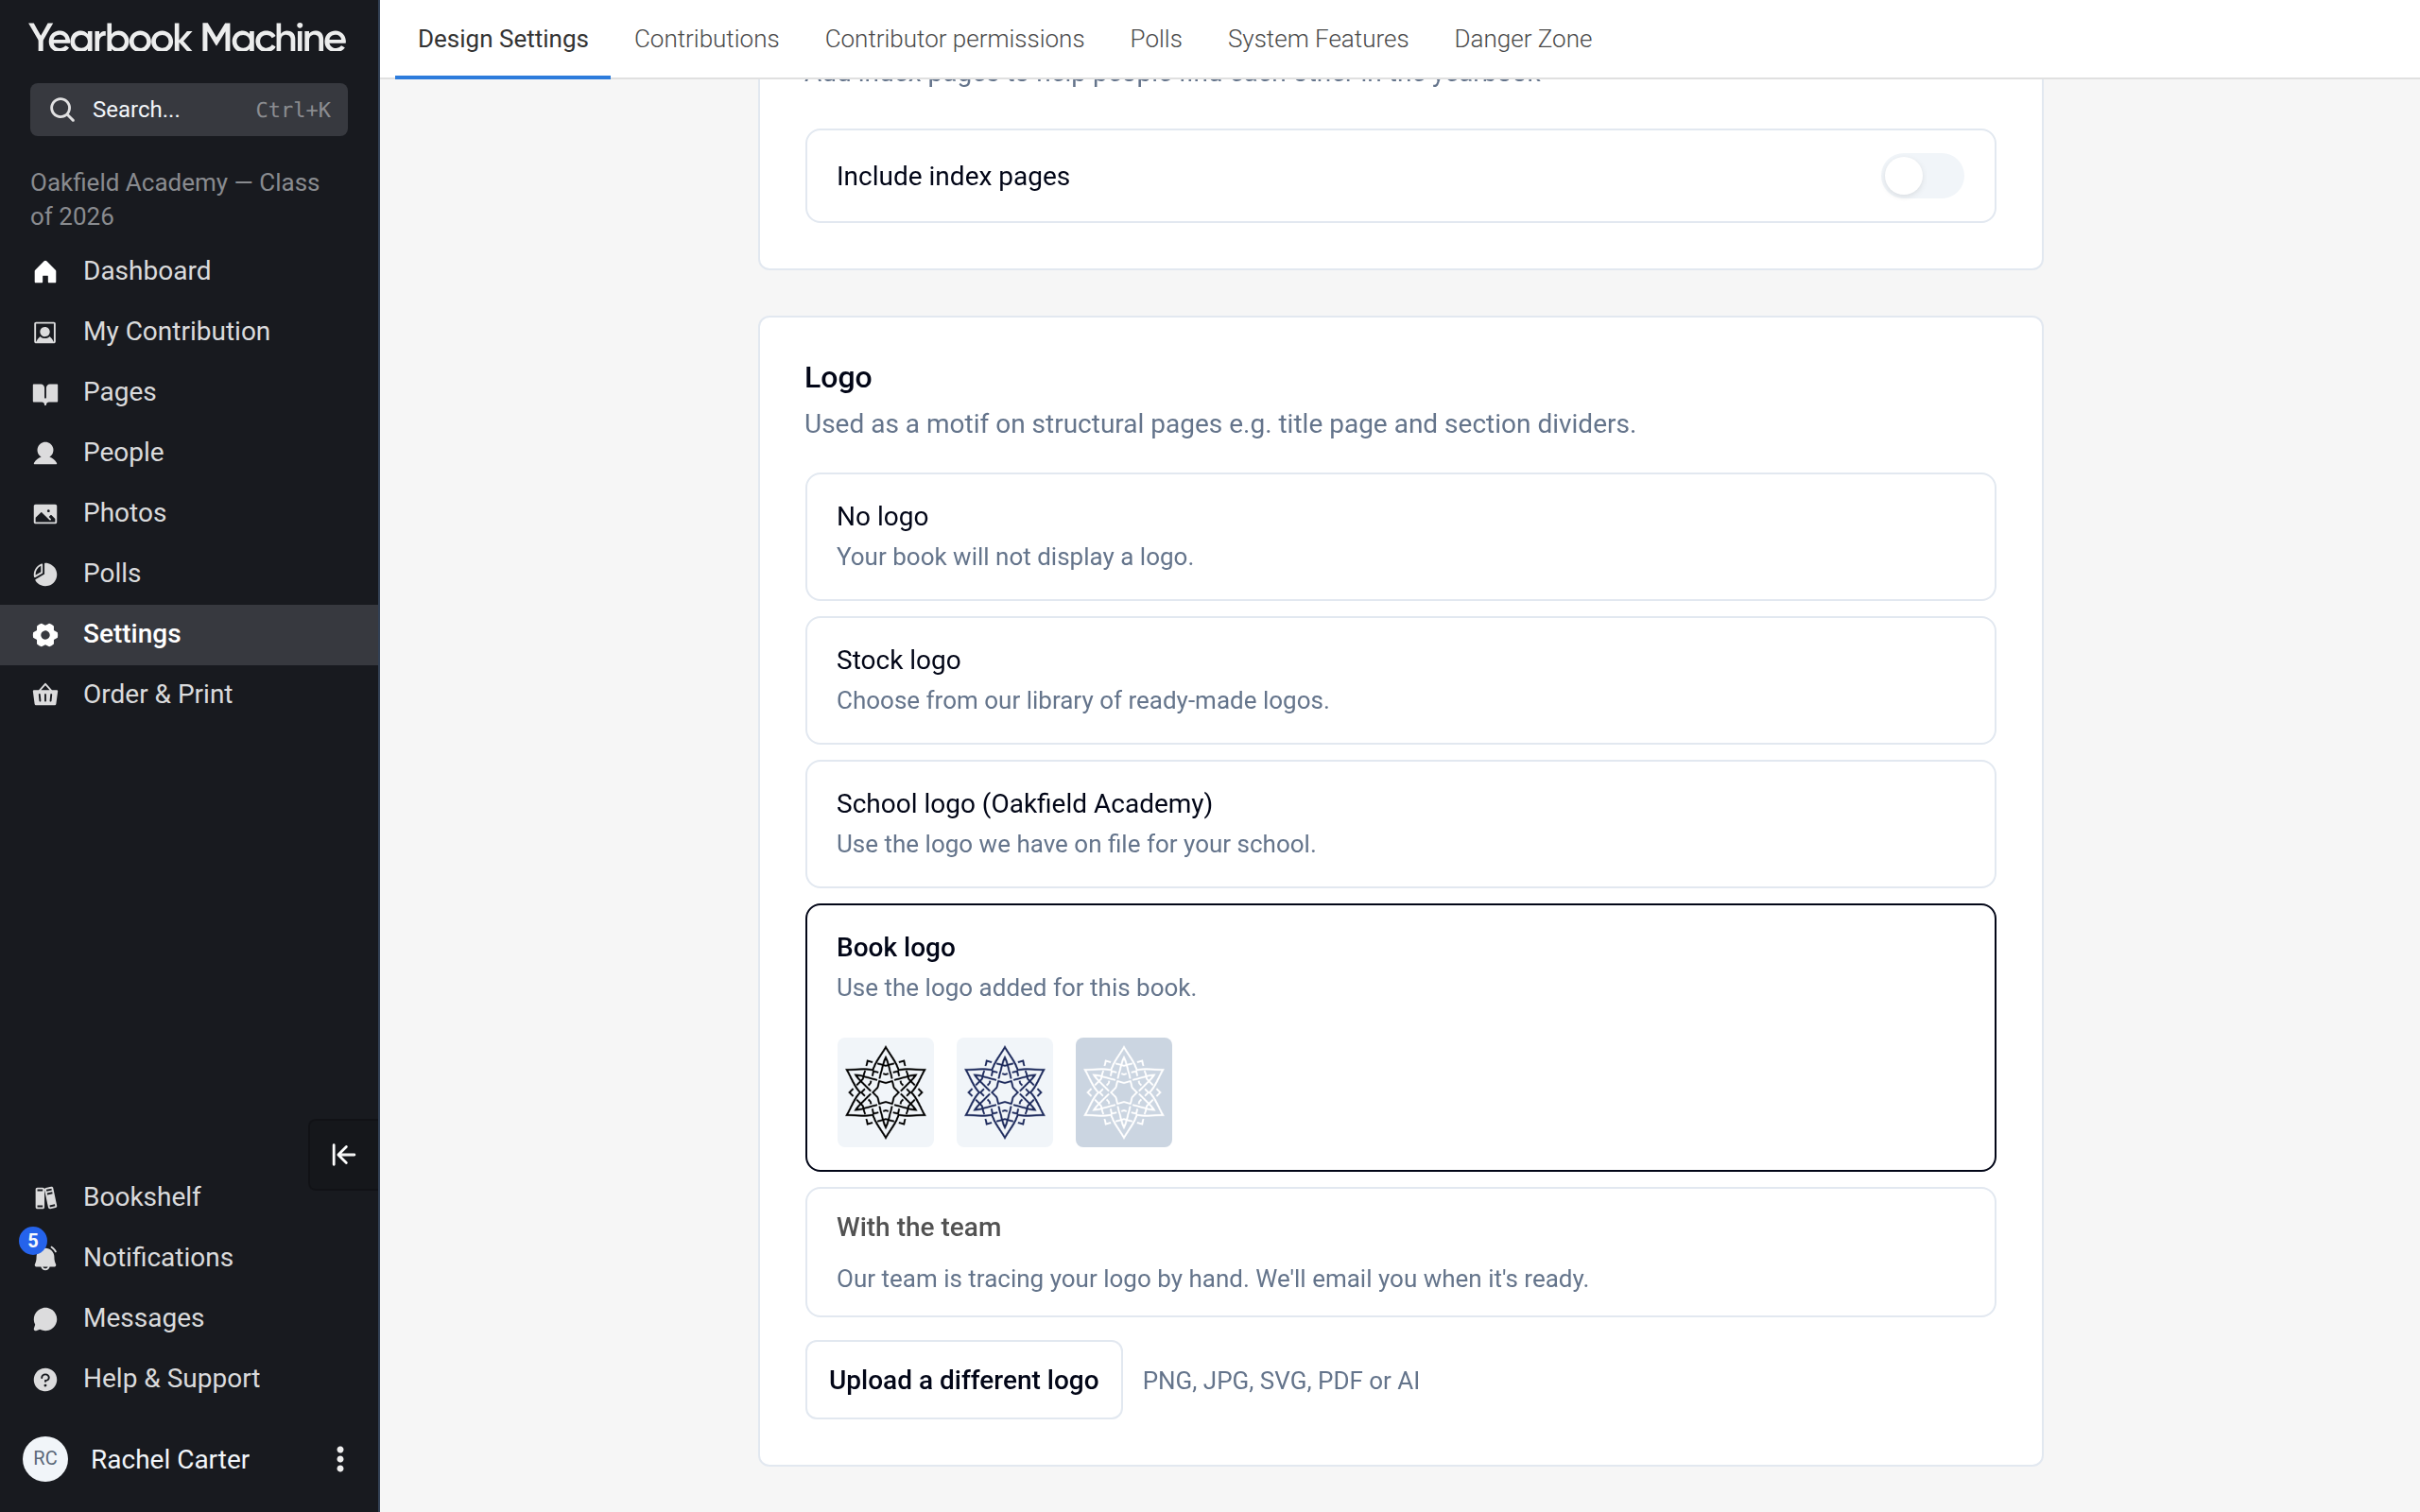
- Click Settings in the main menu and open the Design Settings tab.
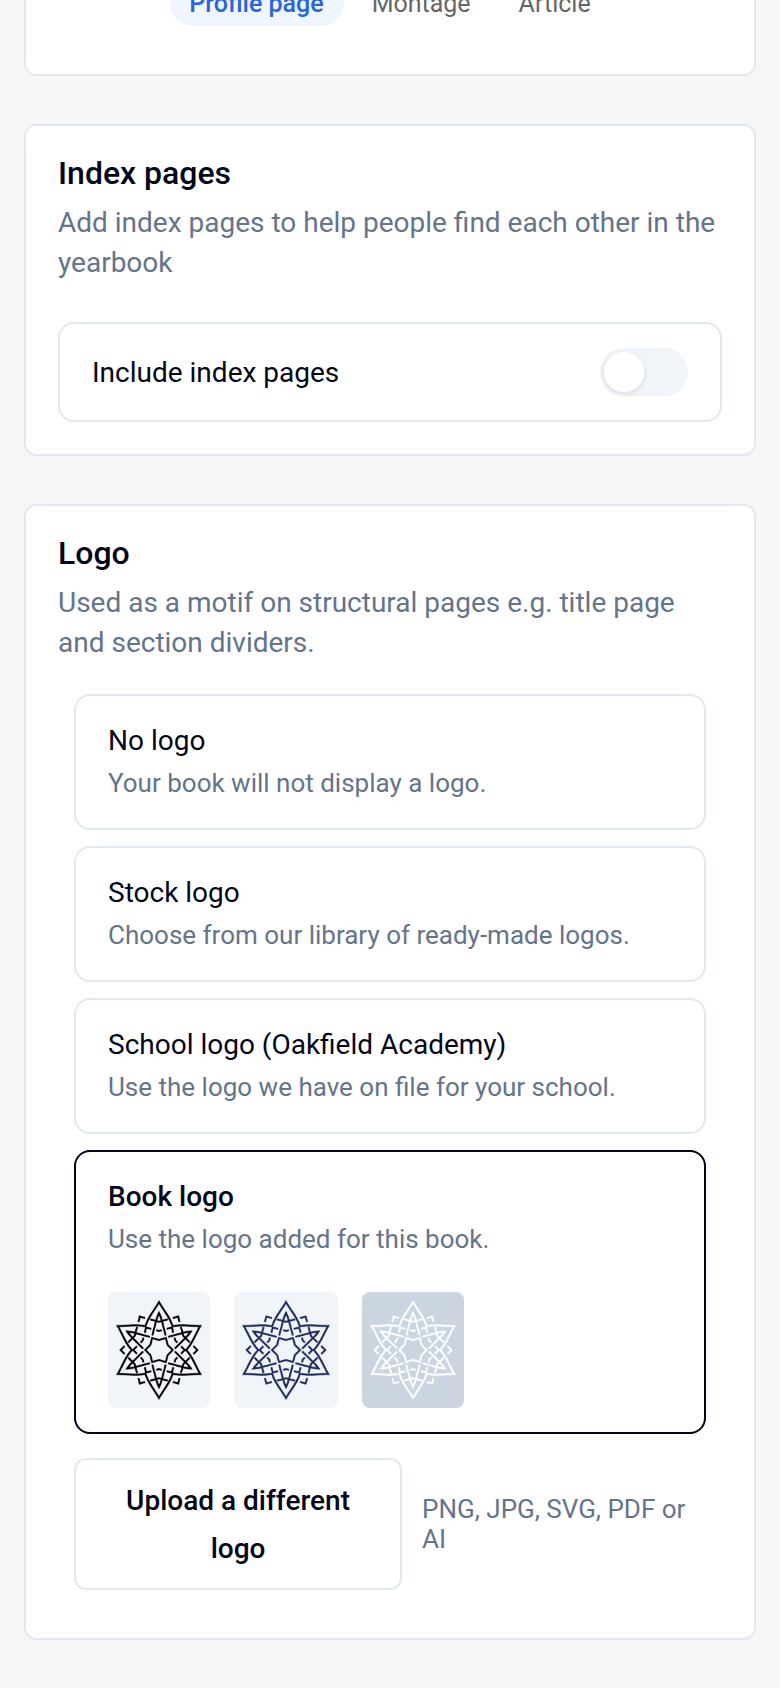
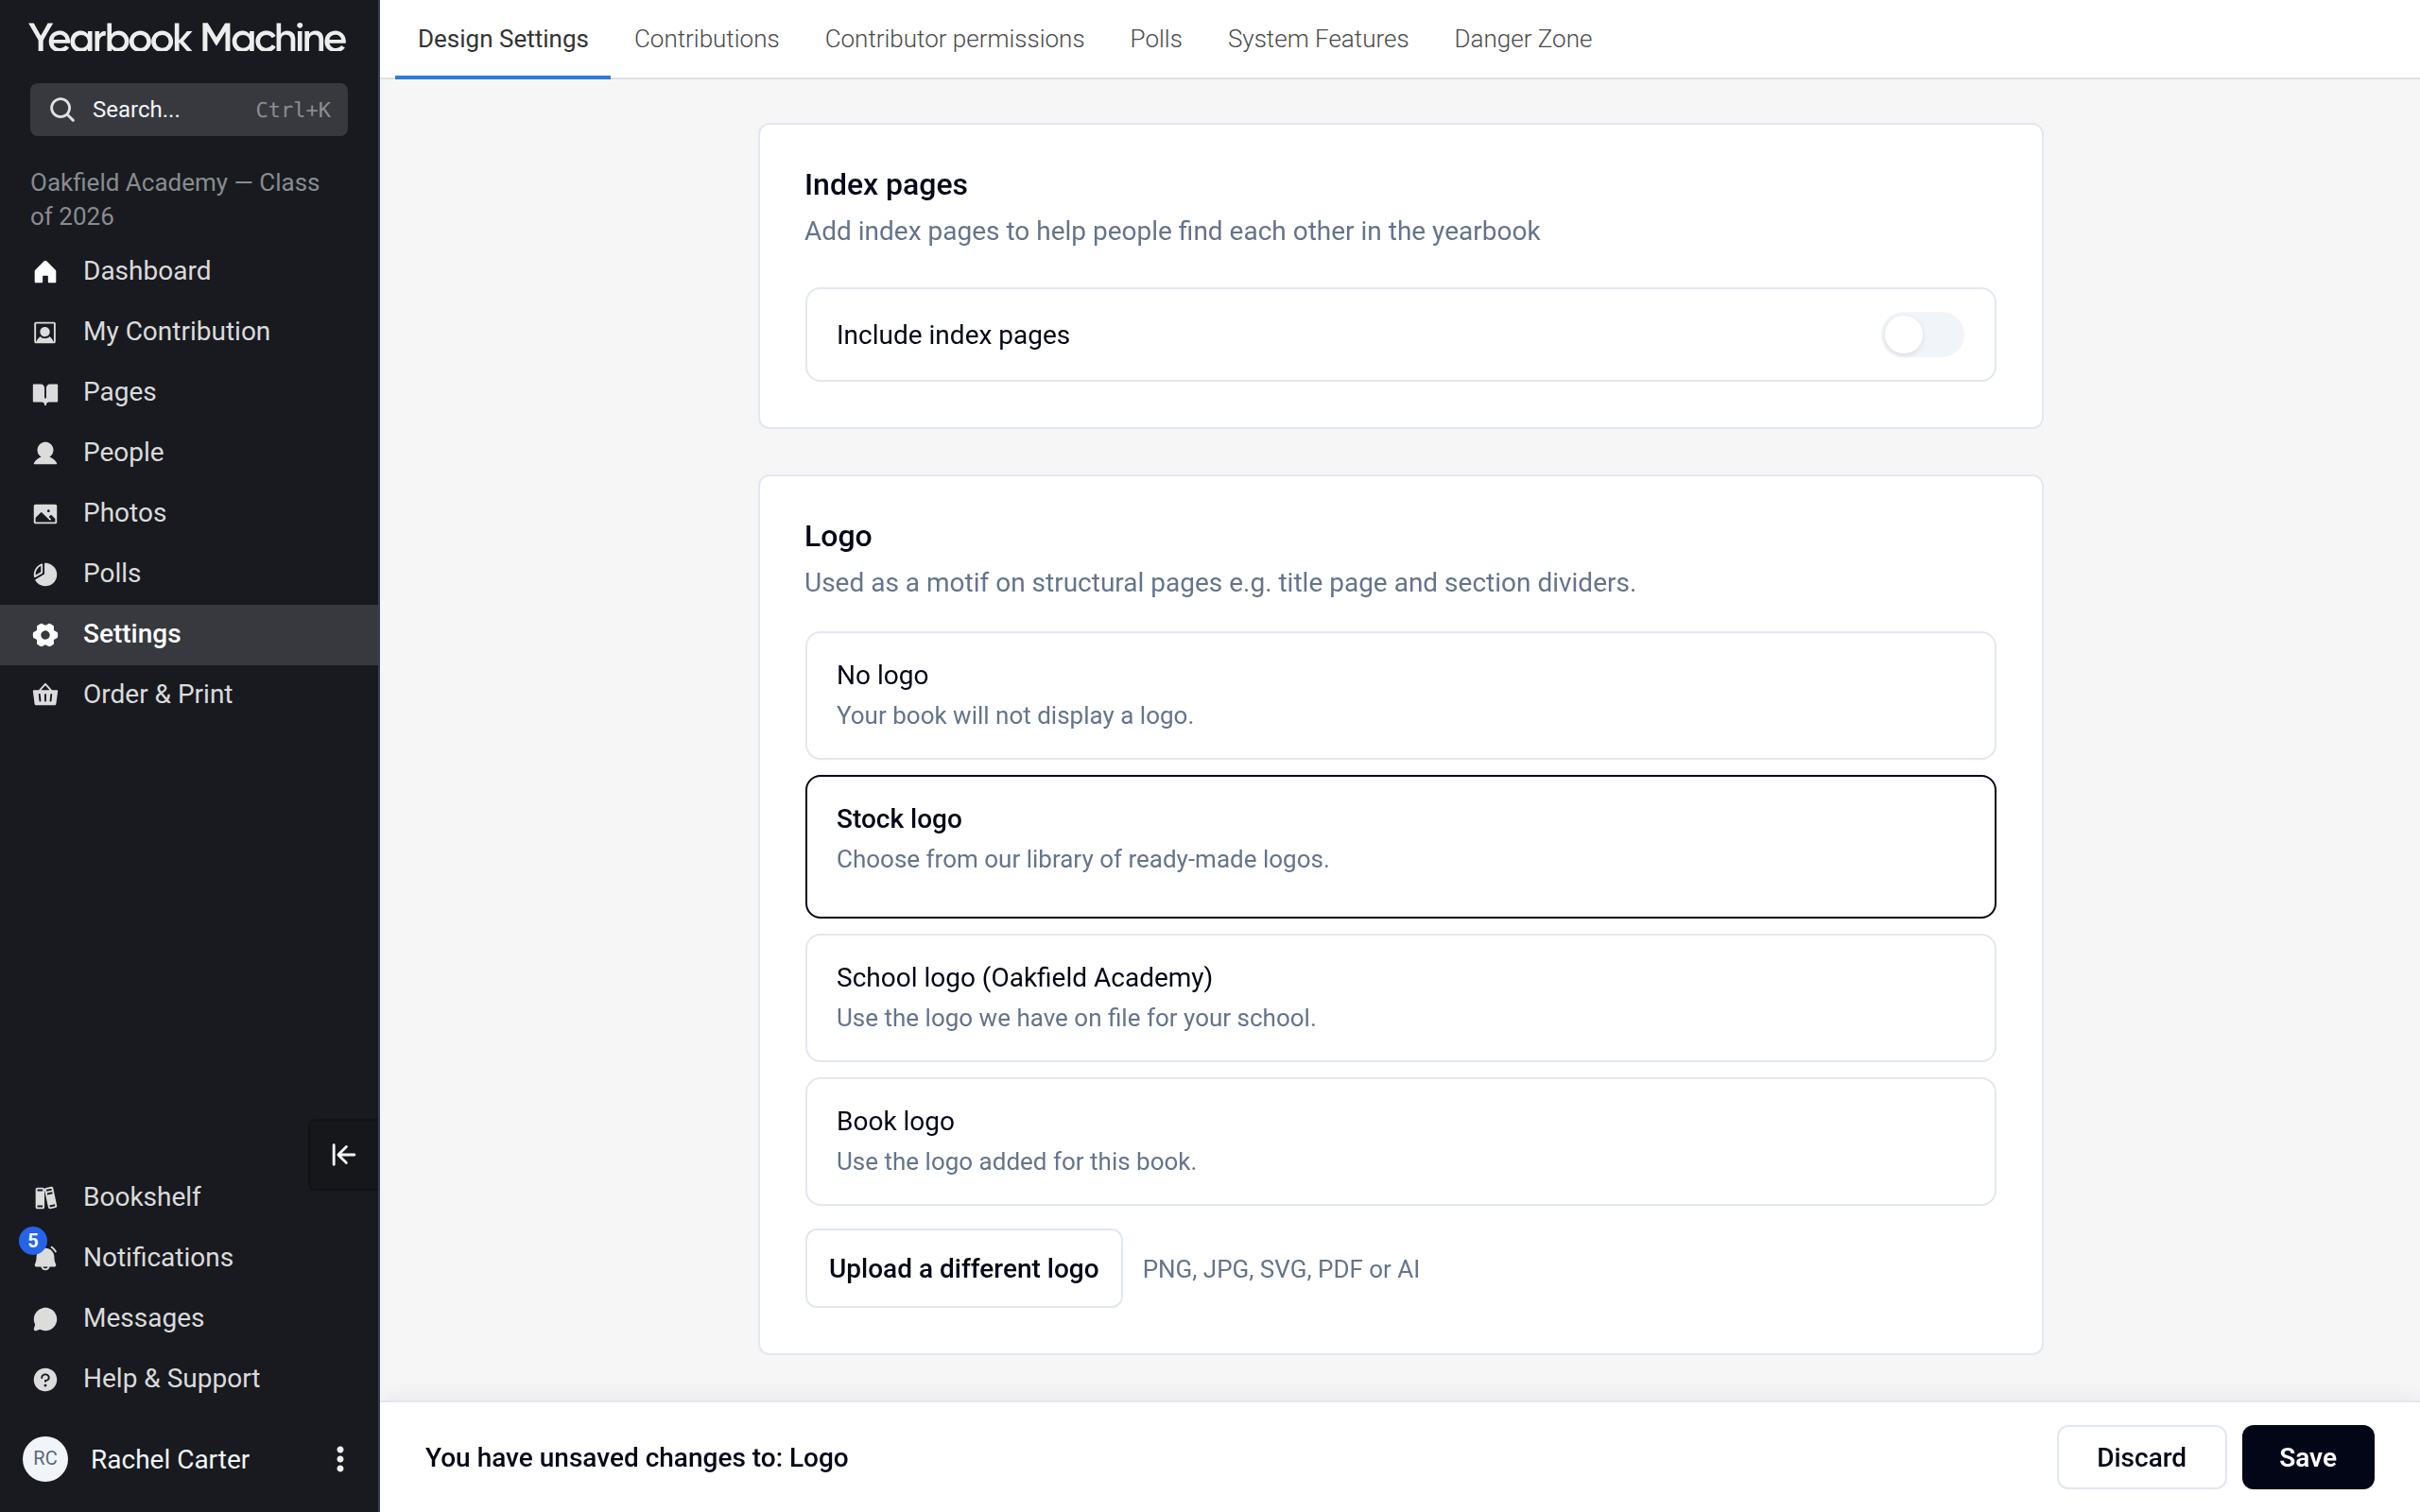
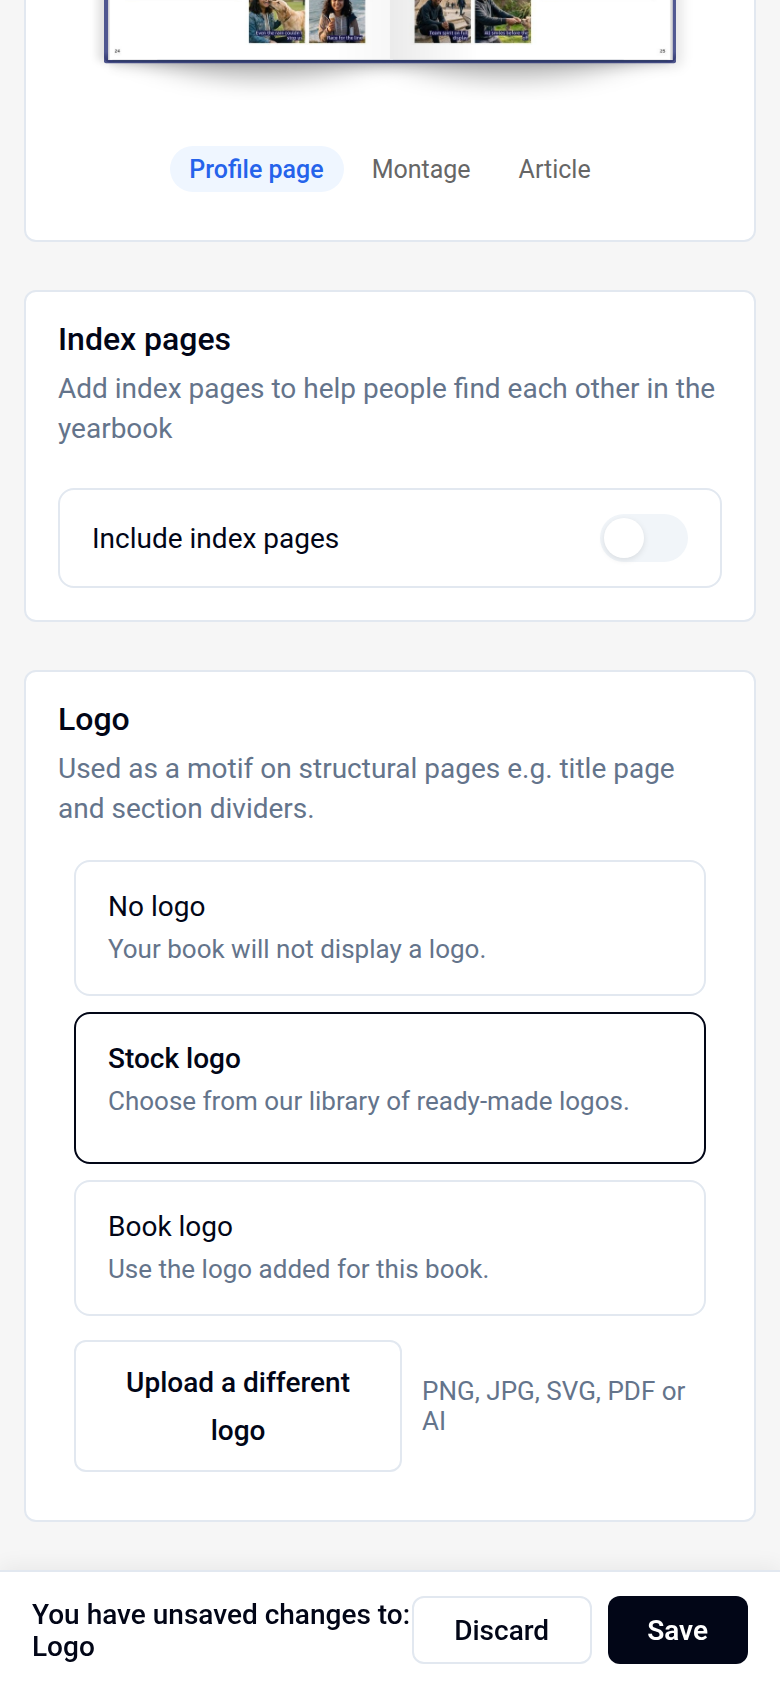
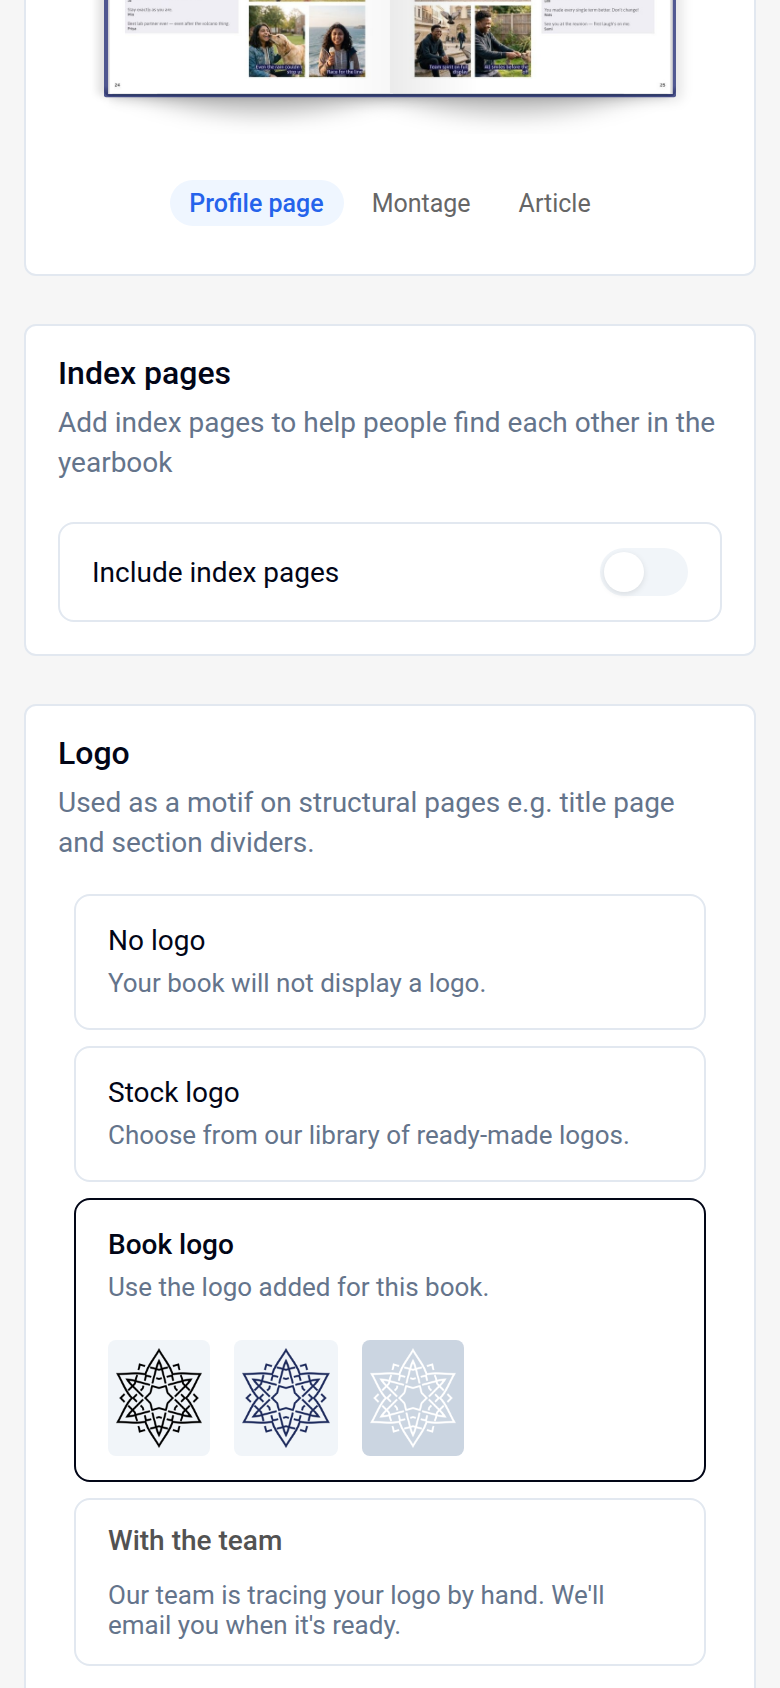
- Scroll to the Logo card and choose one of the options:
- No logo: your book will not show a logo anywhere.
- Stock logo: a ready-made design from our library. It is printed in your book's main colour.
- School logo (followed by your school's name): the logo we already have on file for your school. This only appears if we hold one.
- Book logo: a logo that has been uploaded and made print-ready for this book. This only appears once one exists.
- Click Save in the bar at the bottom of the screen, or Discard to go back to your previous choice.
Uploading your own logo
- On the Logo card, click Upload custom logo (or Upload a different logo if you have uploaded one before).
- Choose your file. We accept PNG, JPG, SVG, PDF or AI files.
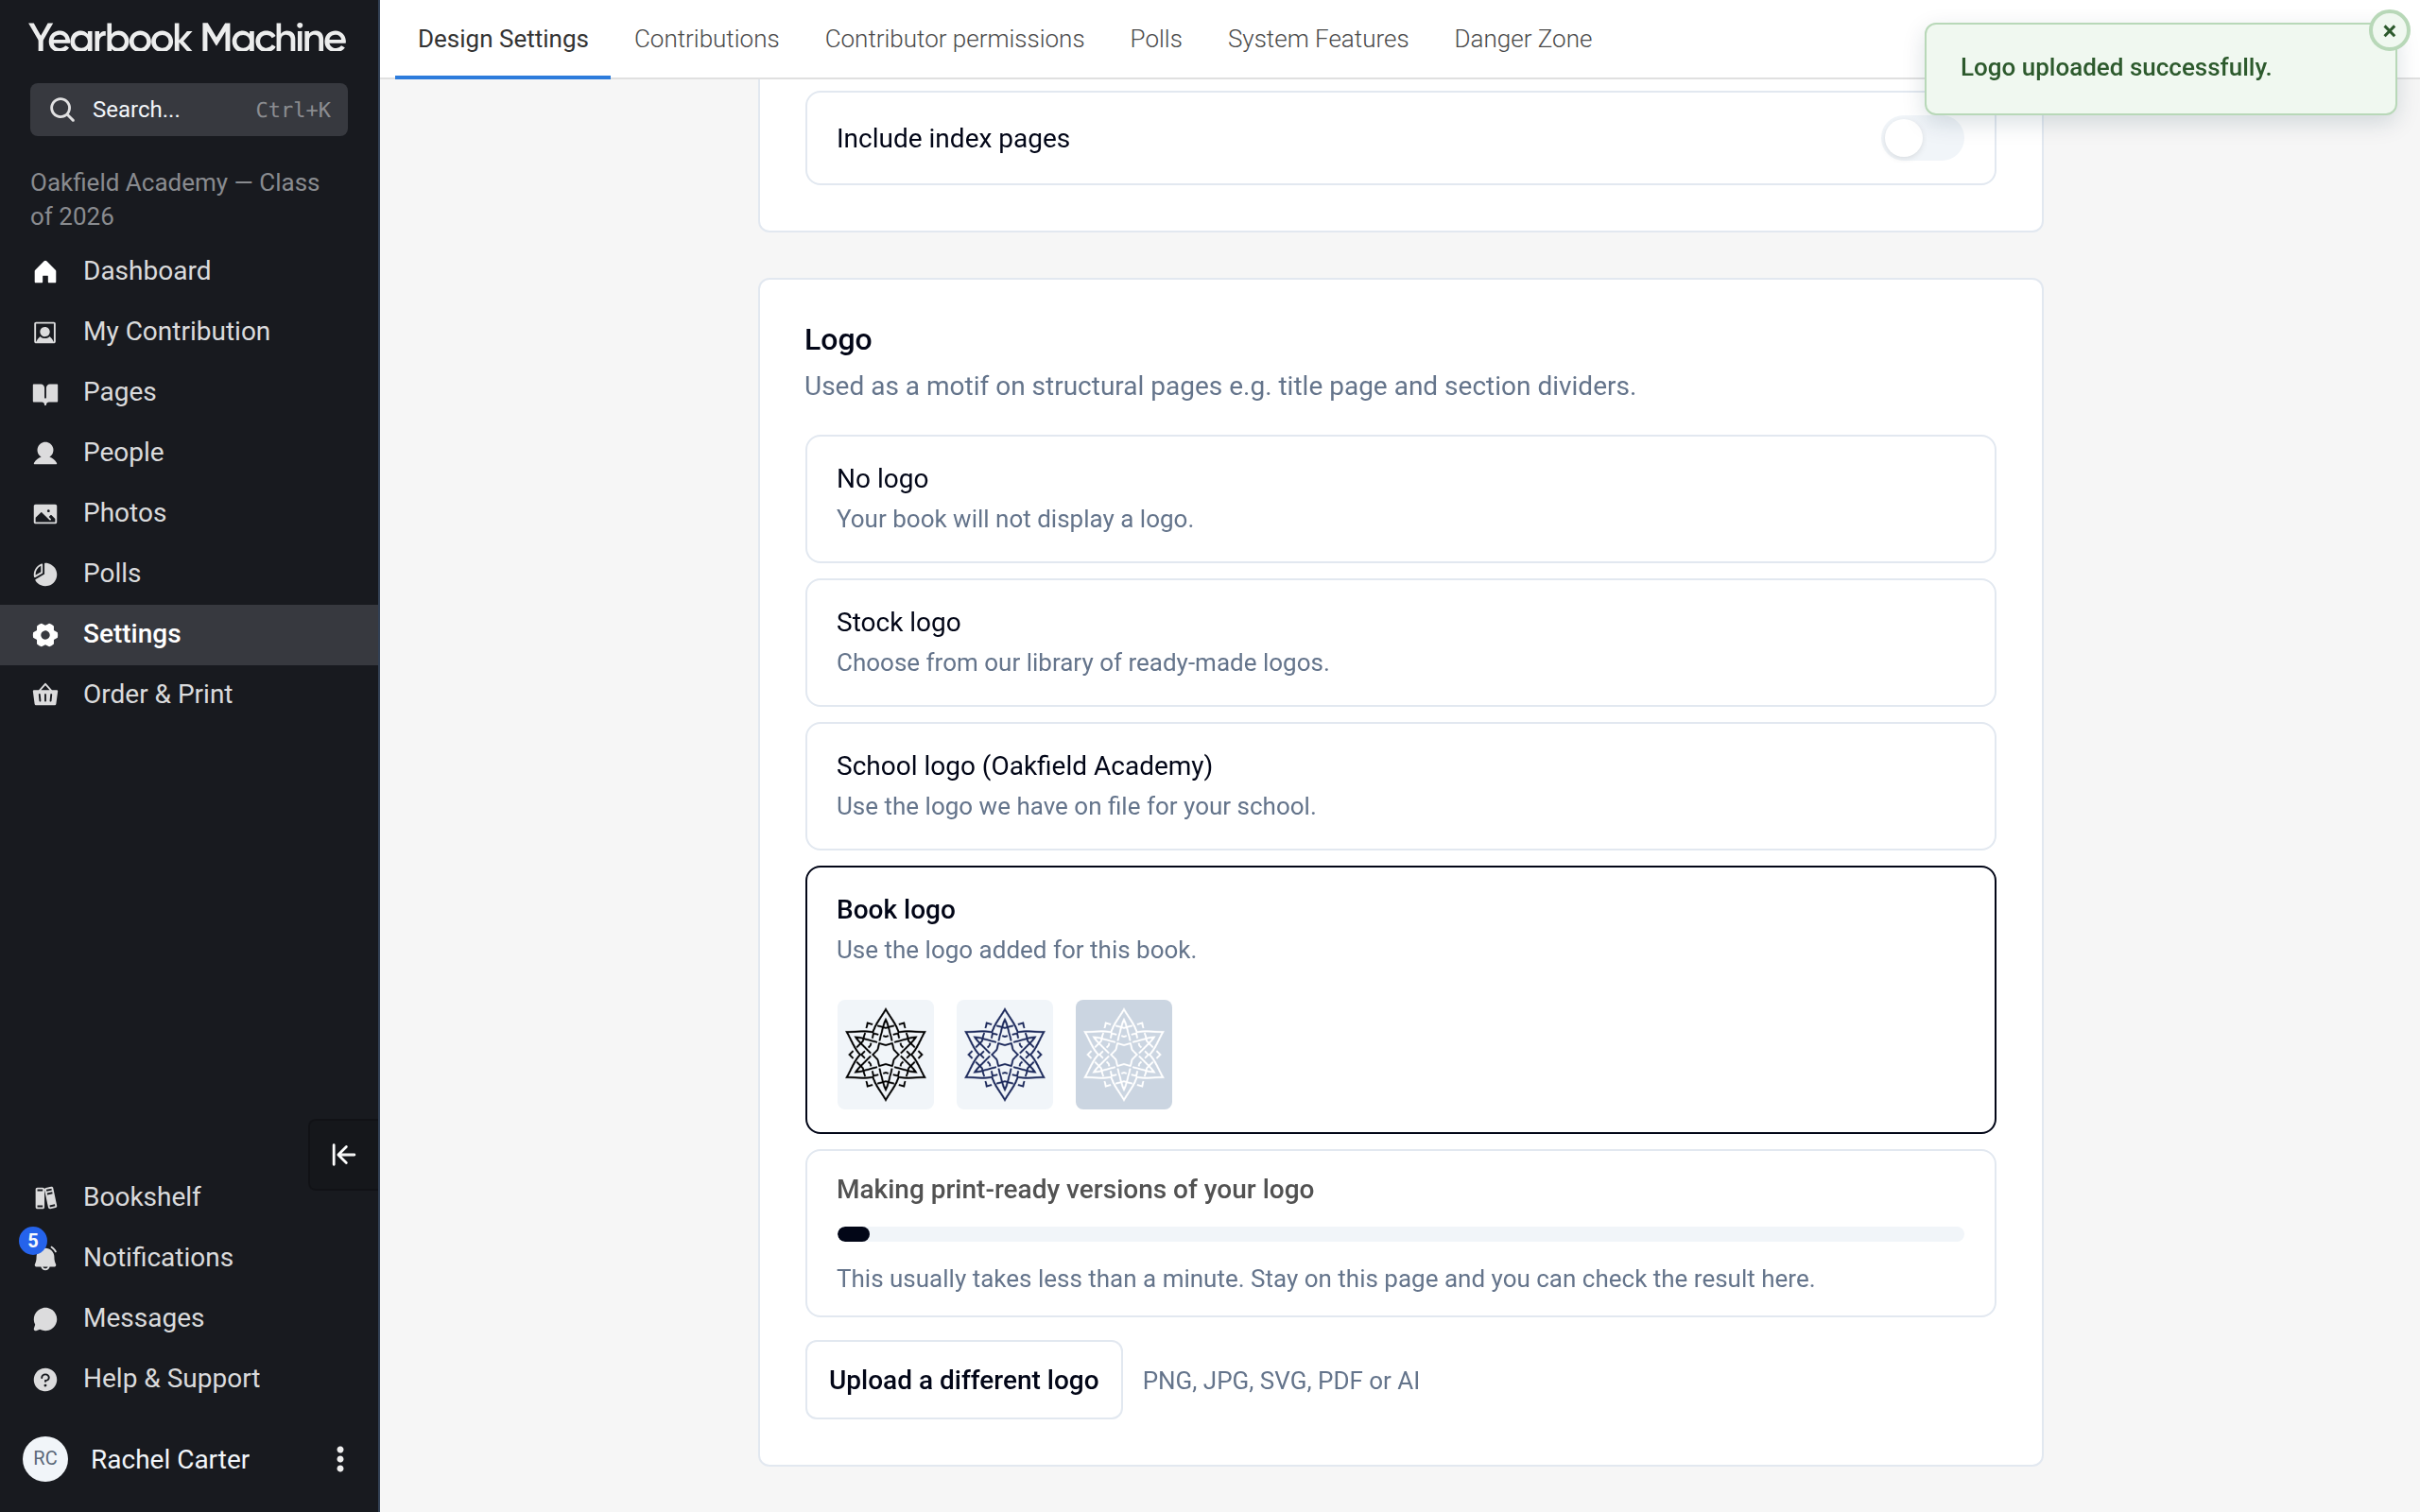
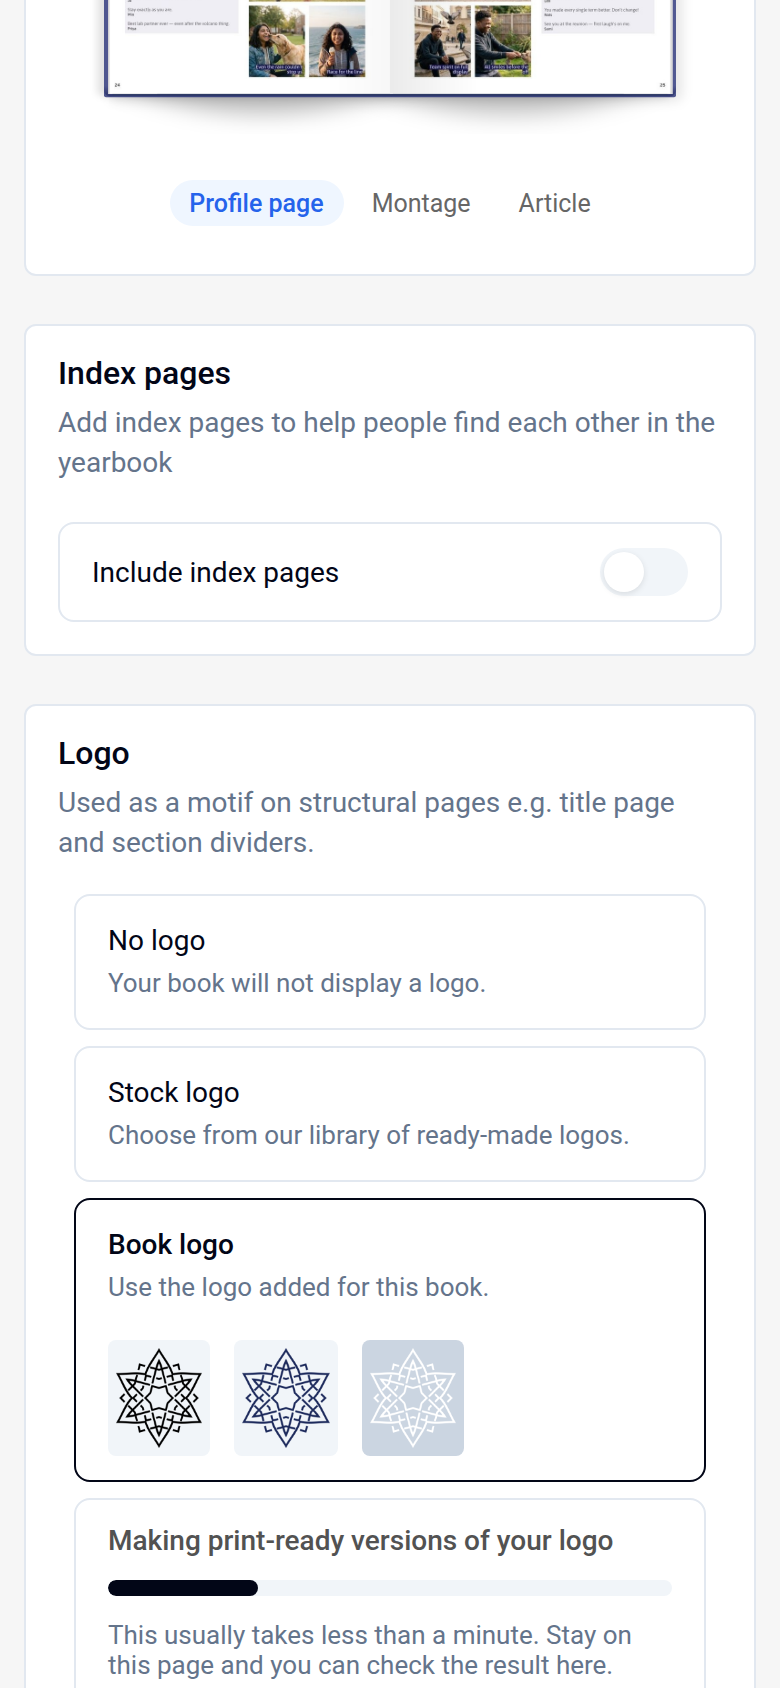
- The card shows Making print-ready versions of your logo. This usually takes less than a minute. Stay on the page and the result appears on the card when it is ready. If it takes longer, the card says Still making print-ready versions of your logo. You can leave the page, and we'll email you when it's ready to check.
A PDF, SVG or AI file, or a large PNG, gives the sharpest result in print. Your school office can often supply one.
Checking your logo
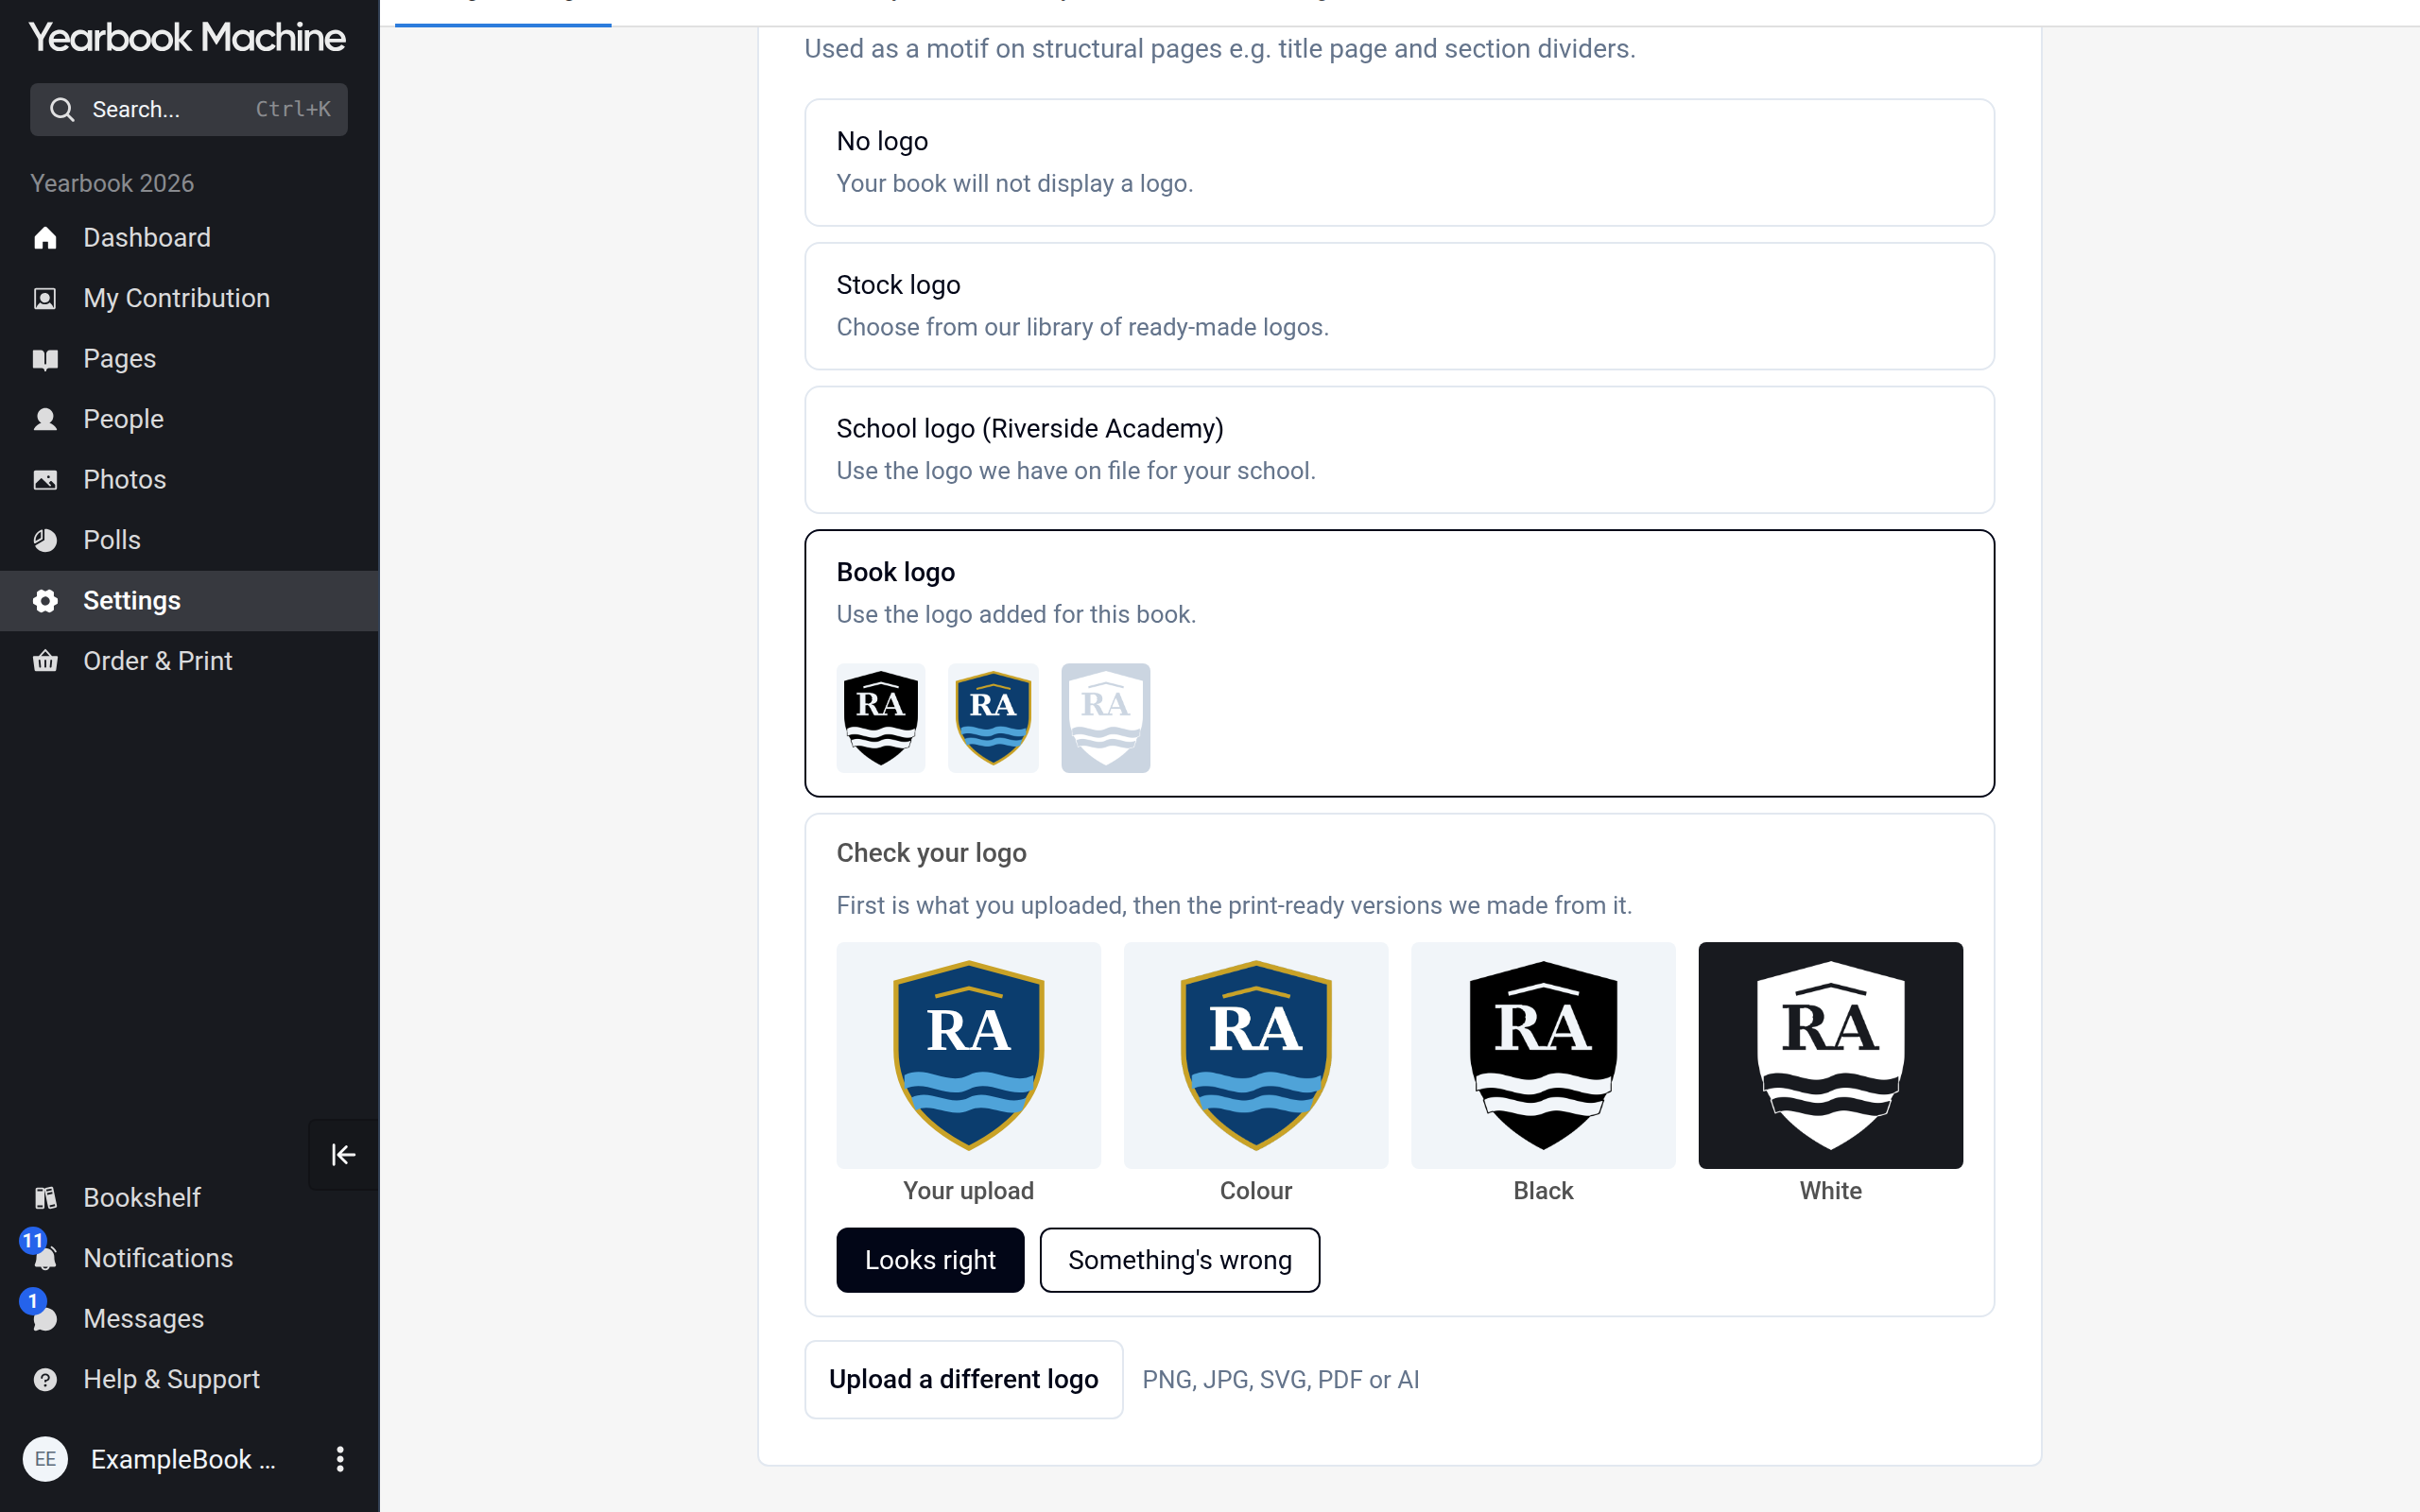
When the print-ready versions are ready, the card shows Check your logo: first your upload, then the Colour, Black and White print-ready versions we made from it.
- If your logo has a name set apart from the crest, you may be offered a choice between Crest only and Crest and name. Pick the one you want.
- If your upload was a white logo, you can pick the colour to use for the colour version, or upload the coloured file instead.
- Click Looks right. The new logo becomes your Book logo and is used throughout your book.
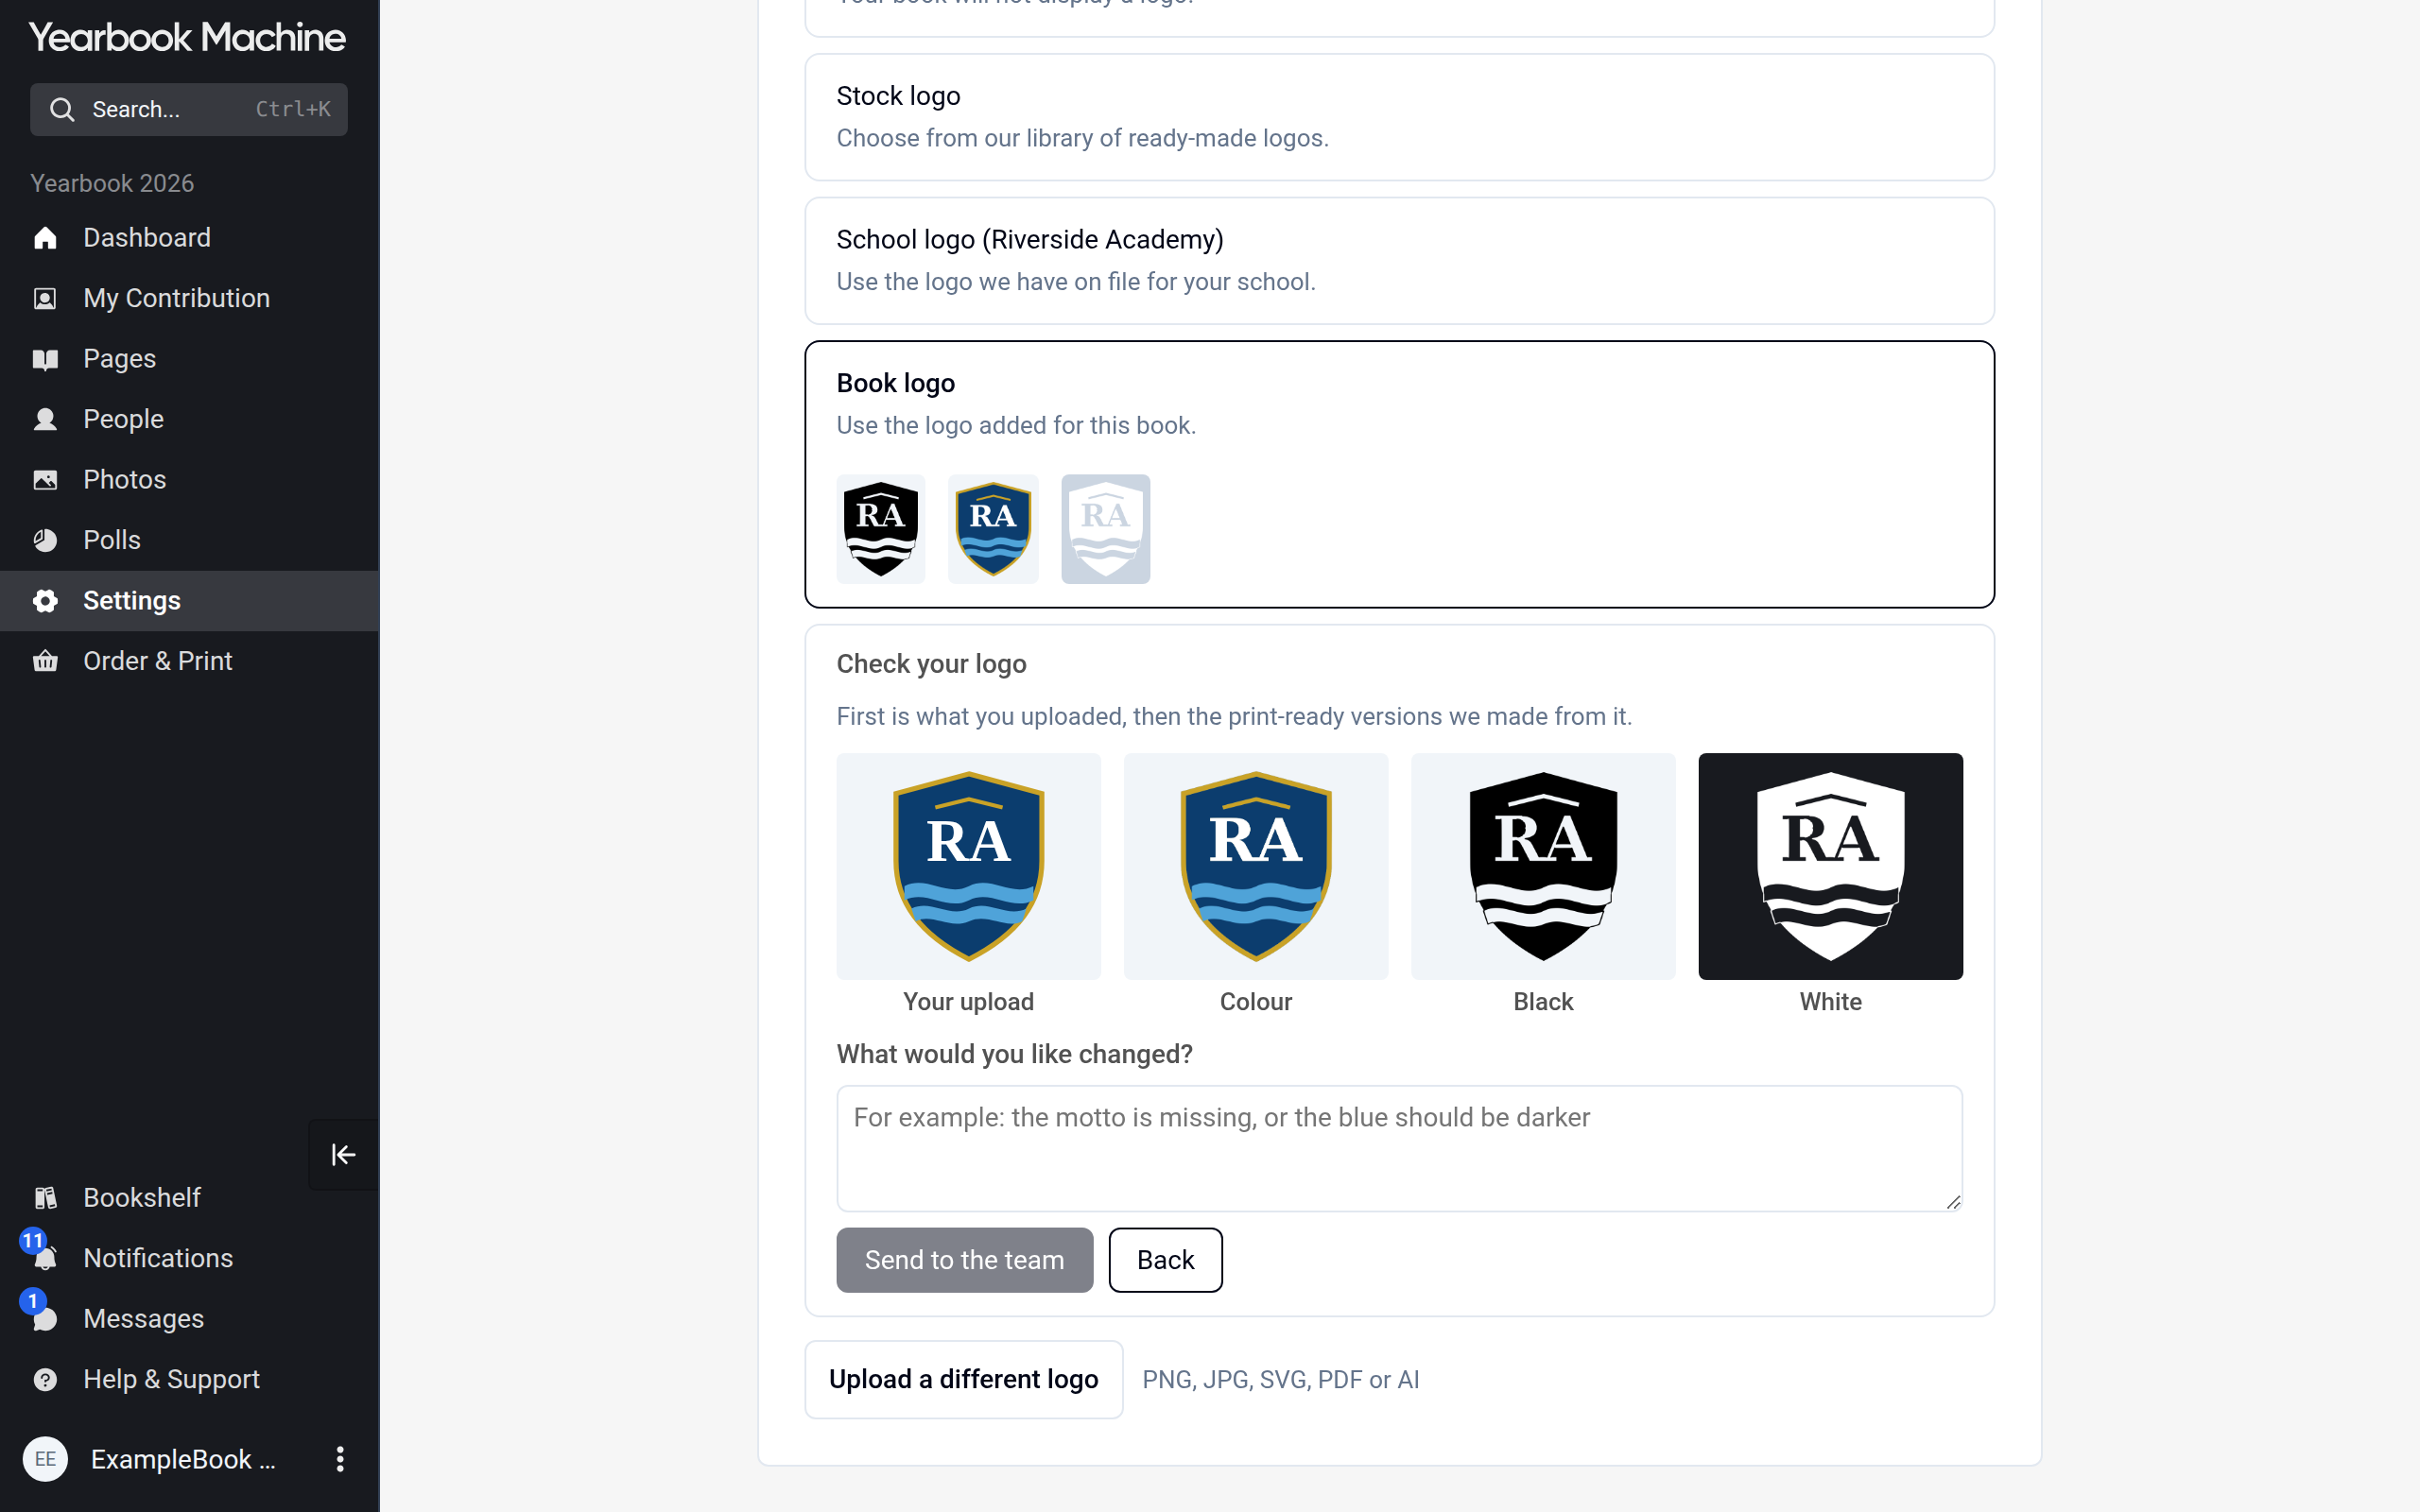
If it isn't right, click Something's wrong, say what you'd like changed in the box, and click Send to the team. Our team will then trace the logo by hand, the card shows With the team, and we'll email you when it's ready.
If the card says We need a better file, your file was too small or was a photo. Click Upload a larger file, or Ask the team to trace it by hand.
If the card says This doesn't look like a logo or crest, click Upload the logo and choose your logo file.
Choosing the logo on your cover
- Click Pages in the main menu to open the Pages screen, then click the front cover at the top.
- In the cover designer, open the Design tab and find the Logo section.
- Click the logo you want, or No logo. You can also click Upload to add a new one, which goes through the same check as above.
- If your cover style shows a logo, choose its colour under Logo colour: Full colour, White or Black.
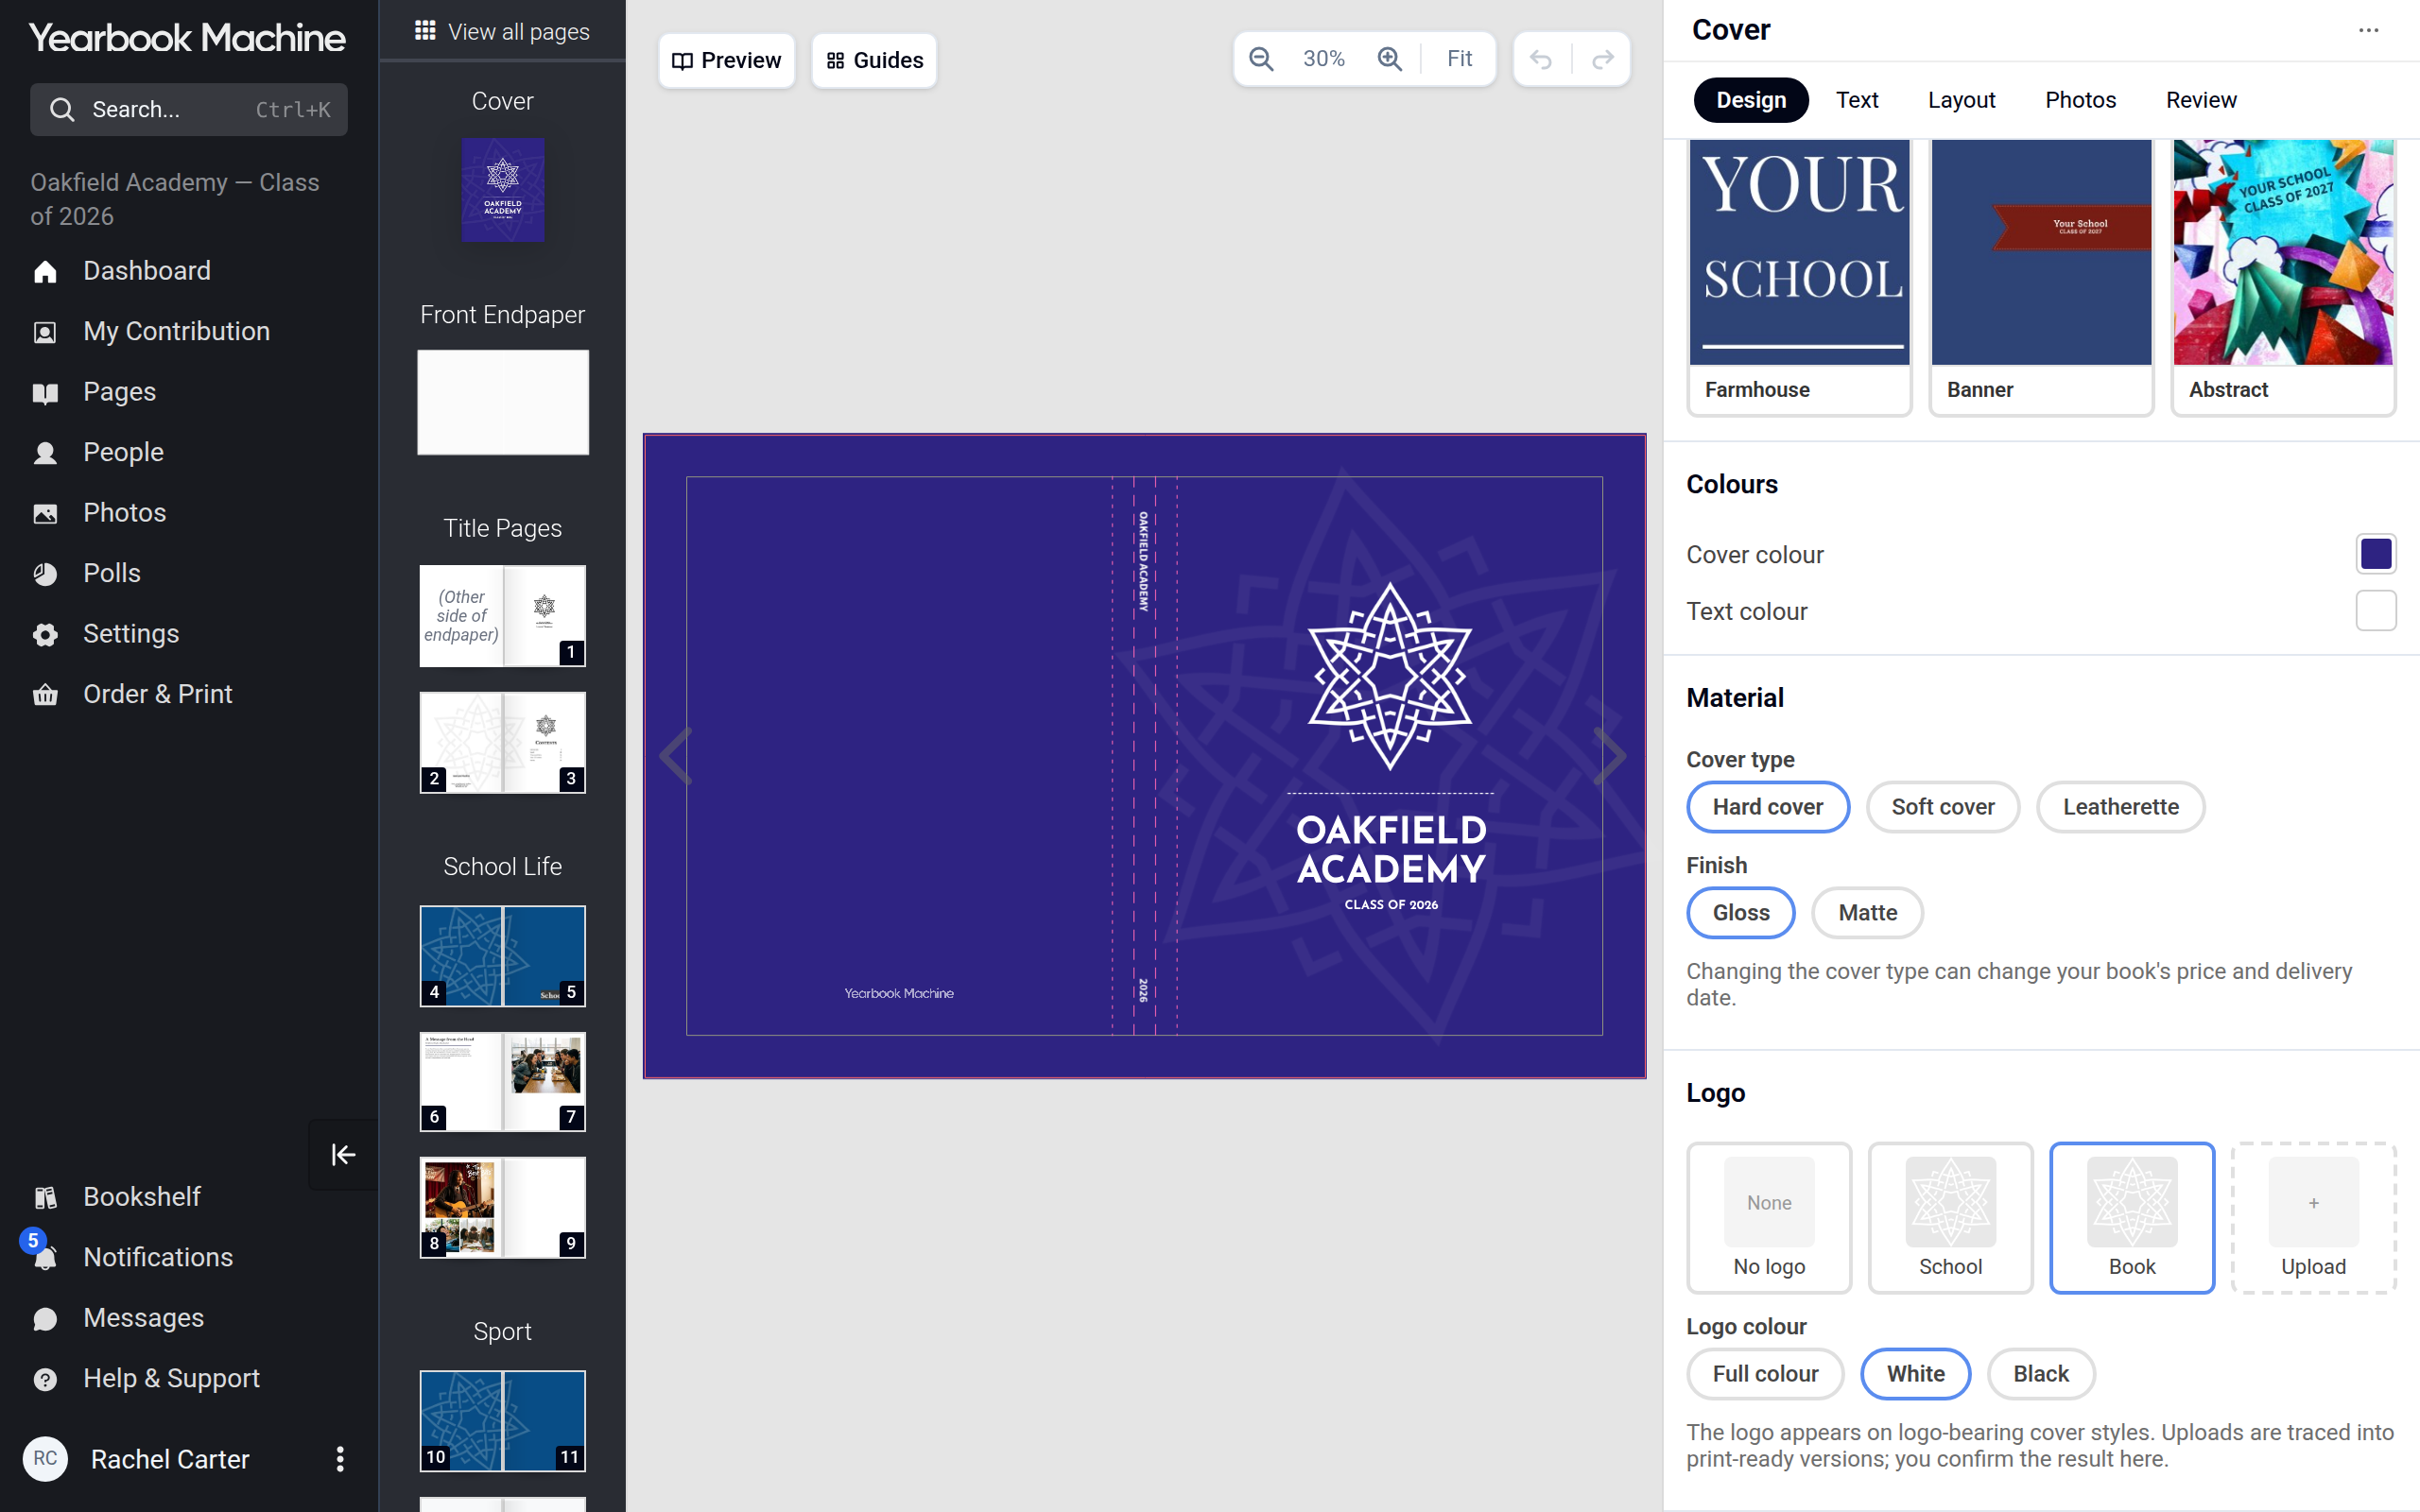
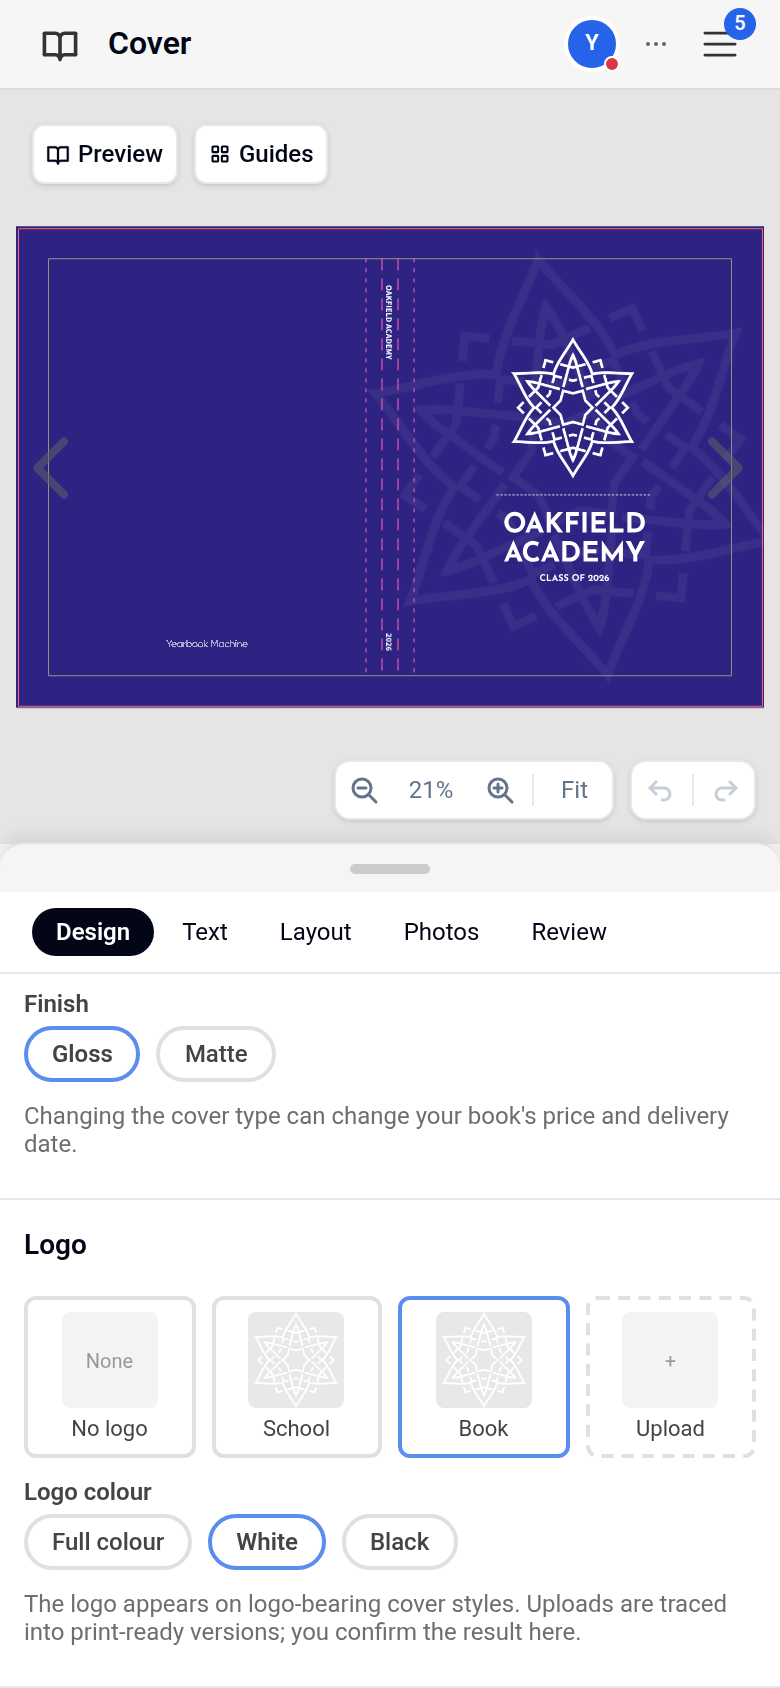
This also changes the logo inside the book.
Placing the logo on a page yourself
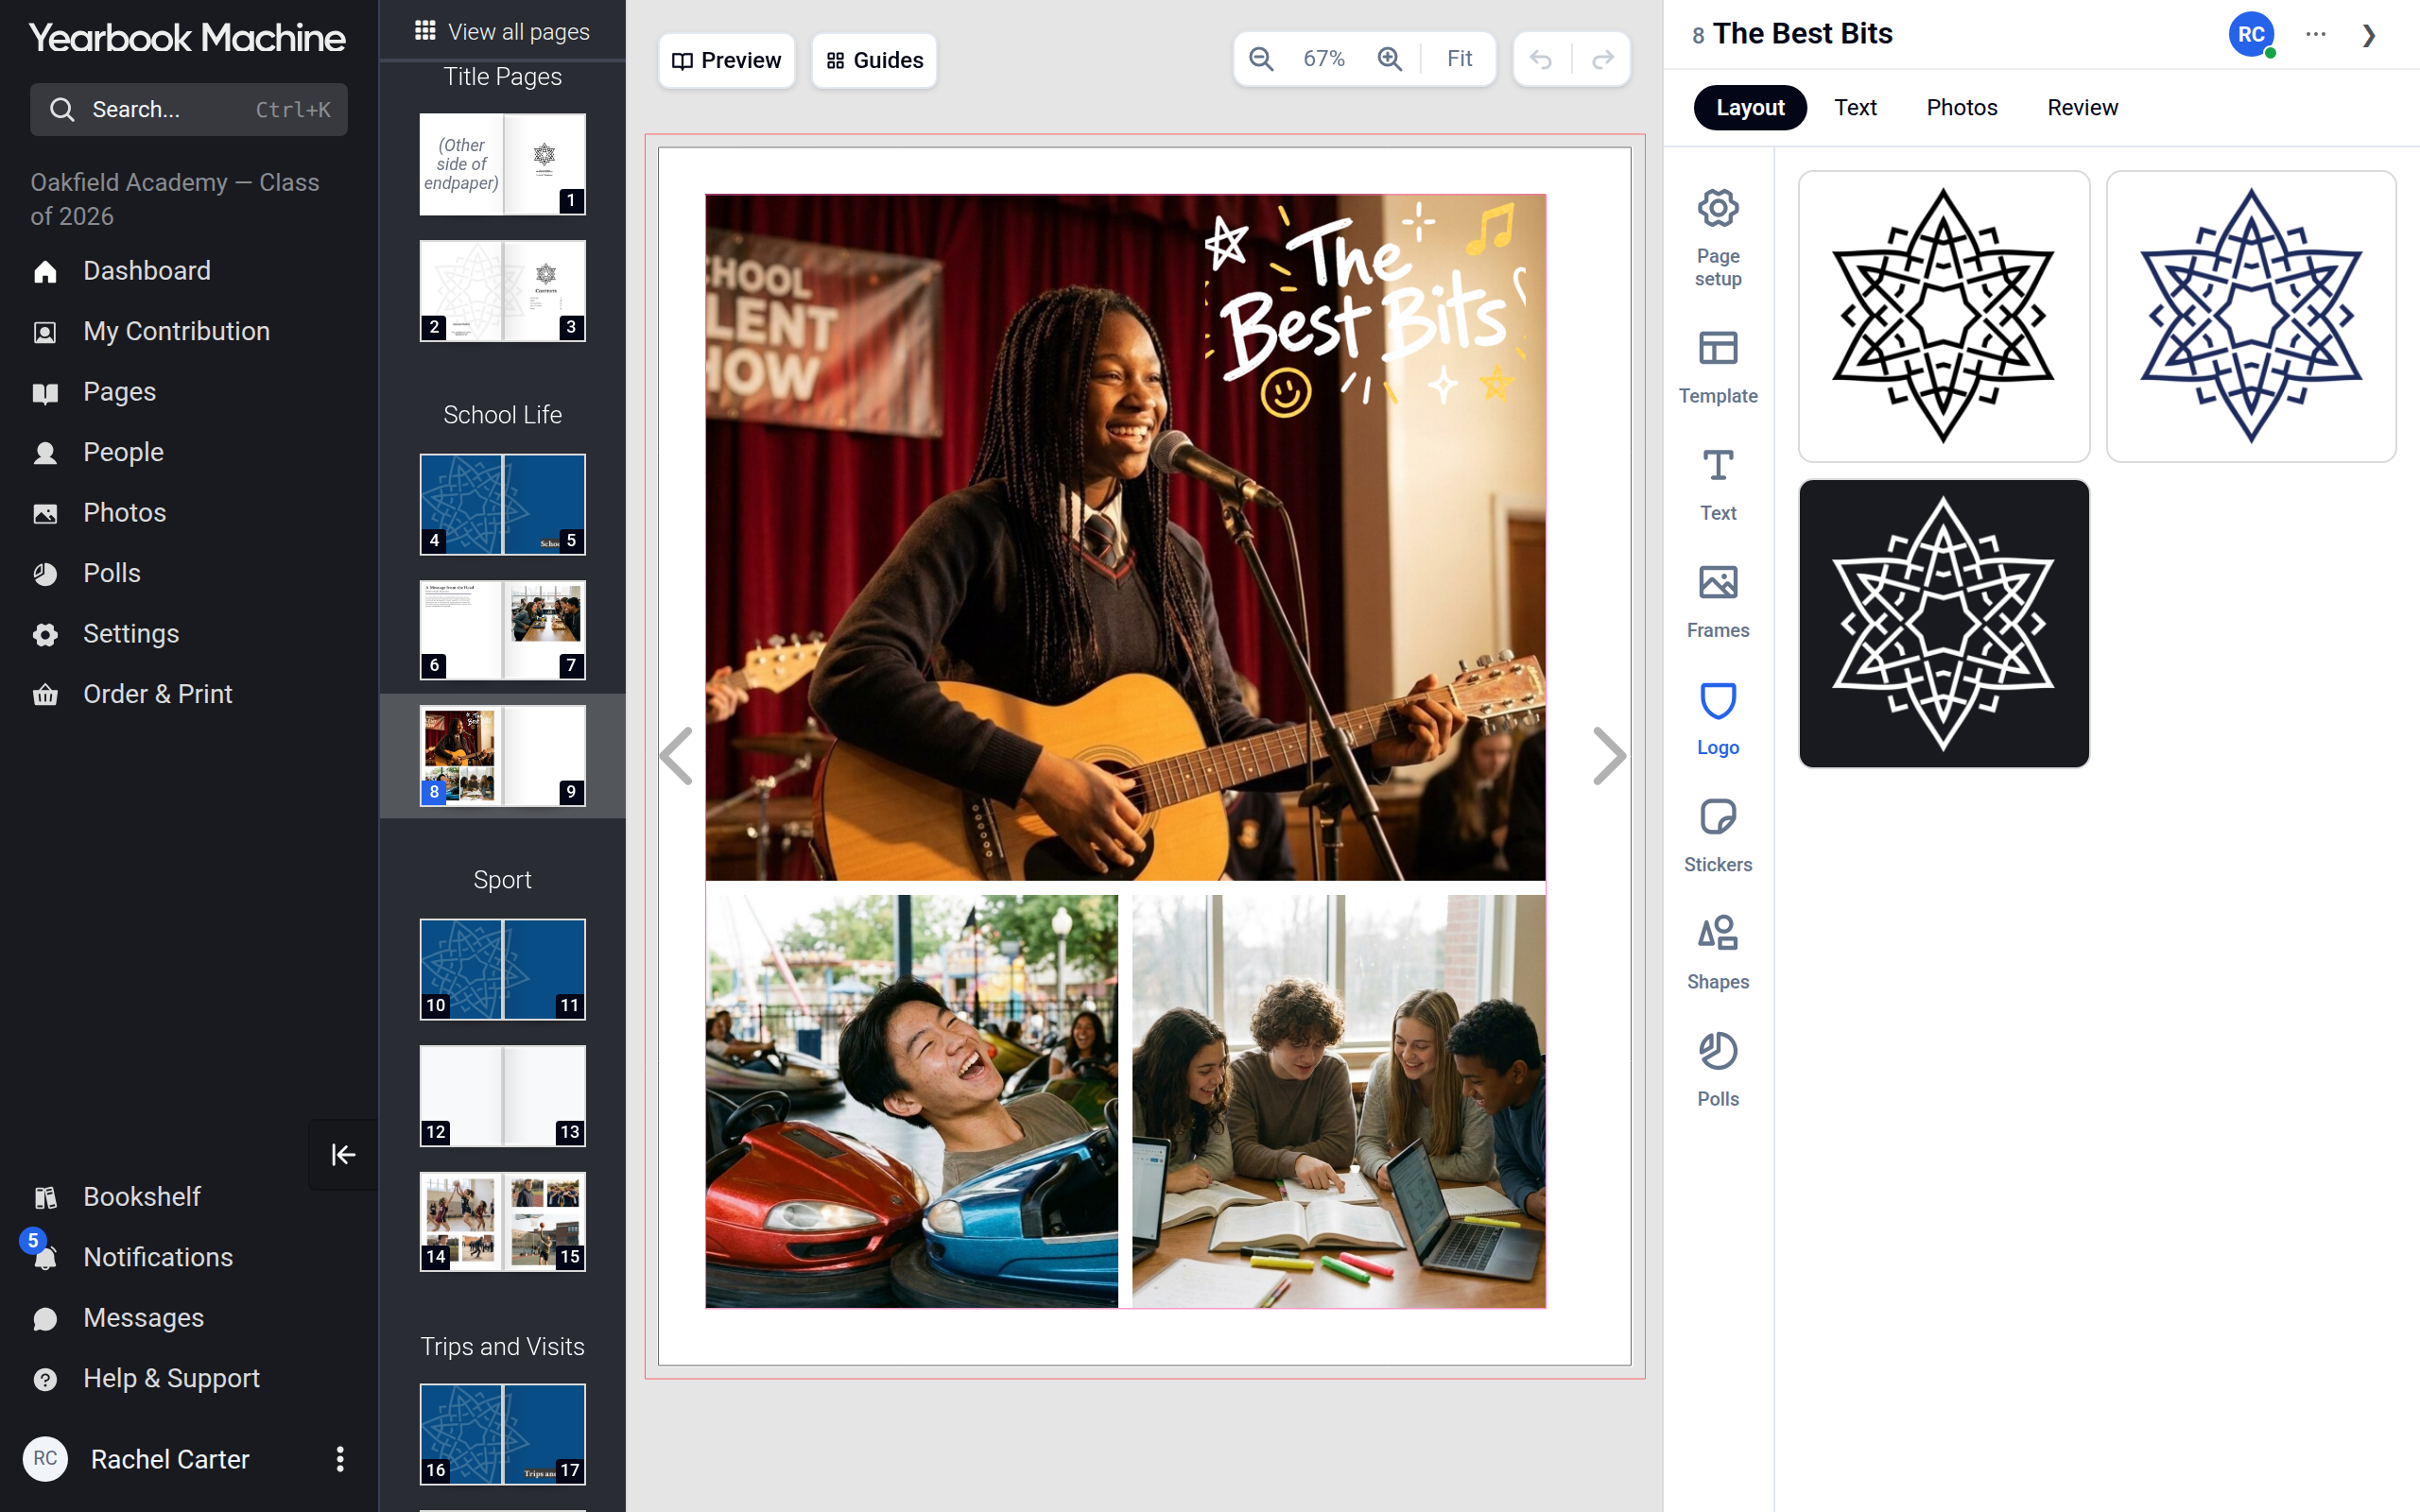
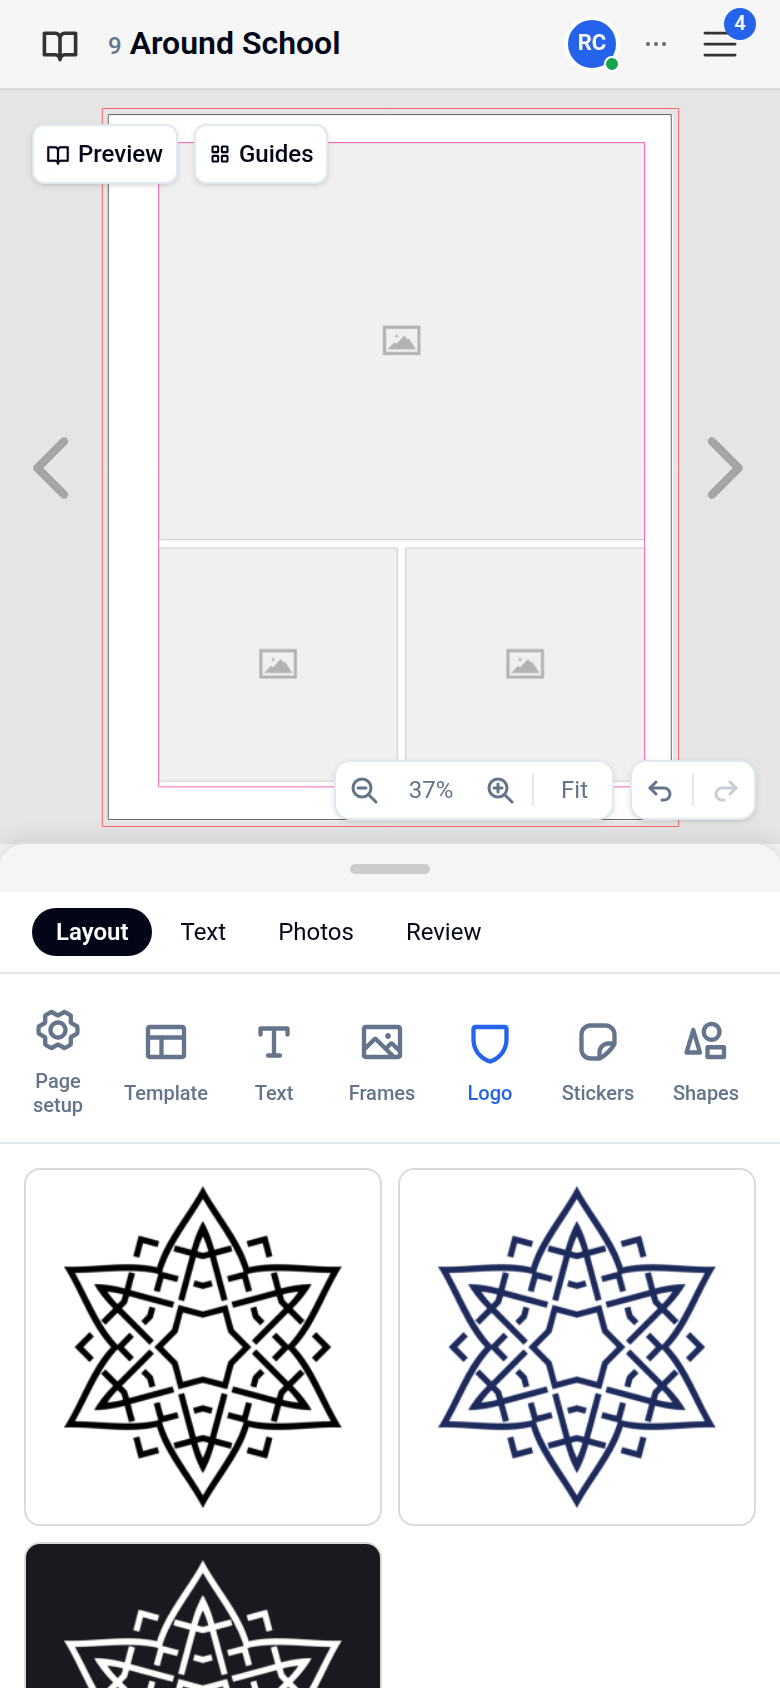
- Open the page and go to the Layout tab.
- If the page is set to Auto, switch it to Manual under Page setup first.
- Click Logo, then click the black, colour or white version. It is added to the middle of the page, where you can move and resize it.
Common questions
Do we have to have a logo?
No. Choose No logo and your book will print without one.
Which file types can I upload?
PNG, JPG, SVG, PDF or AI. Other formats, such as EPS, are not accepted.
I uploaded my logo. Why isn't it on my pages yet?
A new upload is used once you have clicked Looks right on the Check your logo card. If the card says With the team, we'll email you when it's ready.
Can I change the logo later?
Yes. Choose a different option on the Logo card, or upload a new file, and save.
Was this article helpful?
Sorry, that didn't send. Please try again in a little while.
Thanks. That helps us improve this article.
Any other questions?
Email support@yearbook.com and we'll help you out.