
Adding, moving and changing pages
This article explains how to add pages and sections to your yearbook, move them around, rename or delete them, choose how profile pages are ordered, and change a page's layout. You do most of this on the Pages screen, which you open by selecting Pages in the main menu. It shows your whole book as spreads (pairs of facing pages) grouped into sections, the chapters of your book. Only editors can add, move and delete pages. Contributors who own a page can rename it.
Adding a page
- On the Pages screen, click Add page(s). The Add page panel opens on the right.
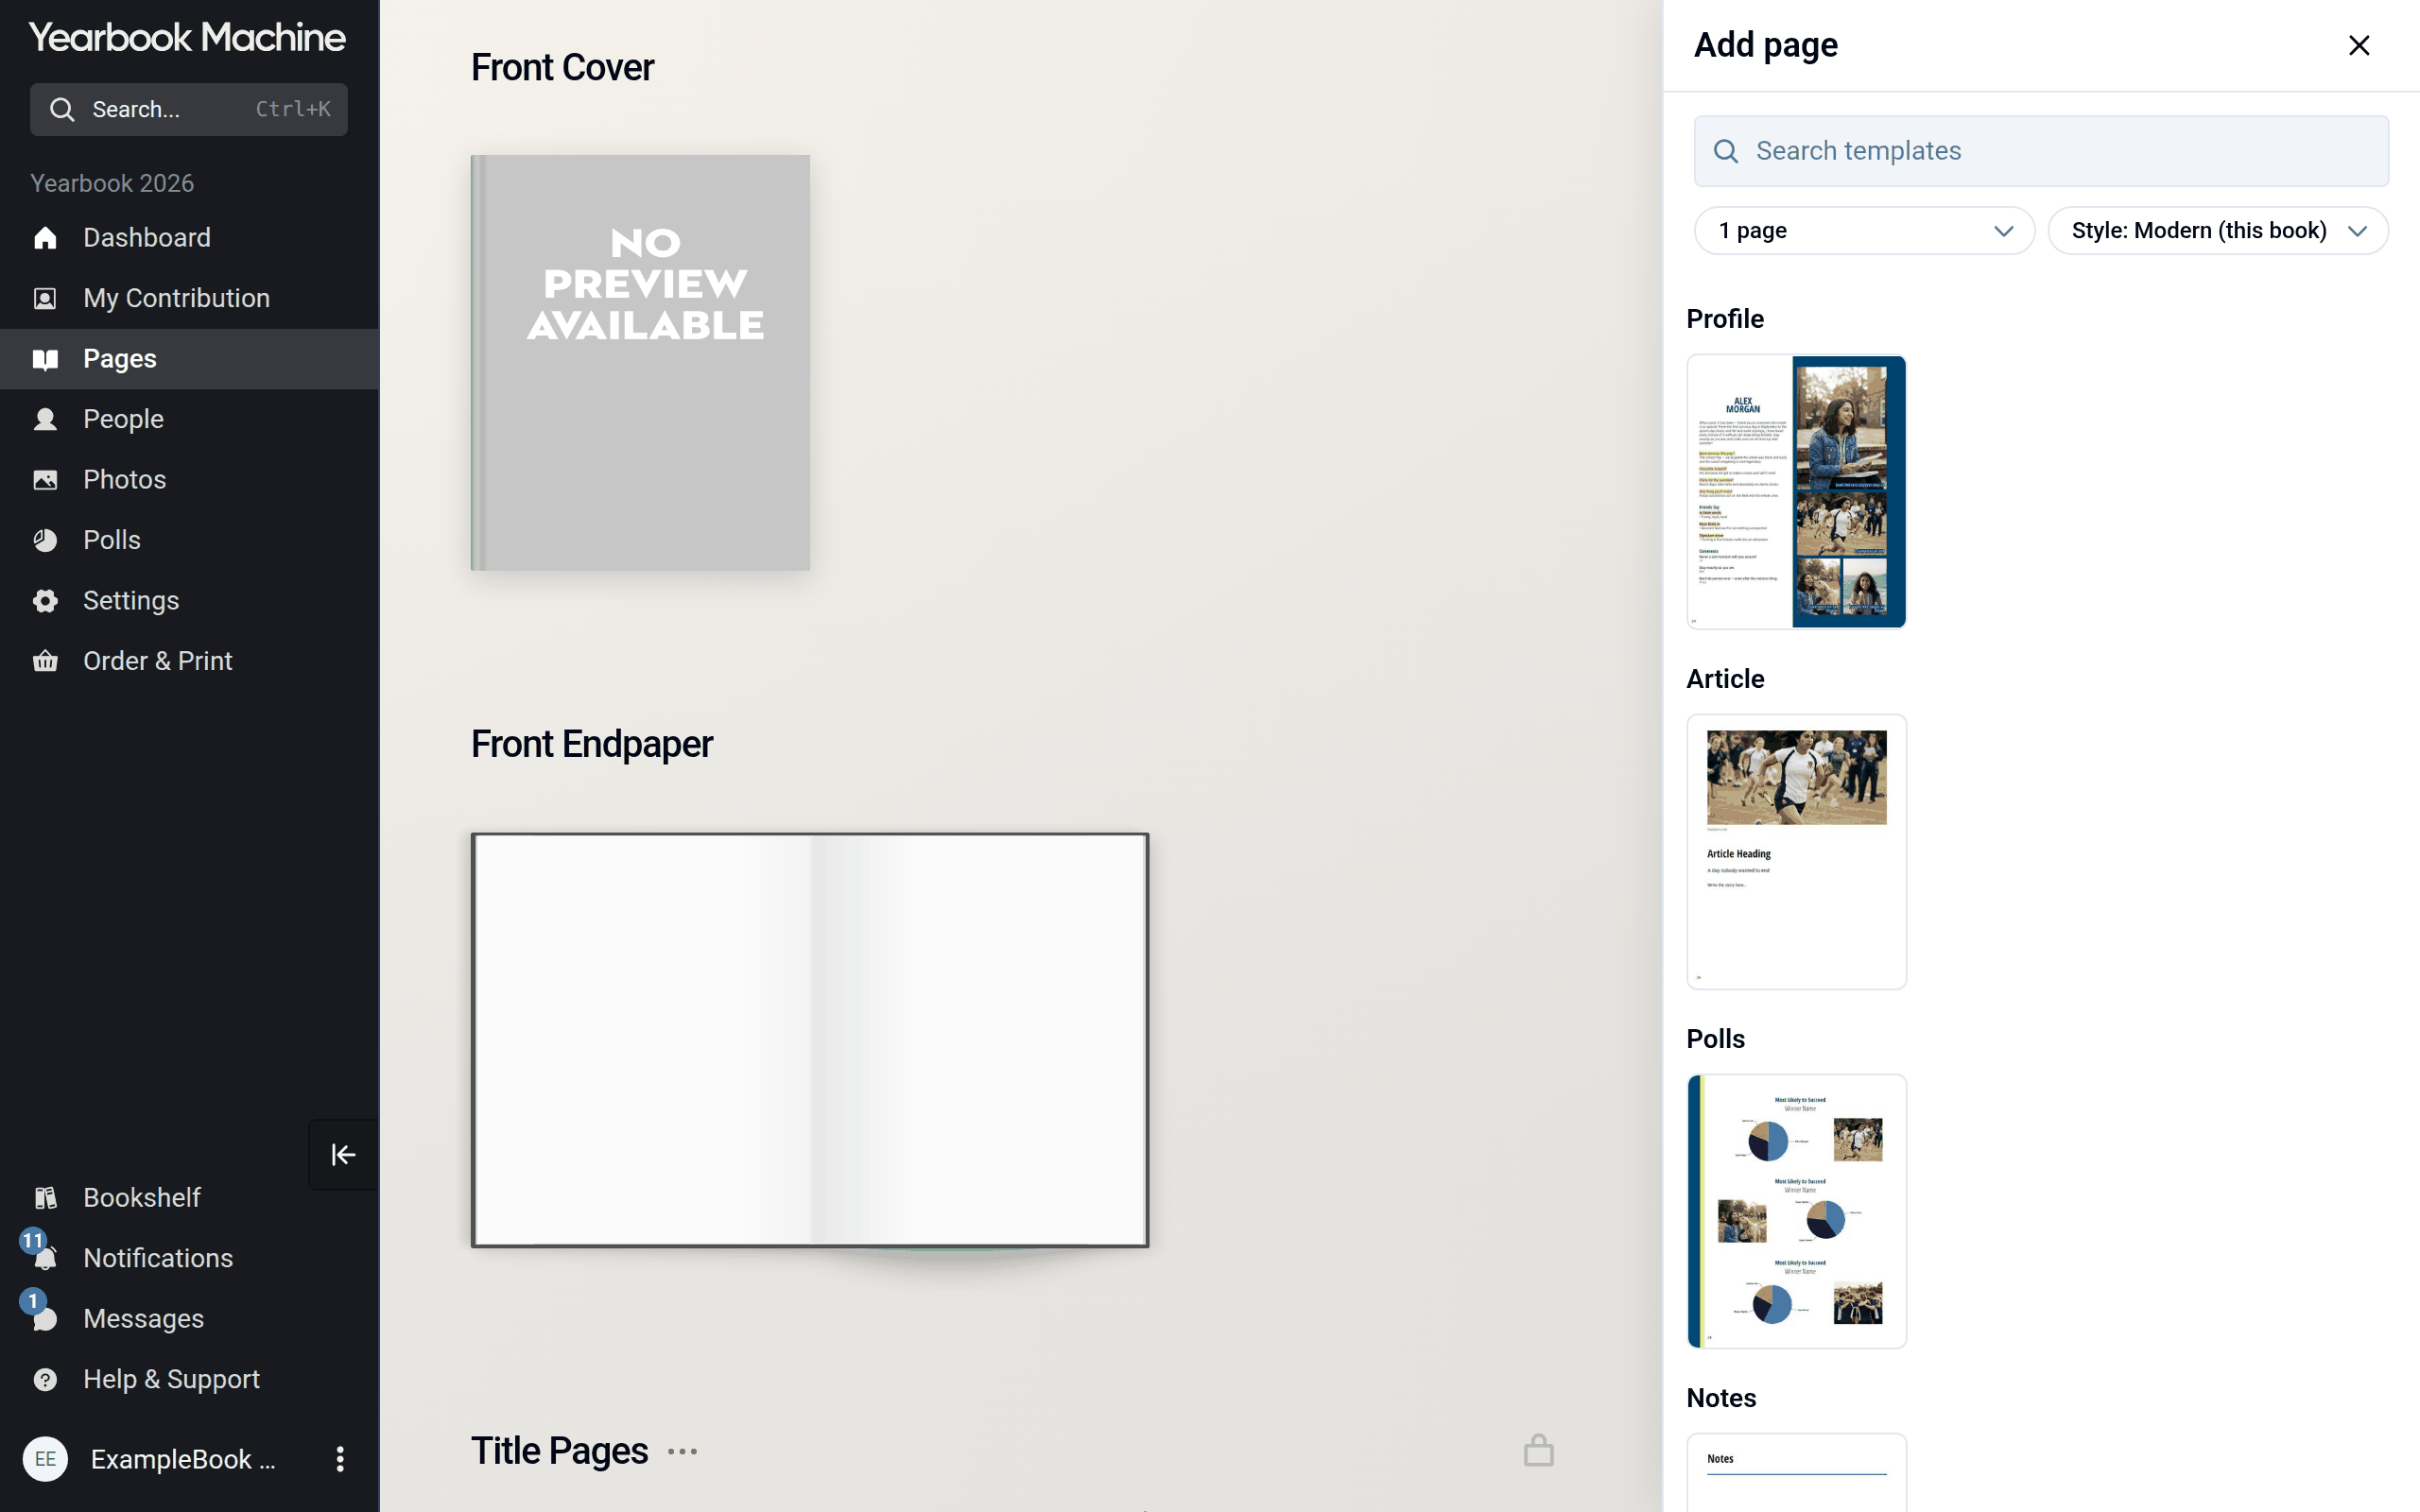
- Choose the size of page you want to add:
- 1 page shows designs for a single page.
- 2 page shows designs for a double-page spread, which fills two facing pages.
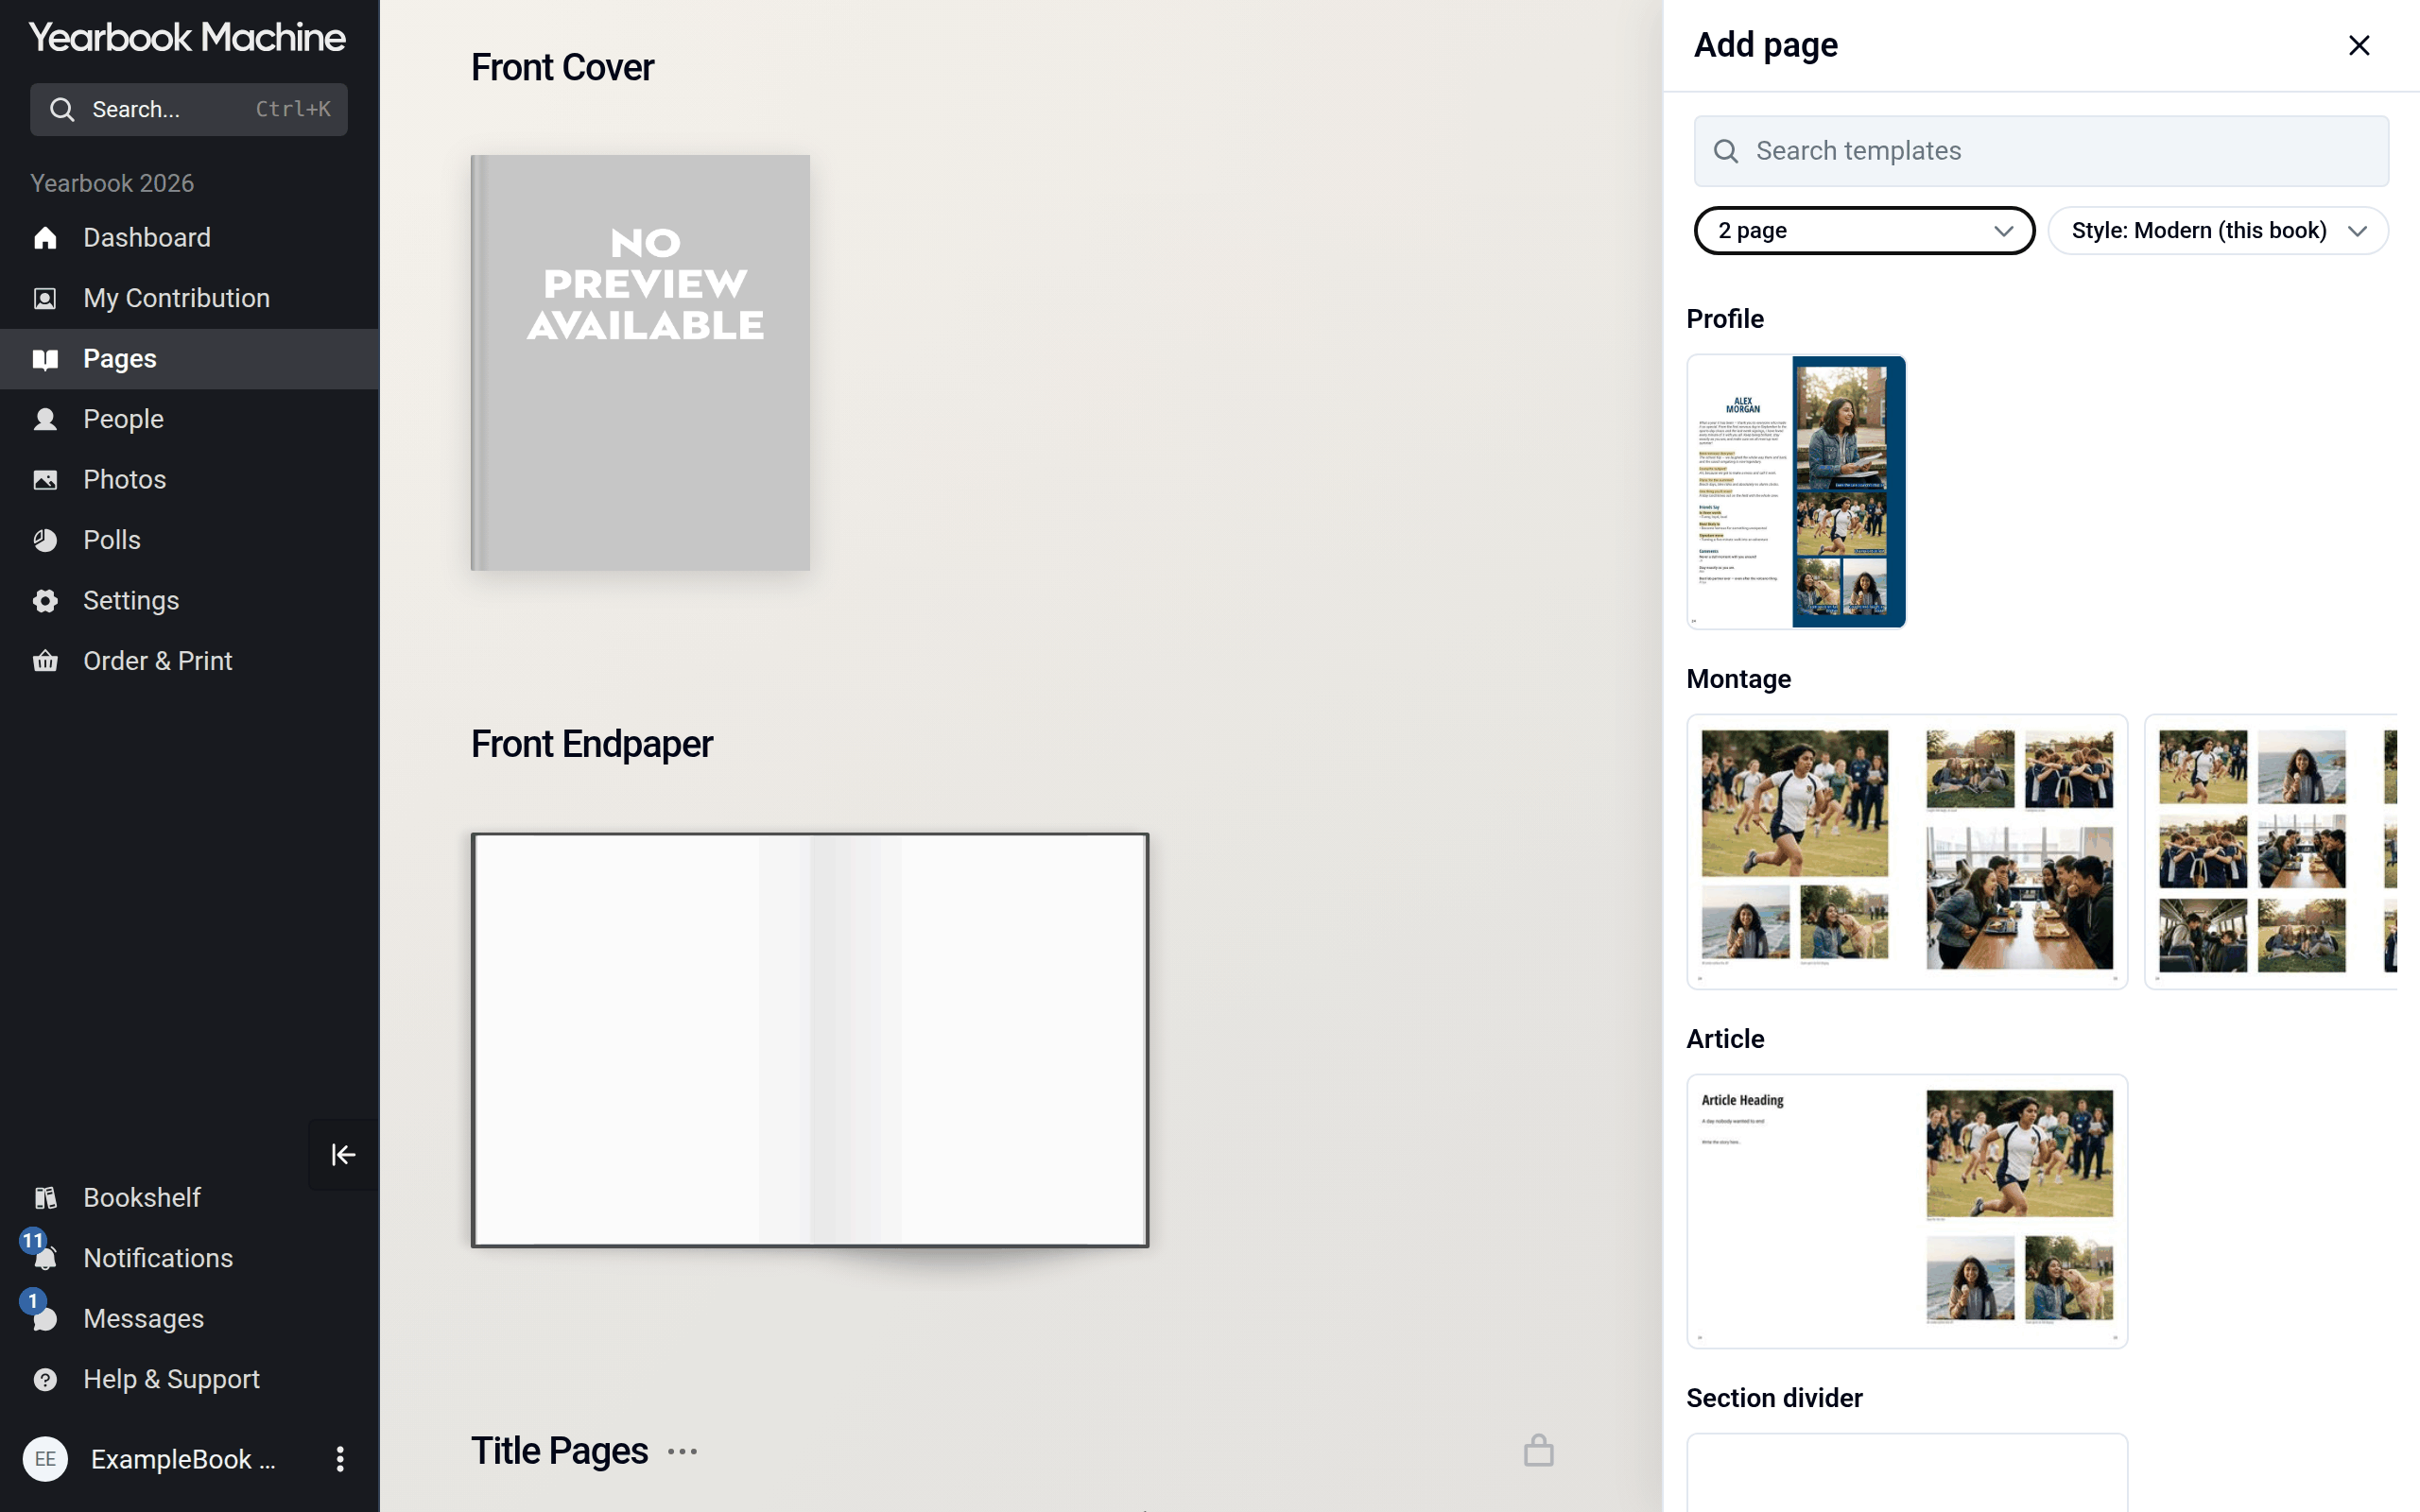
- The style filter starts on your book's style, the design style your book uses. Choose All styles to see every design, or type in Search templates.
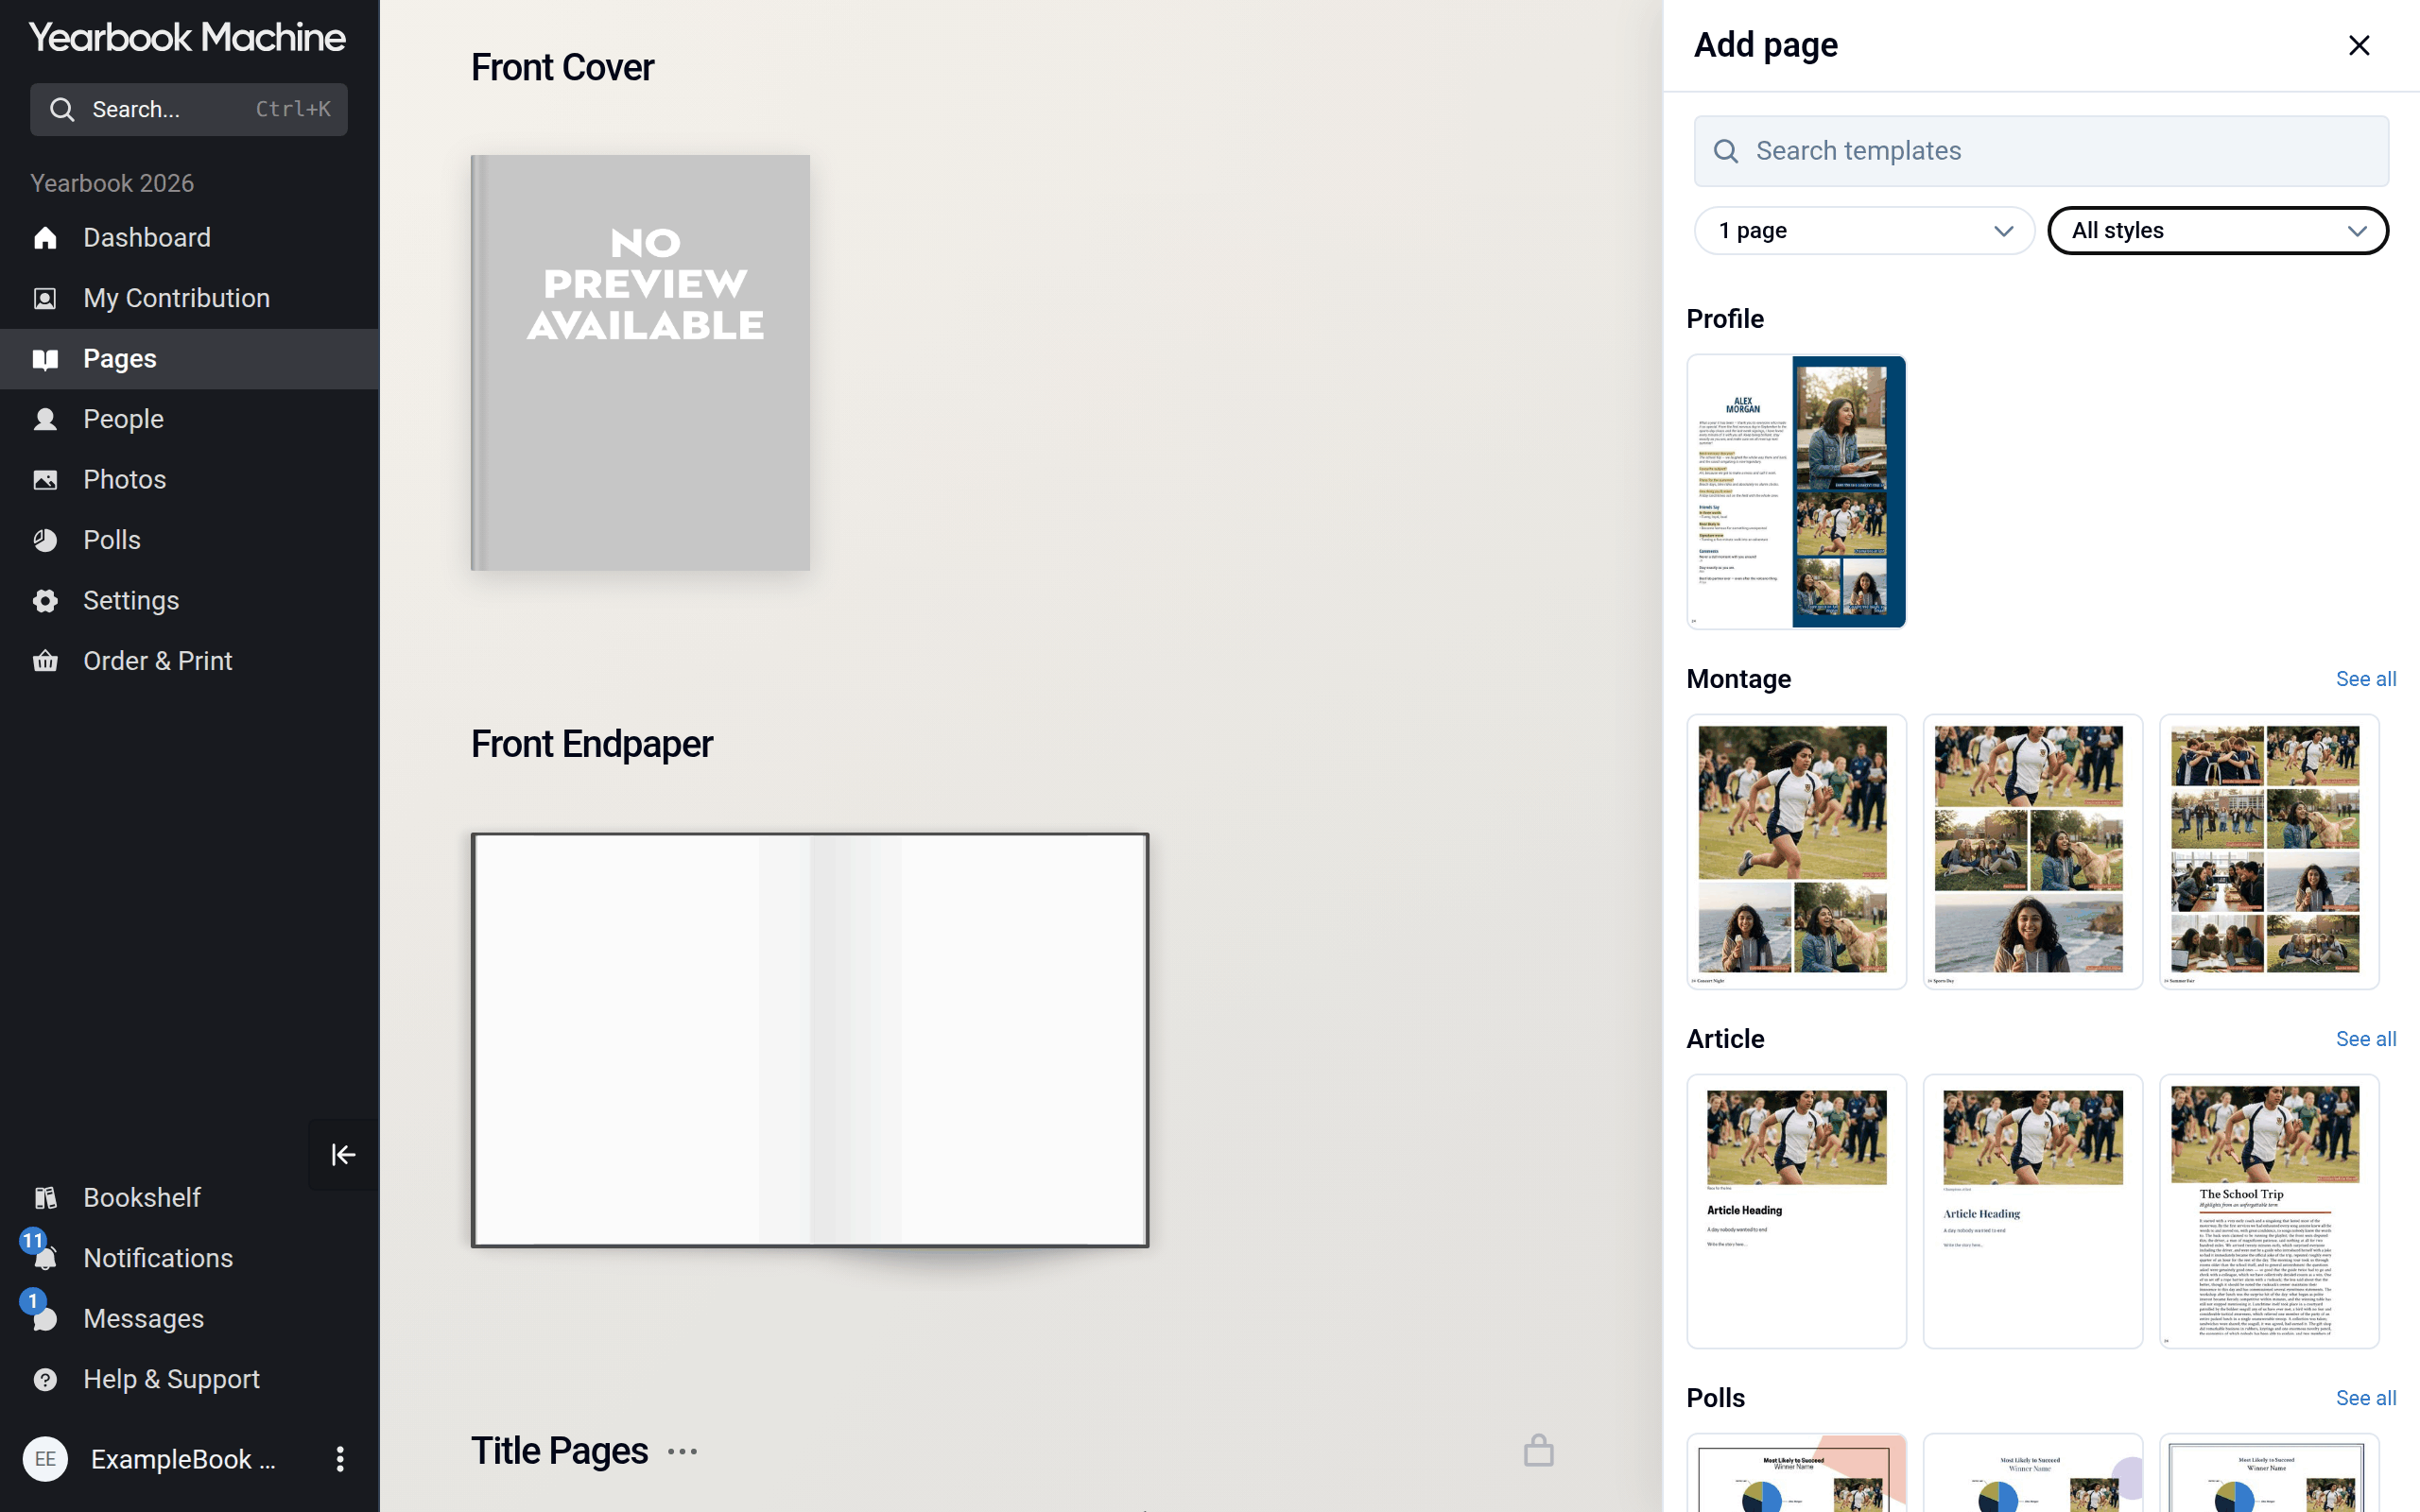
- Drag a design into your book and drop it where you want the page to go. Click See all next to a category to see more designs of that kind.
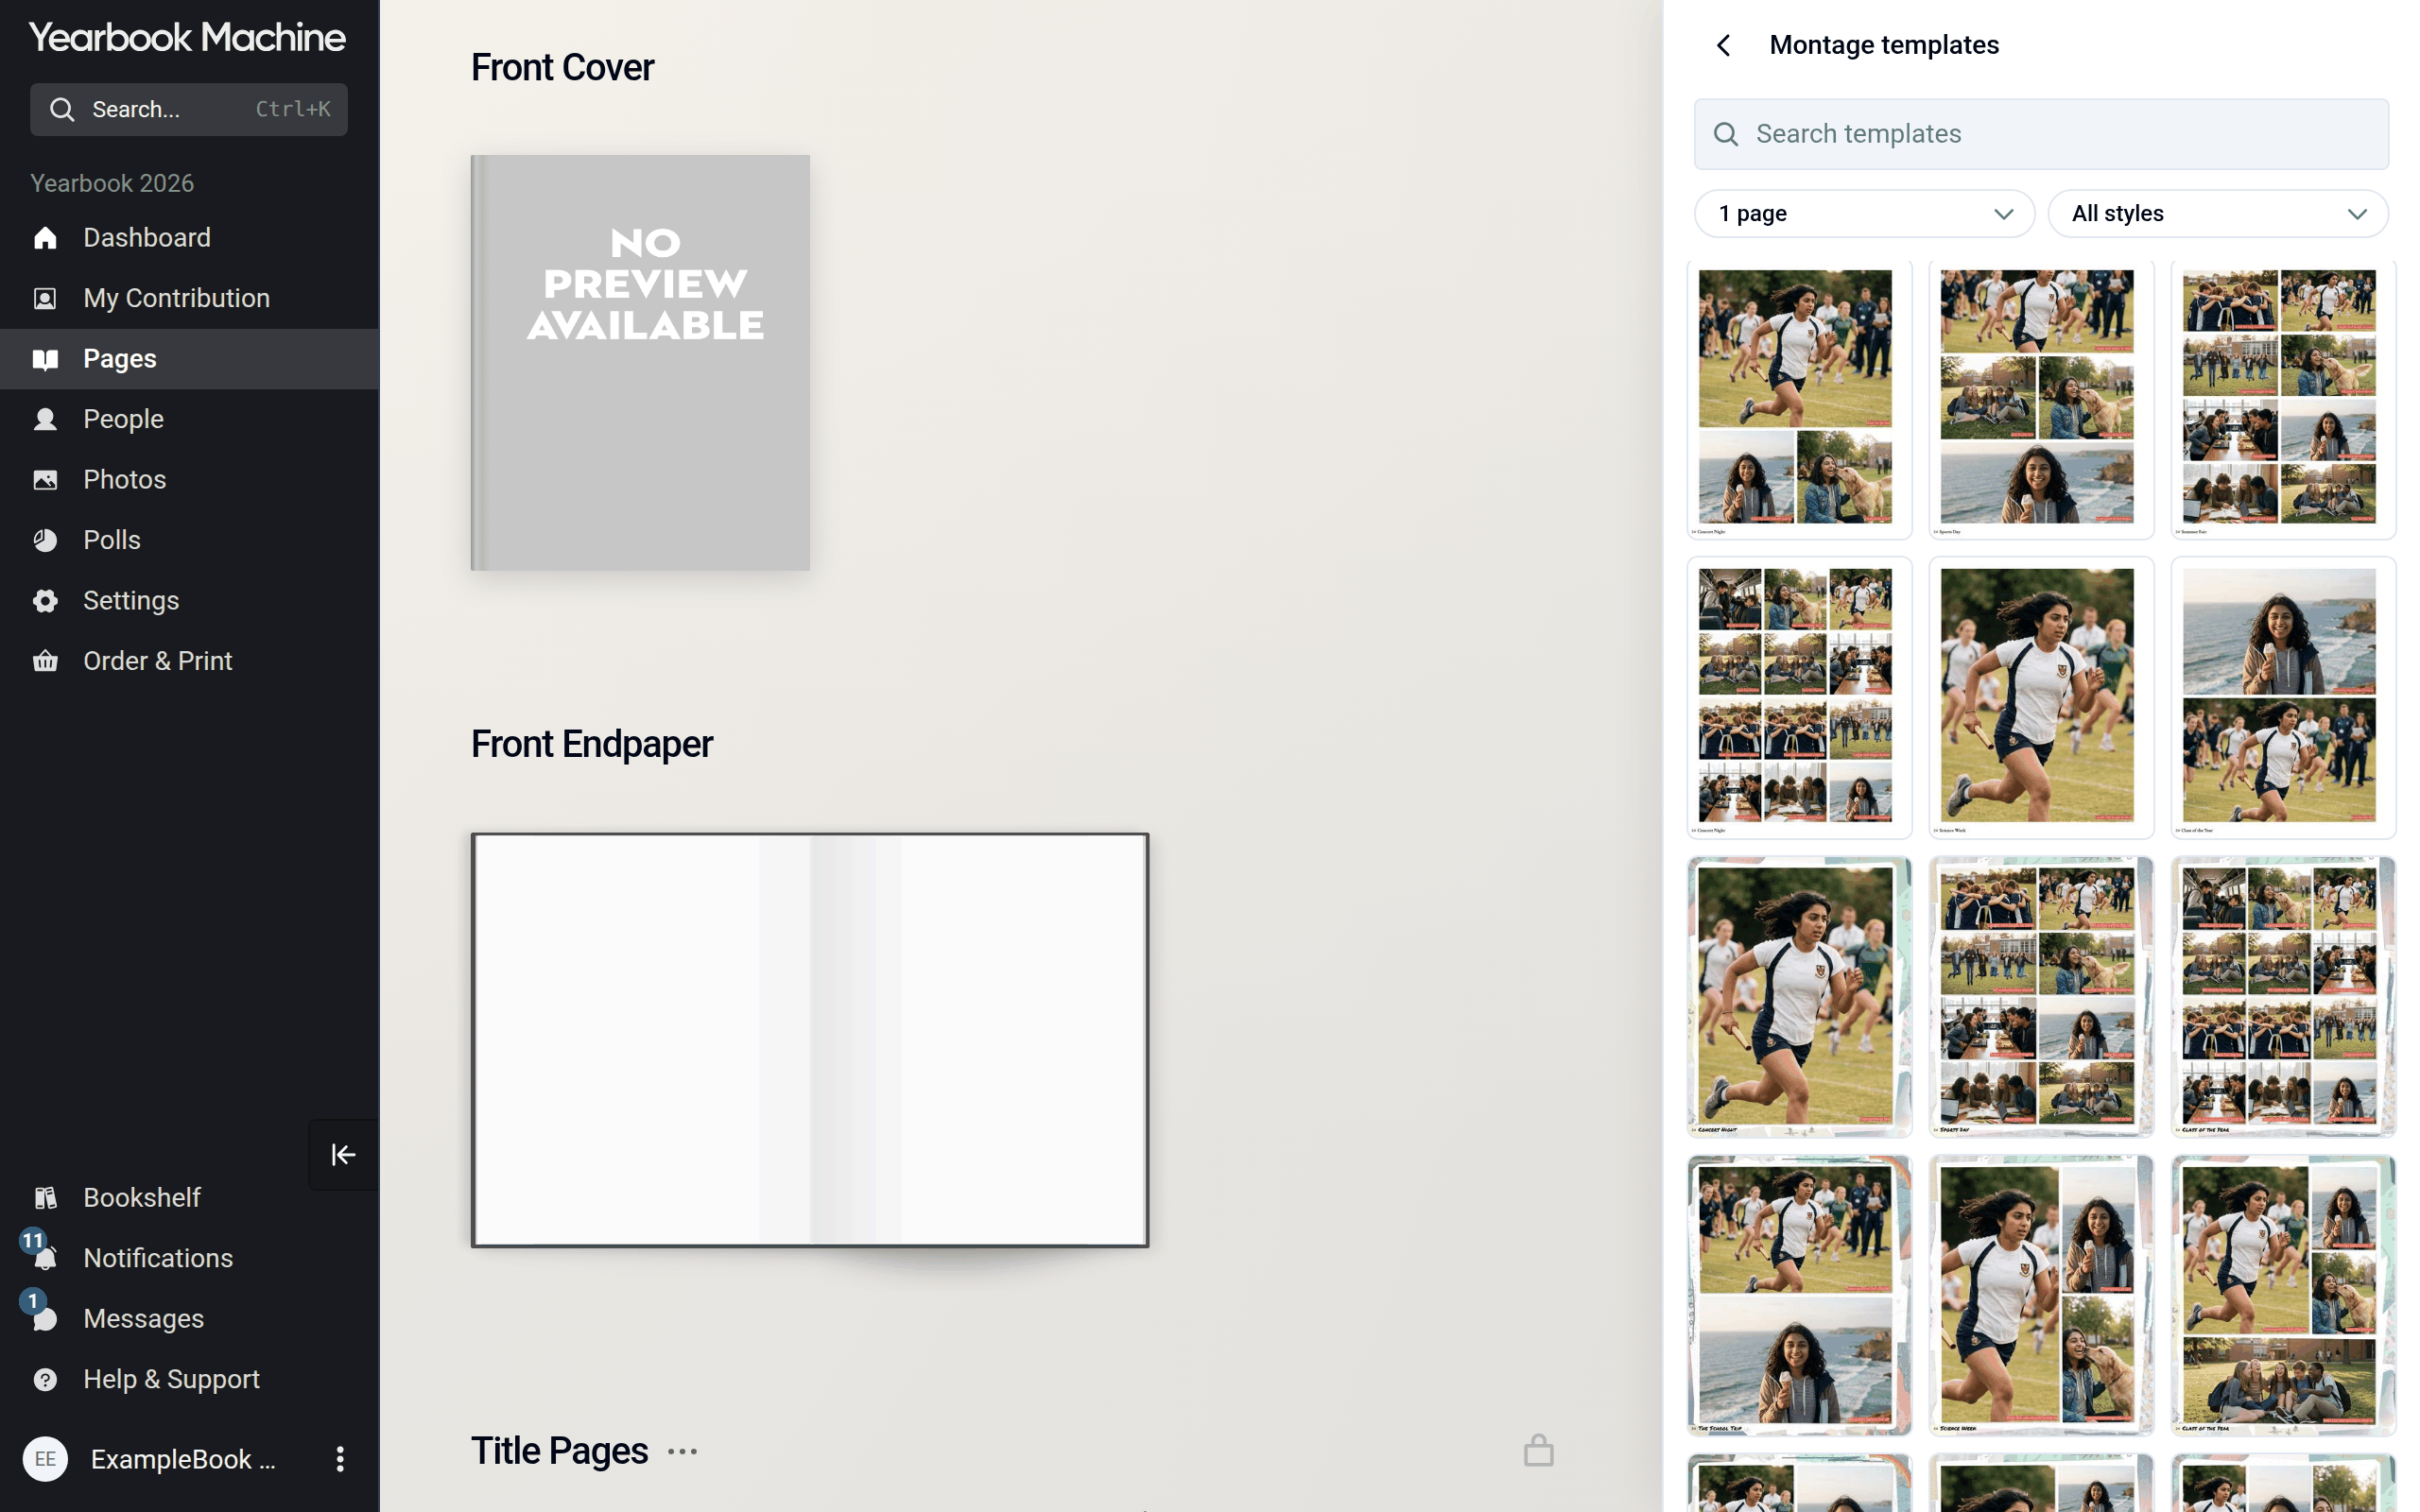
- The panel stays open, so you can add several pages in one go. Close it with the cross when you have finished.
- On the Pages screen, tap Add page(s). A tray of page types opens along the bottom of the screen.
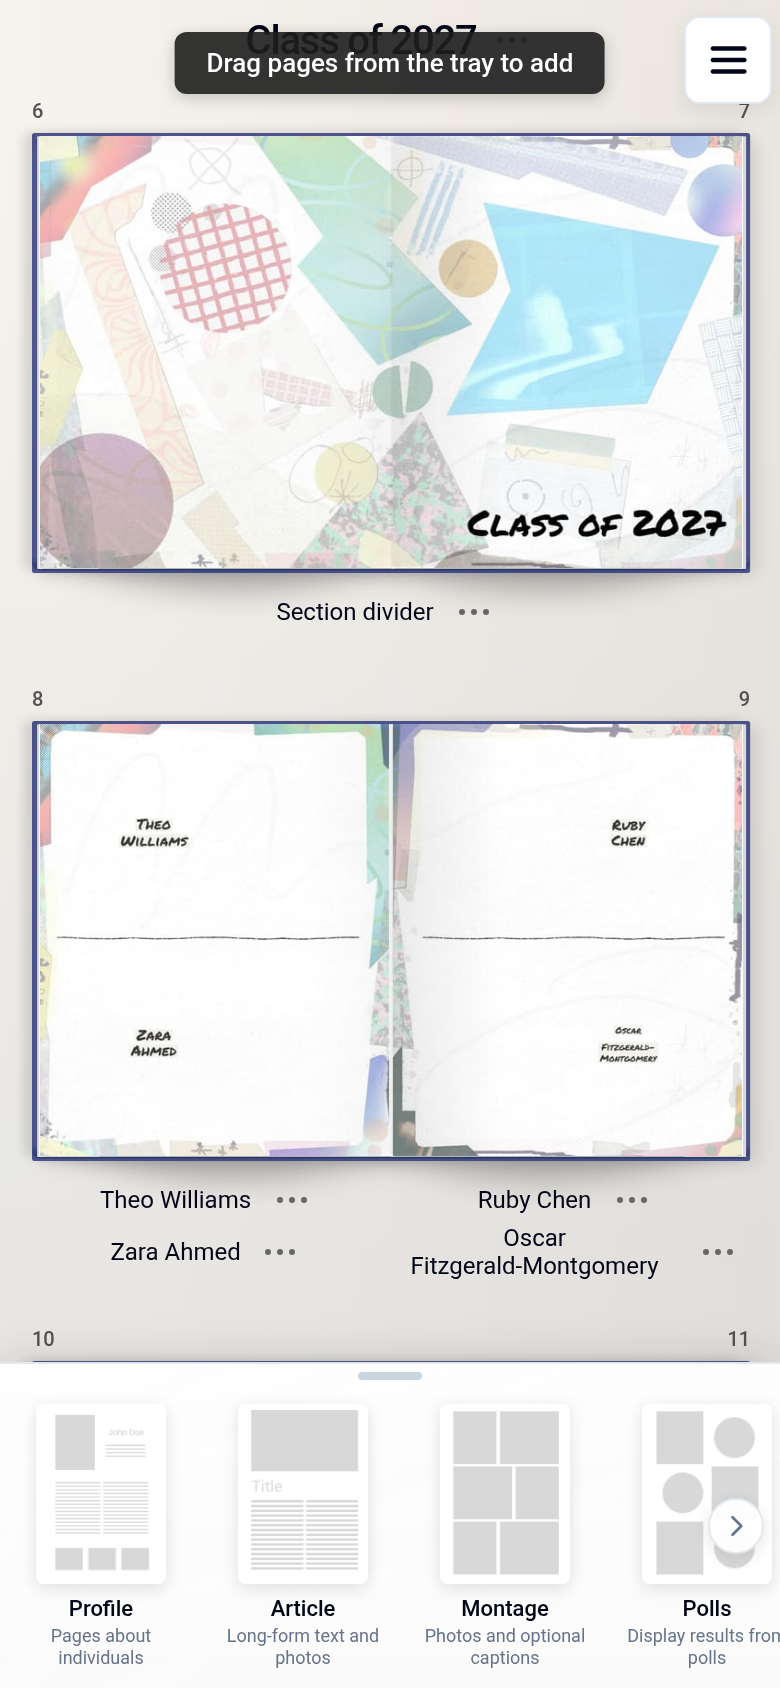
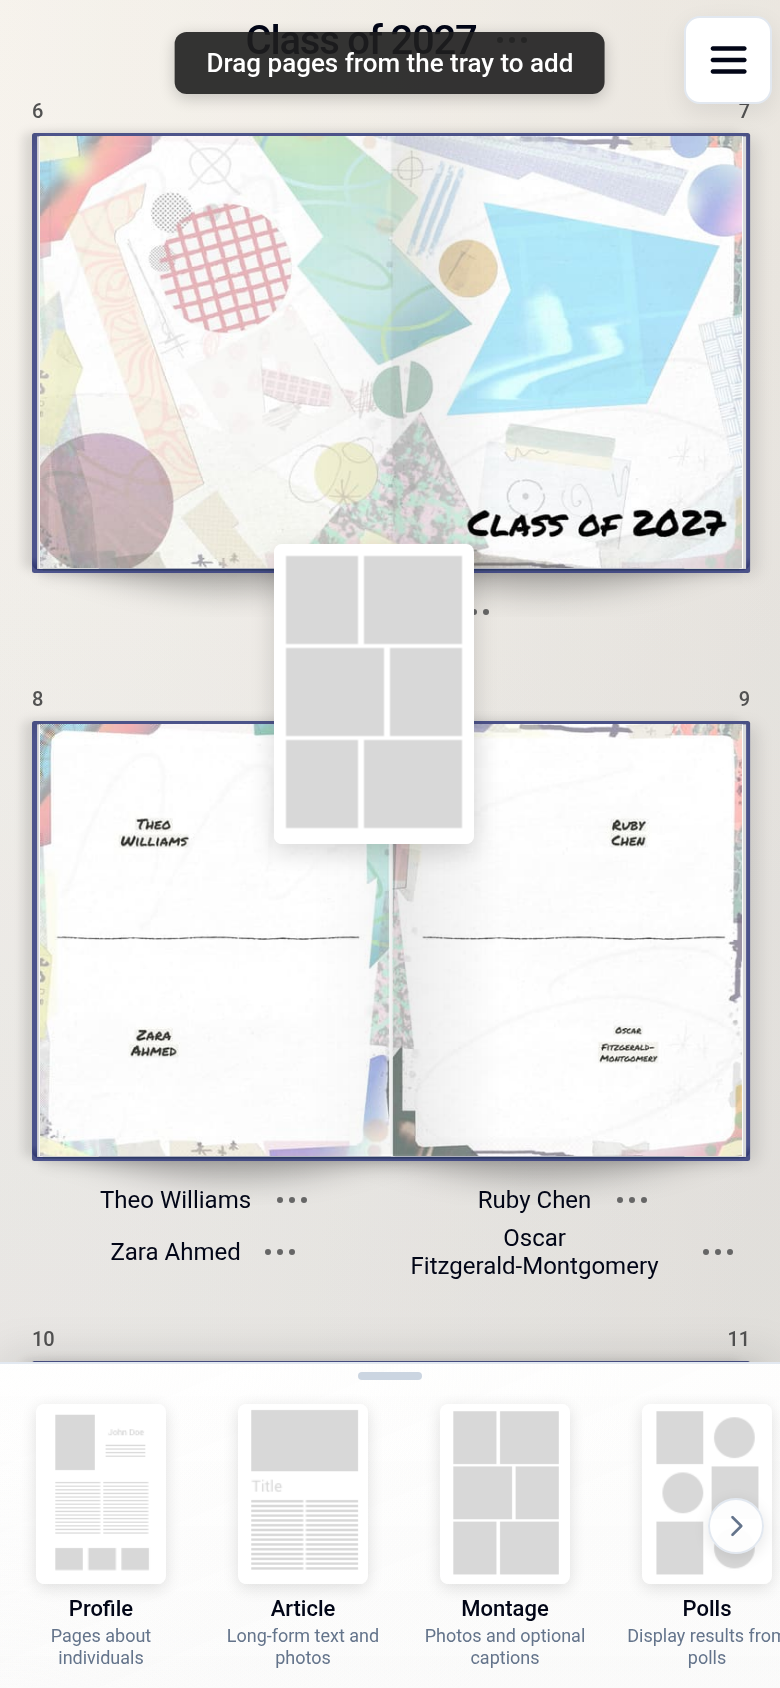
- Press and hold a page type in the tray, then drag it up into the book and drop it into the section where you want the page to go.
Adding and arranging sections
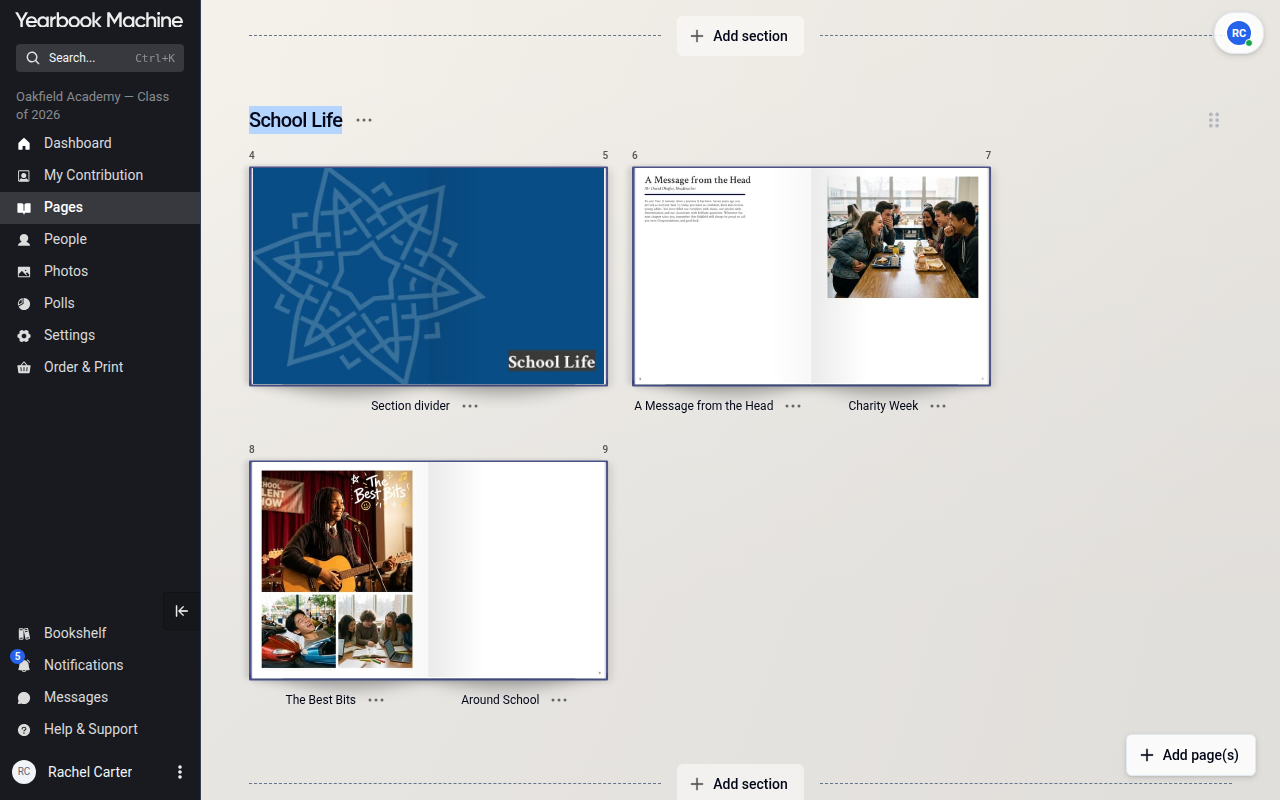
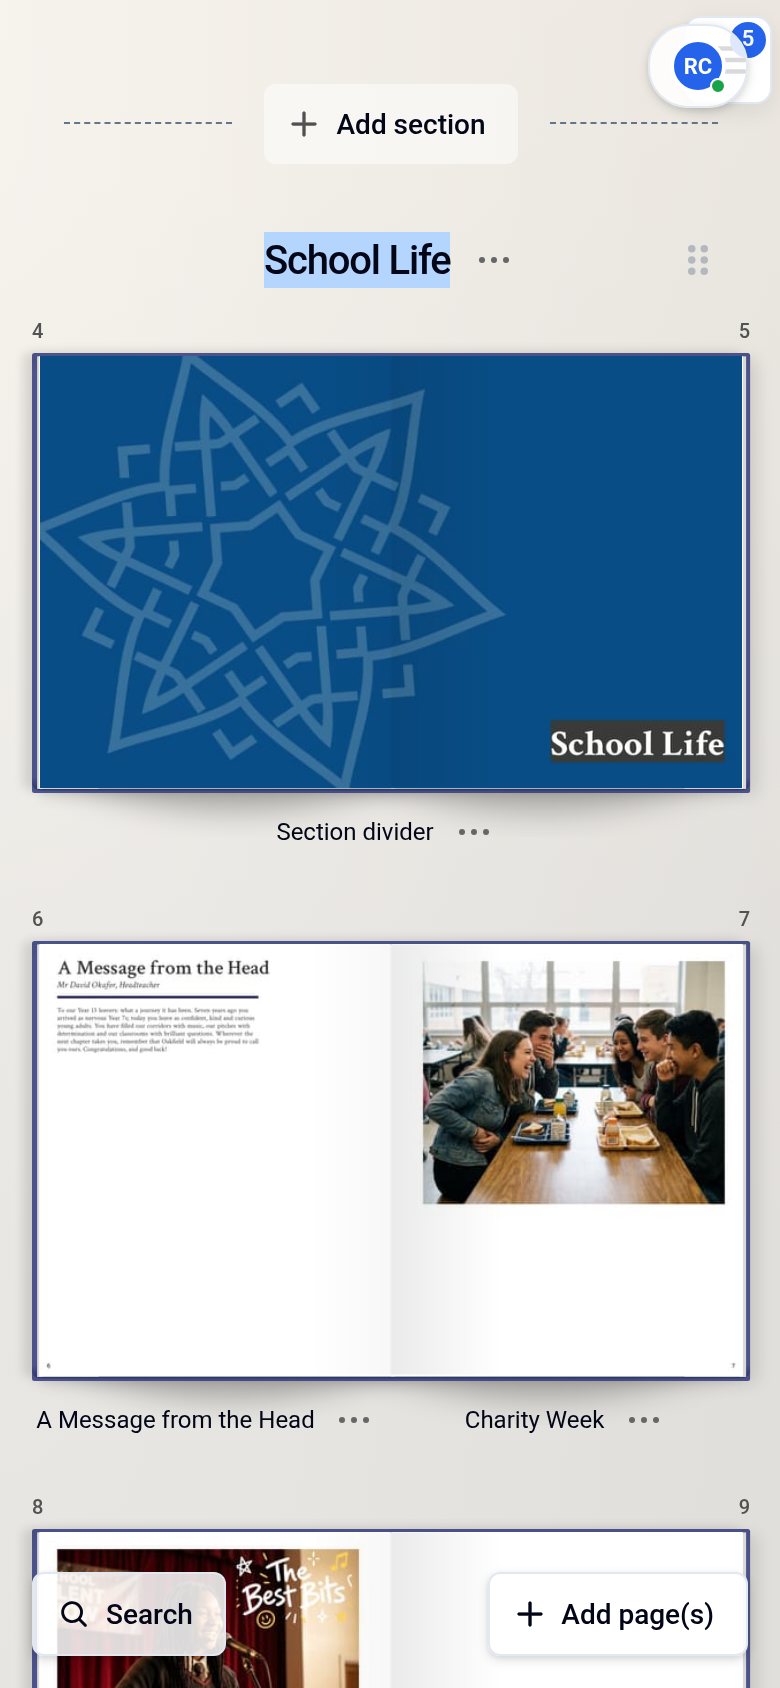
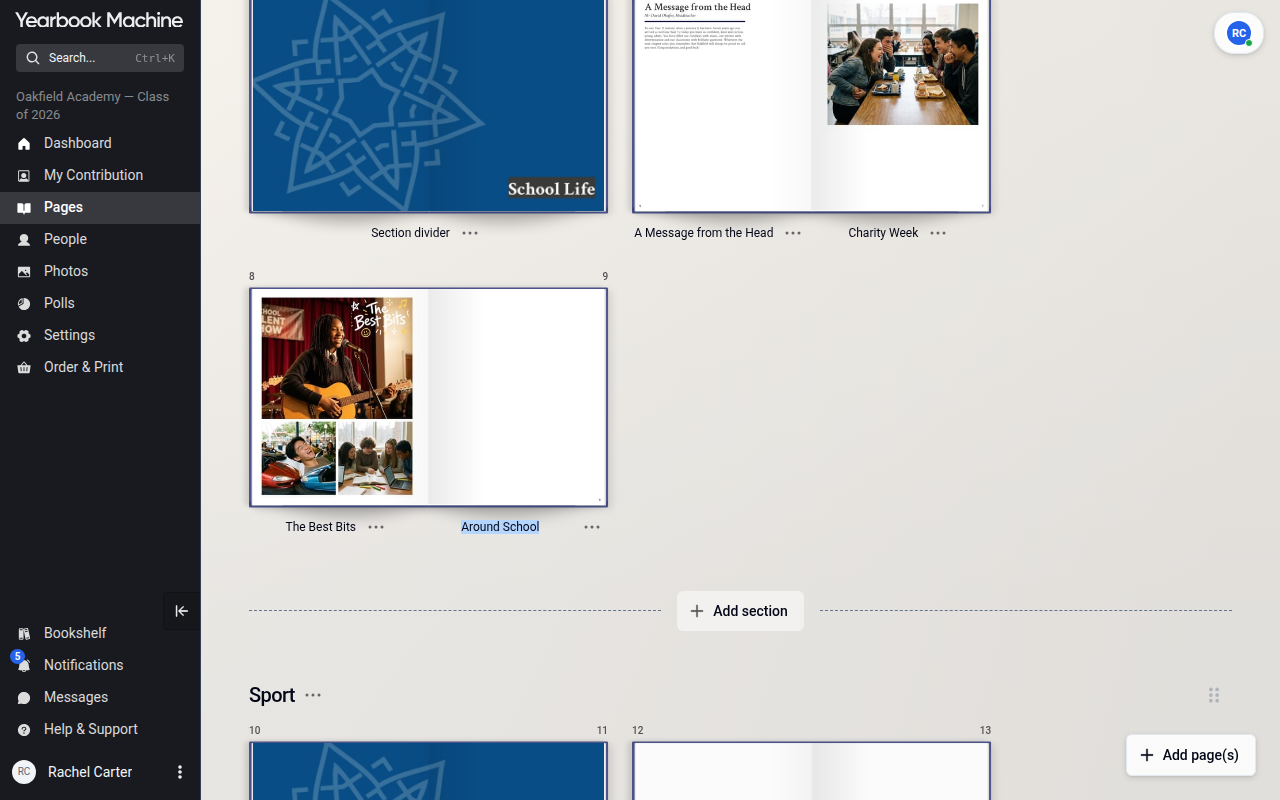
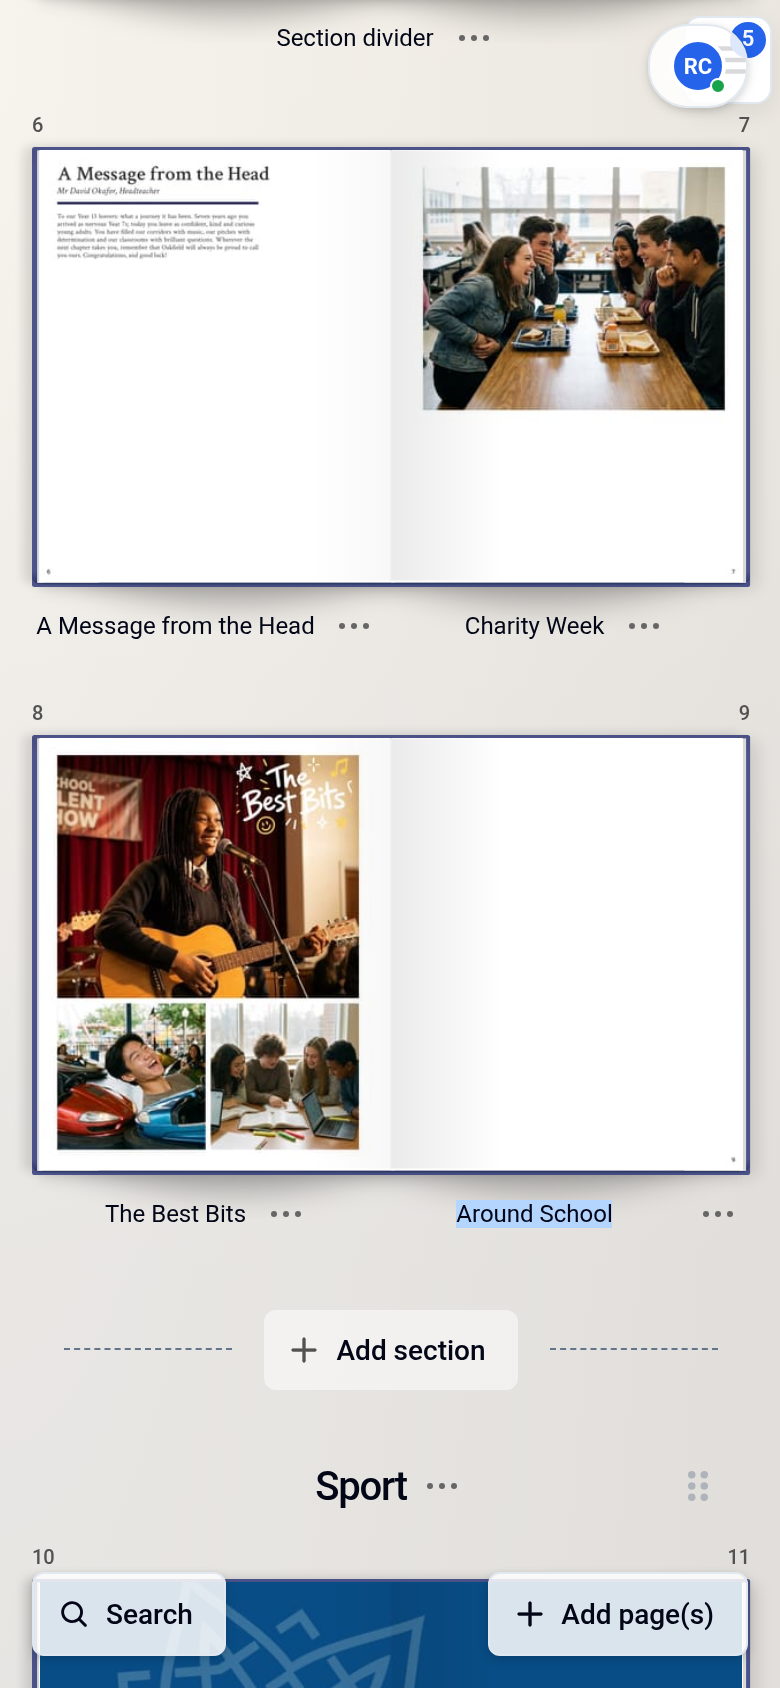
- On the Pages screen, select Add section between two sections. The new section starts with a section divider: a double-page spread that opens the section, like a chapter heading.
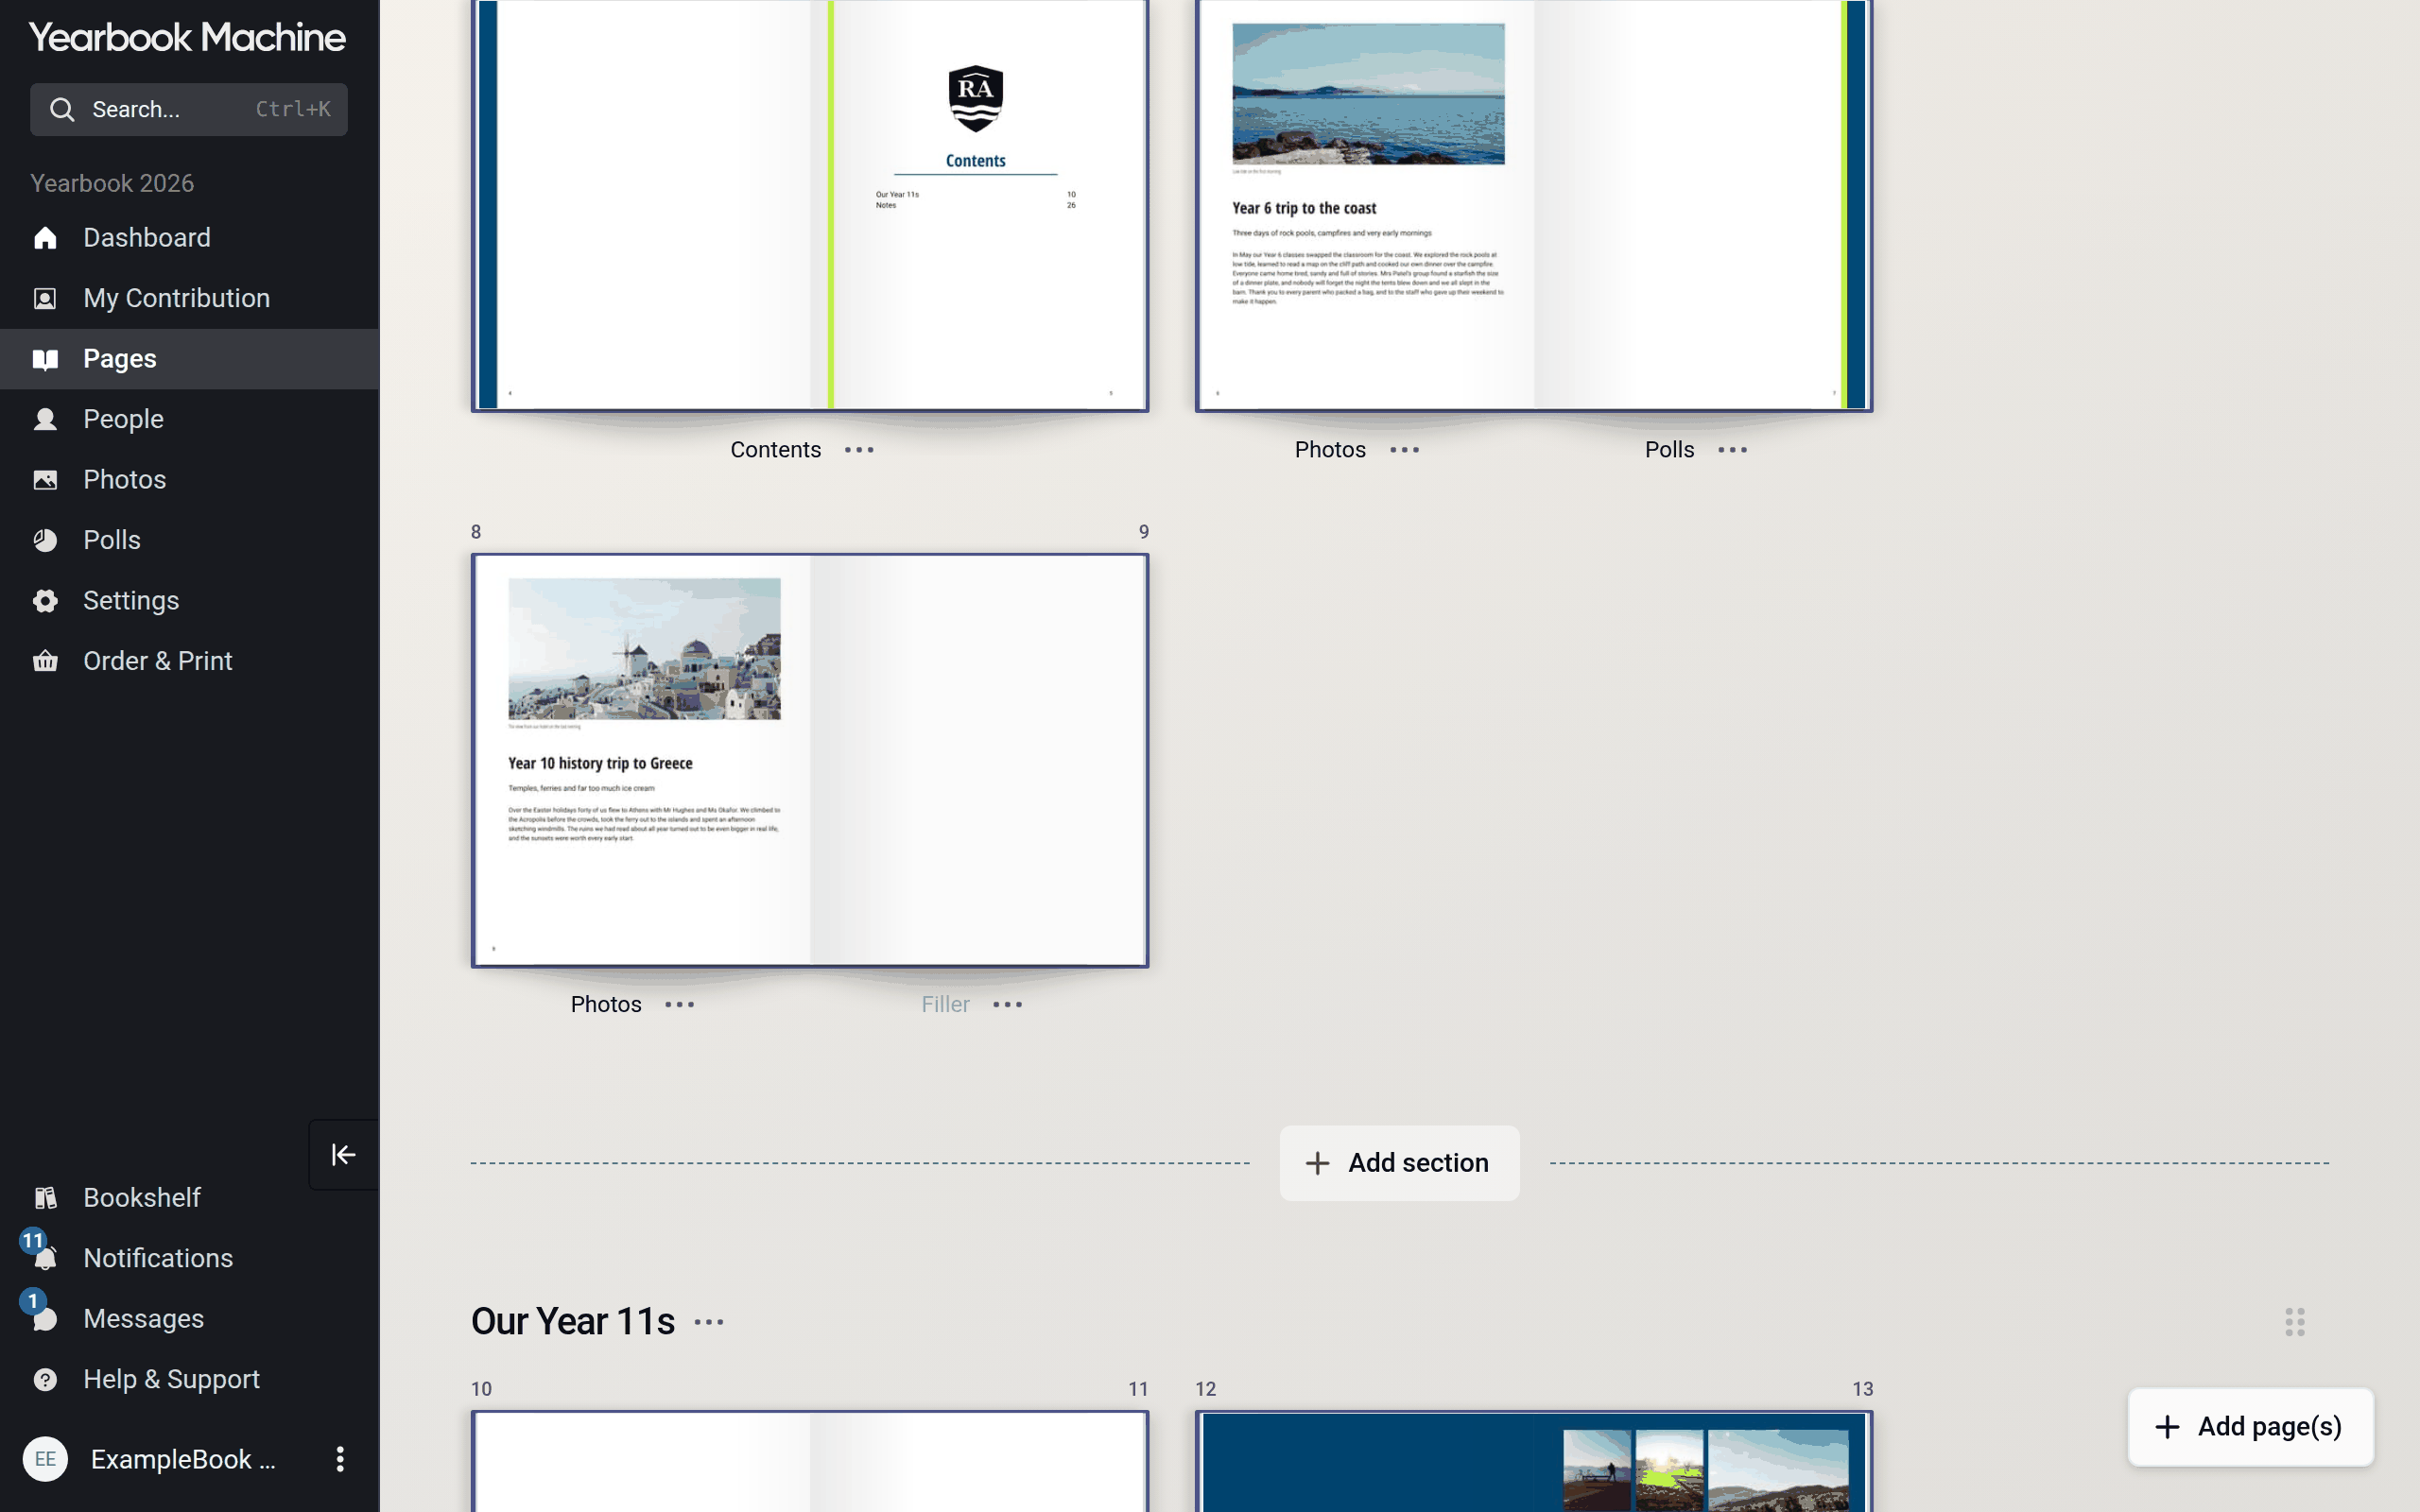
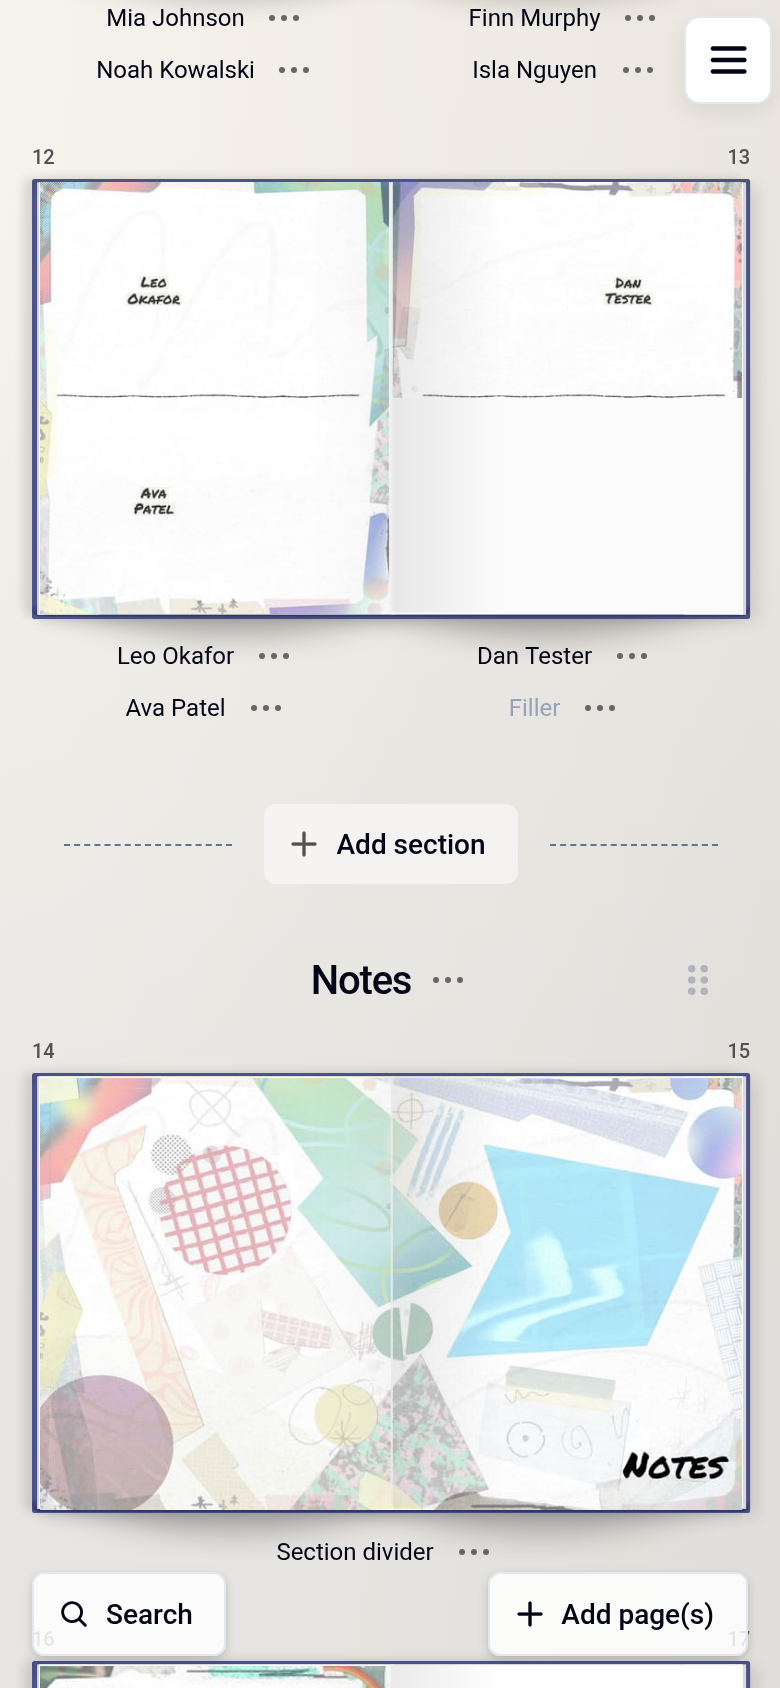
- To rename it, click the section's name, type the new one (up to 30 characters) and press Enter. Press Escape to cancel. You can also open the section's three-dot menu and choose Rename section.
-
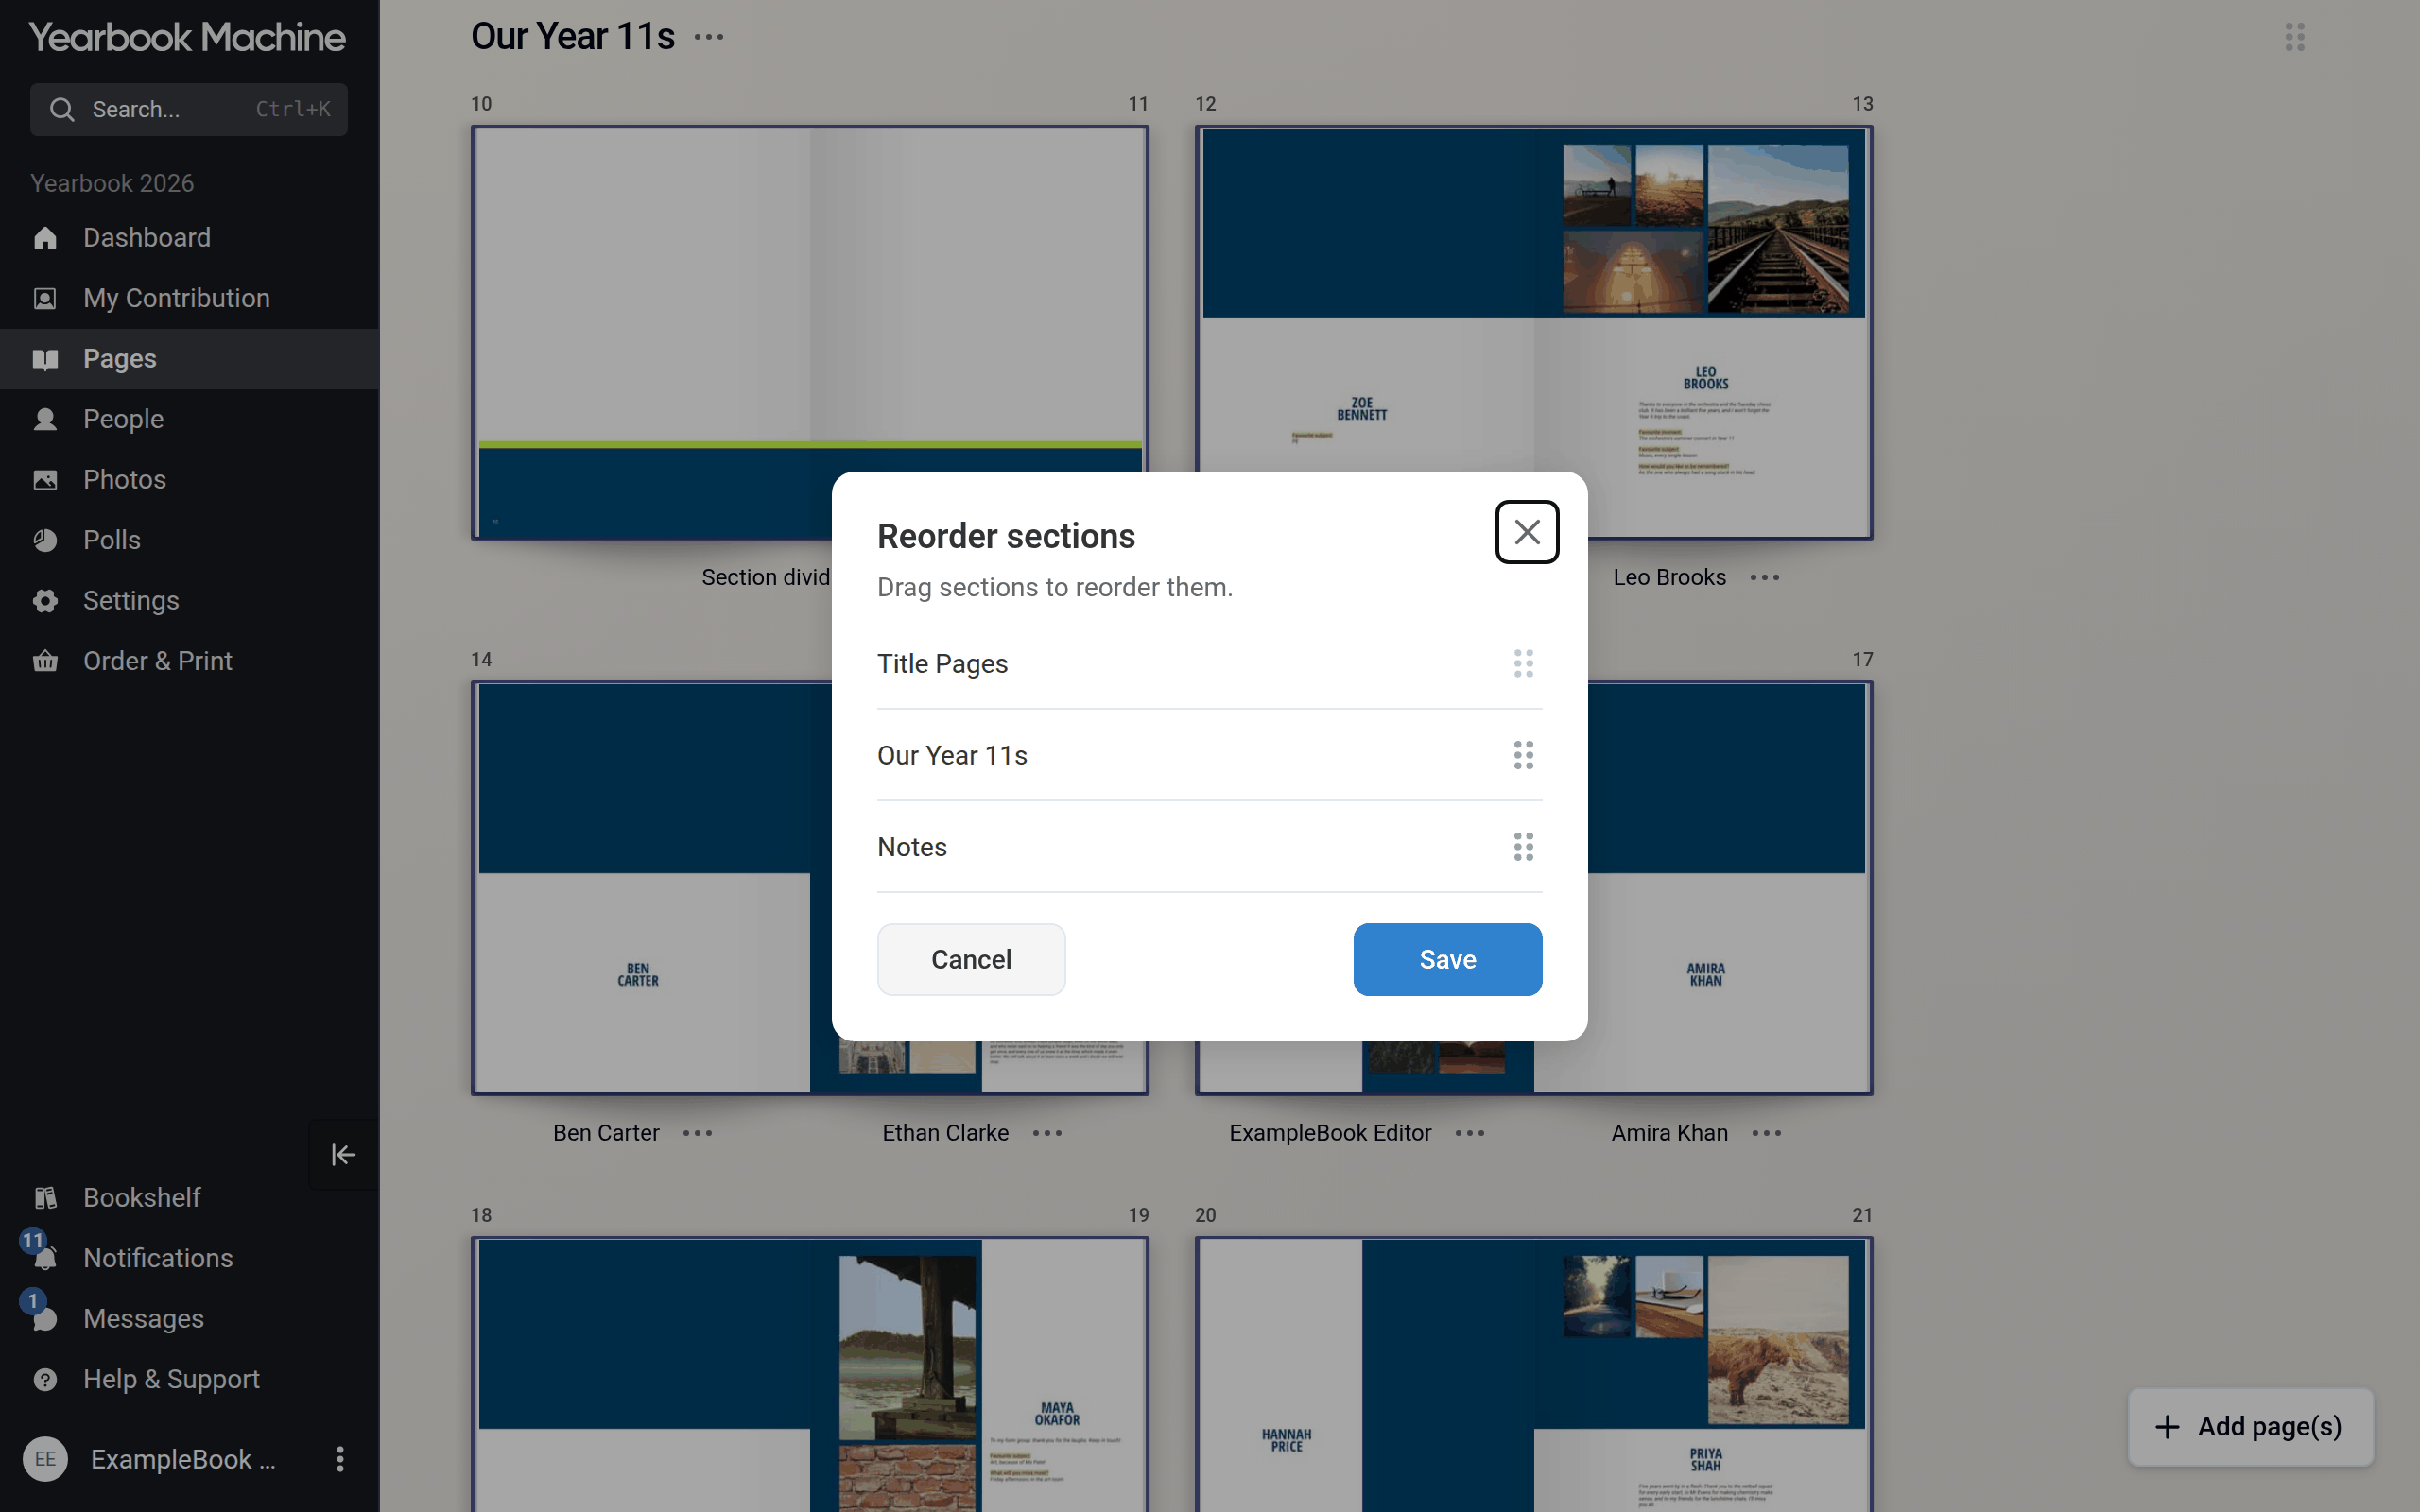
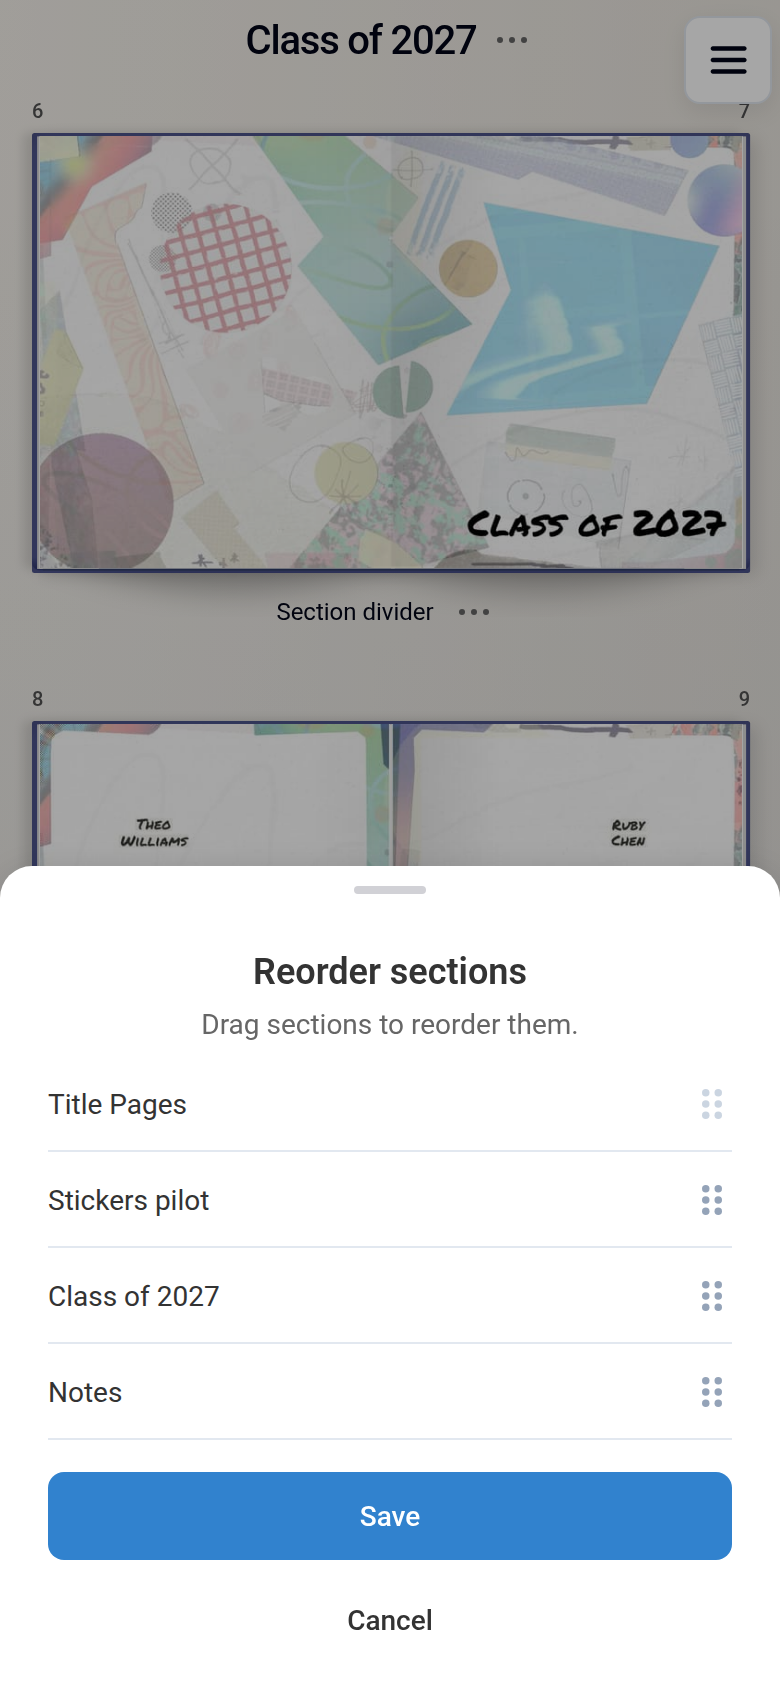
To change the order of your sections, drag a section by the handle at the right of its name, after the three-dot menu. This works by touch on a phone too. You can also choose Reorder sections from the section's three-dot menu, drag the sections into order and select Save.
A section that is locked in place shows a padlock instead of the handle. To move it, choose Unlock position in its three-dot menu first. A few fixed sections can't be moved at all.
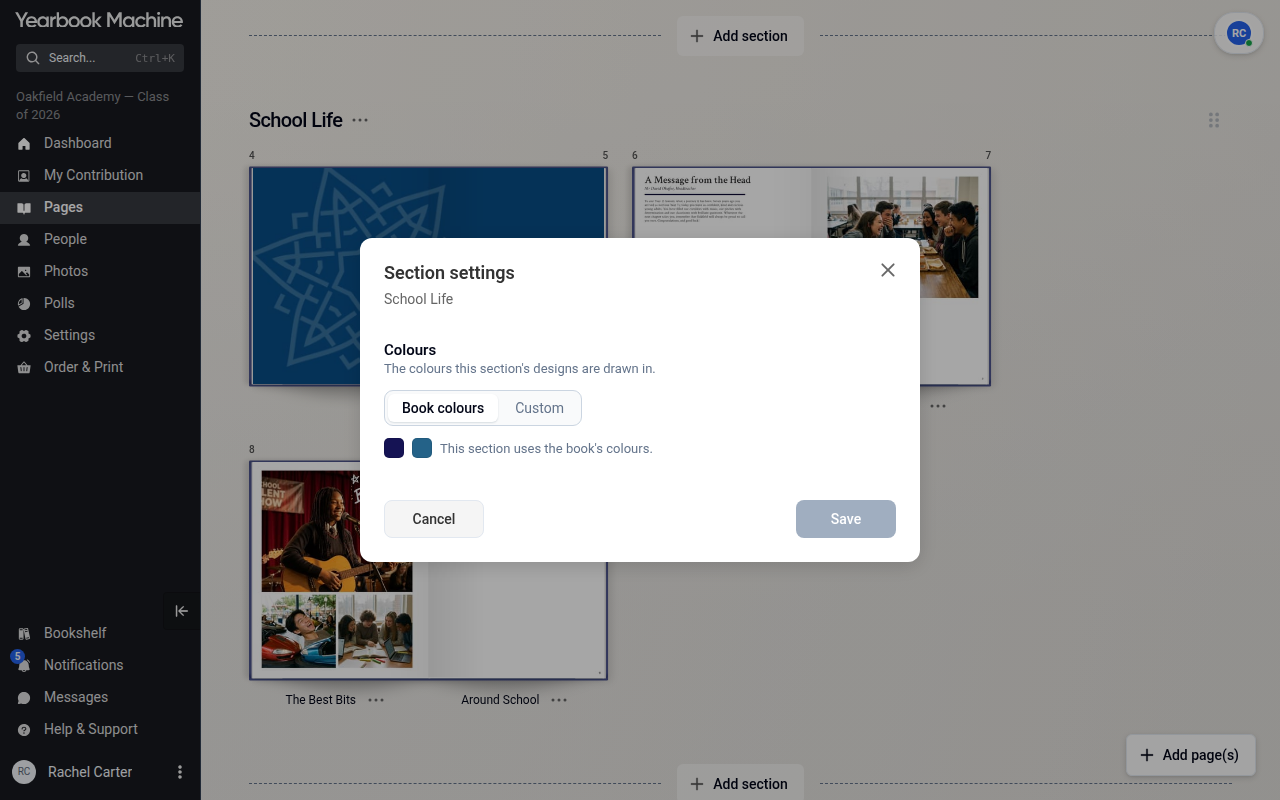
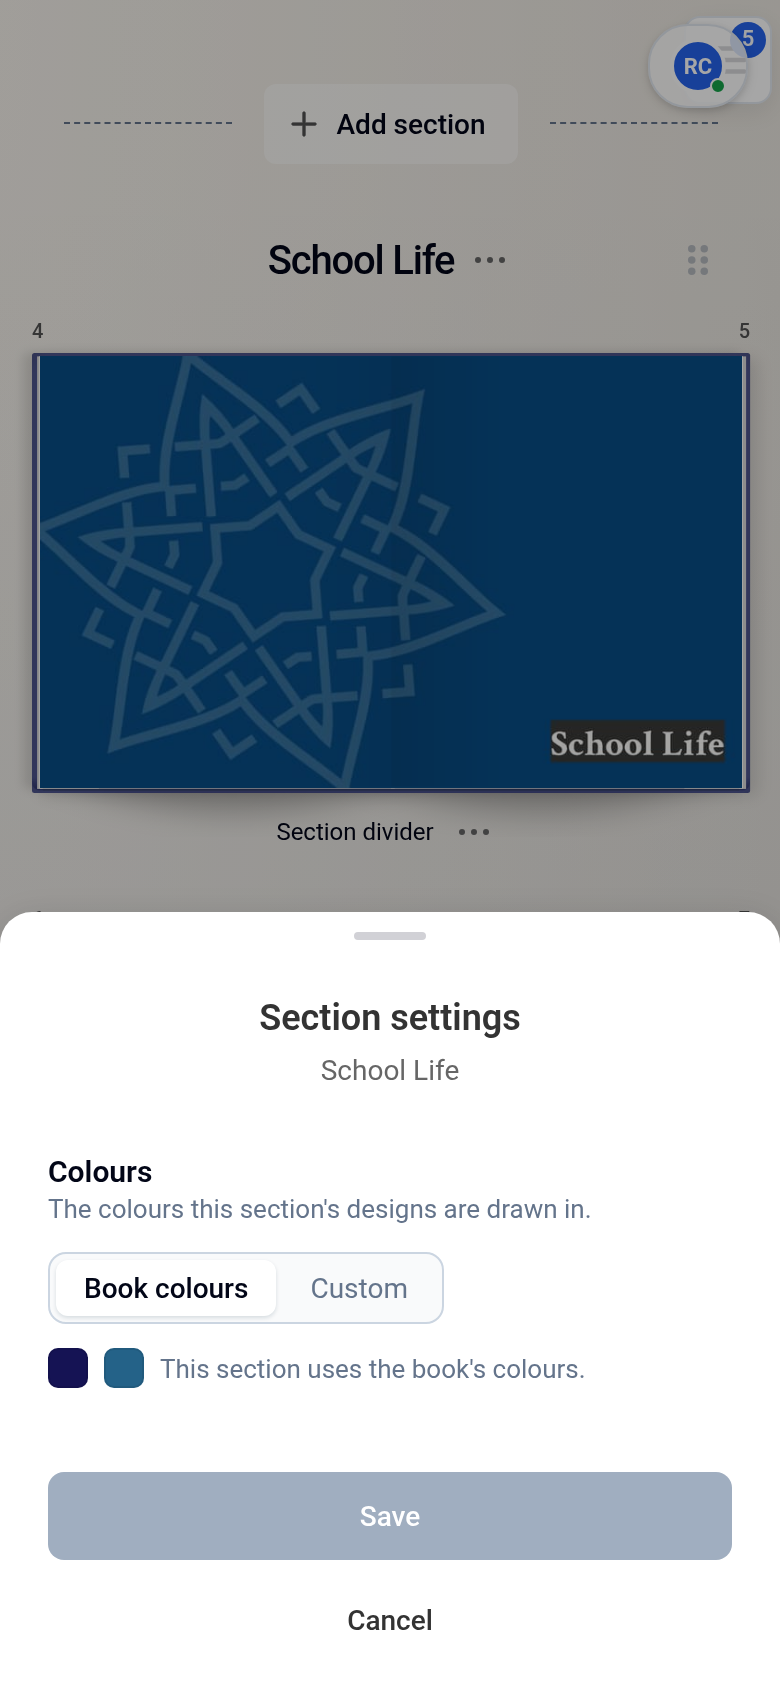
- To change a section's colours, choose Section settings from the same menu. Under Colours, use your book's colours or pick the section's own two colours, then select Save. On a section of profile pages, the same window also sets the section's Profile size.
You can only delete a section once it is empty.
Moving a page
You can drag a page to a new position on the Pages screen, or:
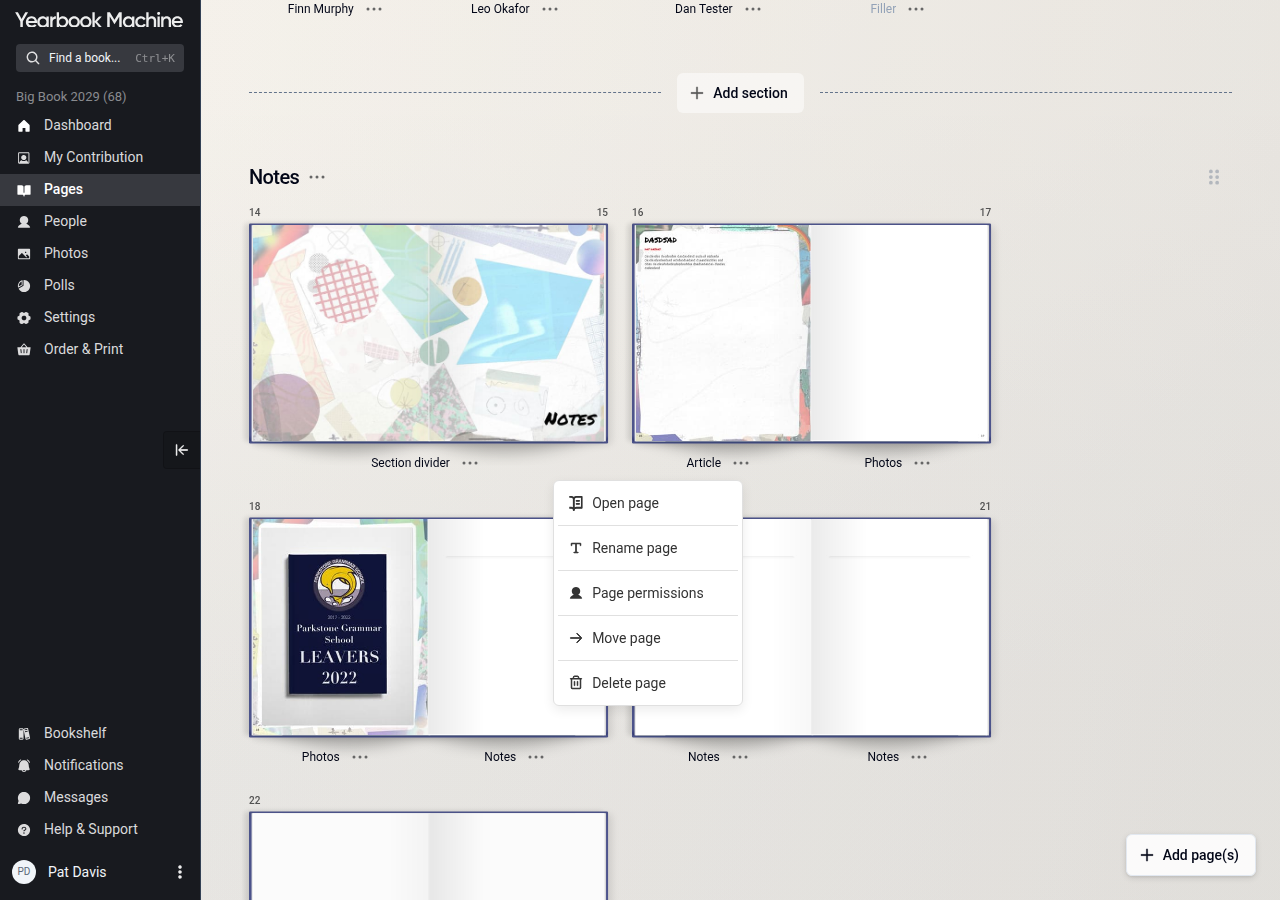
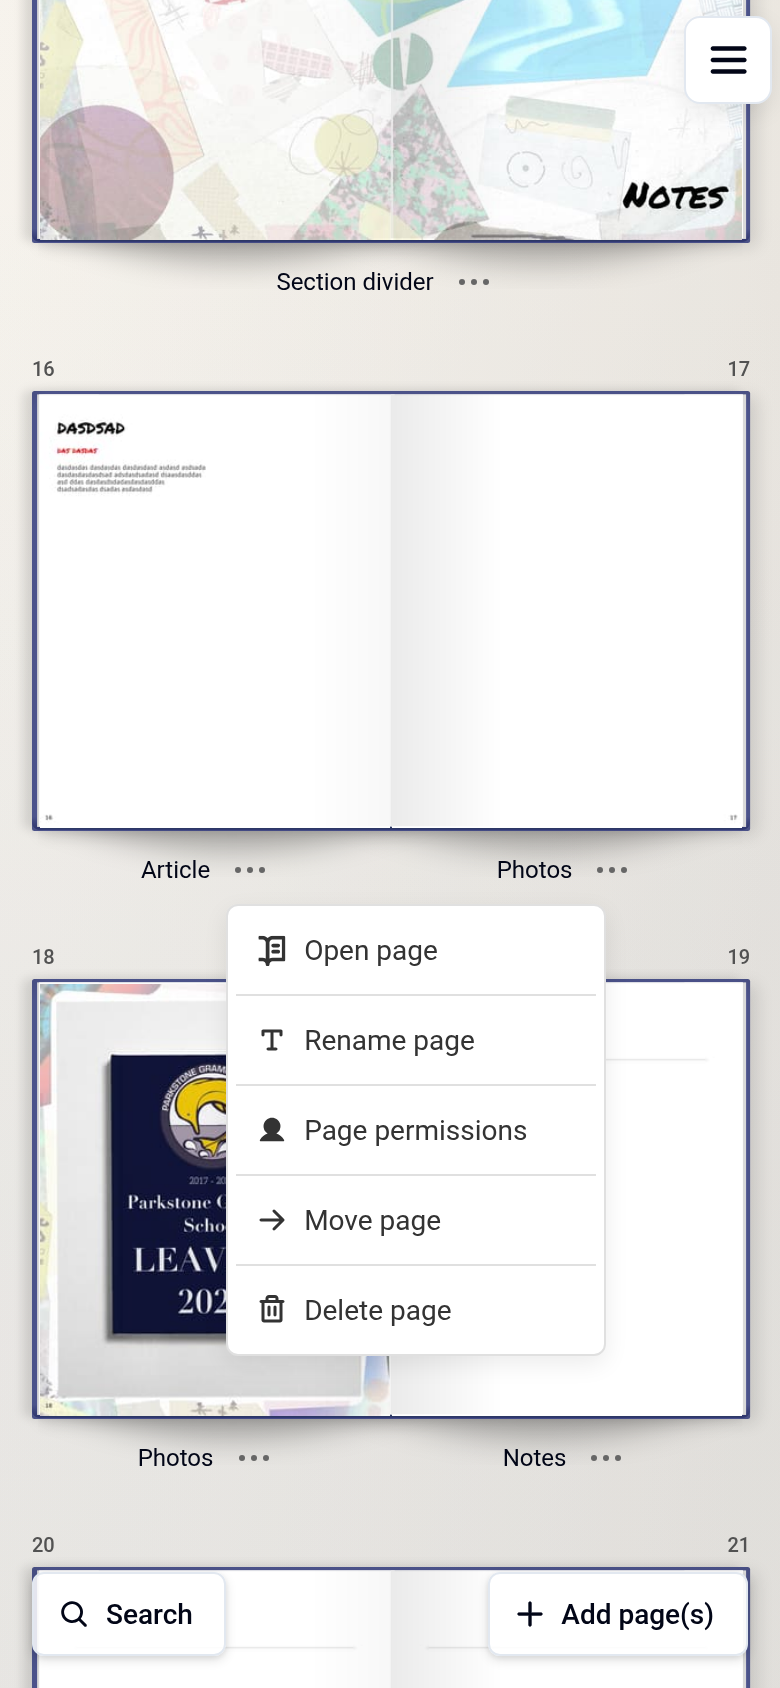
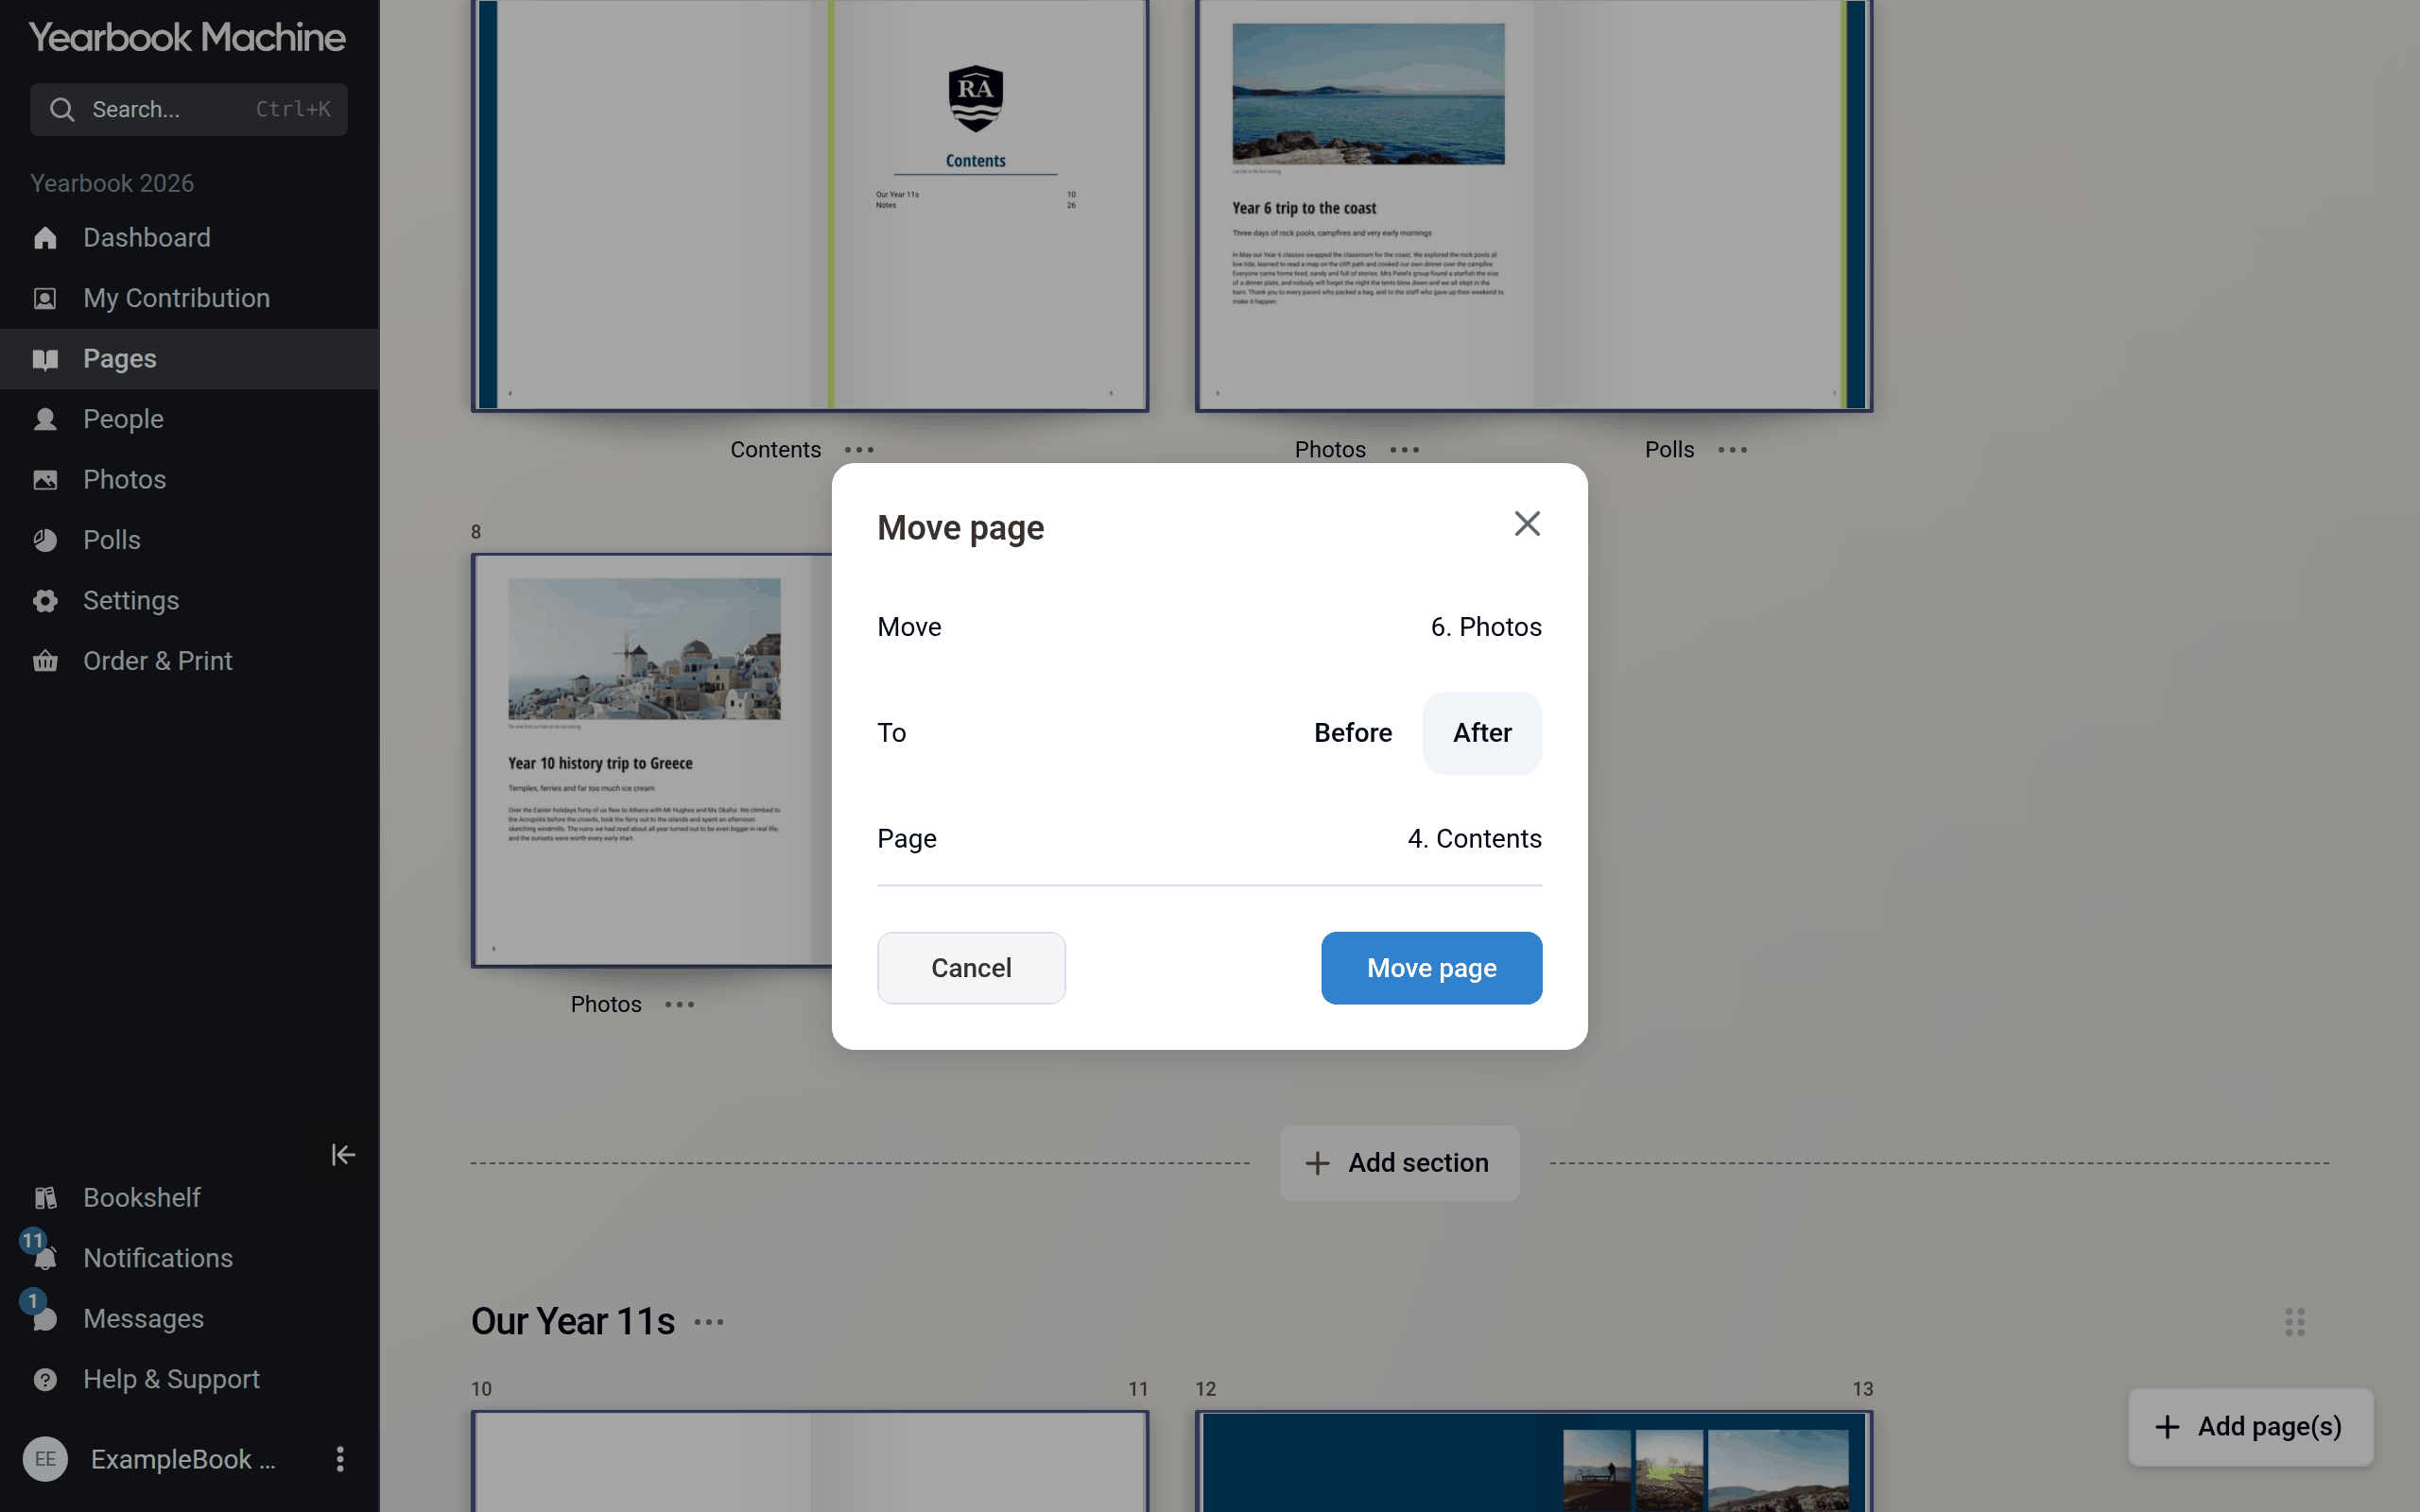
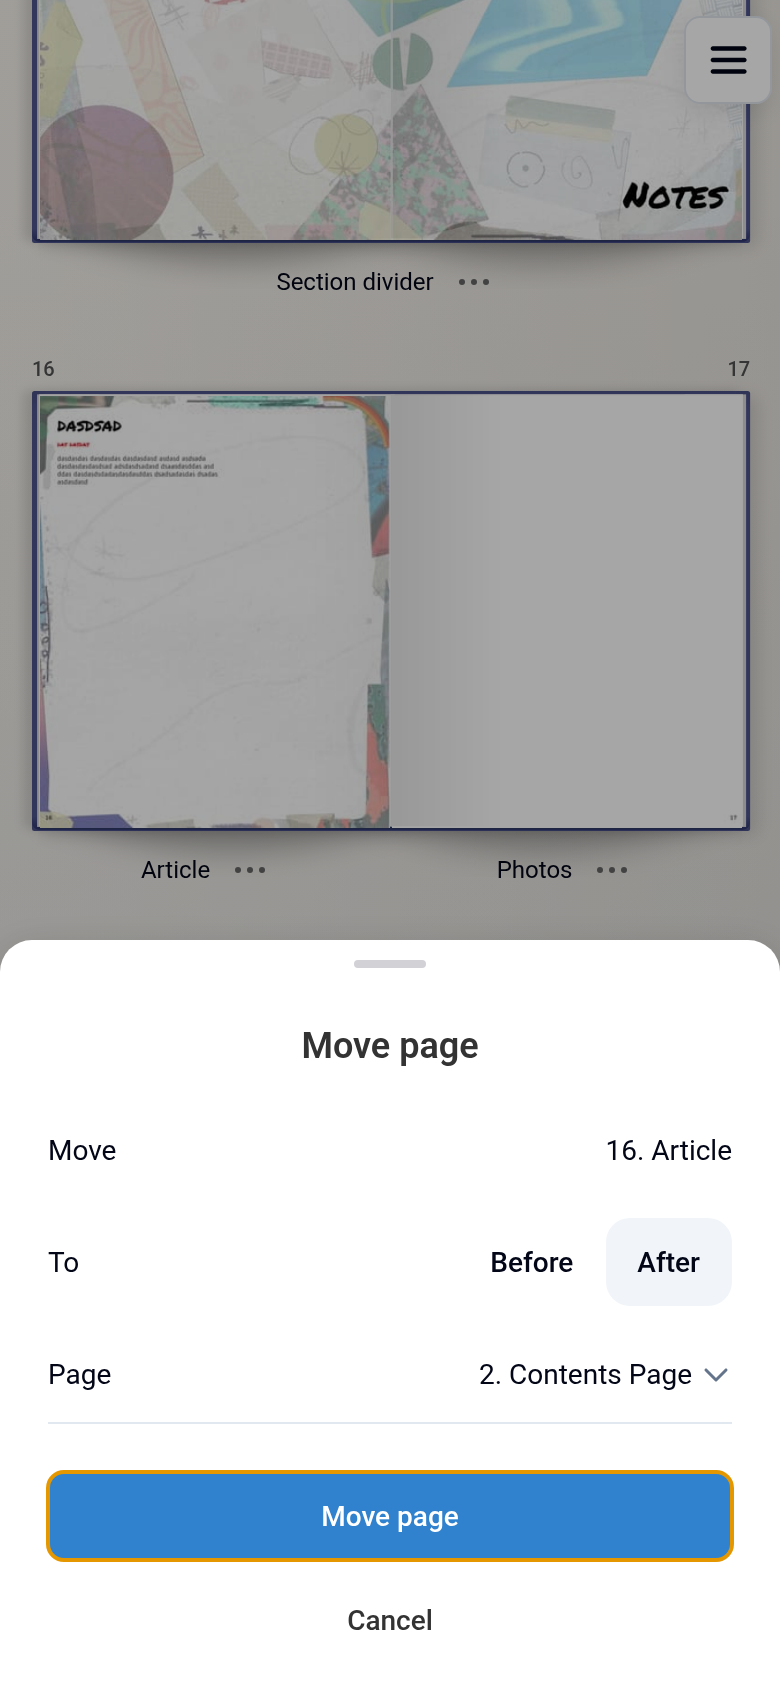
- Open the page's three-dot menu and choose Move page.
- Under To, choose where it goes relative to the page you pick next: Before puts it just ahead of that page, and After puts it just behind it.
- Search for the page you want it next to, then select Move page.
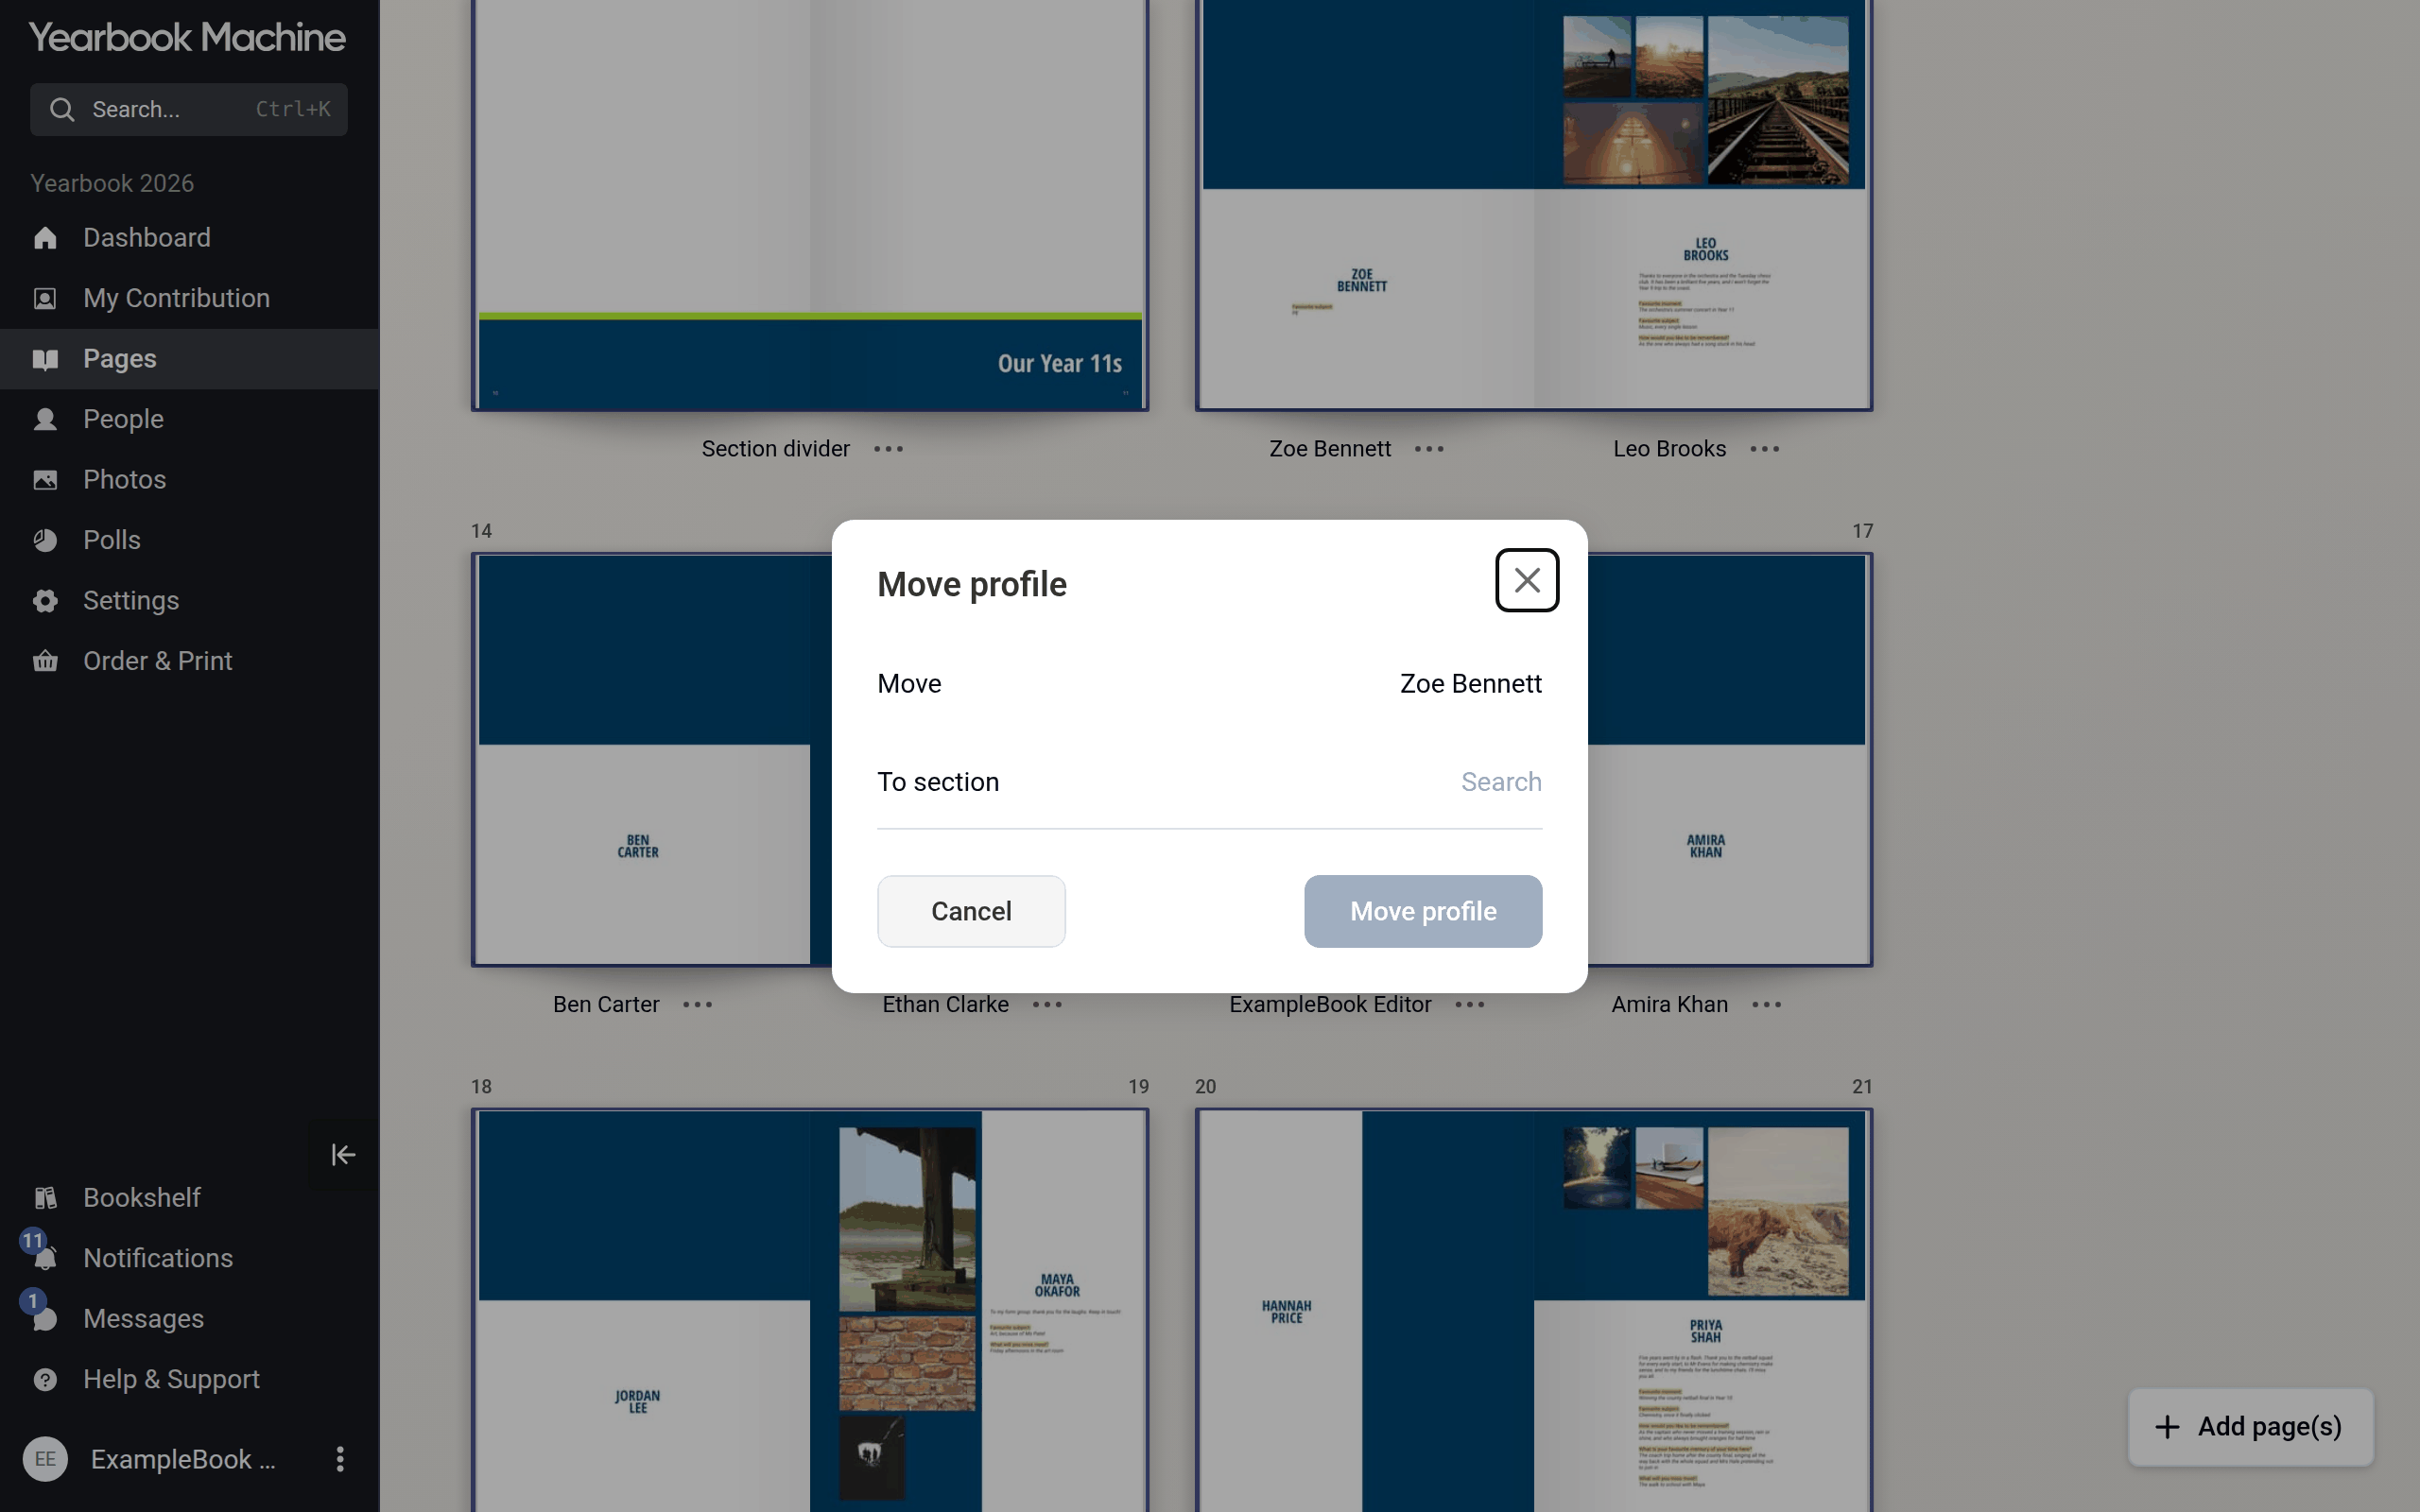
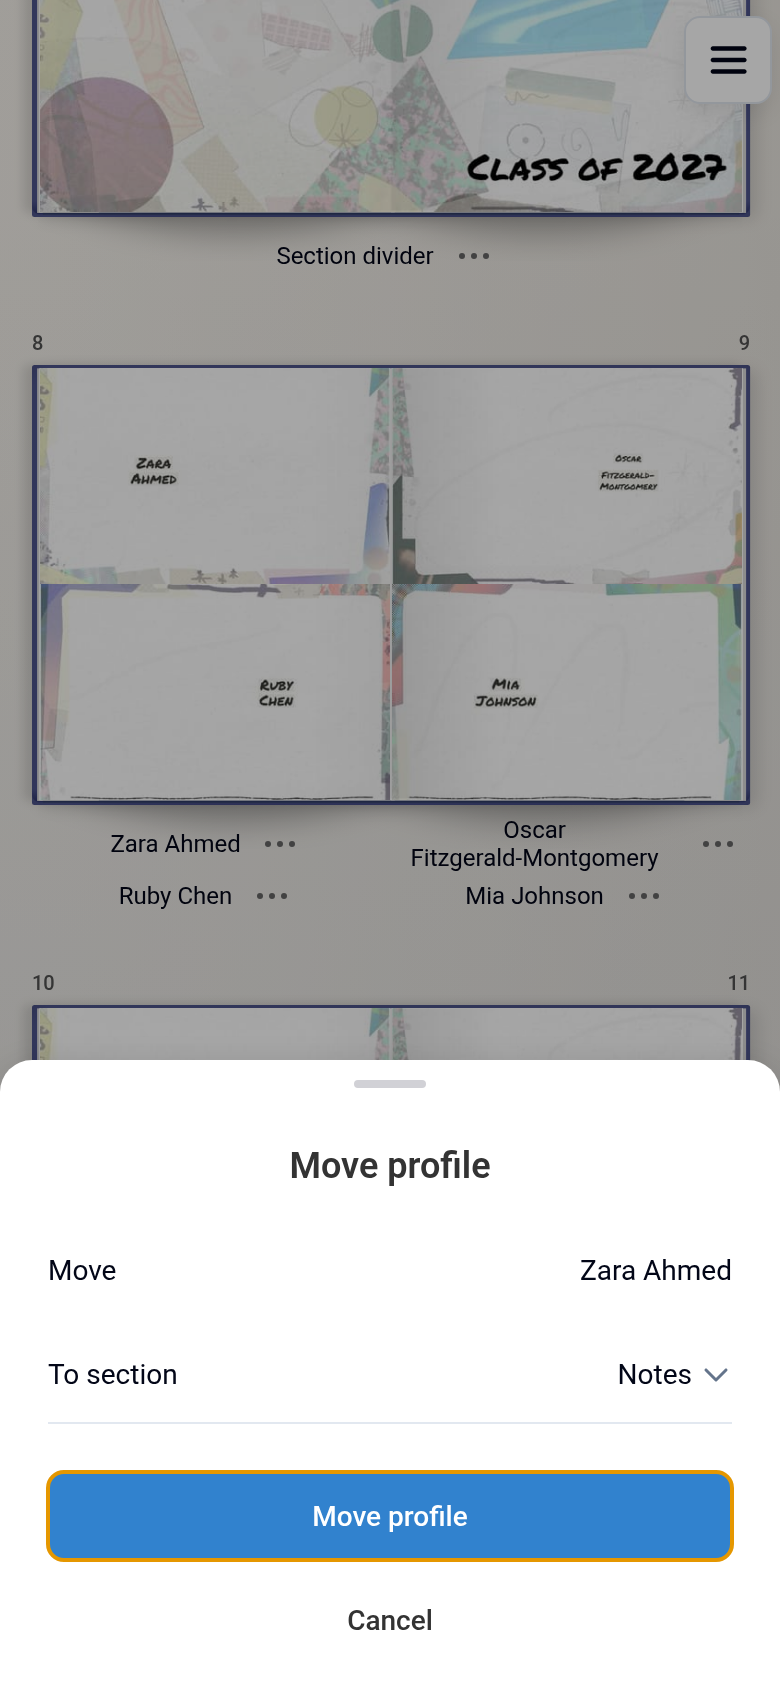
Where profile pages, the pages about individual contributors, sit within their section depends on how your book orders profiles (see the next part of this article). To put a profile in a different section, choose Move page from its three-dot menu. The Move profile box opens: pick the section under To section and select Move profile. Section dividers always stay at the start of their section.
Choosing how profile pages are ordered
- Open Book settings and choose Contributions.
- On the Profile ordering card, under Inside each section, order profiles by:, choose First name, Last name or Free sort, then save your settings.

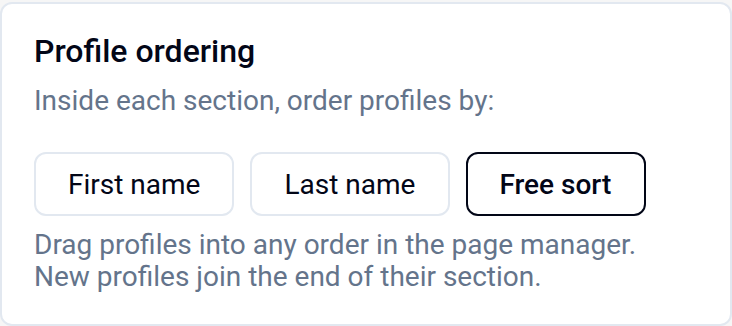
With First name or Last name, profile pages stay in name order within their section, so you cannot place them by hand.
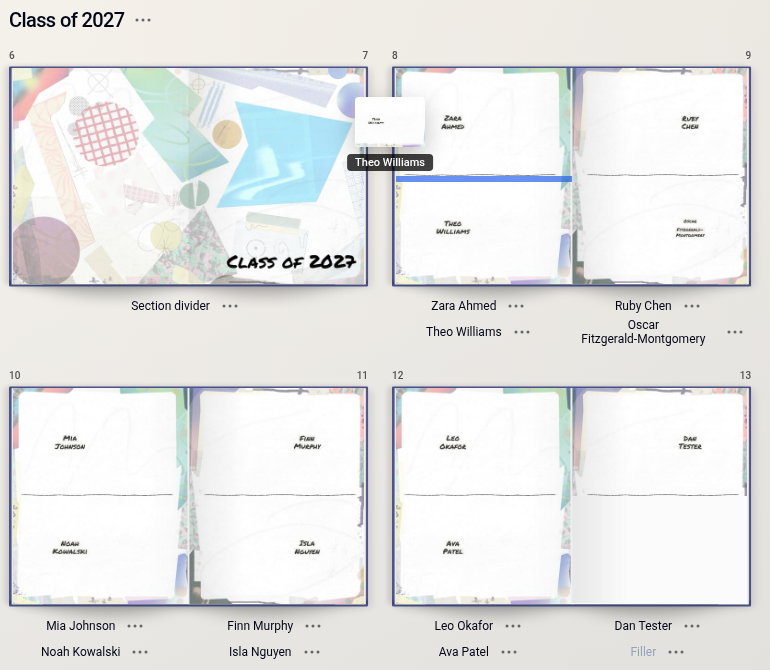
With Free sort, you drag profile pages on the Pages screen into any position, within their section or into another one. When you add a new profile page, you can drop it straight into the place you want. New profiles join the end of their section.
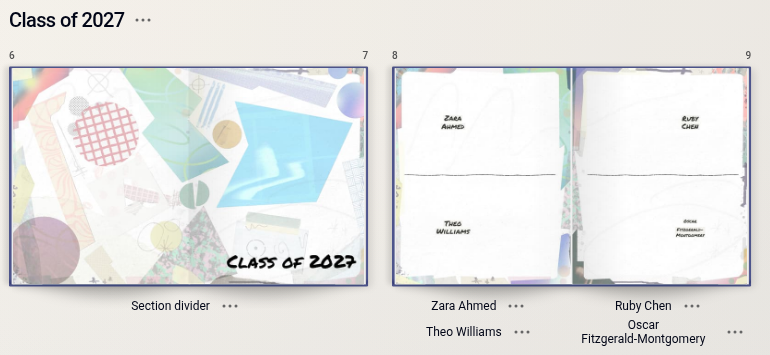
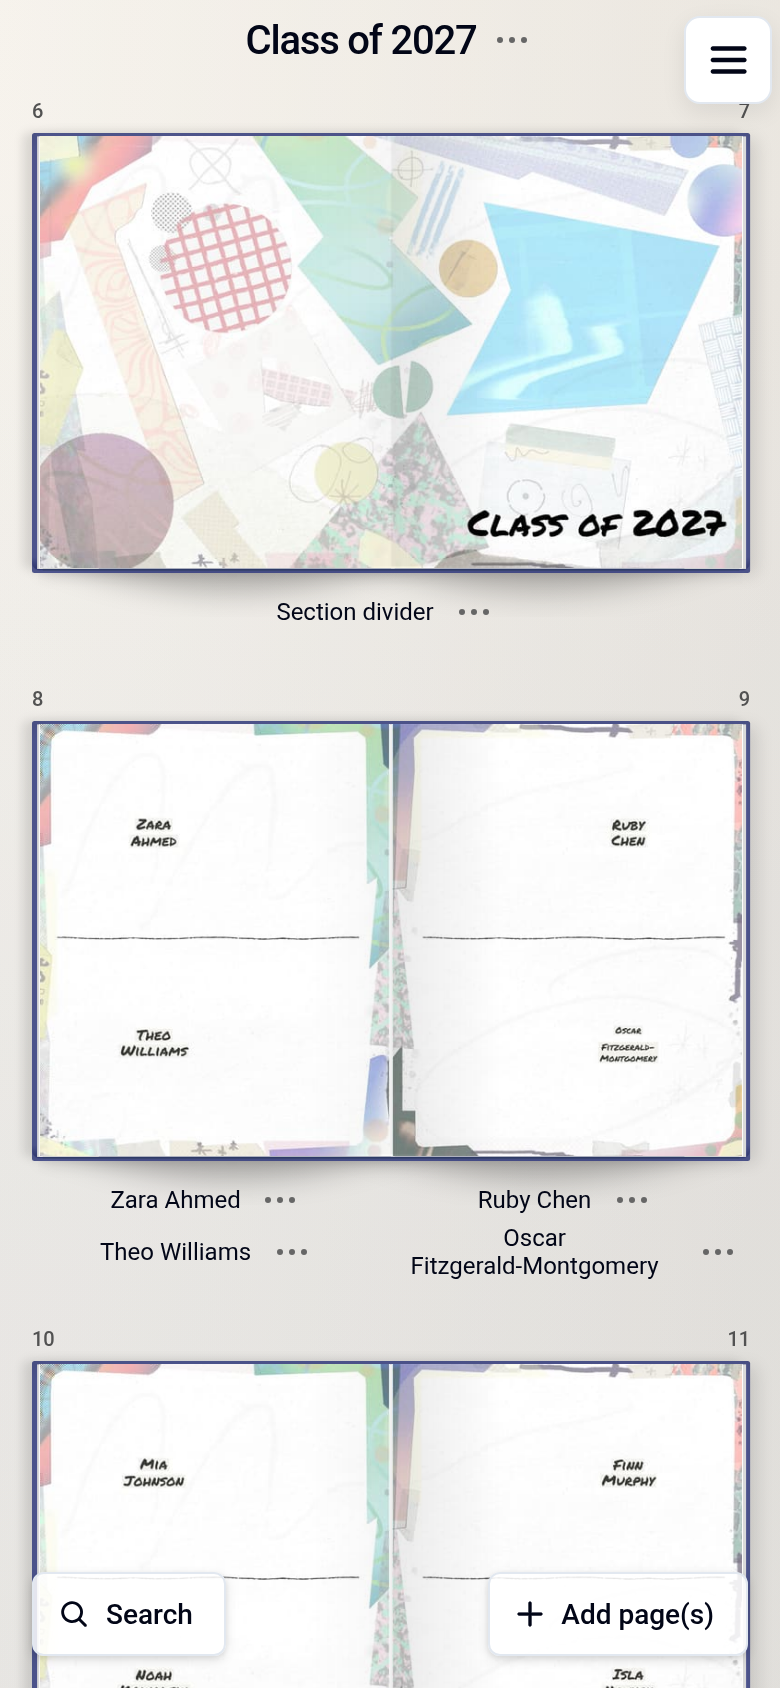
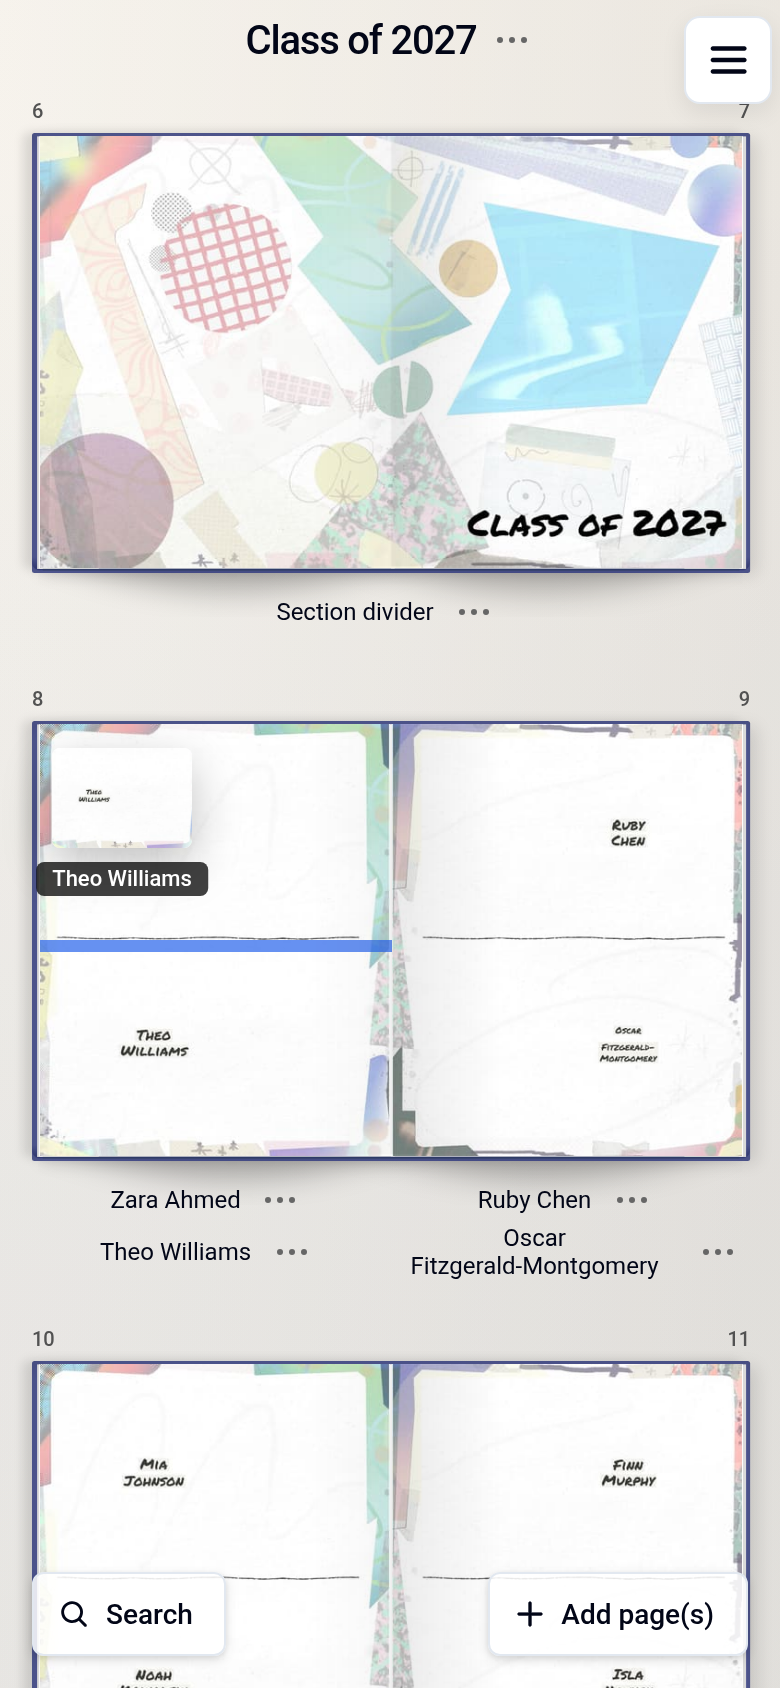
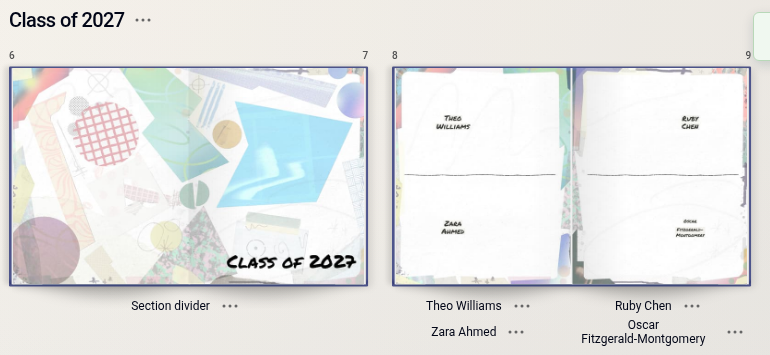
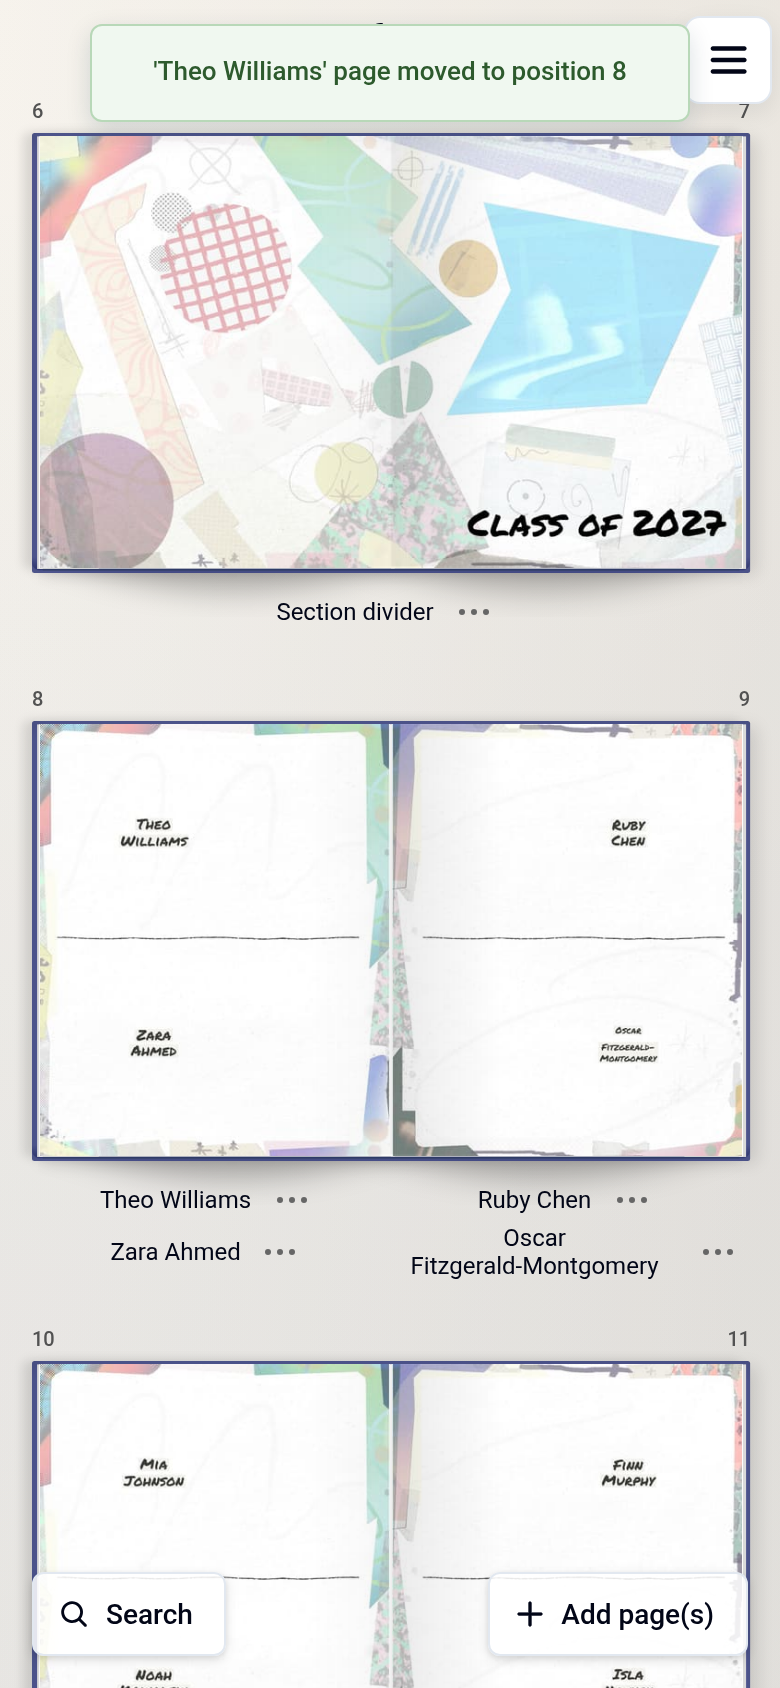
If you switch from Free sort back to First name or Last name, every section is put back into name order when you save, and the order you made by hand is not kept. Settings warns you about this before saving.
You can also make this choice in the Names step when you first set up your book, and the People page shows which order your book uses.
Renaming and deleting a page
- To rename a page, click its name (on a phone, tap it) and type the new name. On a profile page, this changes the person's first or last name. The title page, the contents page and section dividers keep fixed names; a section divider takes its section's name, so rename the section to change it. You can also open the page's three-dot menu and choose Rename page.
- To delete a page, open its three-dot menu, choose Delete page and then Delete to confirm.
Photos that were only on a deleted page are not lost. You will find them in the Unlinked Photos tab of Photos.
Changing a page's layout
- Open the page in the page editor, the screen for working on a single page.
- Select the Layout tab. It opens on Page setup: select Template in the rail to open the Templates panel, and pick a new design. If some of your photos or text won't fit the new design, you are asked Apply this layout? first. Select Apply layout to go ahead. Otherwise the new design is applied straight away.
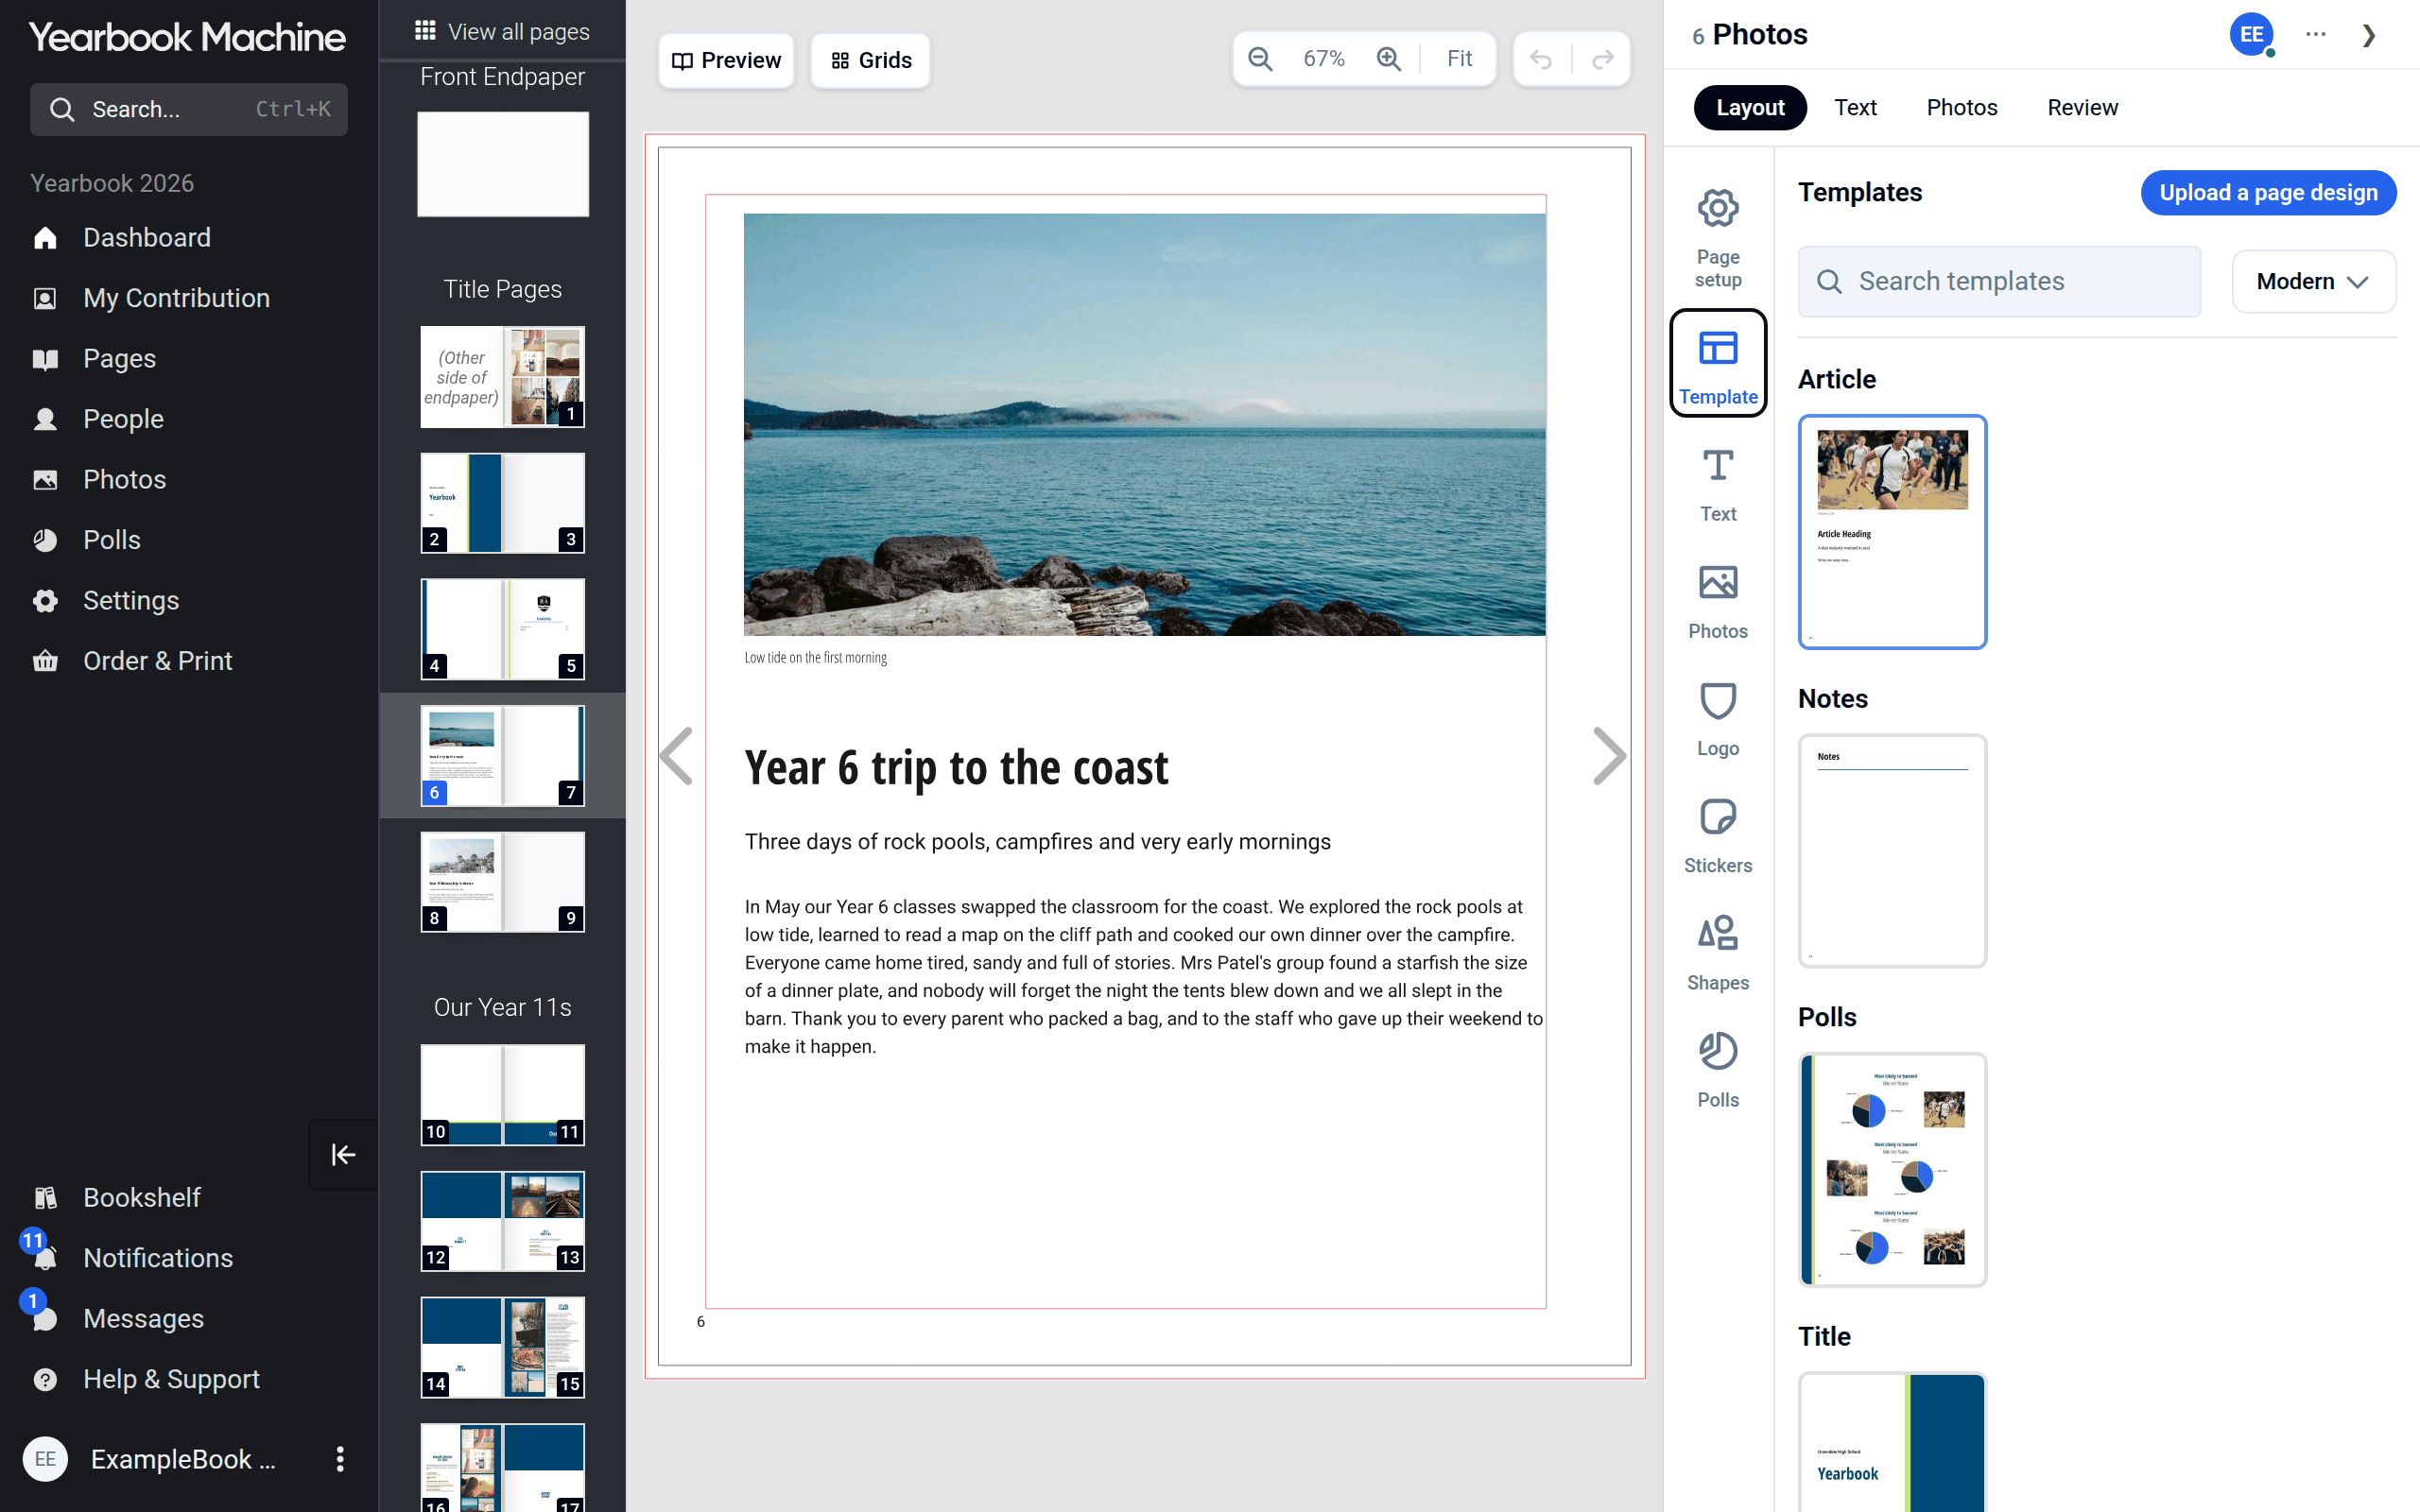
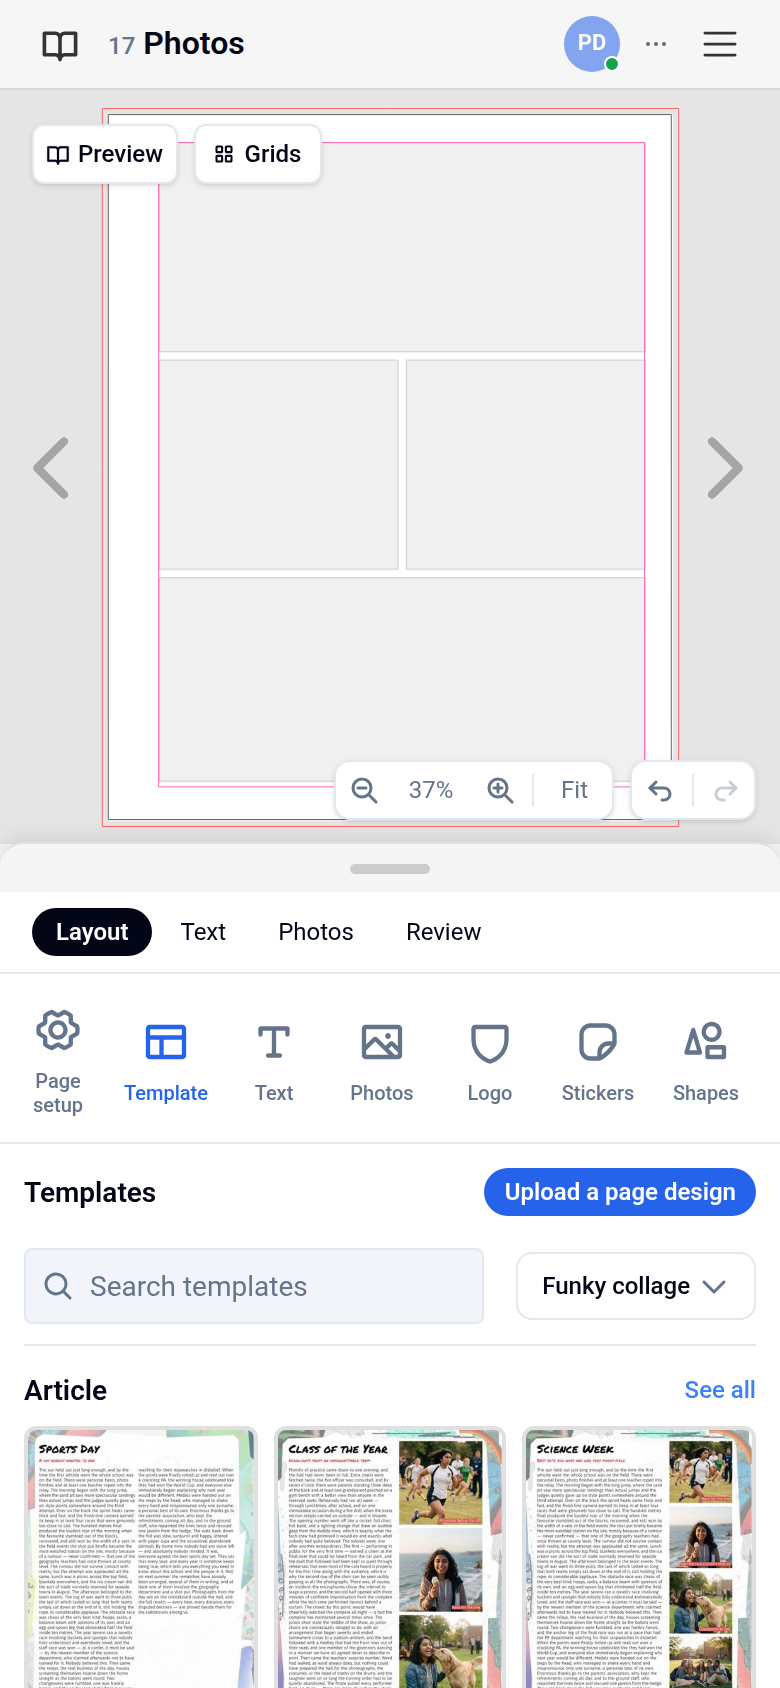
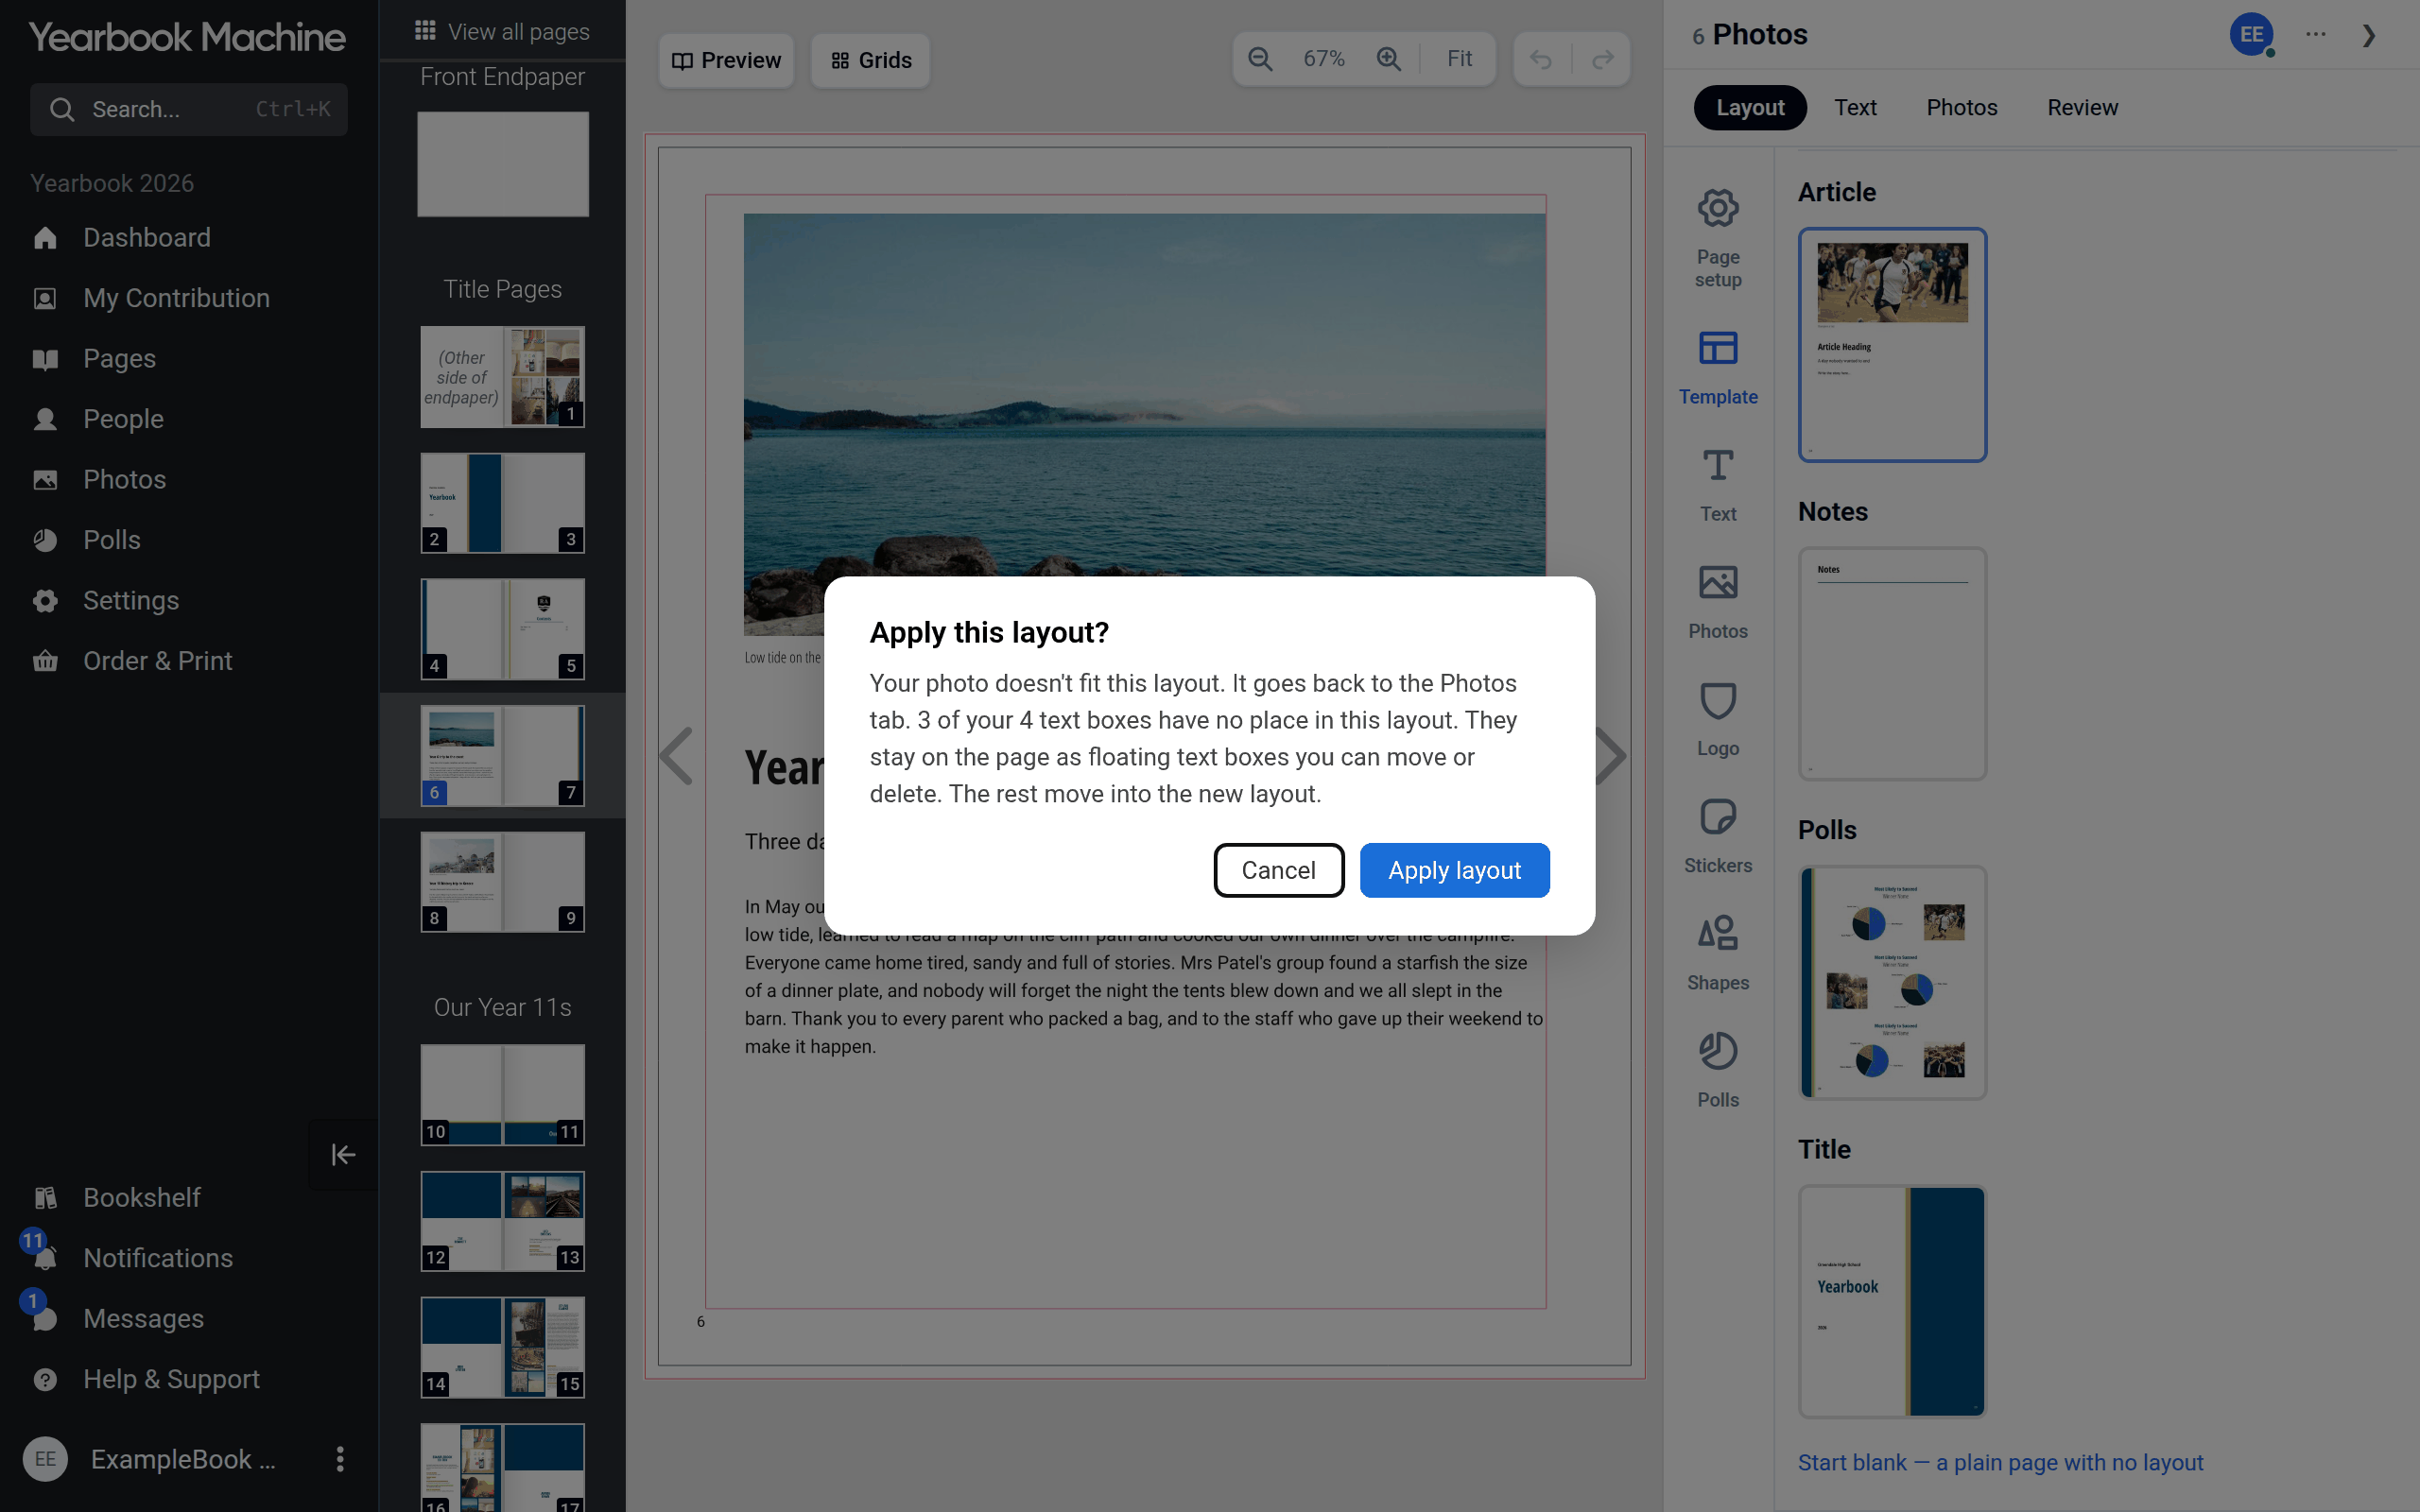
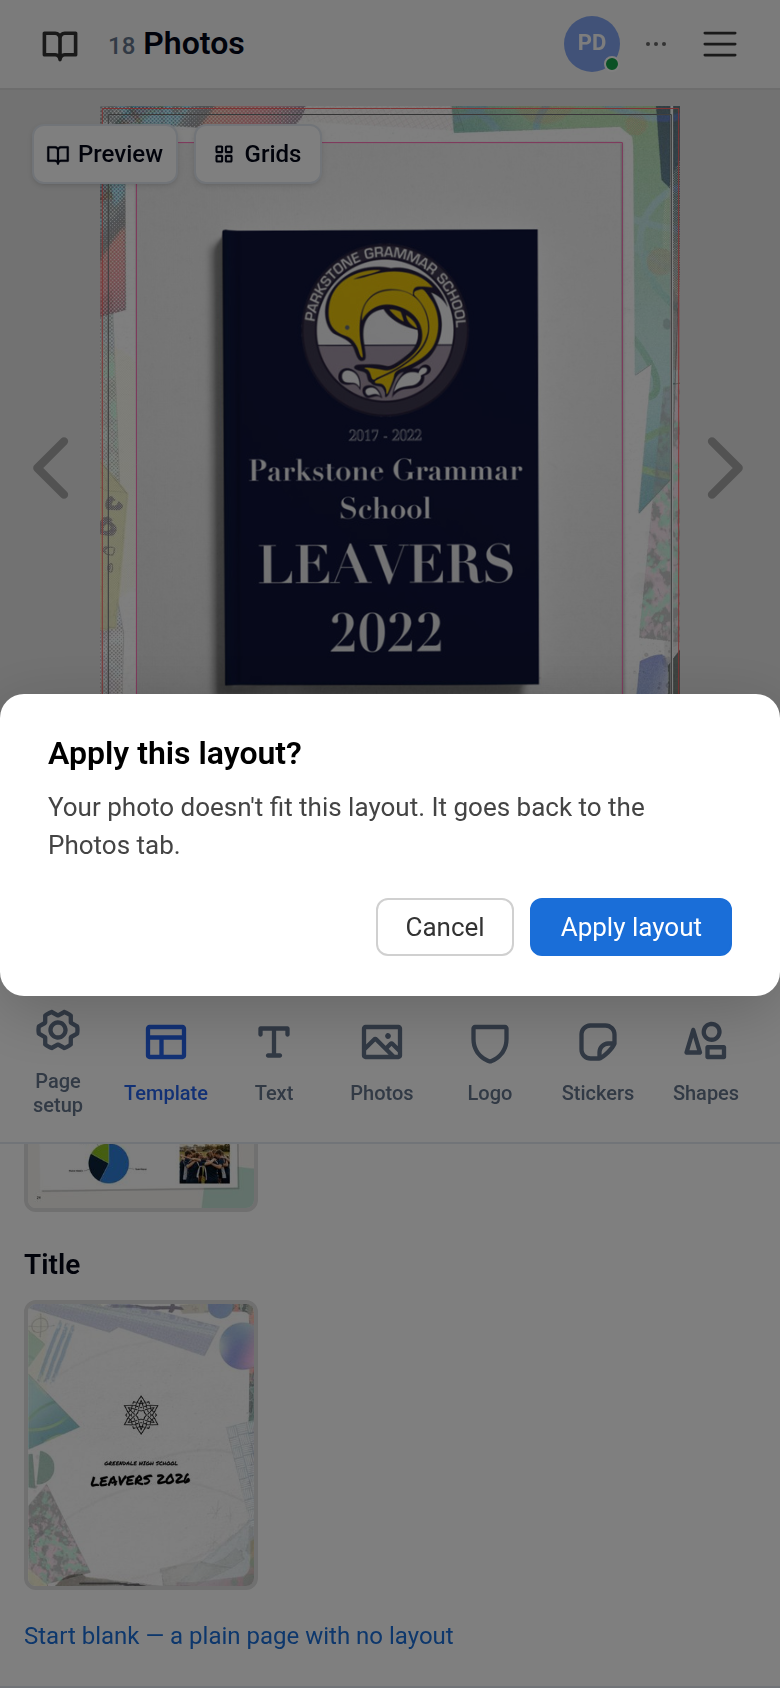
Your photos and text move into the new layout where they fit; photos that do not fit go back to the Photos tab. Choosing a polls design turns the page into a polls page, which shows your poll results, after asking Turn this into a polls page? Title, contents, section divider and profile pages always keep their type, whichever design you pick.
Common questions
Which pages does every book start with?
A title page, a contents page and a Notes section with three notes pages, left free for readers.
Why has a page called "Filler page" appeared?
Filler pages are added automatically so the other pages fit together properly, for example when a double-page spread would otherwise start on a right-hand page, or because sections must end on a double spread. Open it to see why it is there; to remove it, add a page in its place or rearrange your pages.
Why can't I move a section divider?
A section divider always sits at the start of its section. To move it, move the whole section instead: drag it by the handle at the right of its name, or use Reorder sections.
If you don't want a divider, editors can delete it: open its three-dot menu, choose Delete page and confirm. To put one back later, drag Section divider from the Add page panel (the tray on a phone) onto the section. Each section can have only one, and the title section can't have one.
Can I put profile pages in my own order?
Yes. Choose Free sort under Profile ordering in Book settings, Contributions, then drag the profiles where you want them on the Pages screen.
My pages look out of order. What should I do?
It depends on which pages:
- Profile pages aren't in alphabetical order. Profiles follow Profile ordering in Book settings, Contributions. With First name or Last name, they are kept in name order within each section. With Free sort, they stay wherever they were dragged; choose First name or Last name again and every section is put back into name order when you save.
- A profile is in the wrong section. Choose Move page from its three-dot menu and pick the right section under To section.
- Another page is in the wrong place. Drag it to where it should go, or choose Move page from its three-dot menu.
- A Filler page has appeared. See the question about filler pages above.
If the order still looks wrong, contact us.
Was this article helpful?
Sorry, that didn't send. Please try again in a little while.
Thanks. That helps us improve this article.
Any other questions?
Email support@yearbook.com and we'll help you out.