
Creating a new yearbook
This article explains how to create a new yearbook, from making your account to the first steps on your new book's Dashboard, the home screen of each book. Anyone with a Yearbook Machine account can create a book. The person who creates it becomes its main editor: an editor who can do everything the other editors can and is the only one who can delete the book.
Creating your account
If you already have an account, sign in and skip to the next section.
- Go to yearbook.com/get-started.
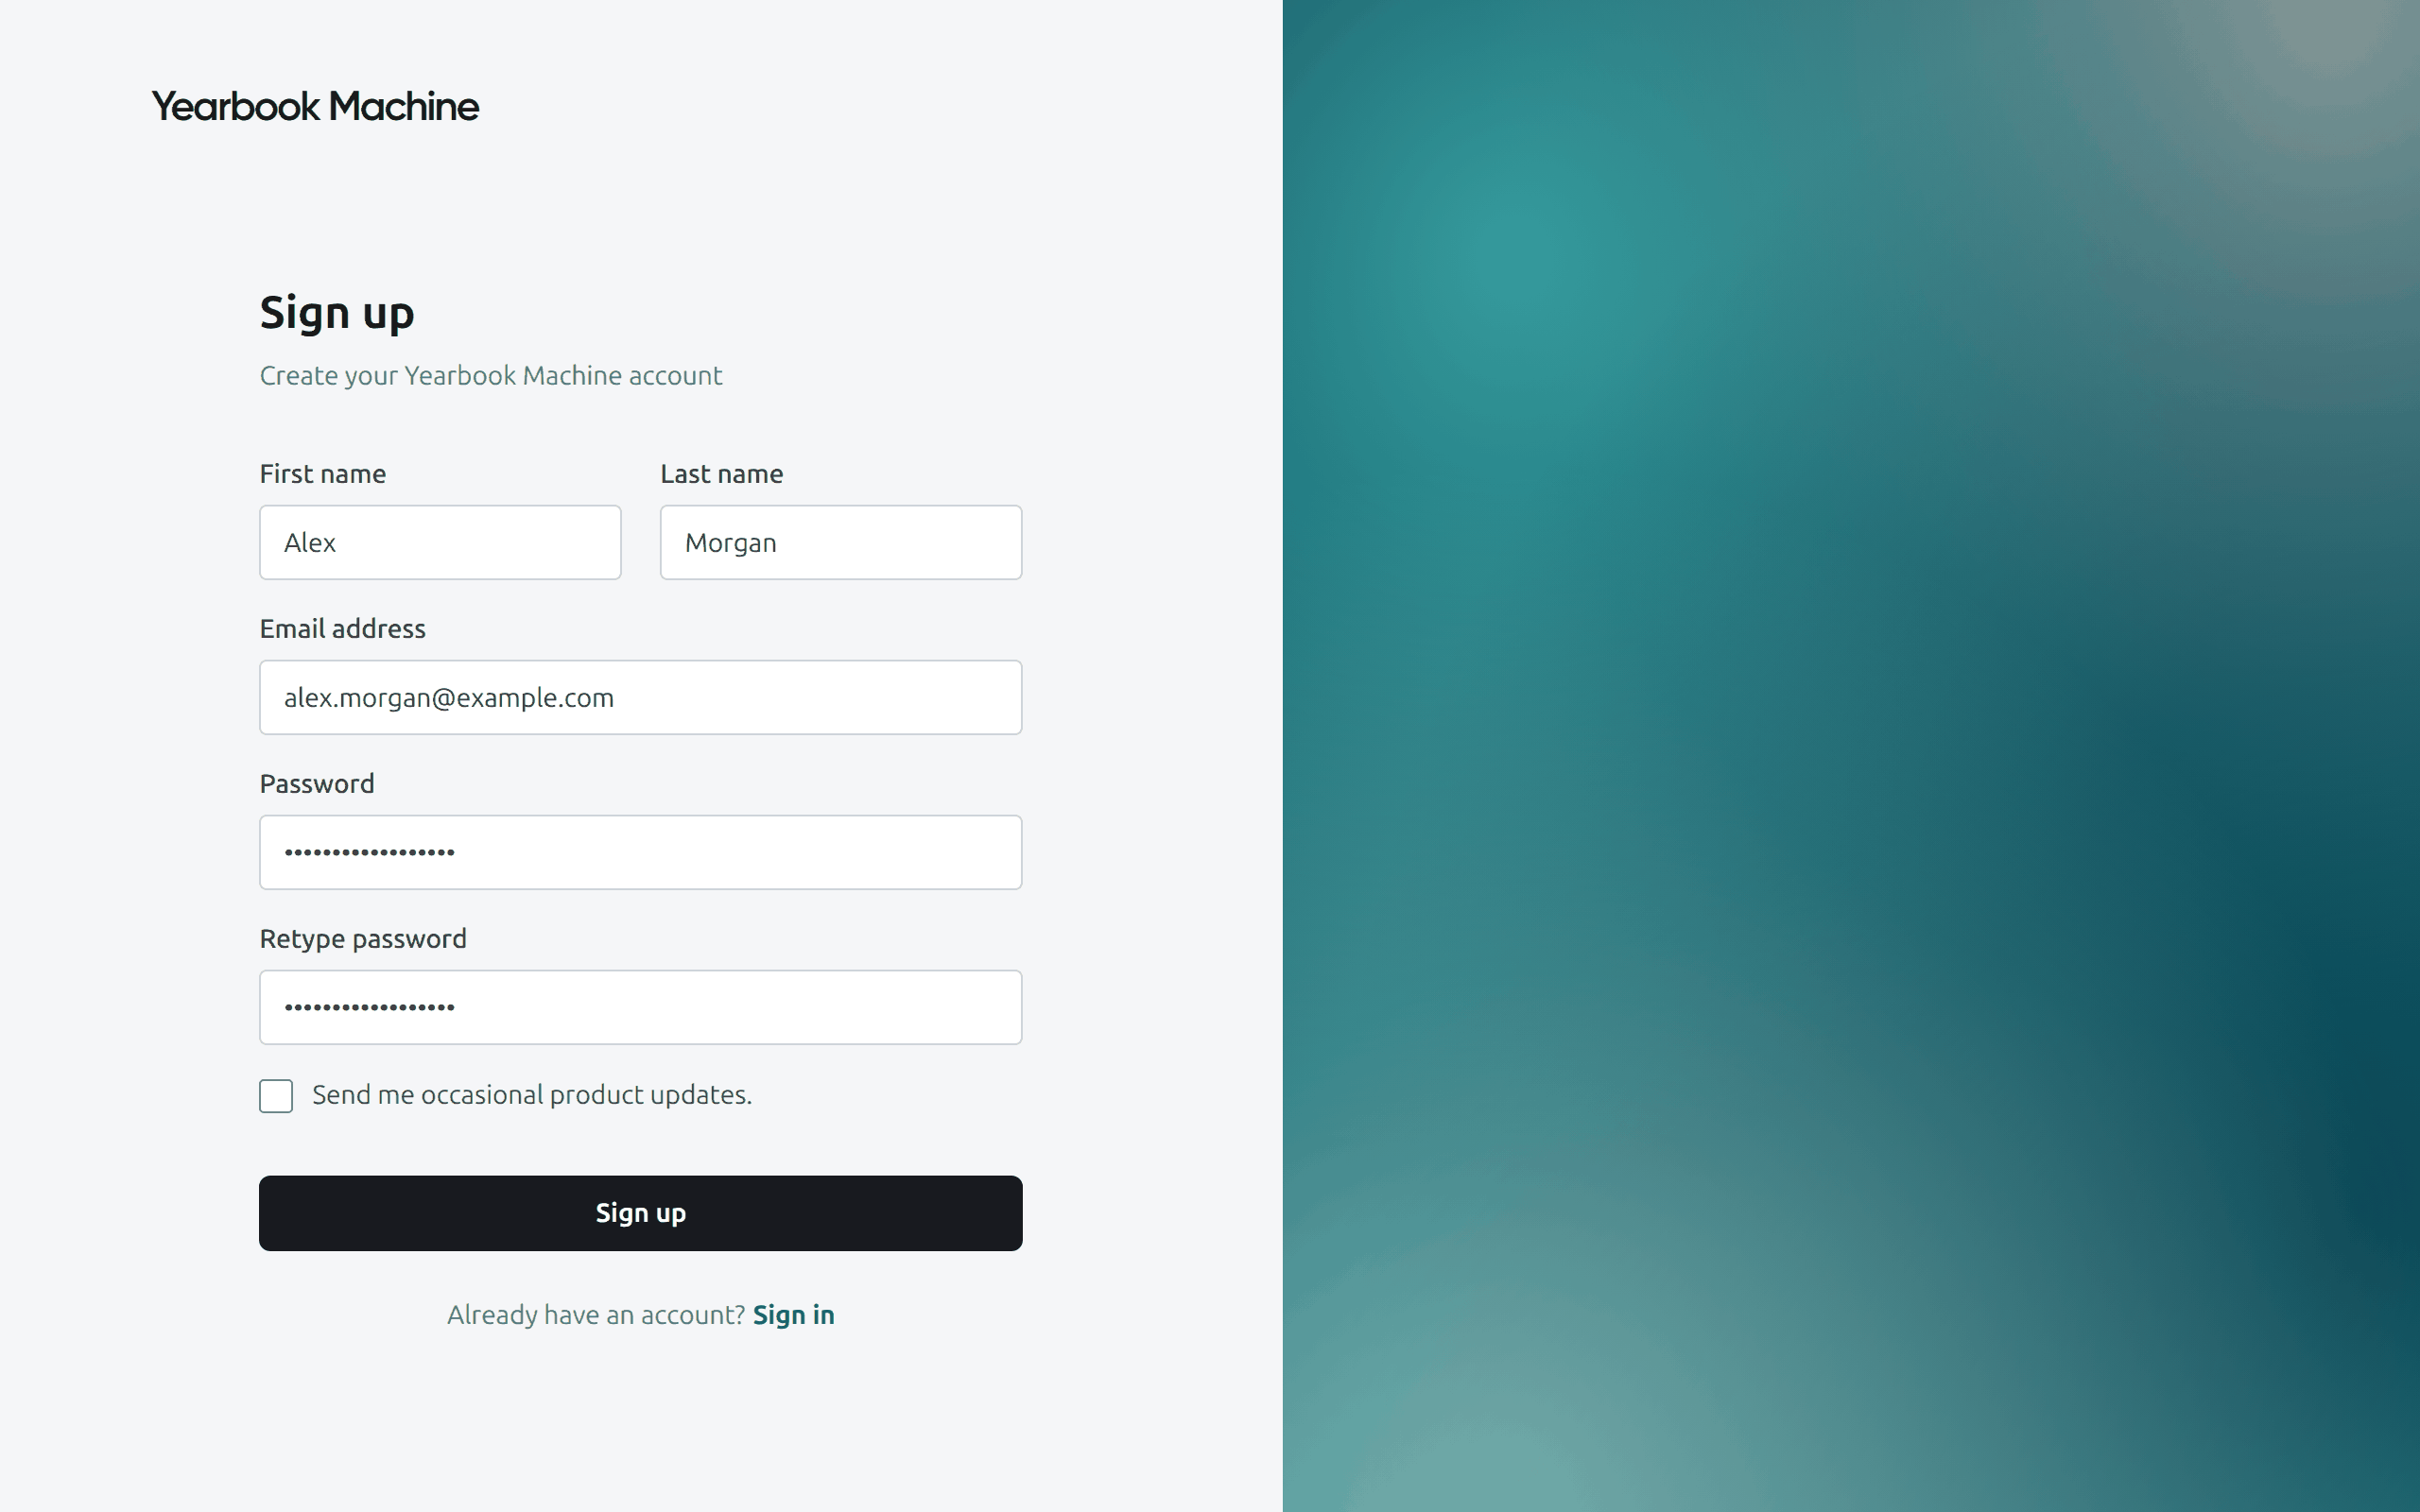
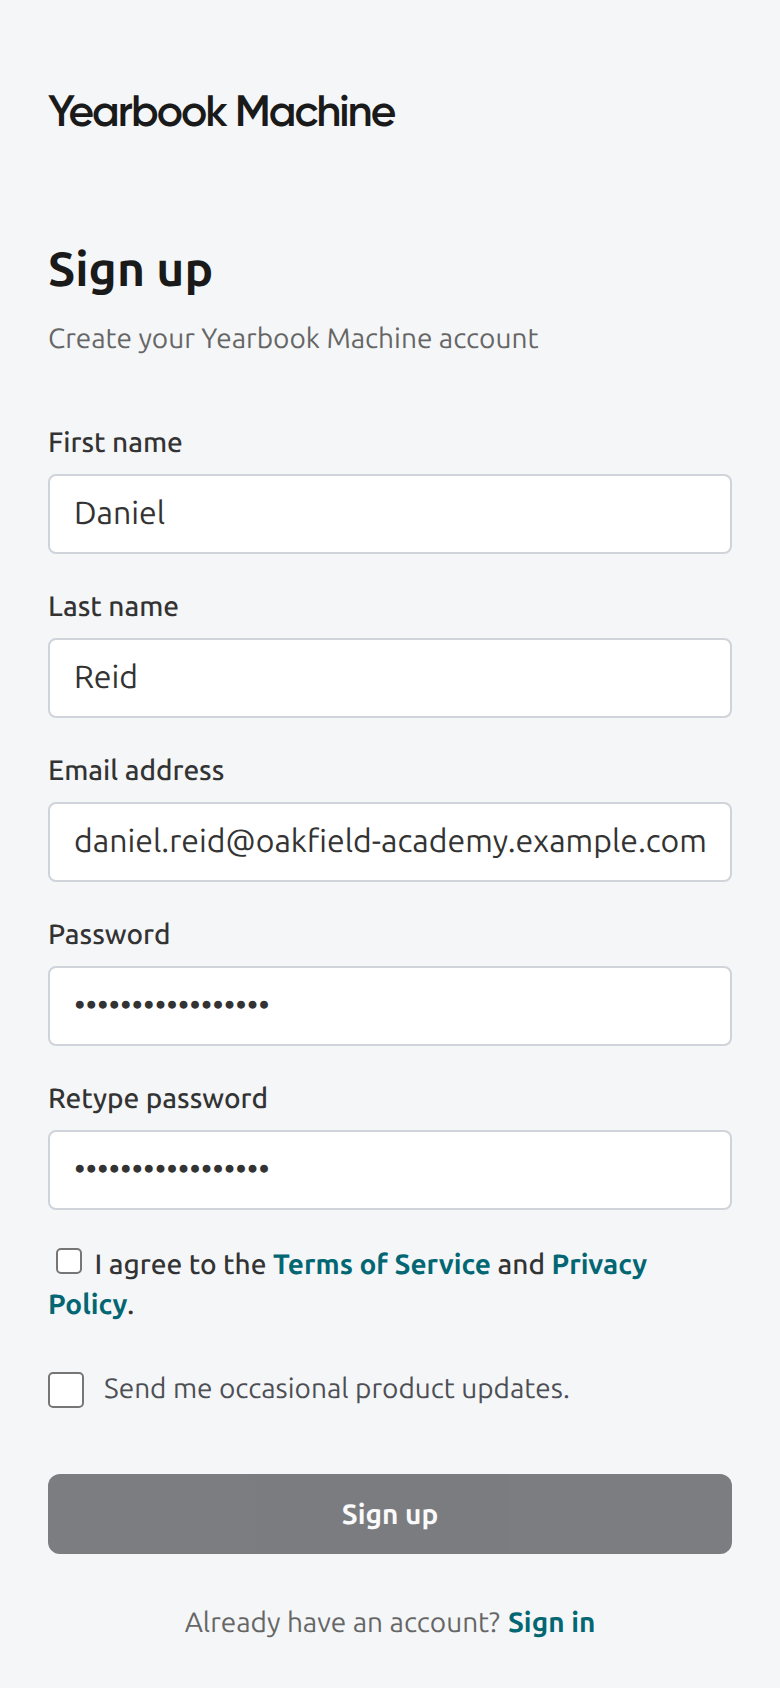
- Fill in First name, Last name, Email address, Password and Retype password, agree to the terms of service and privacy policy, then click Sign up.
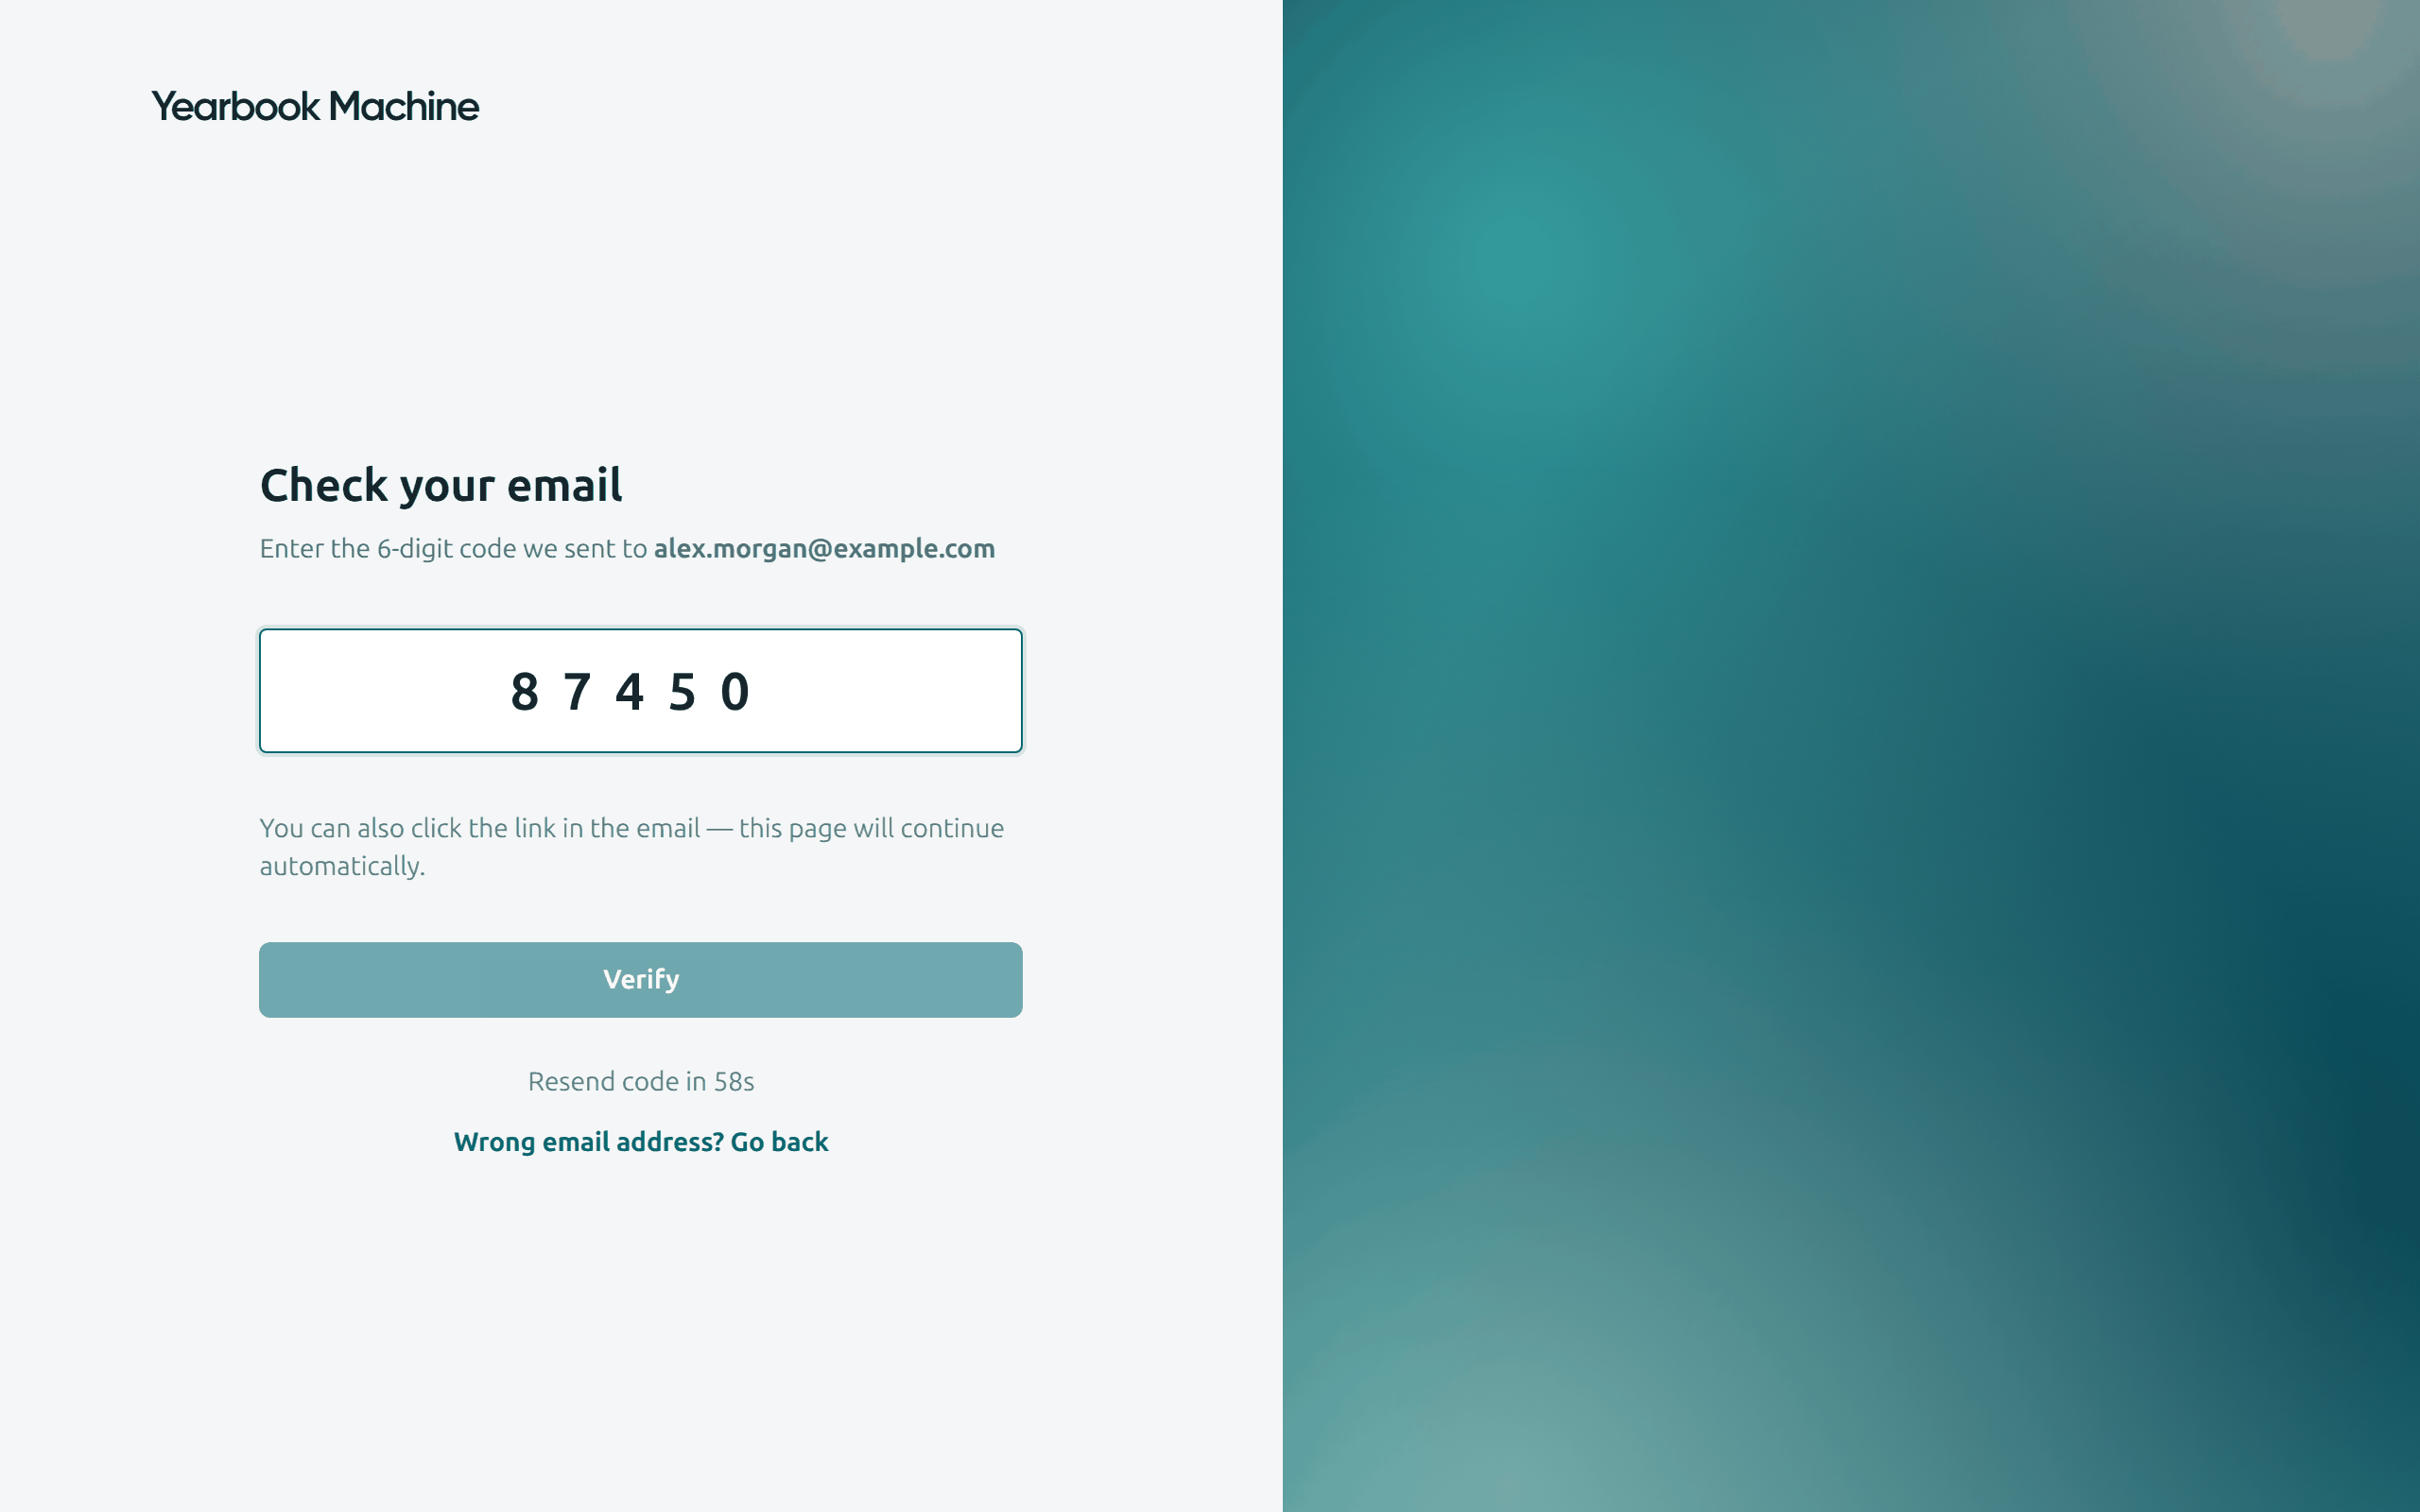
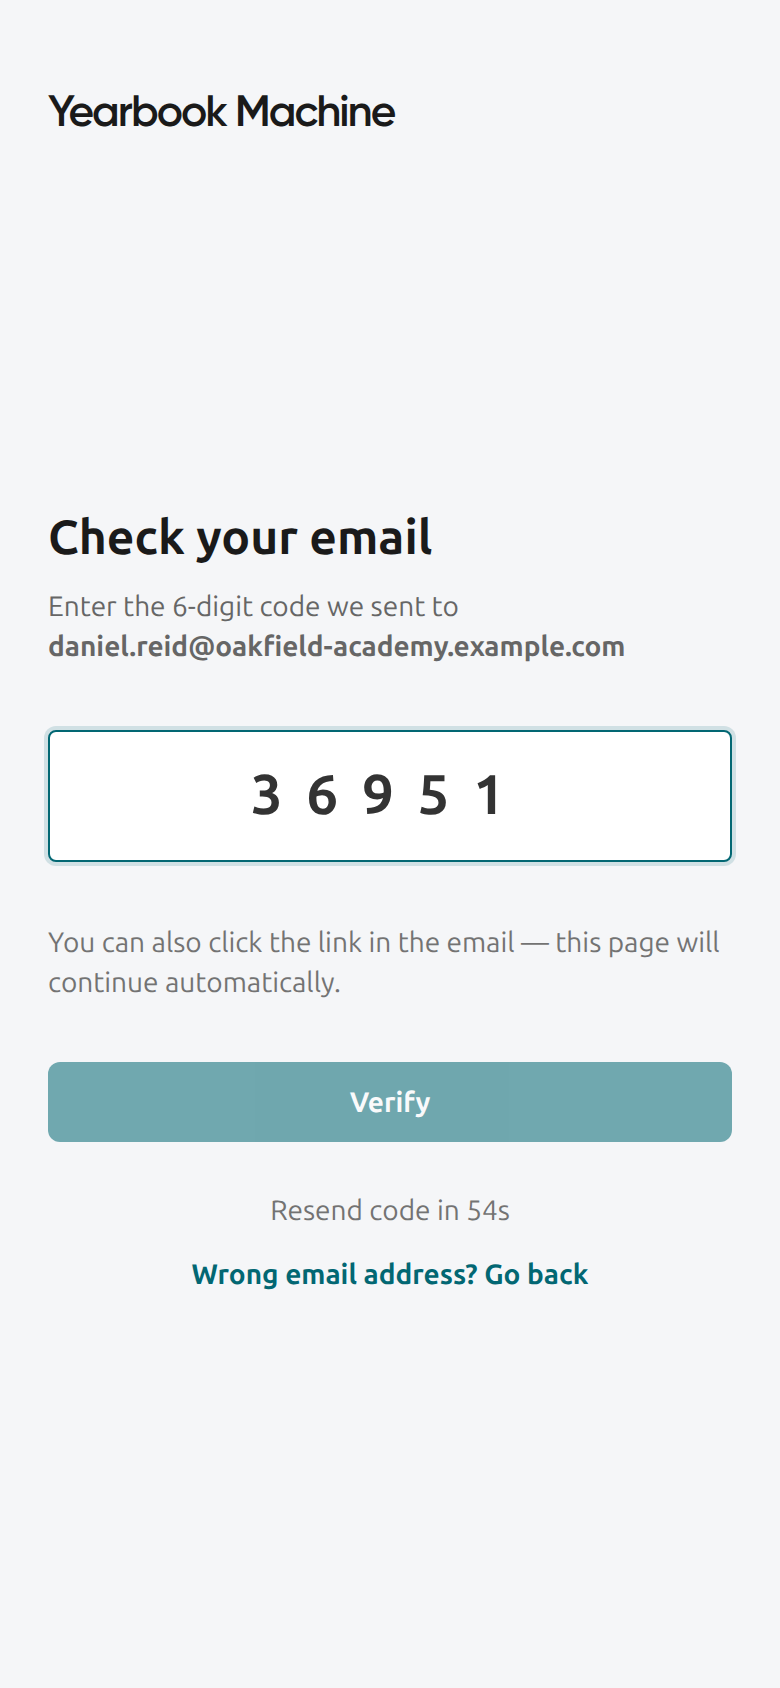
- We email you a 6-digit code. Enter it and click Verify. If the email has not arrived, check your spam folder or click Resend code.
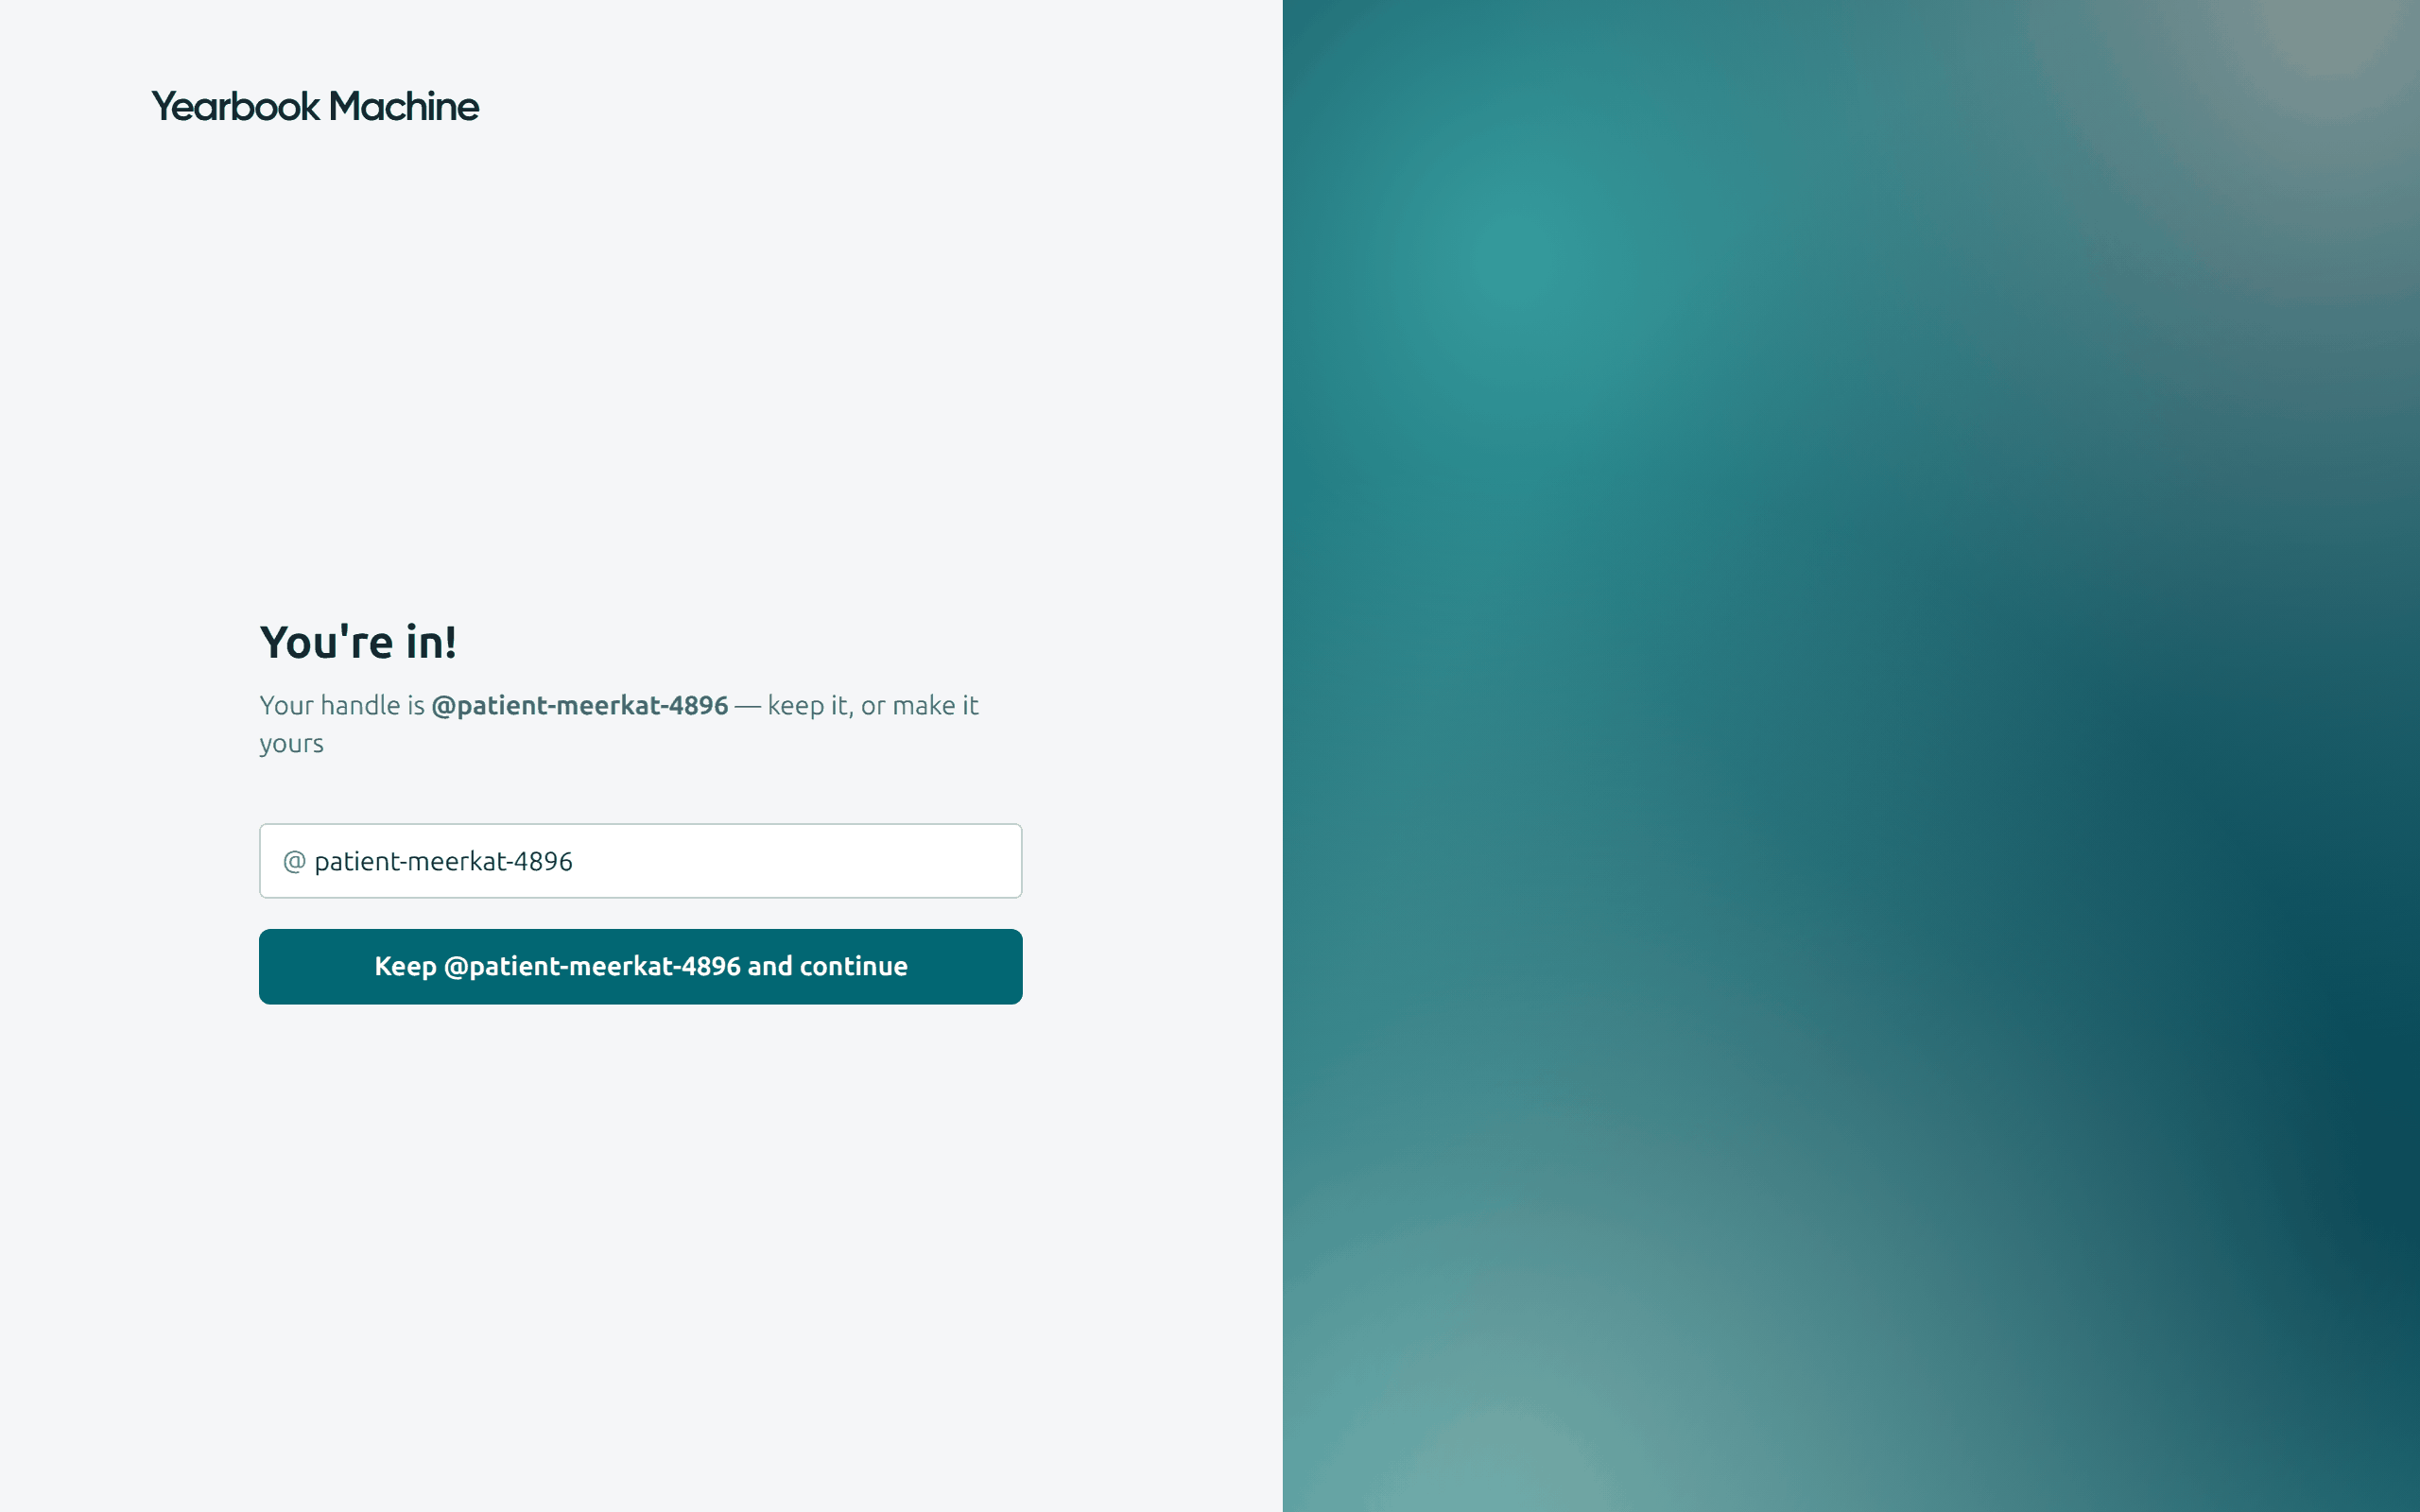
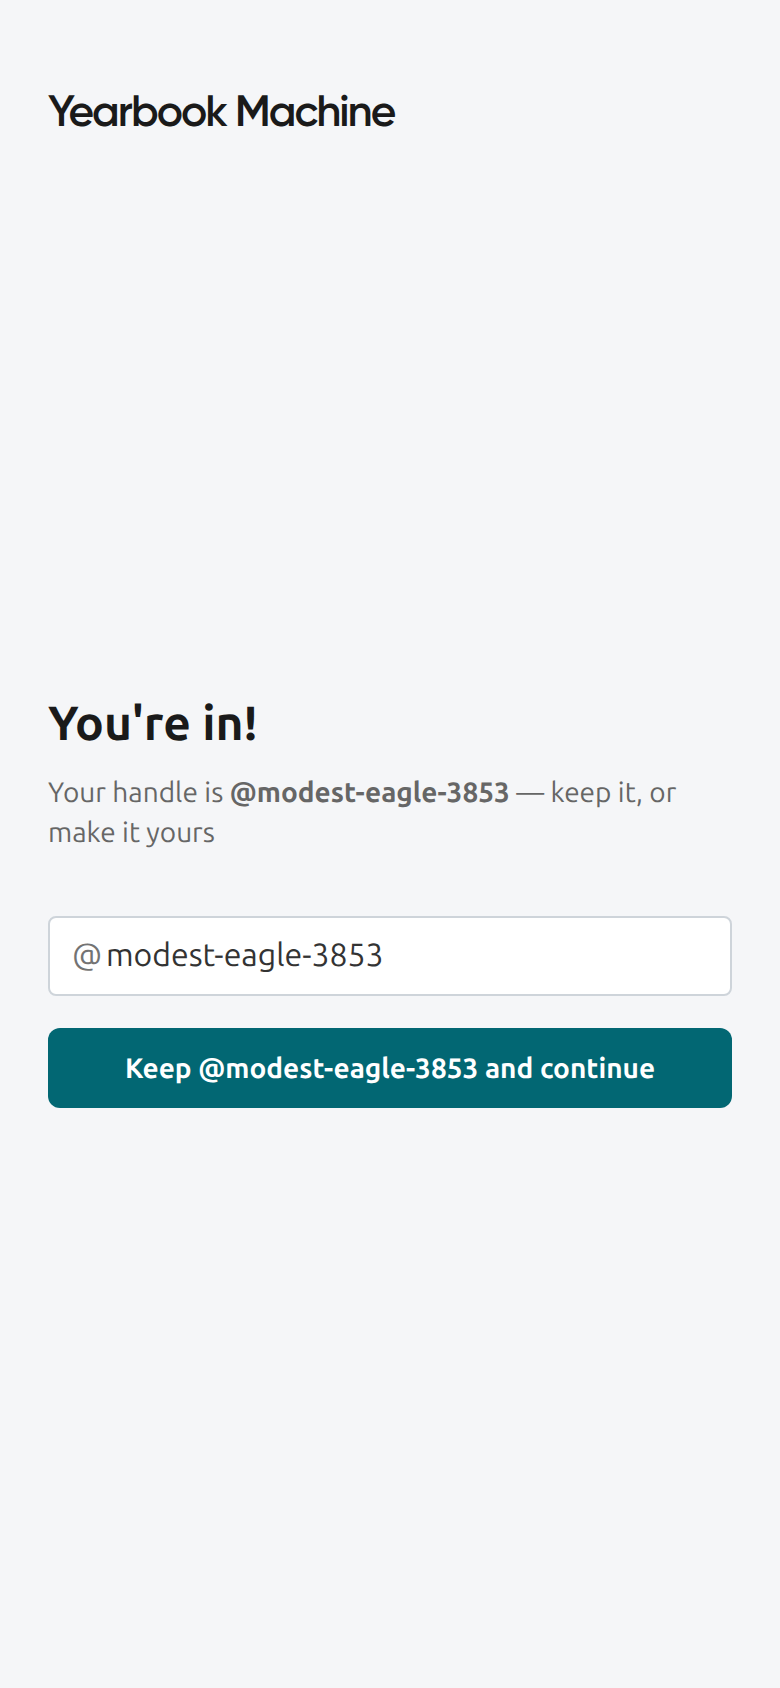
- You are shown the username we have given you. To keep it, click Keep @… and continue, with your username in place of the dots. To change it, type a new one and click Save and continue.
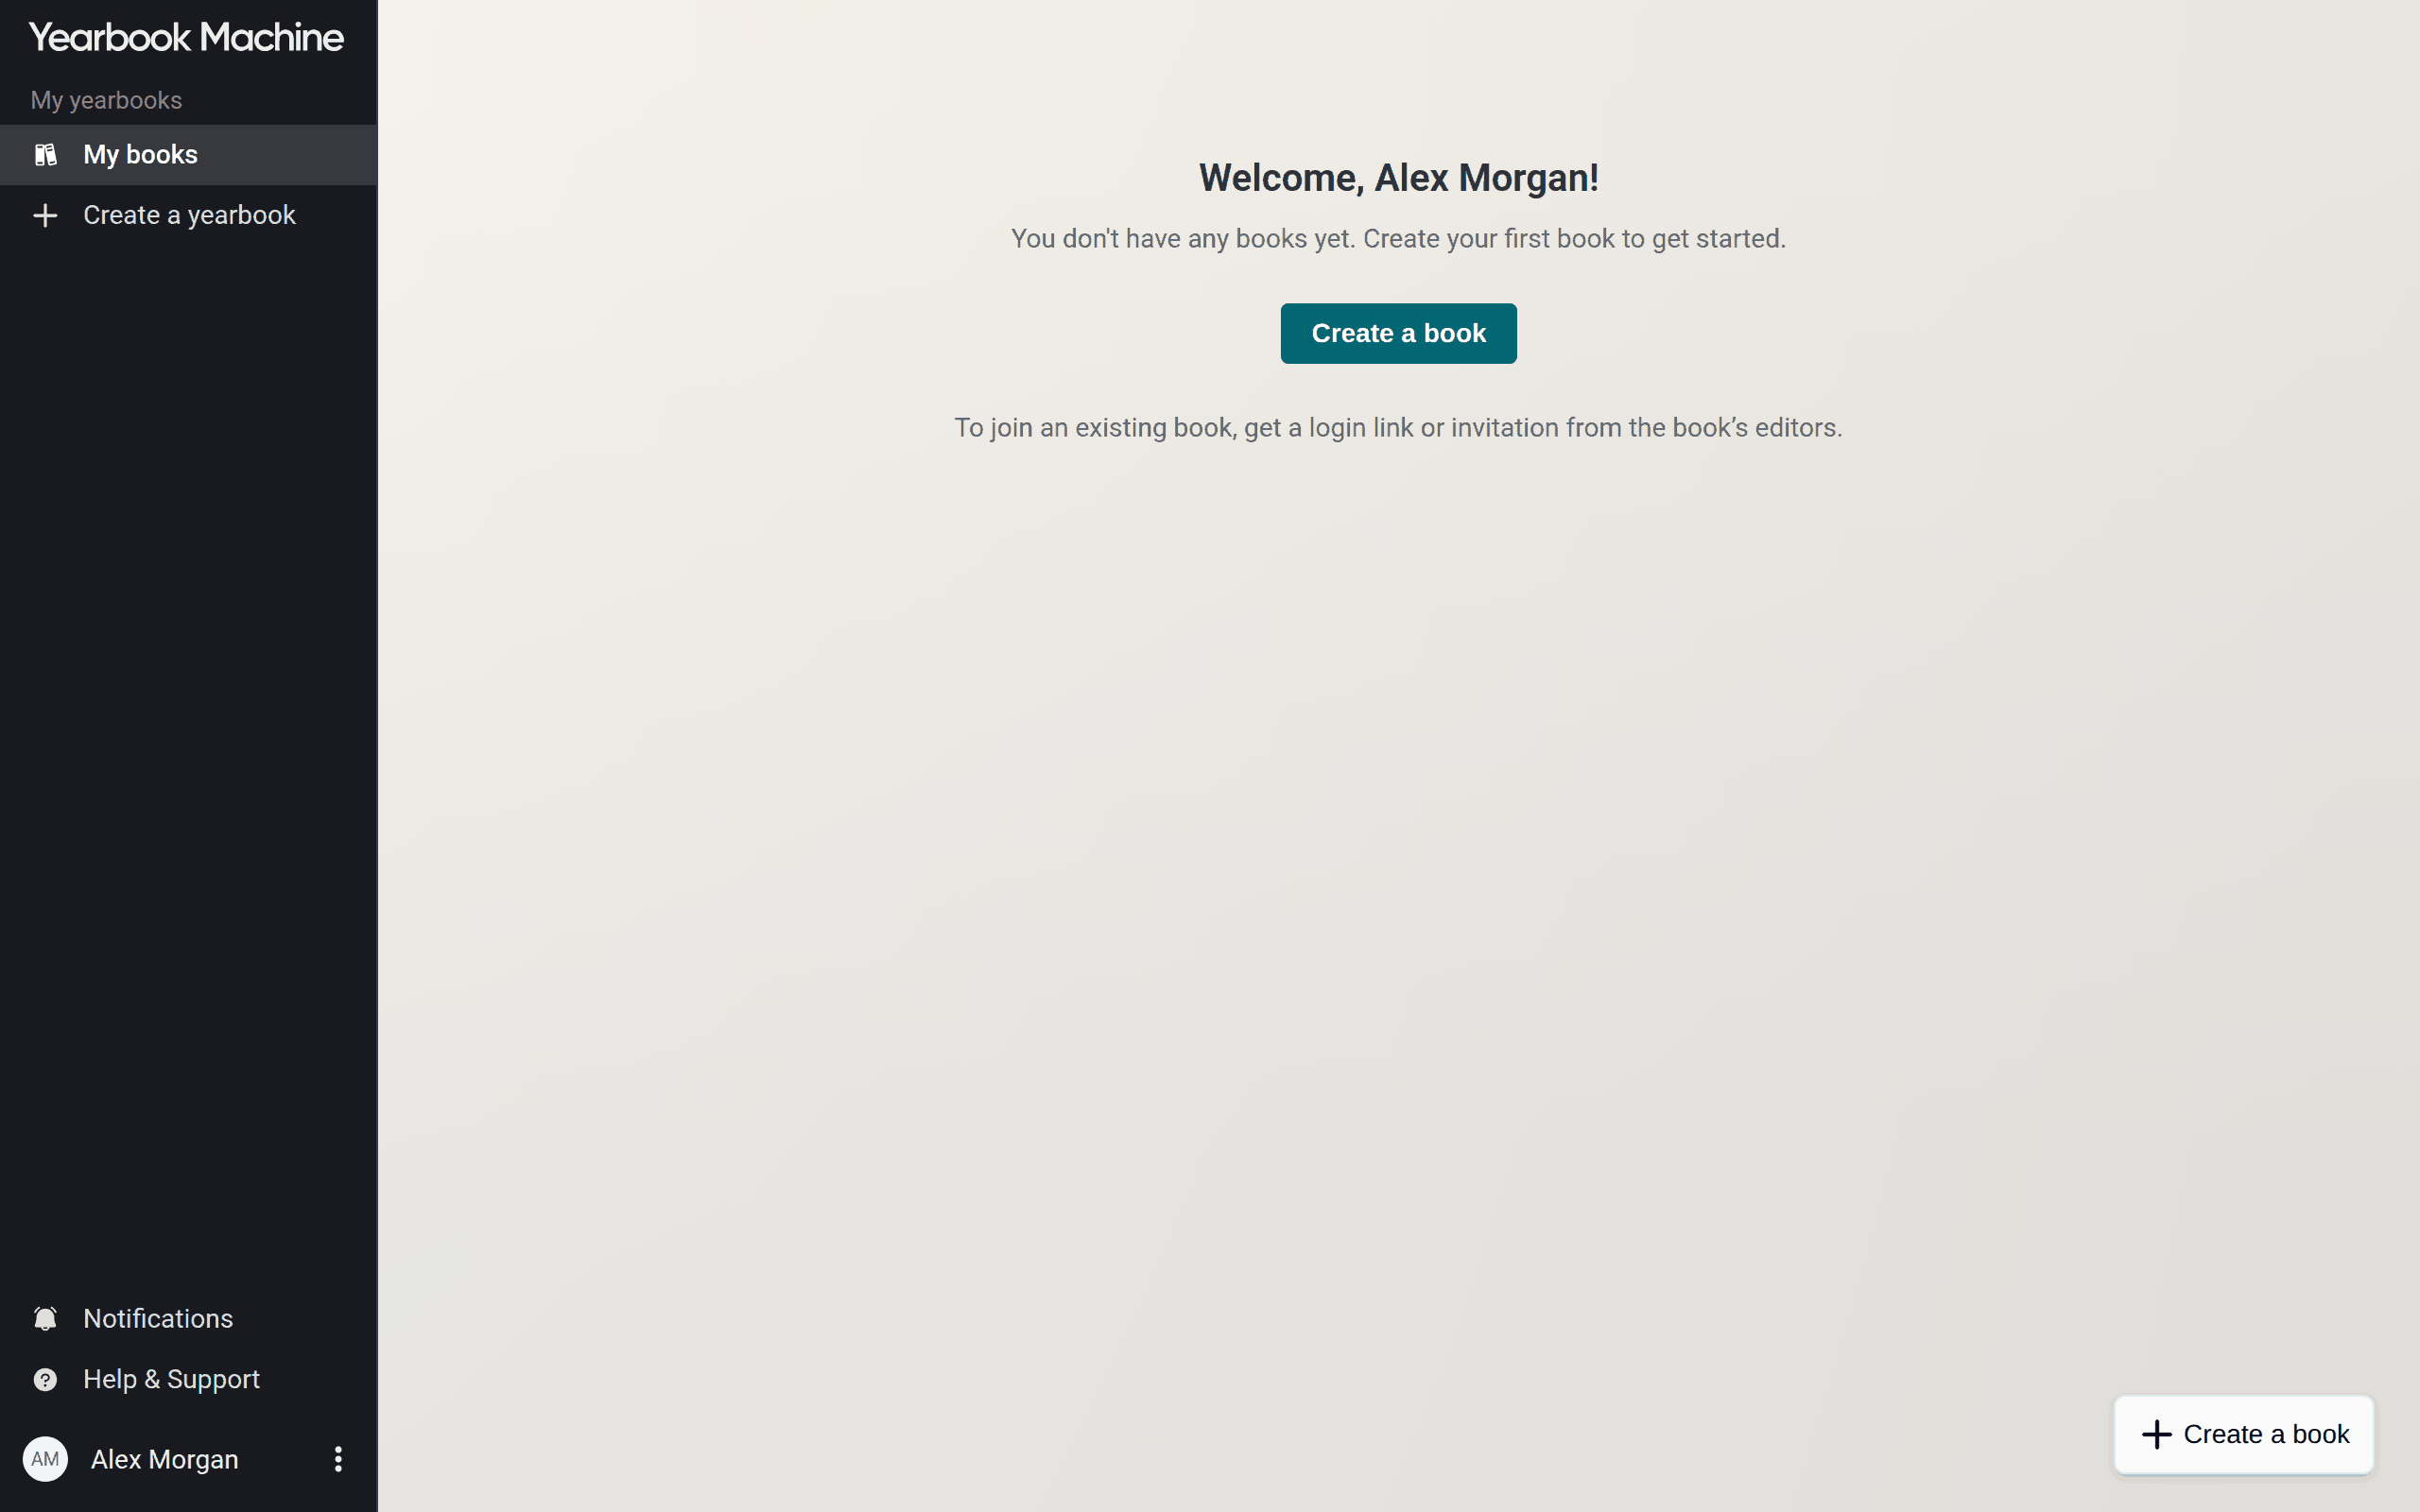
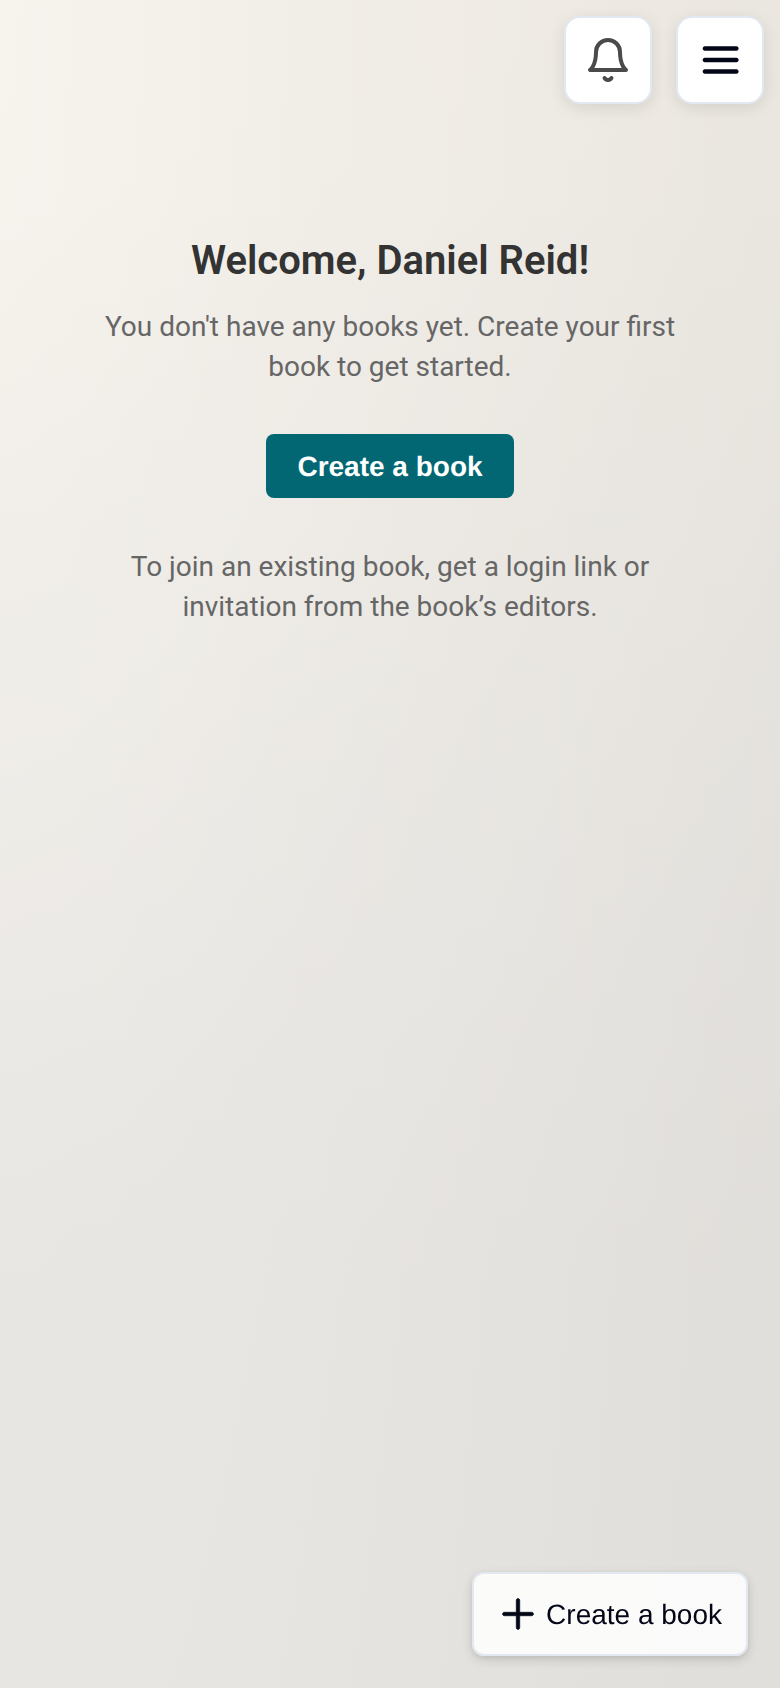
- You arrive on your Bookshelf, the screen that lists every book you belong to.
Setting up the book
- On your Bookshelf, click Create a book at the bottom right, or click Create a yearbook in the menu on the left.
- Under Type of group, choose the option that best describes your group. If none fits, choose Other and describe it under What type of group is it?
- Choose your Delivery country.
- For schools, universities, clubs, companies and religious groups you are asked for the name of the organisation, for example Name of your school. Start typing and choose it from the list, or type its full name to add it.
- Enter a Book title, for example Yearbook 2027.
- Check the Desired delivery date we fill in. Pick a later date if you need the books later.
- Choose Your role in the group.
- Click Create book.
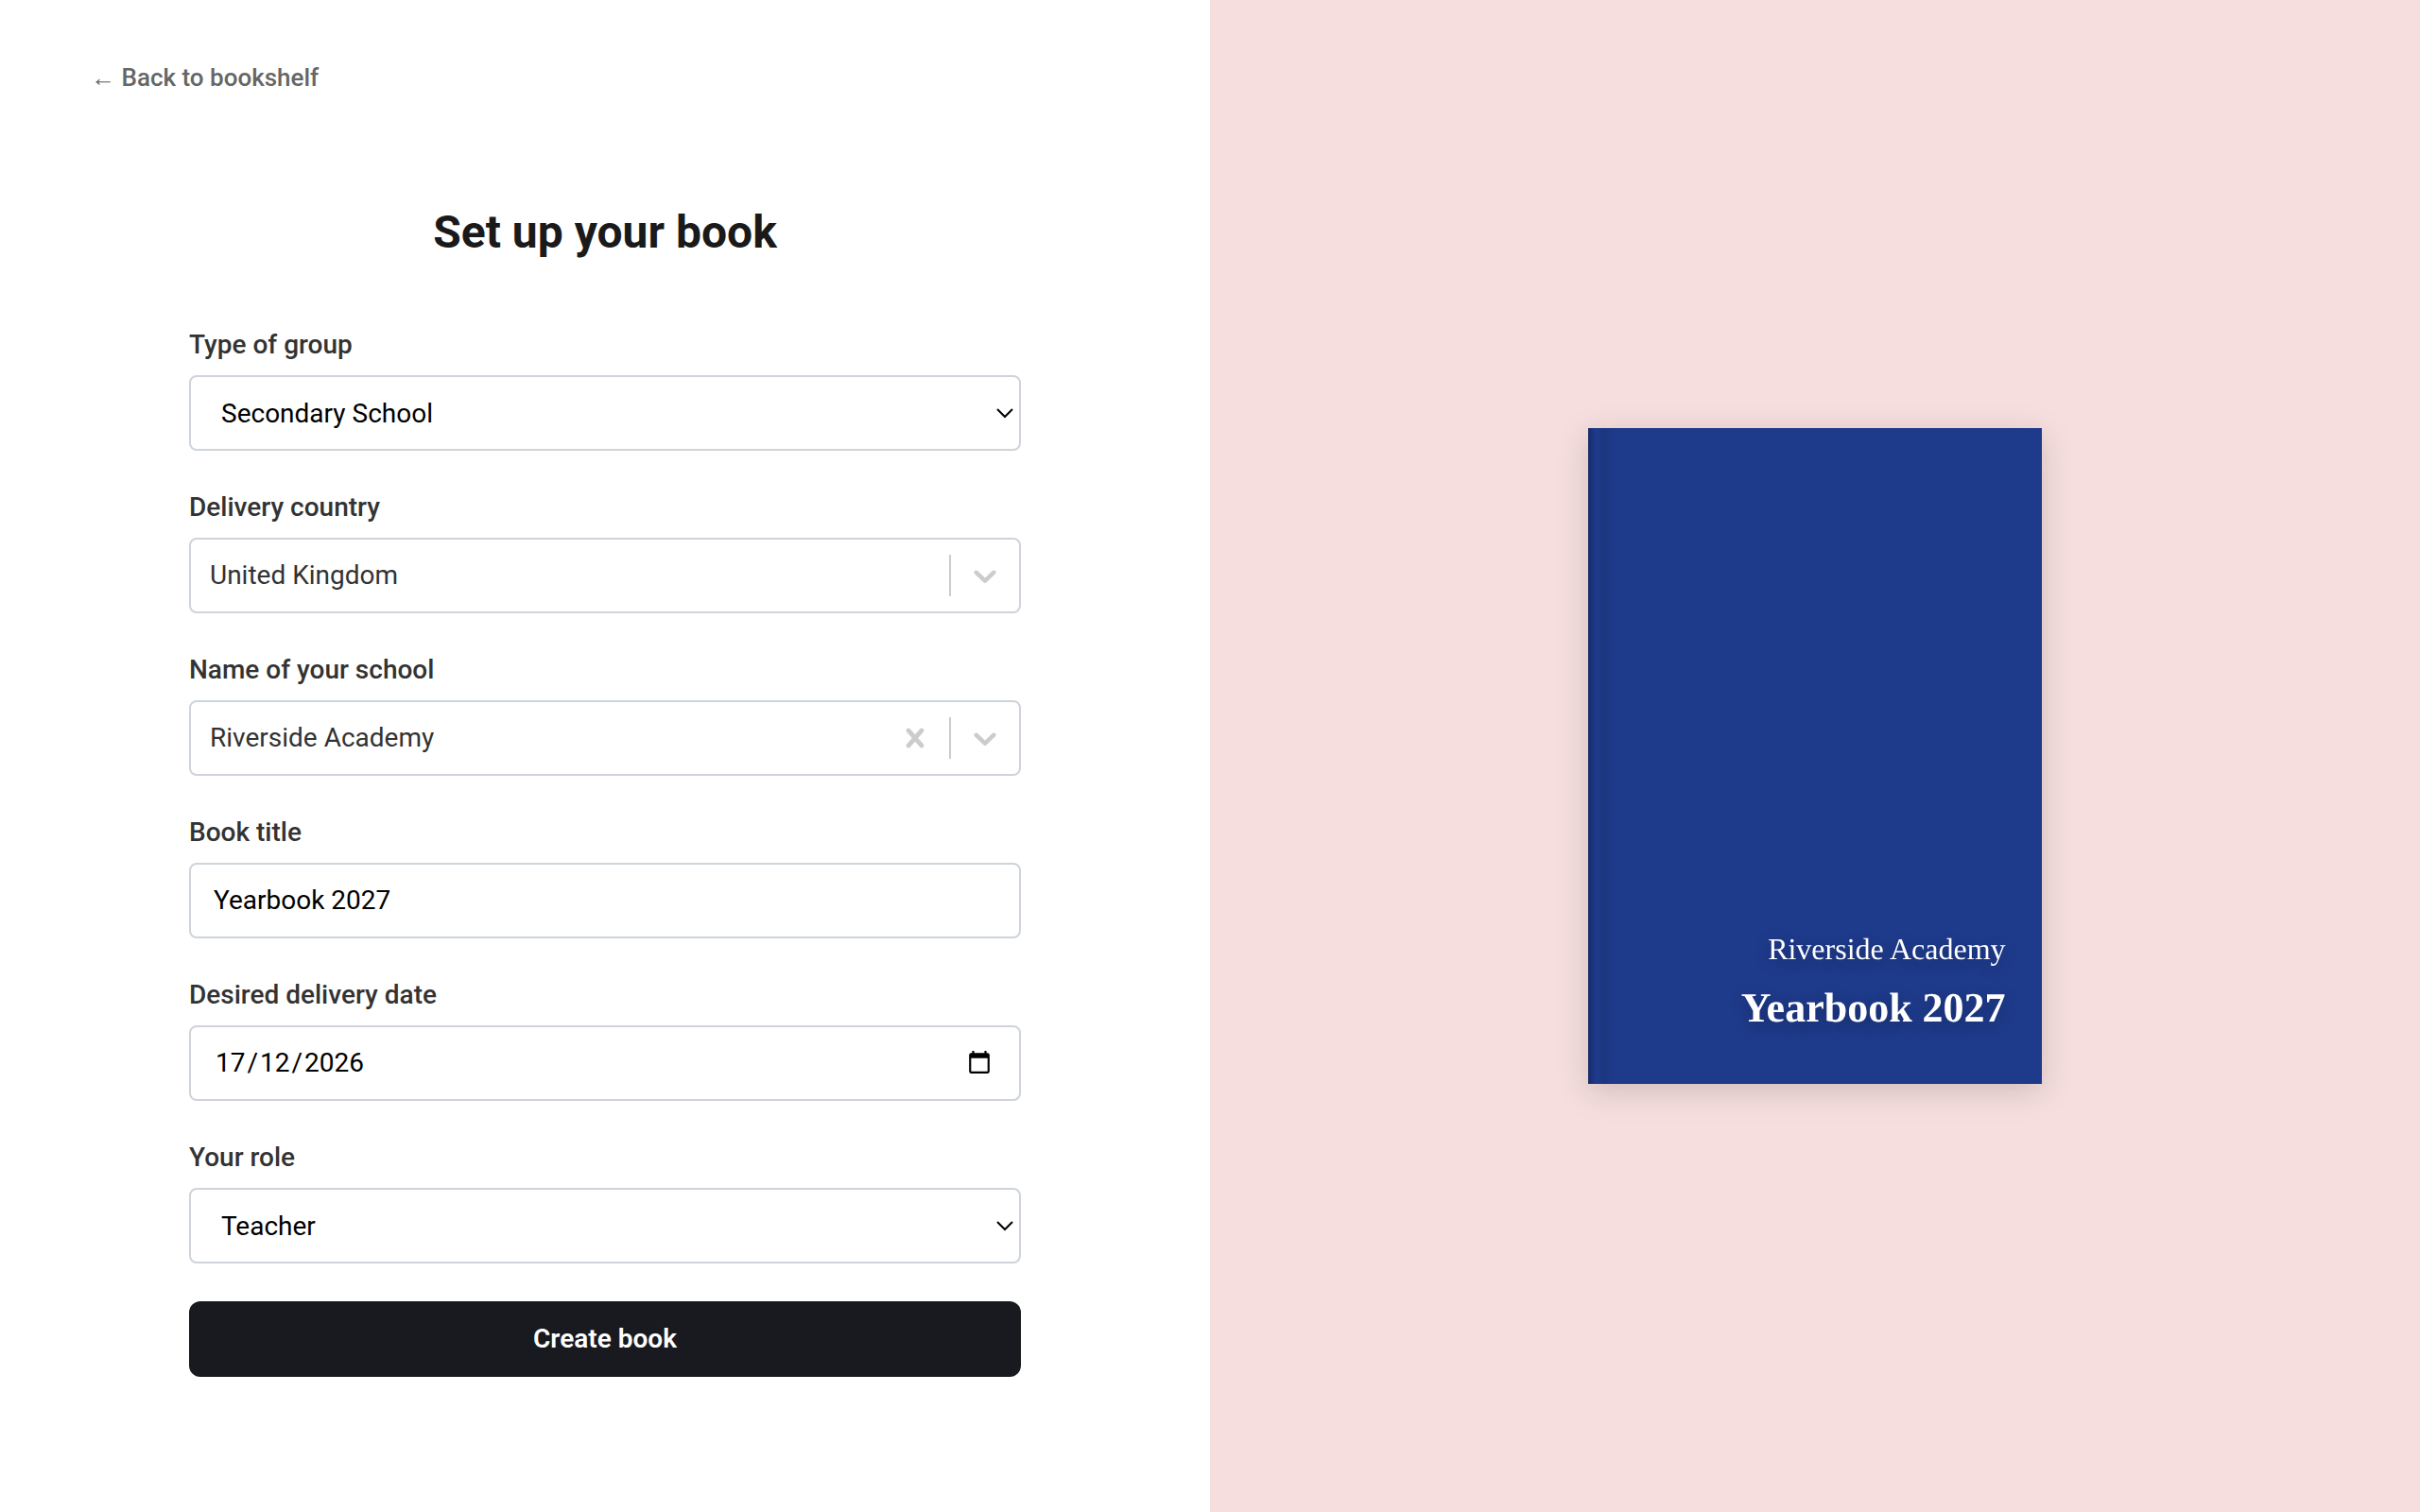
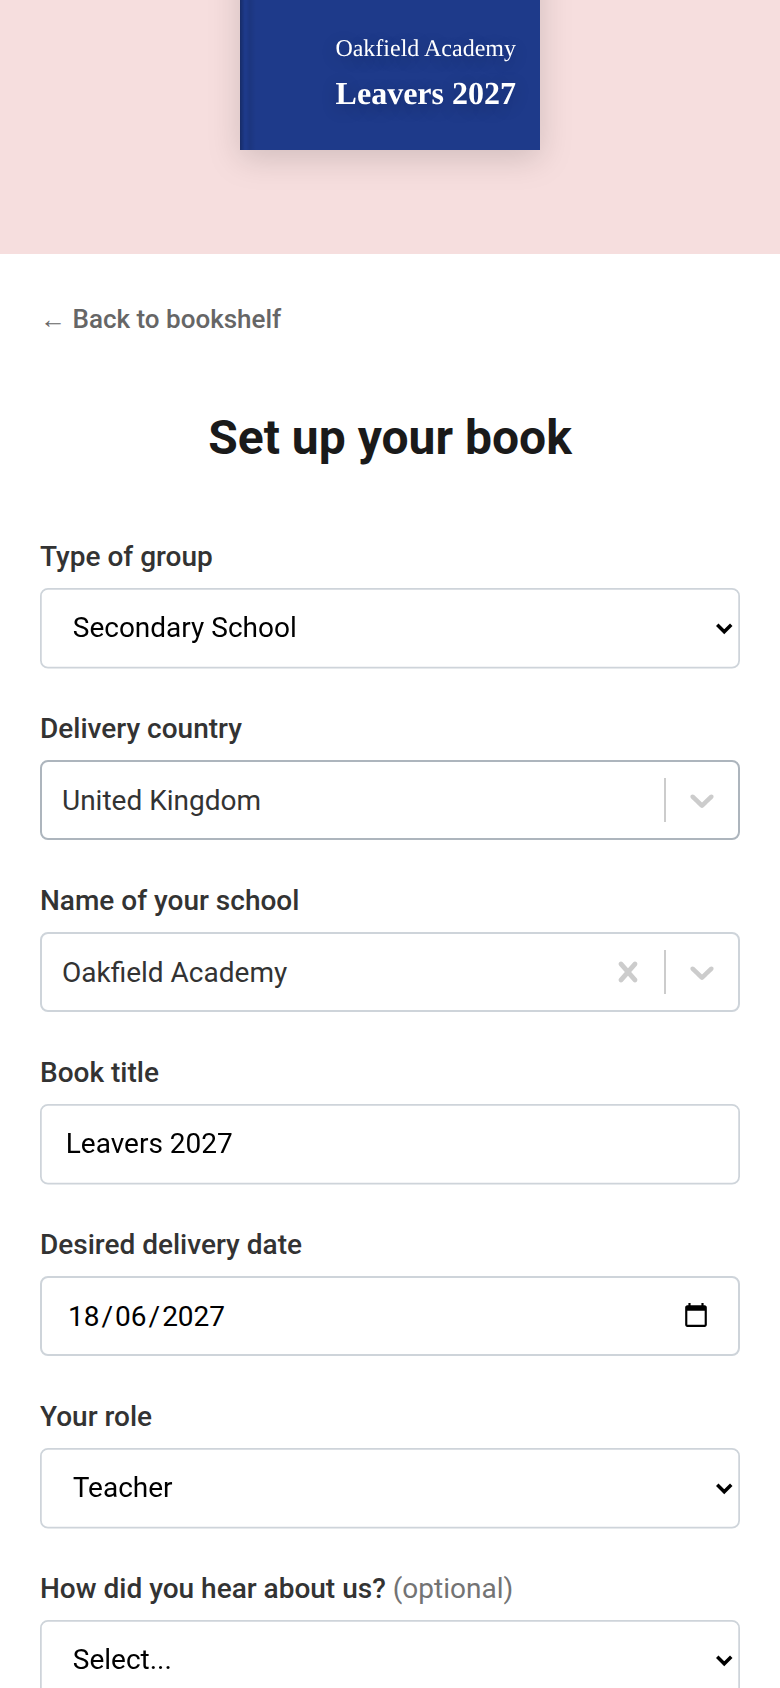
Your book opens on its Dashboard, and you are its main editor. Nothing is saved until you click Create book, so if you leave the page part-way through you will need to start again.
Where our school list comes from
The schools we suggest as you type your school's name come from official lists:
- England: Get Information about Schools (GIAS), from the Department for Education.
- United States: the National Center for Education Statistics (NCES) Common Core of Data and Private School Survey.
- Ireland: the Department of Education's lists of schools.
If your school isn't on the list, type its full name to add it.
Contains public sector information licensed under the Open Government Licence v3.0.
Contains Irish Public Sector Information licensed under a Creative Commons Attribution 4.0 International (CC BY 4.0) licence.
Copying from a previous book
If you are already an editor of another book, for example last year's yearbook, you can reuse its set-up.
- At the top of the form, click Copy from a previous book.
- Under Which book would you like to copy from?, choose the book.
- Tick what you want to copy. There are four groups:
- Book Settings: the old book's settings, in groups. Tick each group you want to carry over. You can change any of them later in Settings.
- Sections: the names, colours and section dividers of the sections you tick. A section divider is the page that opens a section, like a chapter heading. Tick Copy divider photo if you also want the divider's photo.
- Polls: the old book's polls. Each one you tick is set up again in the new book.
- Cover: the old book's cover, copied exactly as it is. You can edit it later.
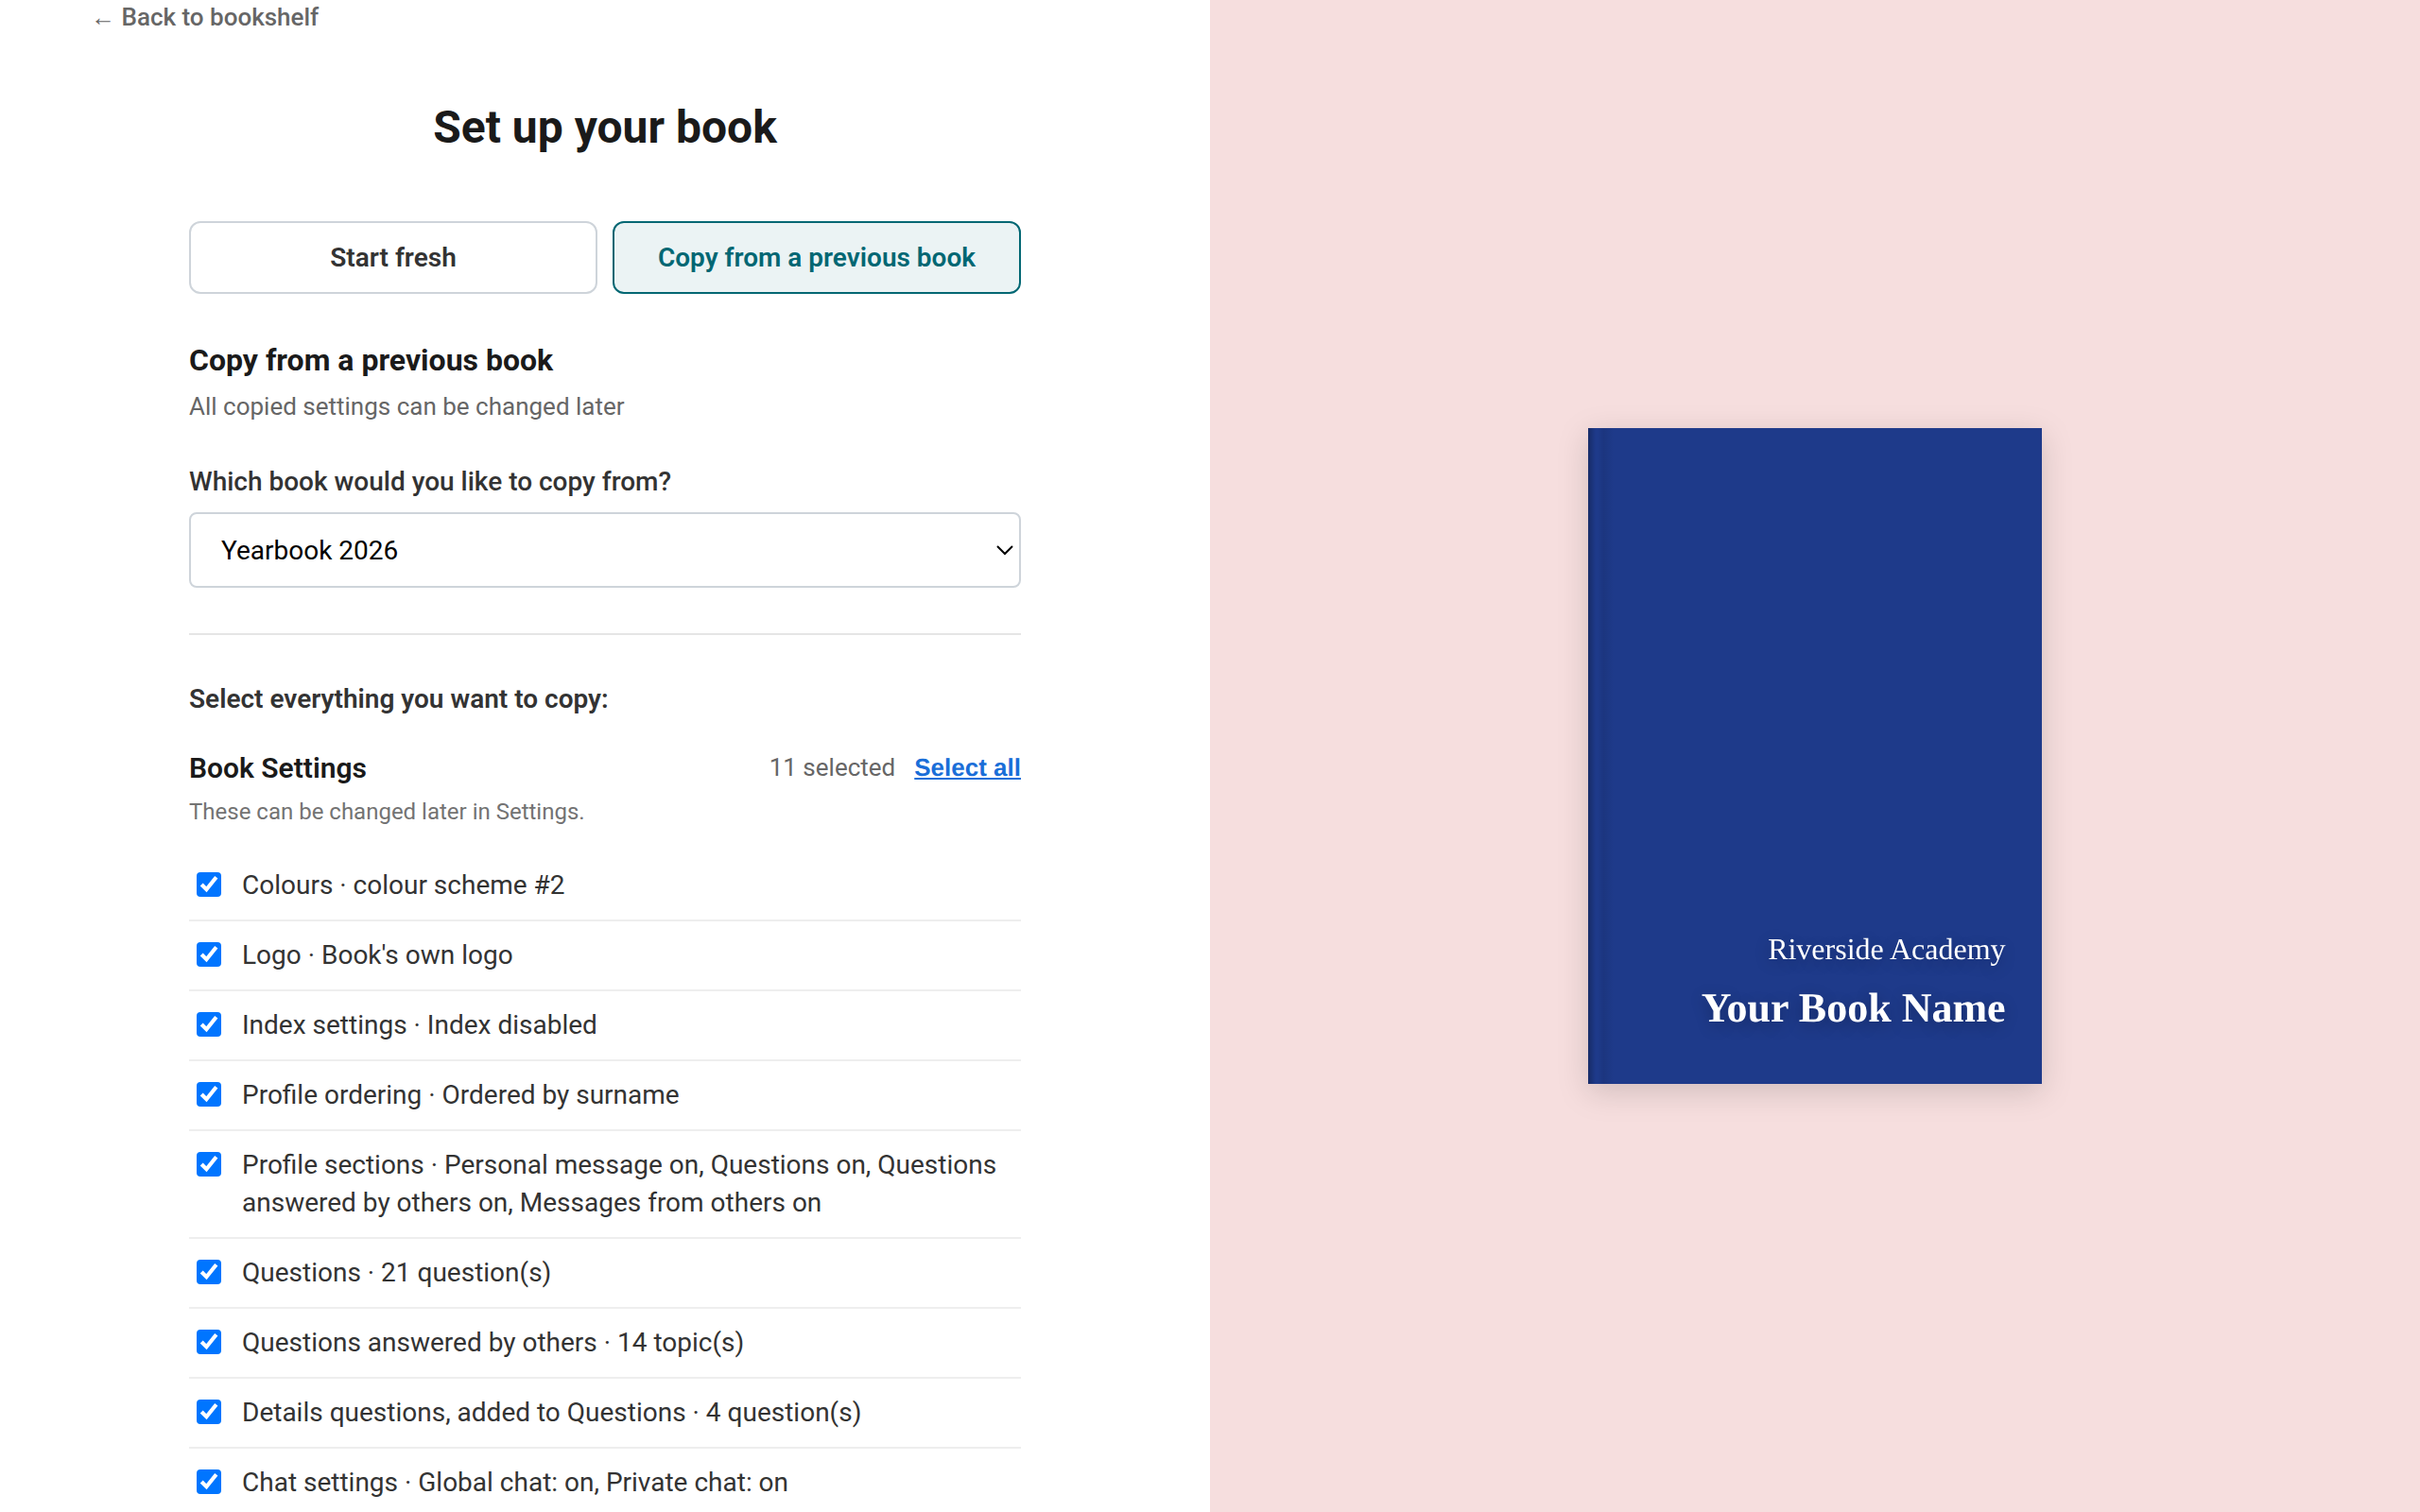
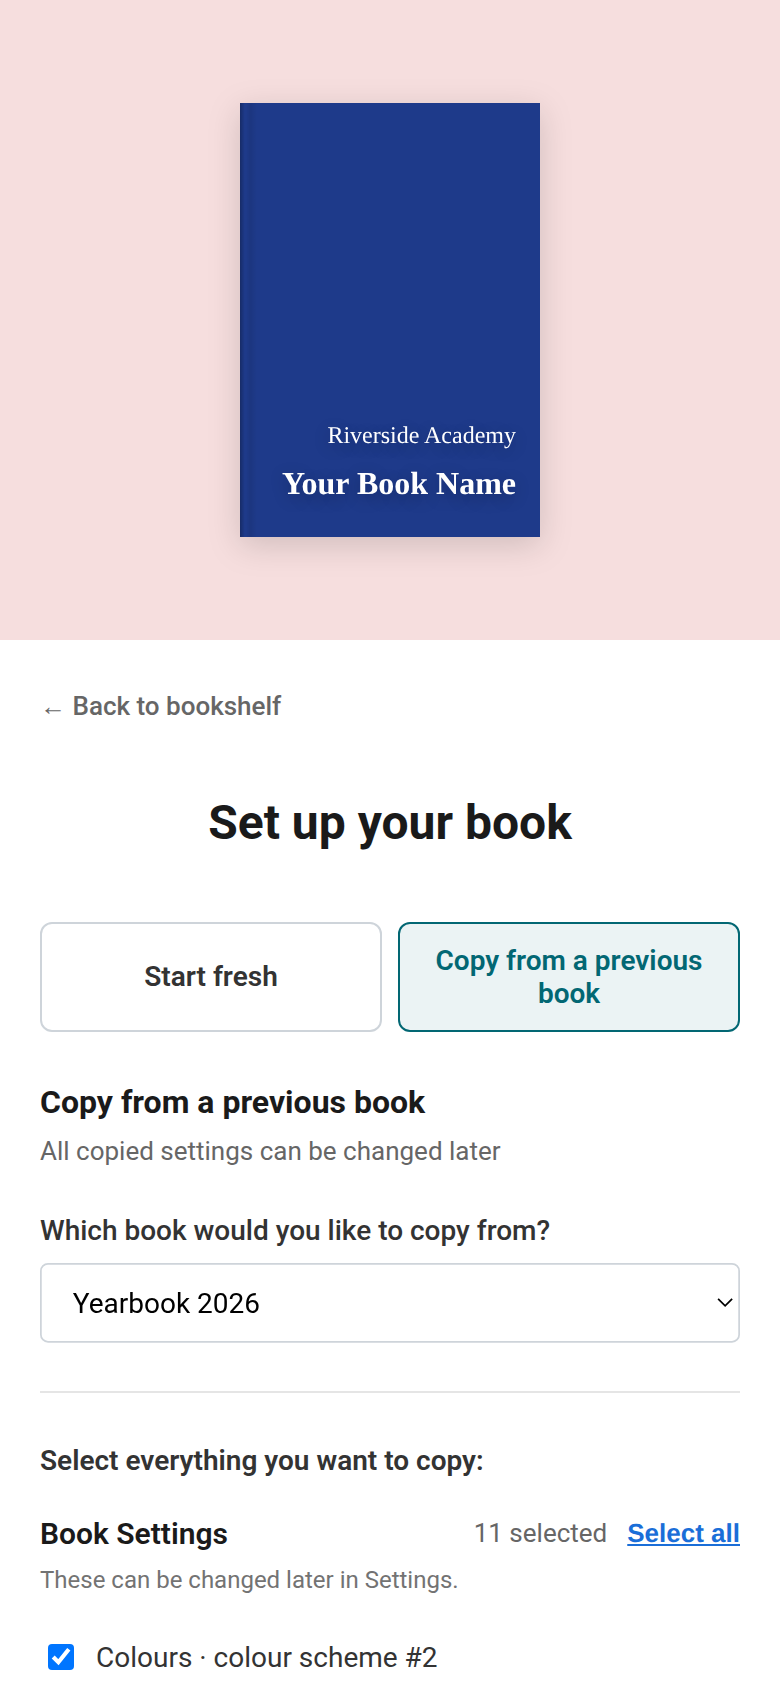
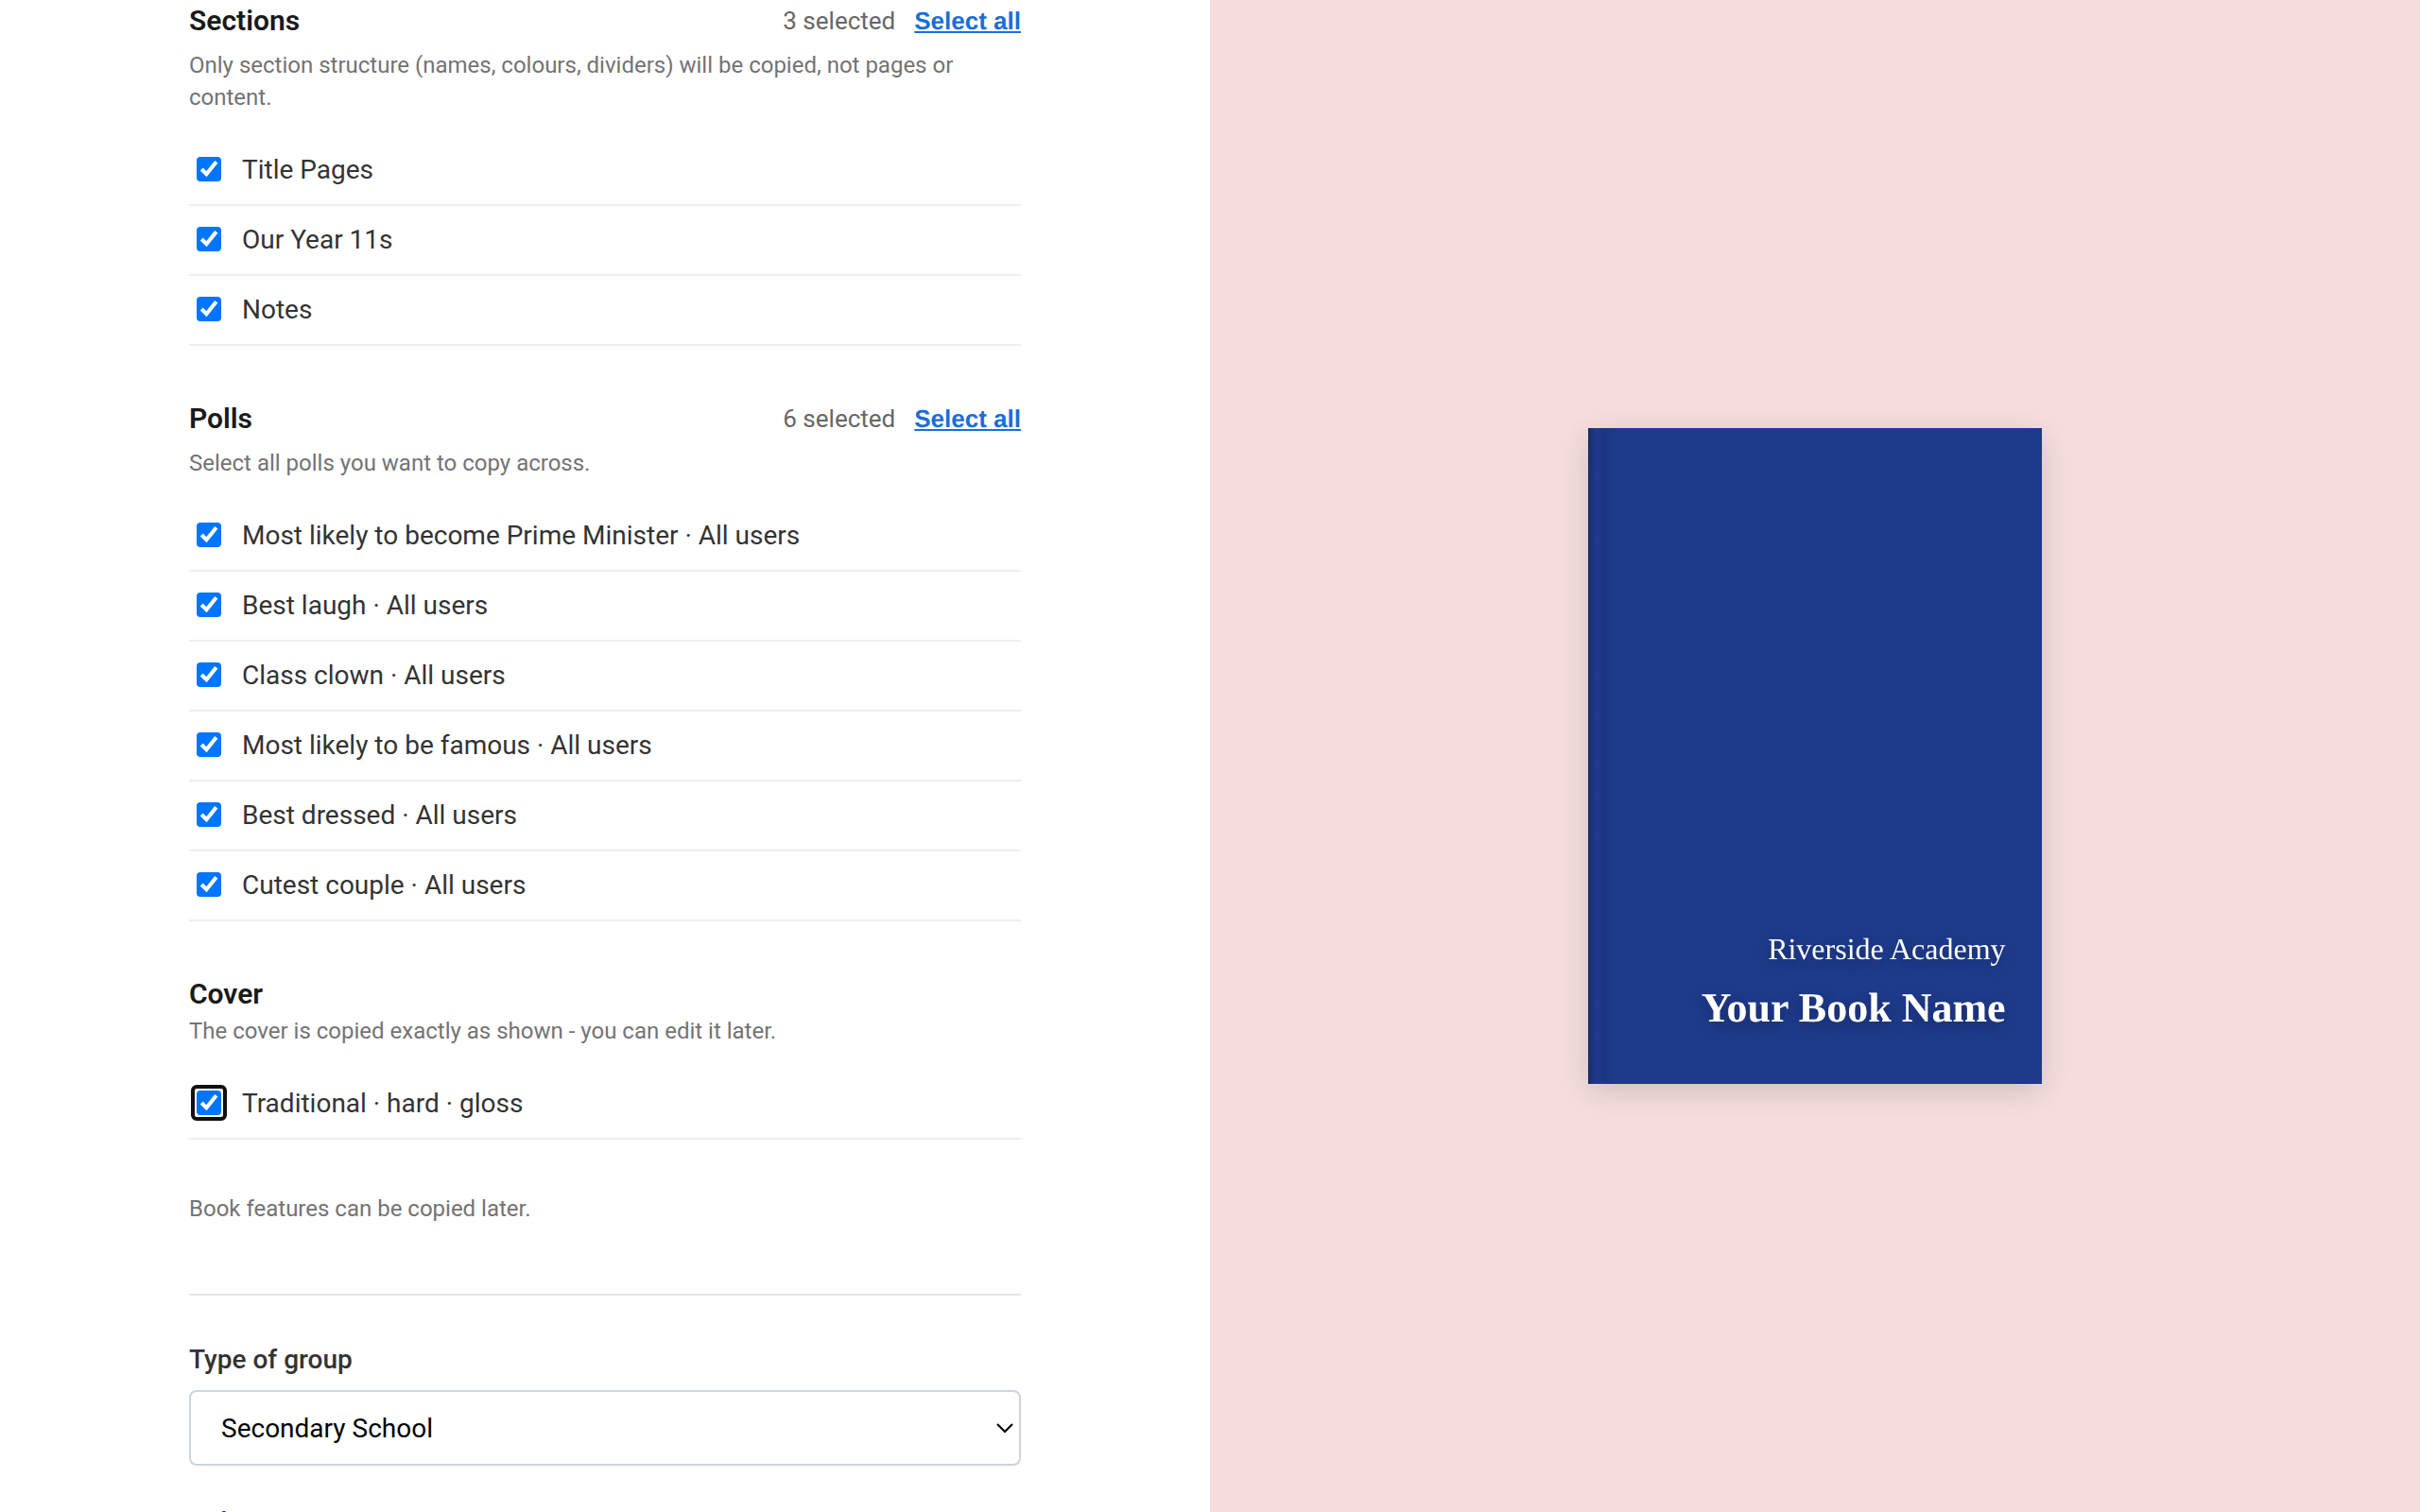
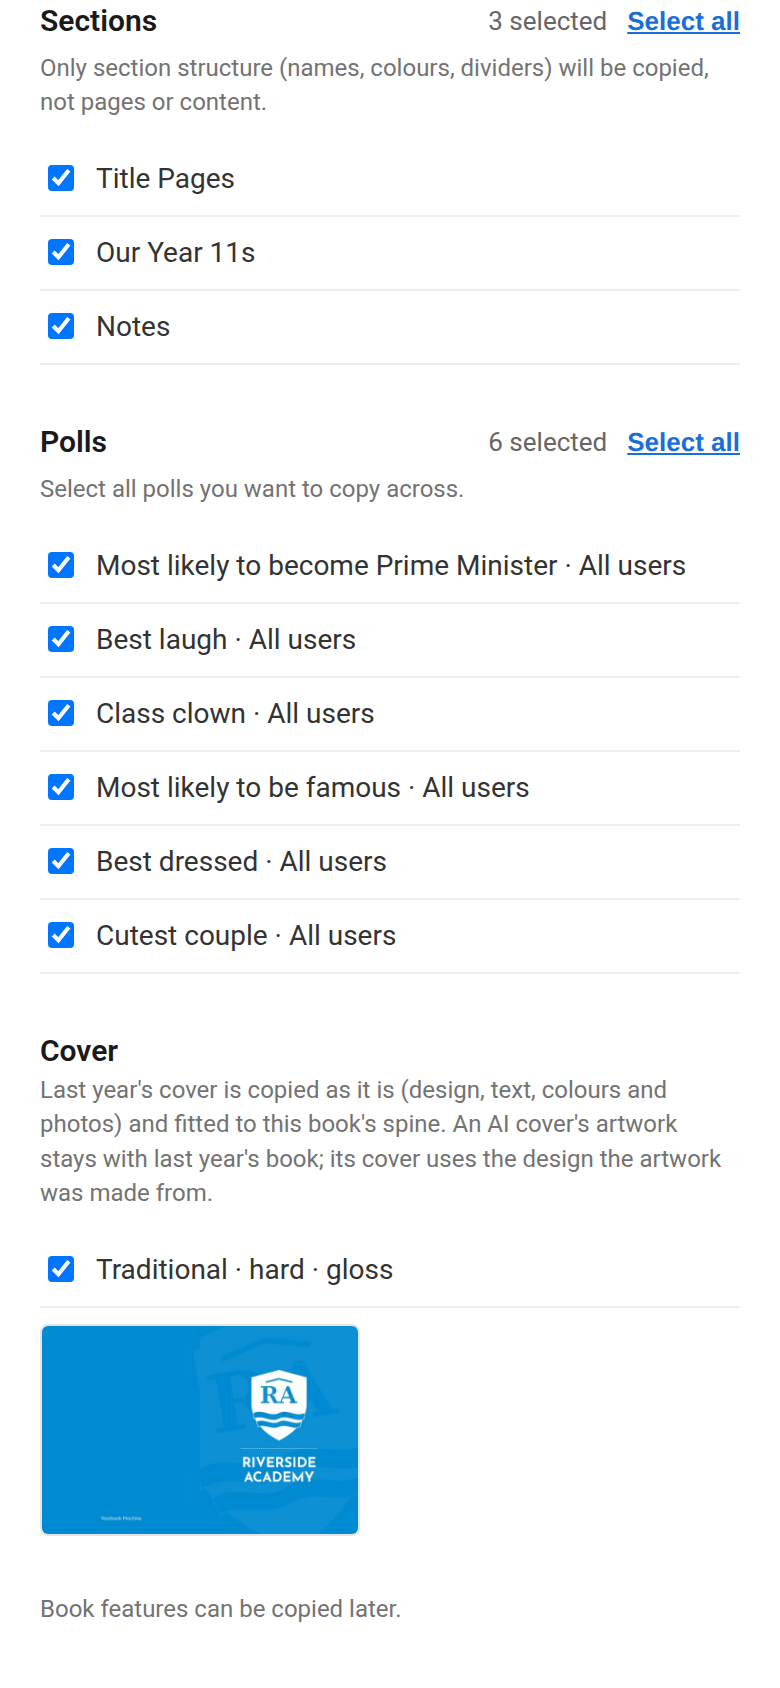
- Fill in the rest of the form as above and click Create book.
Only the structure is copied. Pages, page content and photos stay in the old book, and nobody from the old book is added to the new one.
Your first steps
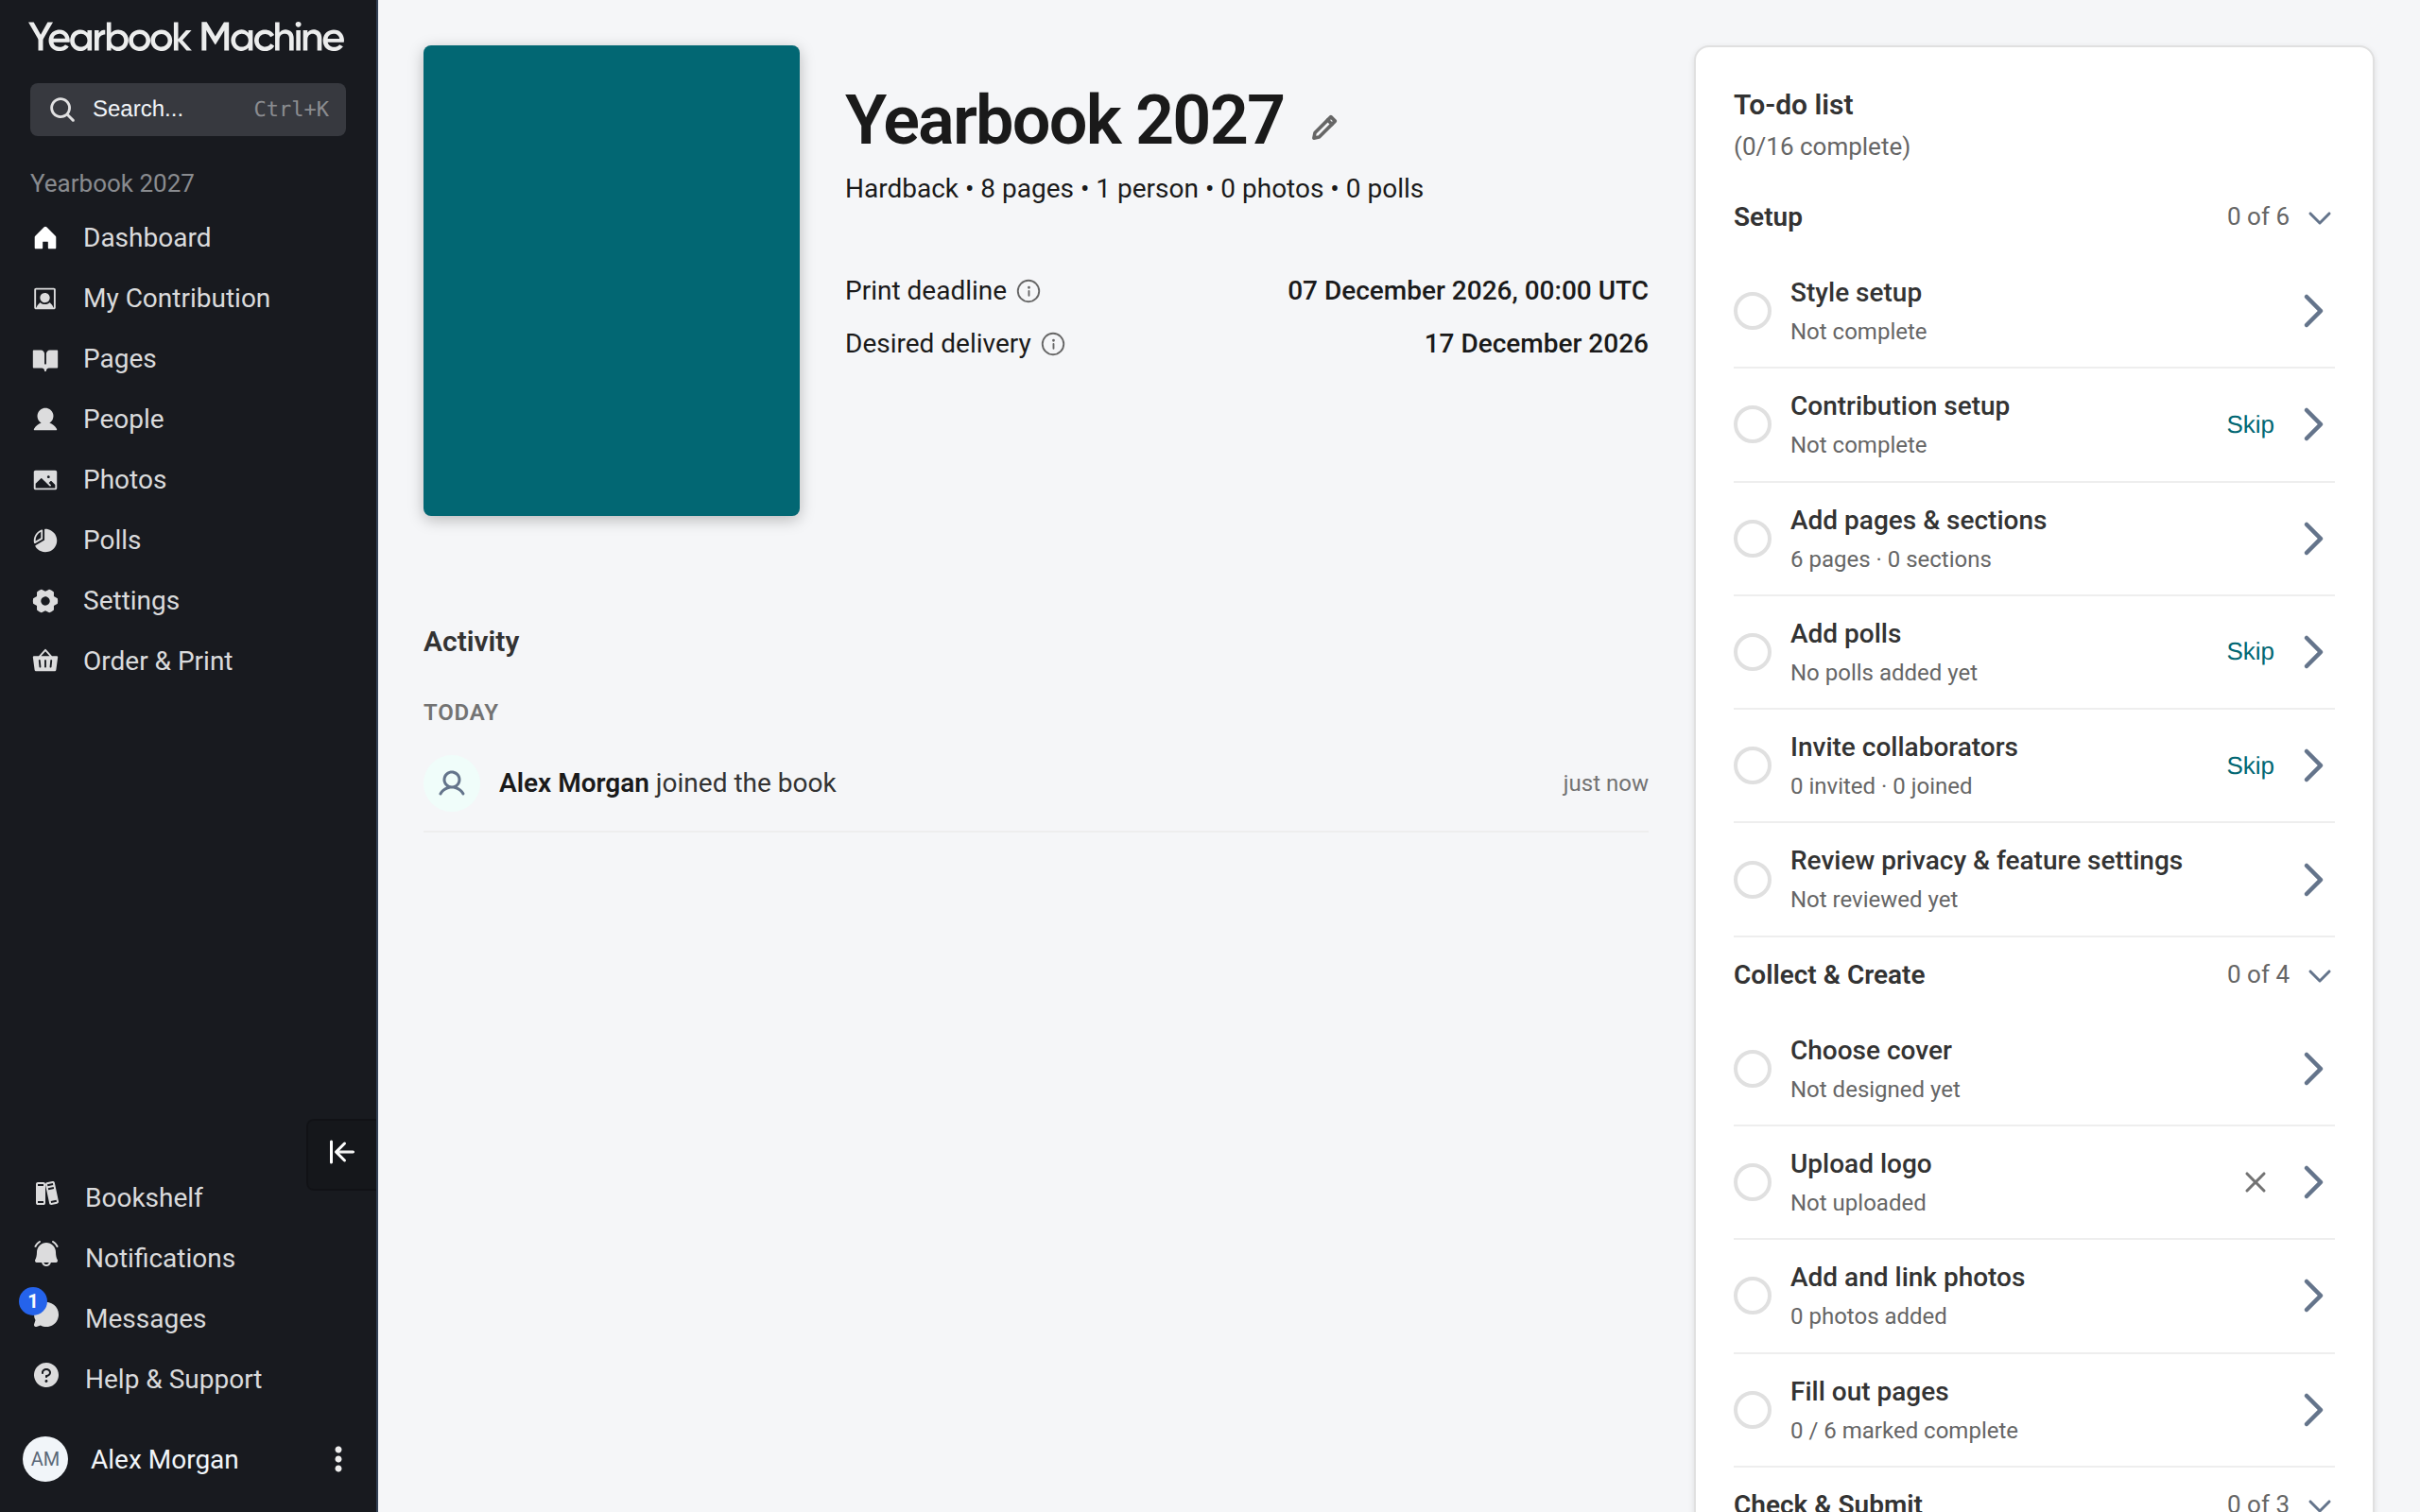
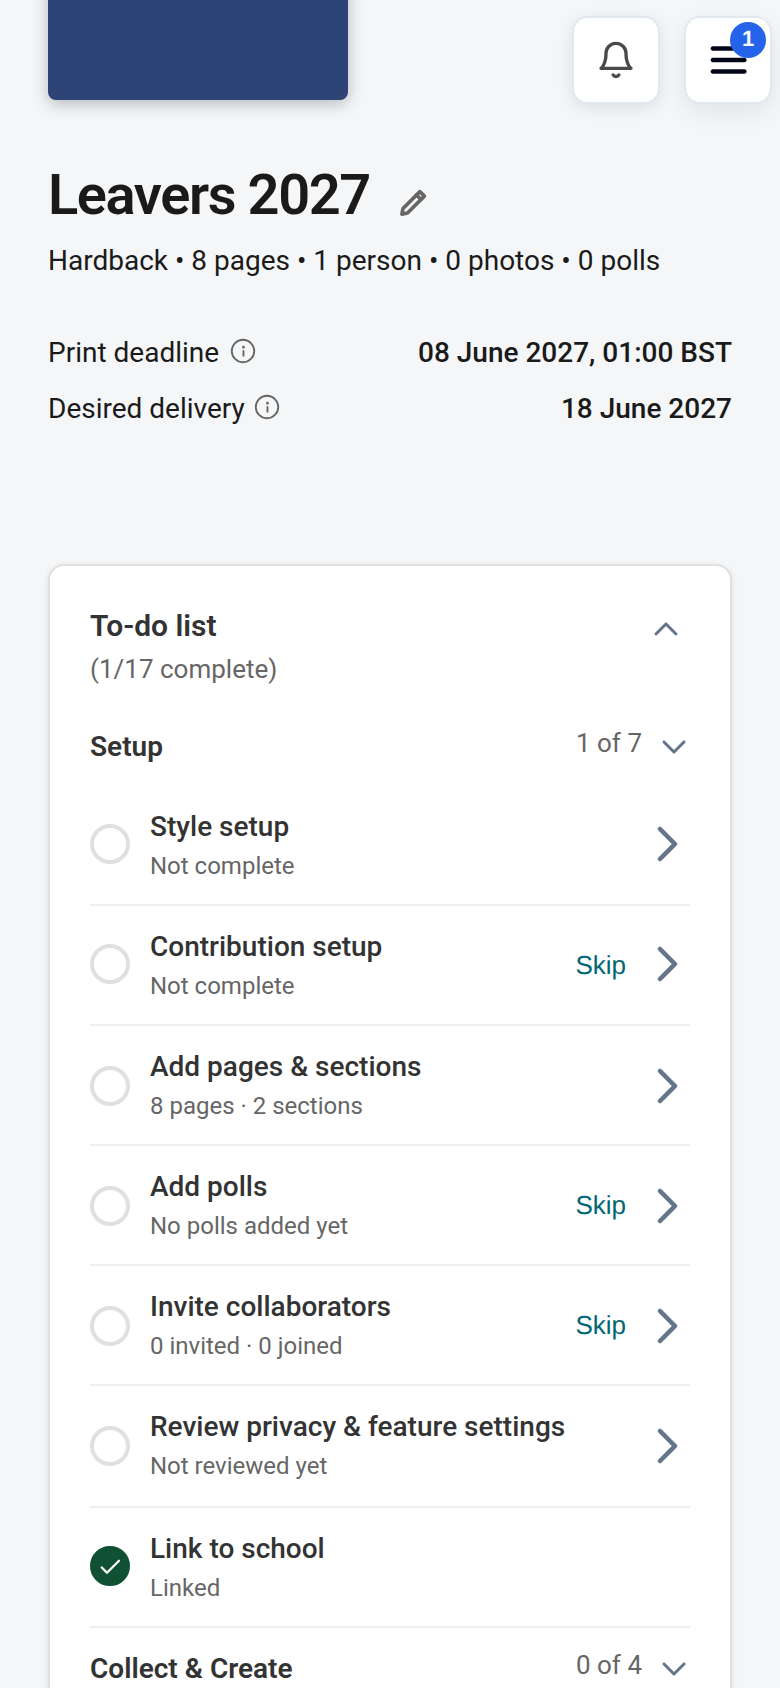
Your Dashboard shows a to-do list that takes you through the book in order. The Setup group has seven items:
- Style setup: choose your book's style and colours.
- Contribution setup: choose how contributors (the people who appear in and add to the book) take part, such as profiles, questions, messages and photos. Clicking the item opens the Contribution setup wizard, a short series of steps. You can also start it from My Contribution in the main menu, by clicking Set up now on the Set up contributions card.
- Add pages & sections: plan the structure of your book.
- Add polls: set up the polls people will vote in.
- Invite collaborators: bring in your fellow editors and contributors.
- Review privacy & feature settings: check who can see what in your book and which features are turned on. Clicking it opens Settings › Contributor permissions.
- Link to school: already ticked if you named your school when you set up the book.
Each item is ticked off as you complete it.
Common questions
Do I need to know how many copies we will order?
No. You are not asked for the number of copies when you create the book. You set that later, when you set up your order in Order & Print.
Can I change the delivery date later?
Yes. The delivery date can be changed when you set up your order in Order & Print.
I created a book by mistake. How do I delete it?
Open the book and go to Settings > Danger Zone. Only the main editor can delete a book.
Someone else on our team already created our book. Should I create another?
No. Ask them to invite you to their book instead, so you all work on the same one.
Was this article helpful?
Sorry, that didn't send. Please try again in a little while.
Thanks. That helps us improve this article.
Any other questions?
Email support@yearbook.com and we'll help you out.