In this article:
Adding an Article page
Adding Photos to your Article
Adding text to your Article
Changing the Article Template
Overview
Article Pages
Articles are pages made up mostly of text, with a photo or two to illustrate. They can be about anything you like – sports match reports, school trip summaries, reviews of events, and messages from staff are all examples of popular Article subjects.
Adding an article page
To add an Article, click the ‘Add Page’ button at the end of the section you would like the page to be in, then select ‘Article’ from the tray.
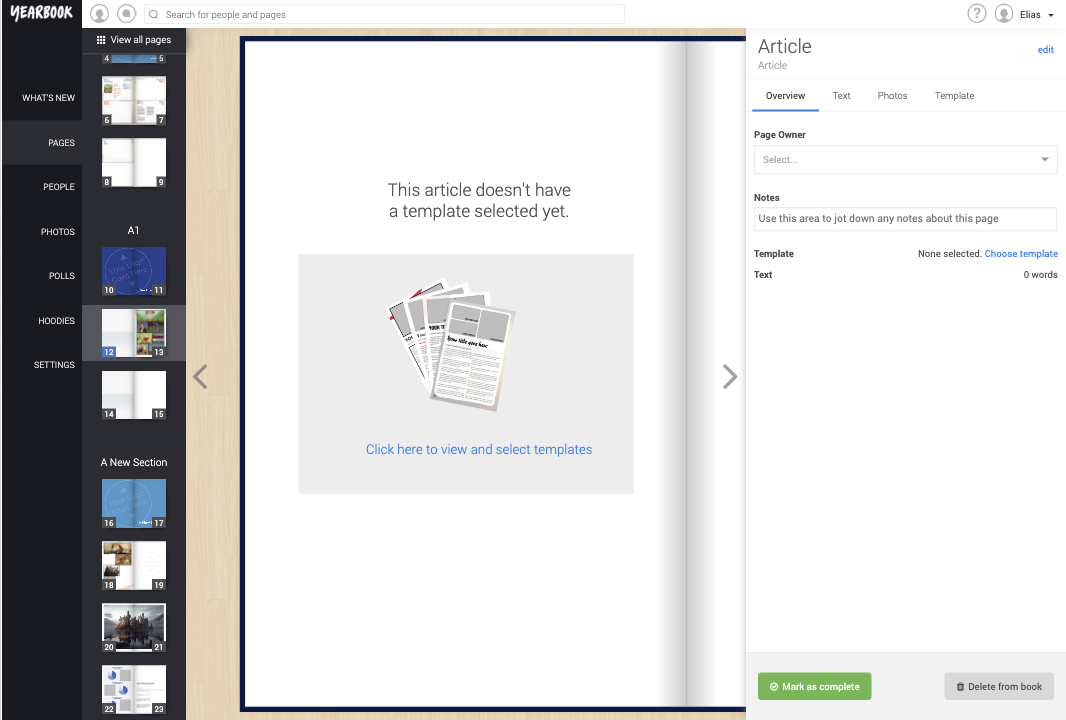
The first time you view an Article page, you’ll see this page:
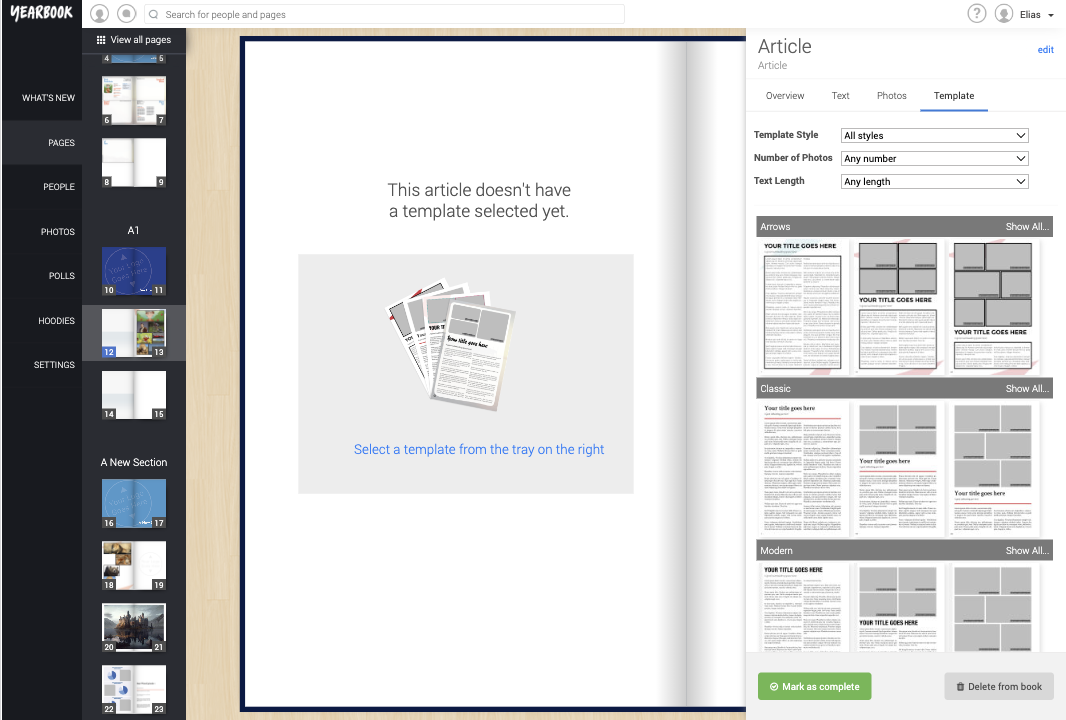
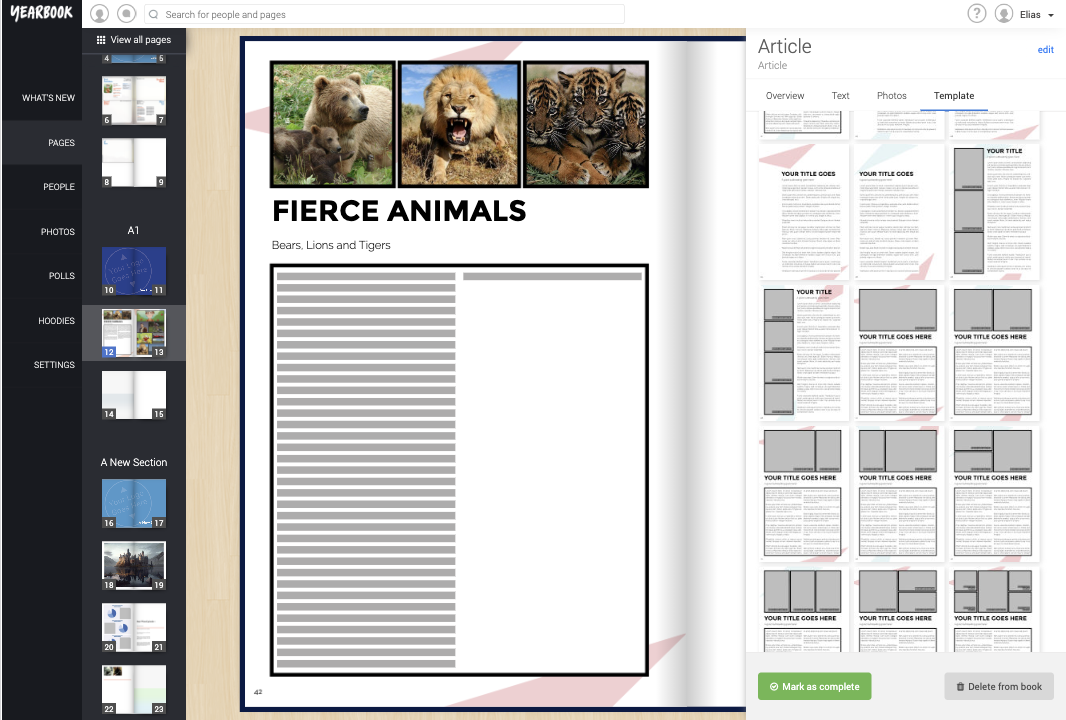
Click ‘Template’ to view the Template Picker, and you can choose from the various available styles on the right hand side.
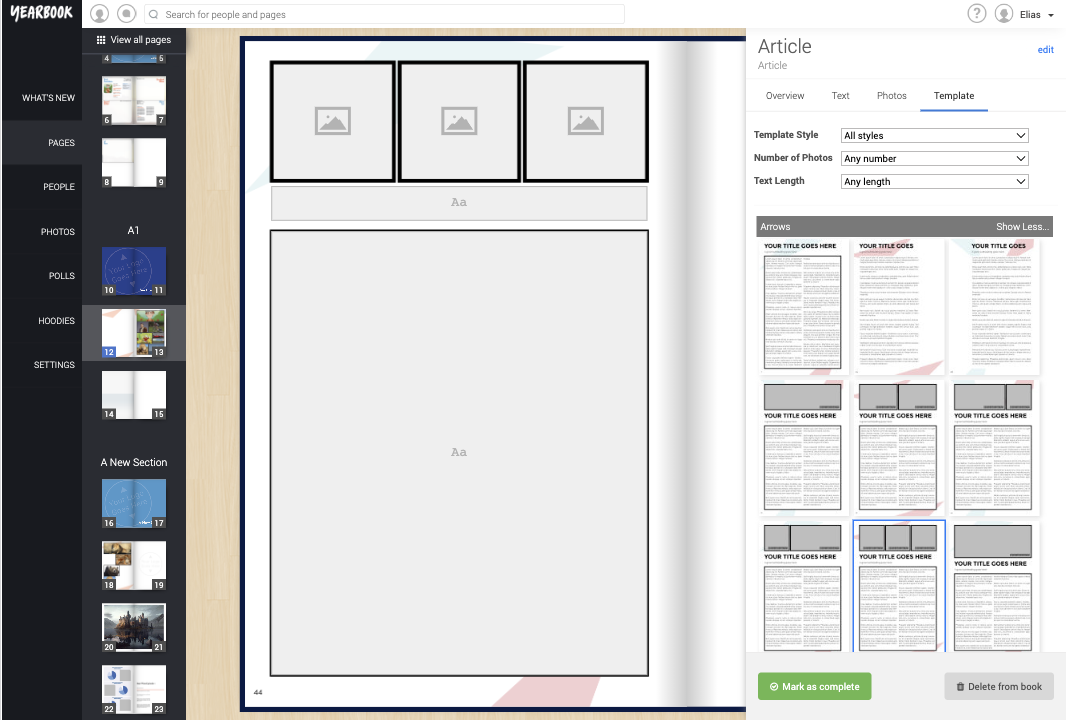
Click a template to select it, and it’ll appear in the centre of the page, ready to be filled with your content:
Adding Photos to your Article page
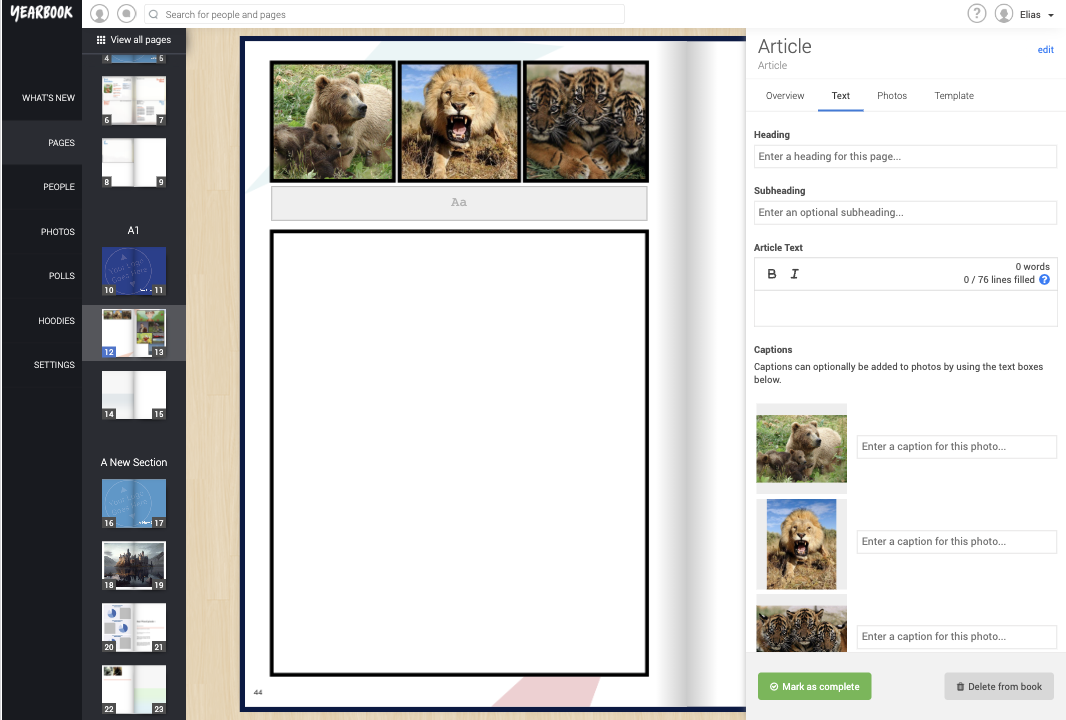
Each Article template has space for between one and six photos. You do not have to fill all of them, or even any of them, but empty slots will leave blank space on your page.
Placing Photos
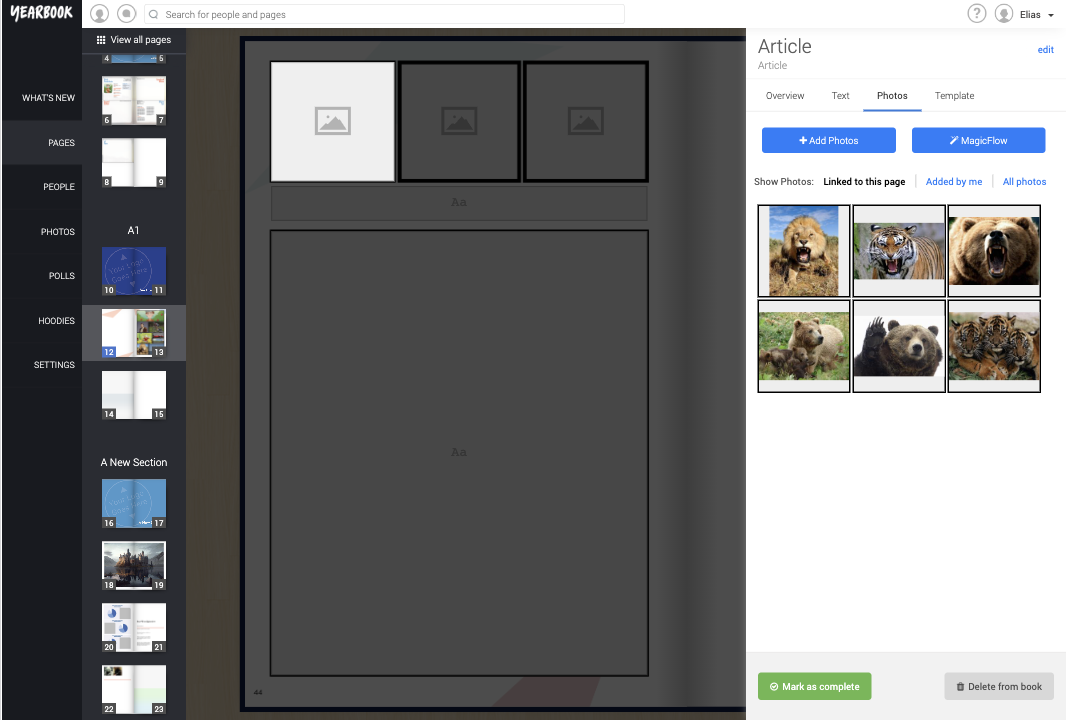
Click one of the Photo slots to open the Photos tab:
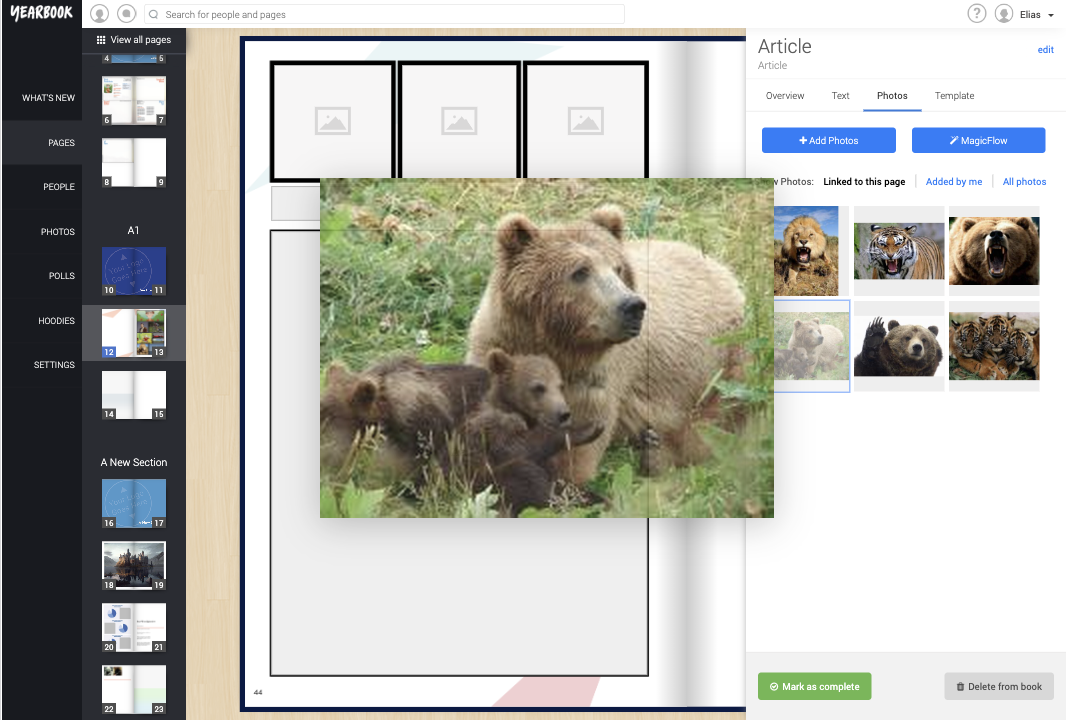
You can then either click the chosen photo to place it in that slot, or drag and drop a photo to the desired frame:
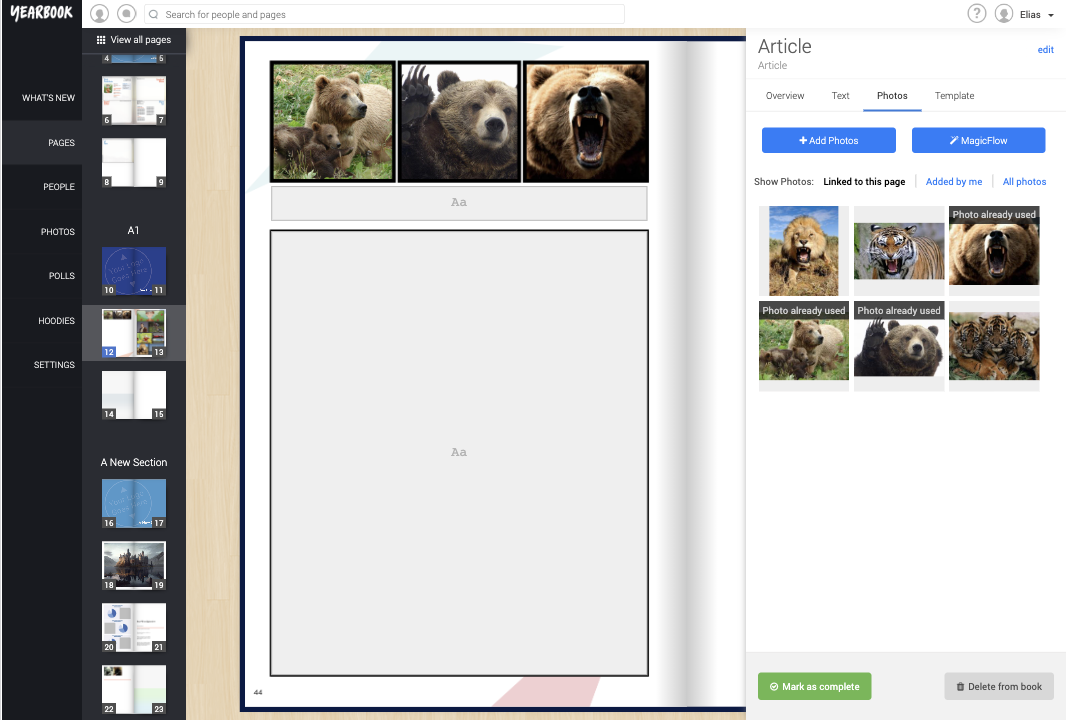
Alternatively, you can use the MagicFlow button to autofill the slots with a random selection of linked images:
Press MagicFlow repeatedly to shuffle the images:
Adjusting Photos
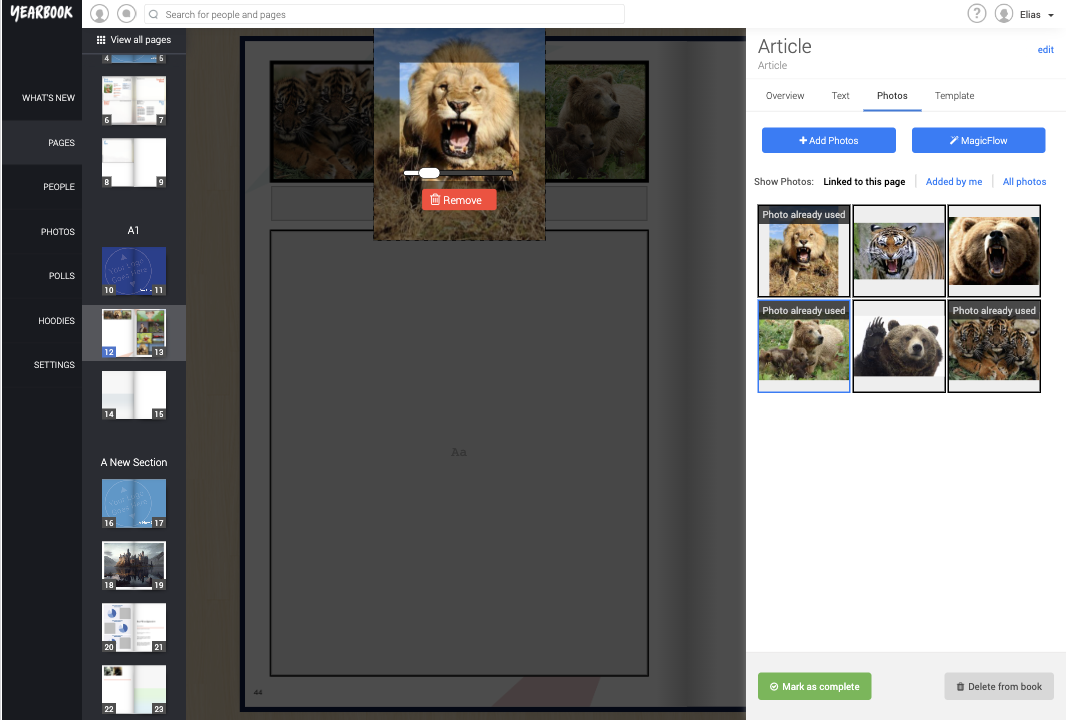
To adjust the scale and crop of a placed photo, simply click it, and use the bar at the bottom of the image to increase or reduce the zoom. You can click and drag the image to change the position:
Click outside the frame to save your changes.
Adding text to your Article
In your article page, as well as the main Body text, you can add or edit the main Title, a Subheading, and add Captions to the images.
Body Text
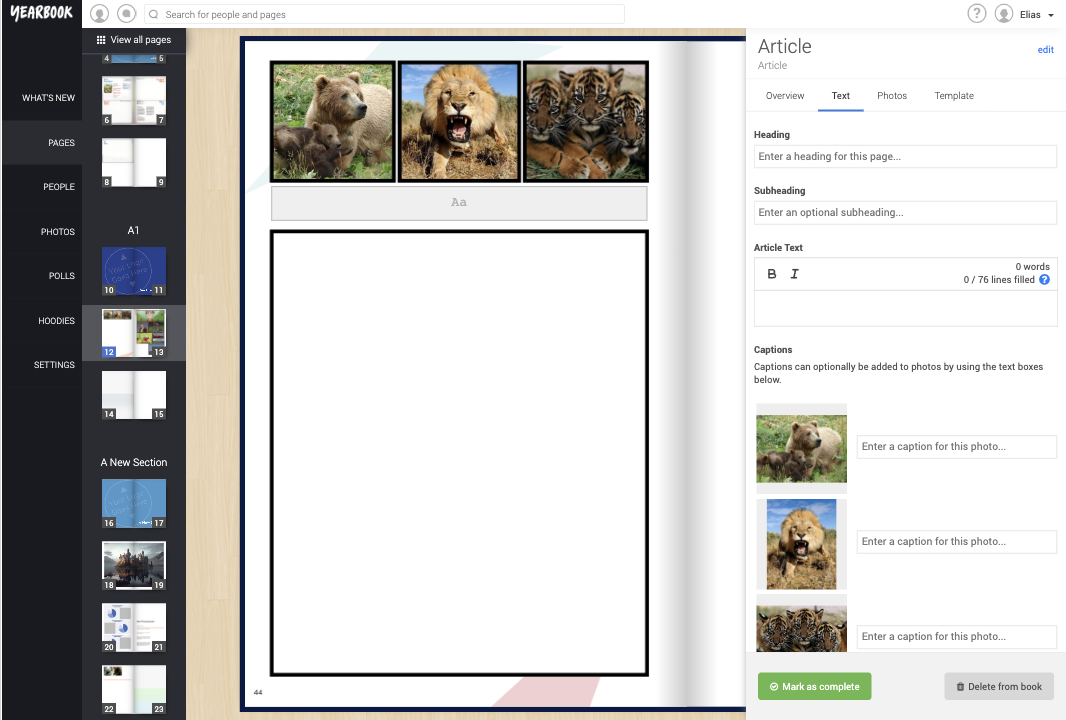
To begin adding text, click the main text box in your template, or switch to the Text tab in the sidebar:
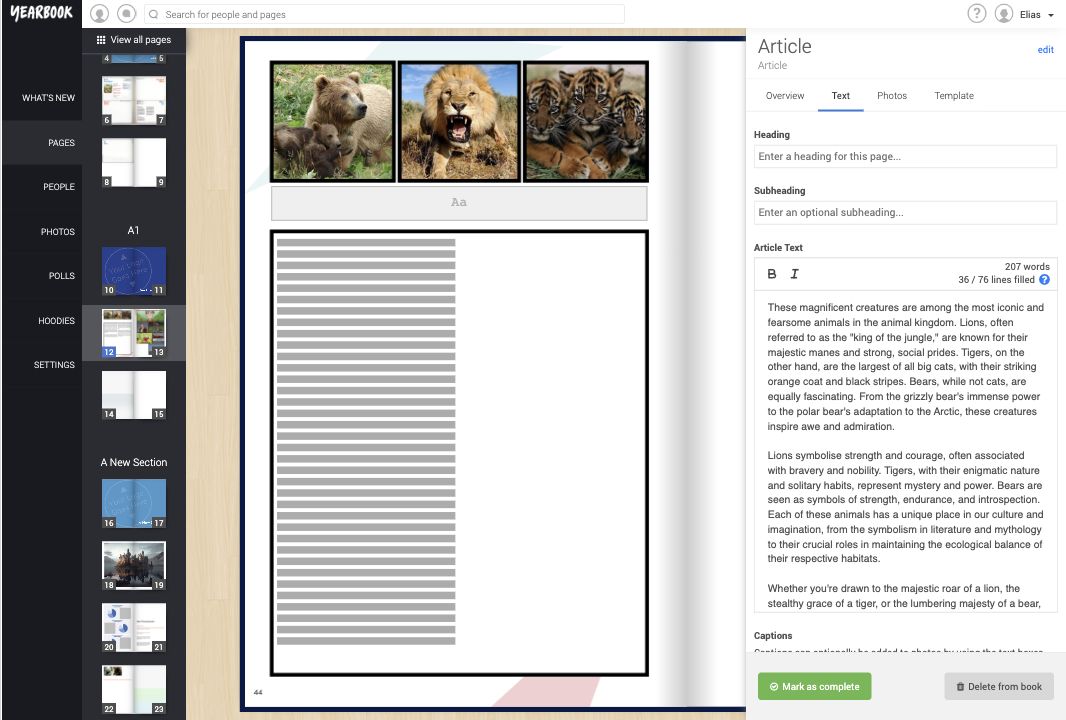
Type, or copy and paste, your text into the Article Text box. As text is added, lines will appear in the template to represent how much of the available space you have used:
You’ll also notice your word and line counts updating. These will turn red if you exceed the line or word limit for the page
Once you’re happy with the text entered, click Save to confirm it. You can come back to edit it at any time.
Heading
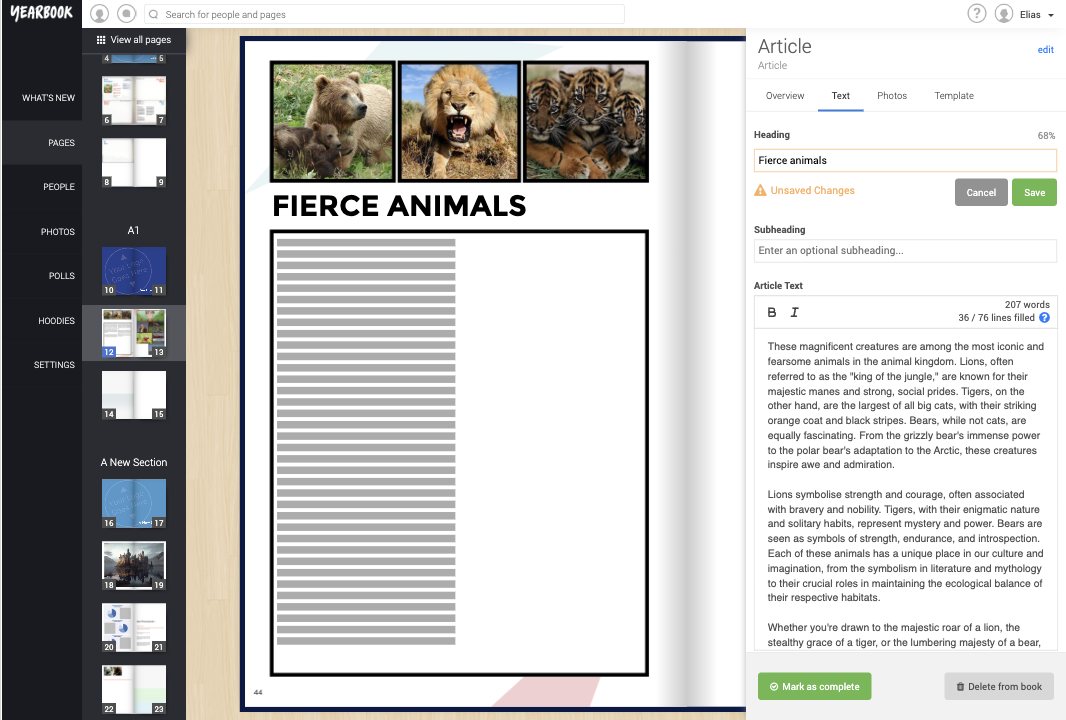
To edit the title, either click the text box containing it in the template, or click the box below ‘Heading’ in the Text tab:
Type the new title, and click Save to confirm. The template will refresh to show your new title.
Subheading
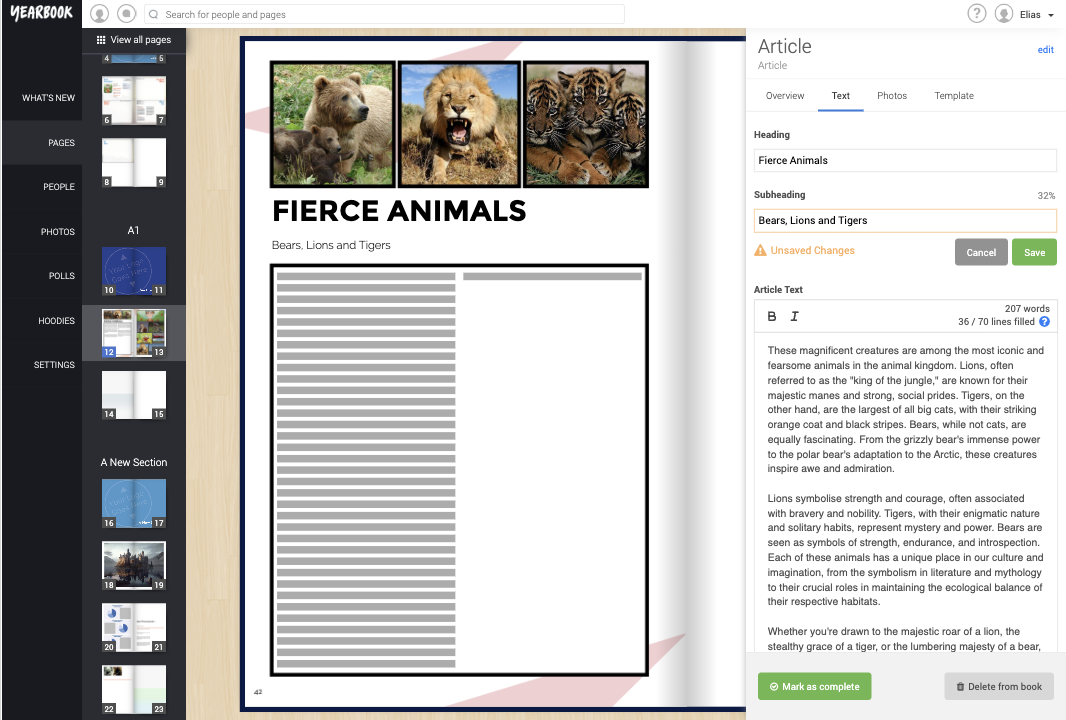
You can add an optional subheading to your article in the same way. Click the small text area beneath the main heading, or the text box labelled ‘Page Subheading’ in the Text tab:
Type your Subheading and click save to Confirm. The template will update after a few seconds.
Captions
Below the entry box for the Body text, each of your pictures will appear with a text box next to it, where you can enter an optional caption to appear on the photo:
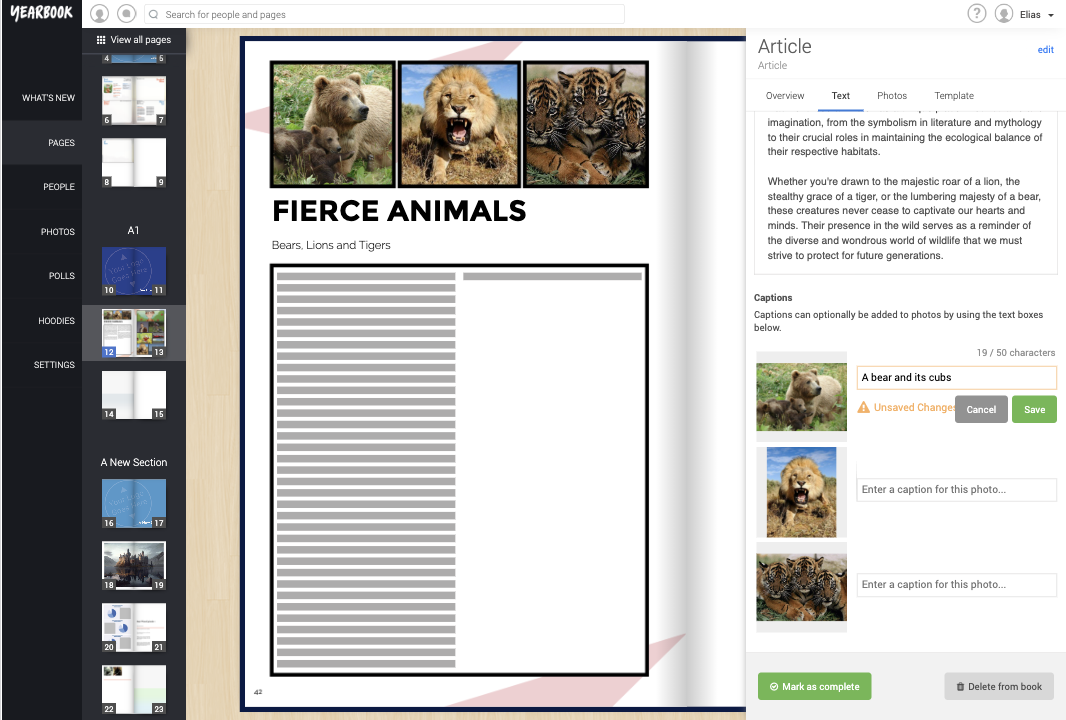 Type your caption and click Save to confirm.
Changing the Article Template
To change the template for your article, return to the Template tab, and select a new template.
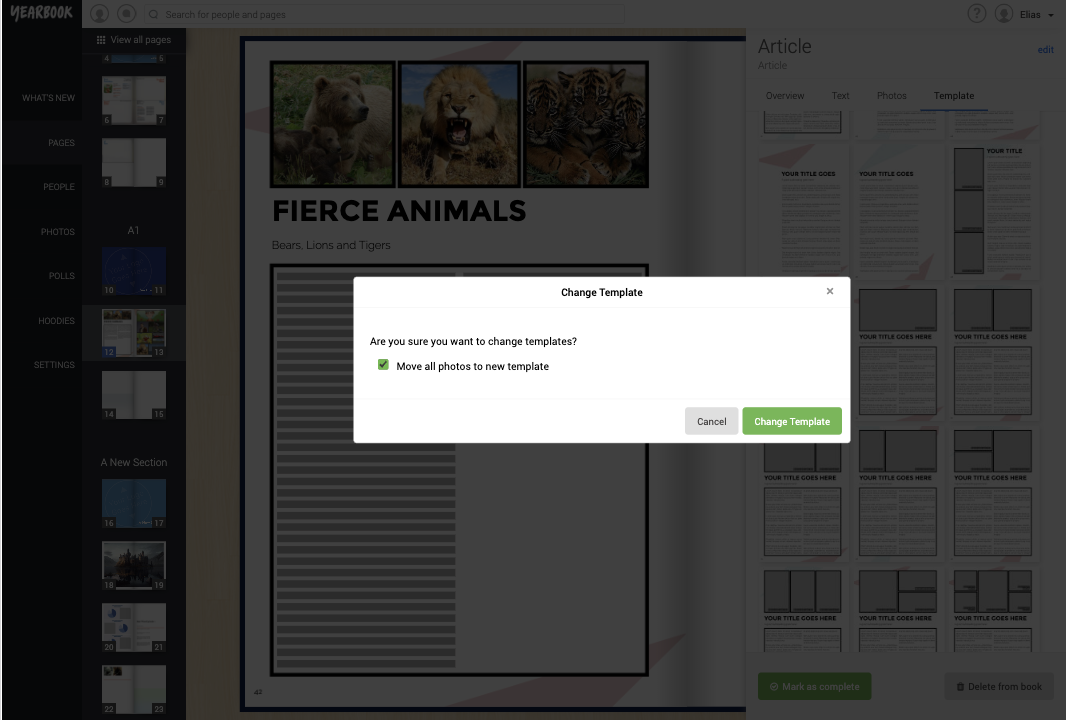
If you choose a new template that has at least as many photo slots as you have images placed, the photos you have placed will be moved to the new template along with your text. If the new template cannot fit all your text on, you’ll see a symbol to let you know:
If you pick a template that has fewer photo slots, you’ll be asked to confirm this before changing:
As many photos as can fit will then be copied over. Your captions will not be, though.
Overview
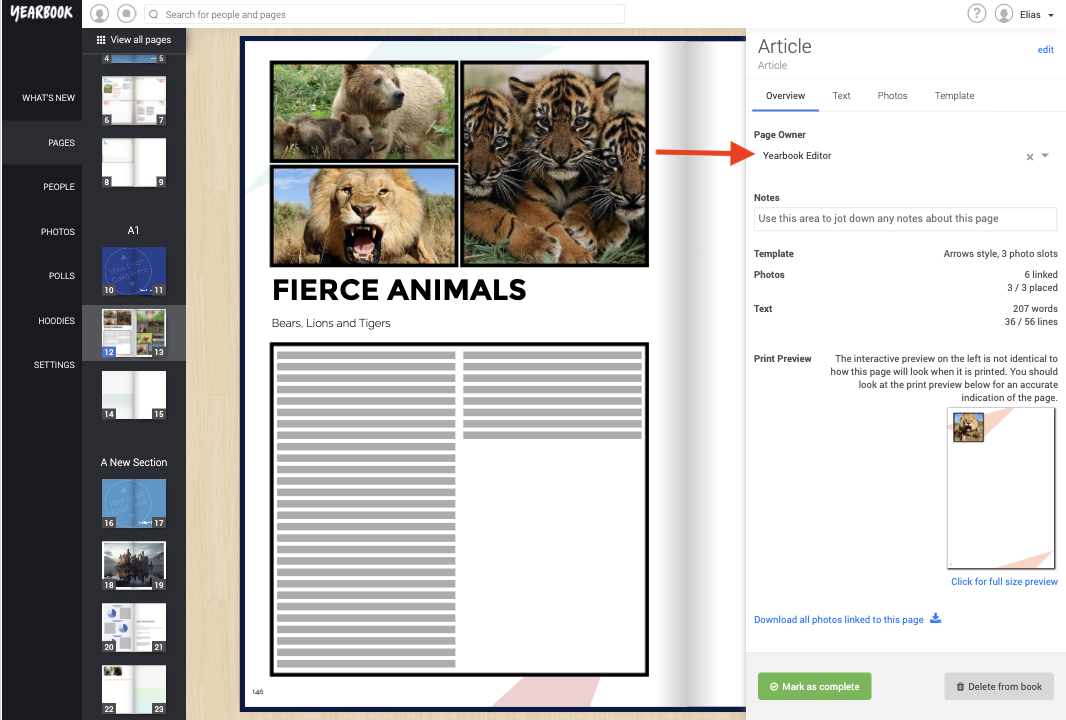
You can use the Overview tab to change the page owner, mark the page as complete, delete it, or view a large Print Preview:
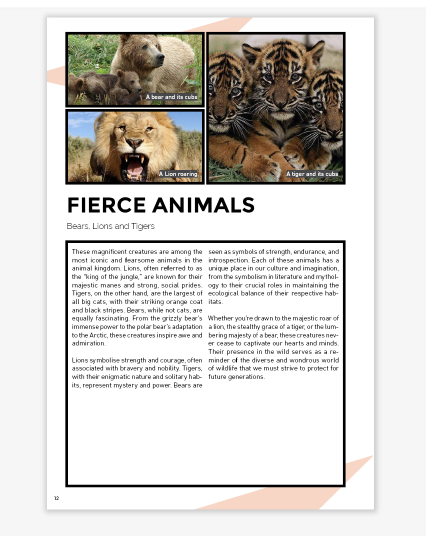
Click ‘View large preview’ and you’ll be shown a full-rendered preview of your Article, with your text and captions in place:

