
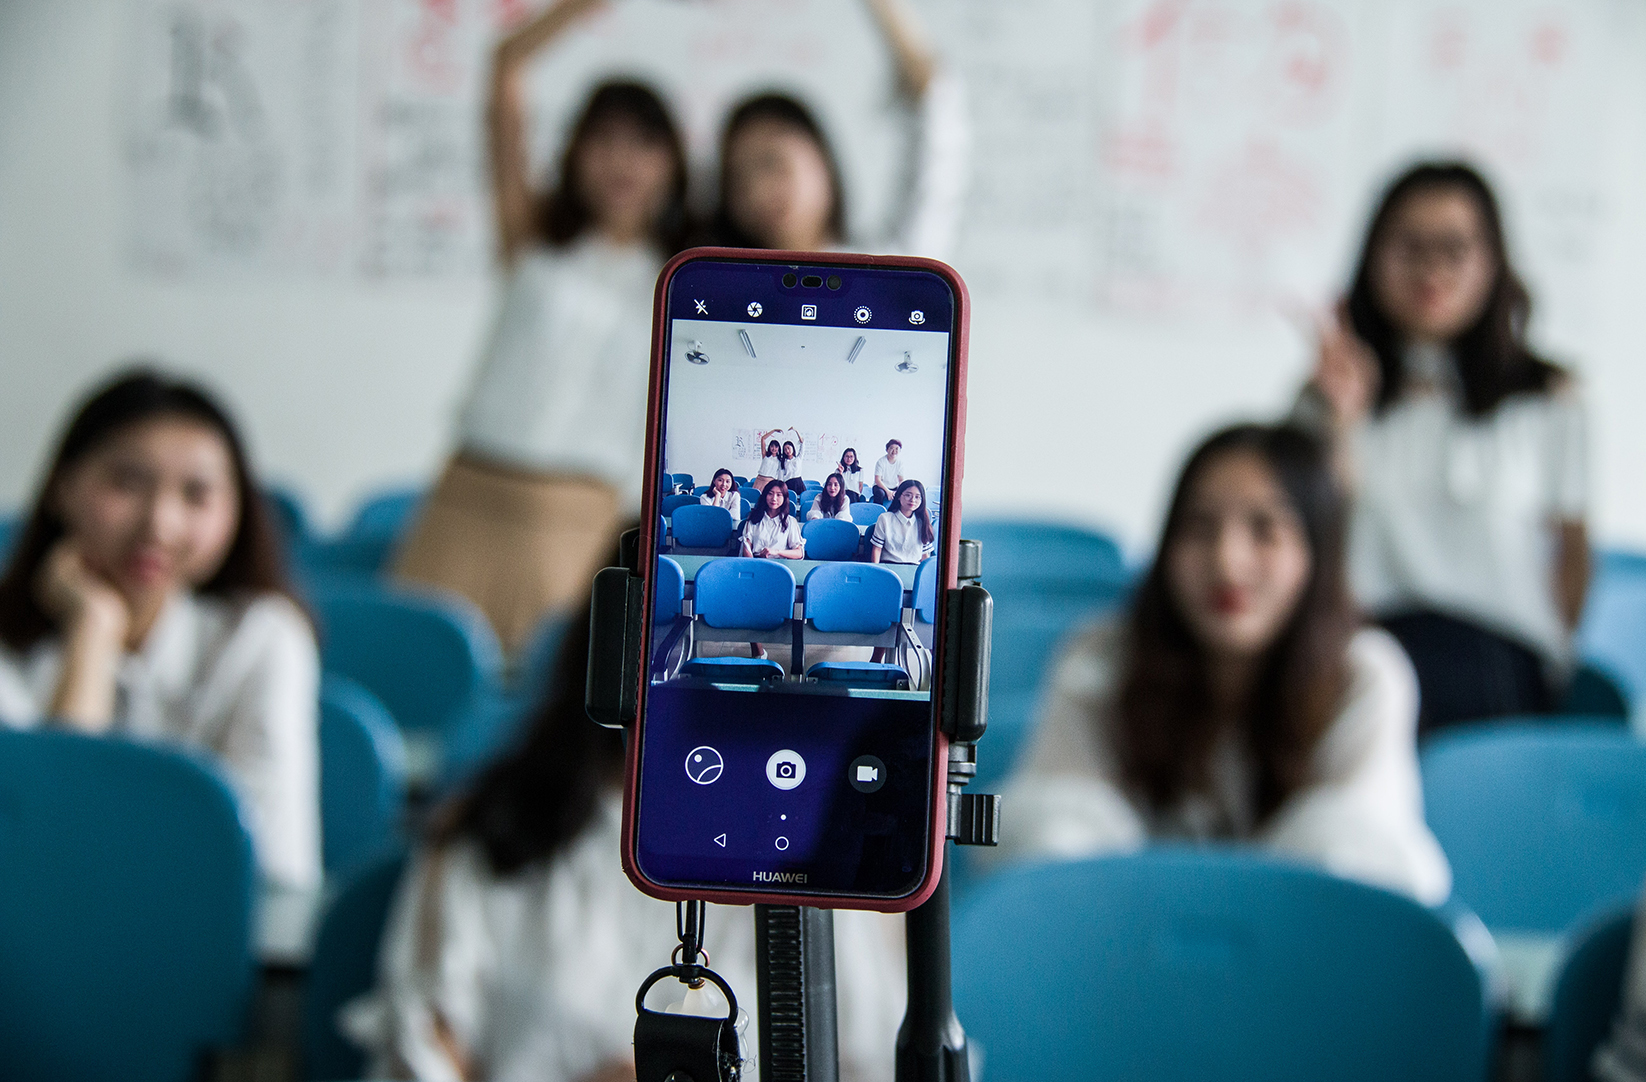
Thanks to our phones, it’s never been so easy to take pictures for your yearbook. There’s a camera in your pocket at all times, ready to capture your montage-worthy moments.
We know that not everything reaches your camera roll in perfect condition – some tweaks might be needed before your images are yearbook-ready.
The tips below will help you solve some of the common issues that can arise up with your phone photos. We hope you find them helpful, and as ever – if you have any queries about an image or its printed quality, please don’t hesitate to contact the team on [email protected].
Preserving resolution when sharing photos
We get to live in a world where we share images between each other all the time: sending photos through WhatsApp, DMs, or through AirDrop almost instantly. We’ve never been so well documented or so well connected, which can be incredibly helpful when collating photos for your book.
However, it’s always worth bearing in mind that how we share an image can cause its quality to decrease. Services like WhatsApp, Instagram and Facebook can all alter the resolution of an image if it’s sent through their platform. Because of this, we recommend using the original version of an image wherever possible, to prevent lower resolution images ending up in your book.
If sending images between people, try to use AirDrop or iMessage (if you have an Apple device) or even a good old fashioned email. These formats can help to preserve image quality, and will prompt you if a lower resolution version of the image will be sent.
Adjust your image light levels
Adjusting the brightness or darkness of an image used to require specialist software; but now almost all modern camera phones have tools to do this, without faff and directly on your device. The days of USB uploading your phone pictures to a computer to fix red eye or dark areas are over!
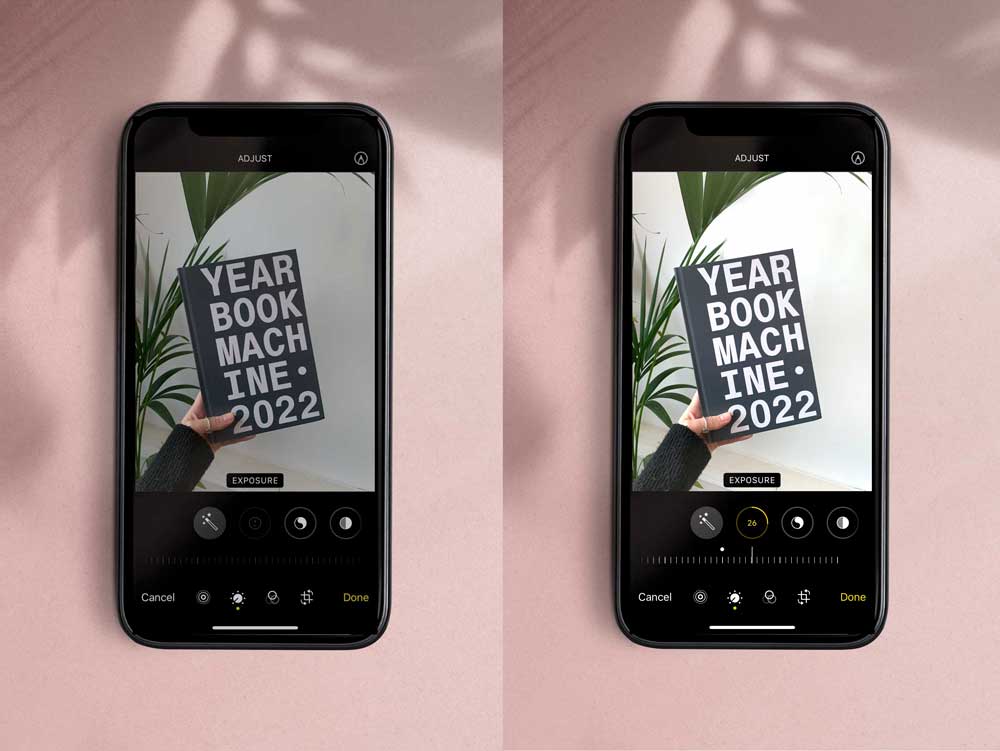
Adjusting an image’s exposure can hugely alter an image – see the before and after of the image below. The original image was taken in winter sunlight, making the colours of the book look a bit dull and flat. Adjusting the exposure brightens up the image, reverting grey-whites back to bright whites.
To do this on an iPhone – click ‘Edit’ in the top right hand corner when viewing an image in your Photos area, then tap on the +/- icon in a circle to adjust the exposure.
Angles, cropping and image composition
It can be difficult to hold your phone camera perfectly straight when snapping a photo, especially if you’re on the move or somewhere that’s full of people.
Some tools are built into your phone to help you compose your images, and one of these is the grid function. Photography has long taught the importance of the rule of three – the main photo subject goes in the middle of the image (in the middle third), then the rest of the image is made up of the background. Adding a grid to your phone camera will help you to implement this, while also helping you keep your images straight. You can enable the grid from the Settings of your Camera app on an Android, or via Settings>Photos & Camera on your iPhone.
If your images are still a little wonky, your phone camera’s ‘adjust’ tool will definitely come in useful. Hit ‘Edit’ in the top corner of your image in the Photos app on iPhone, then ‘Adjust’; tap the Crop button while in Editing mode on an Android, and you’ll be able to straighten your image by swiping your fingertip up and down. This will come especially in handy for any photos of the landscape or the horizon (e.g. any shots of your school building) – straightening these images can make a big difference to their appearance!
