Adding a new Montage
Adding Photos to a Montage
Placing photos
Adjusting photos in a montage
Adding captions
Changing the template
Overview tab
Montage Pages
Photo Montages are used to display photos in your Yearbook. They can hold between 1 and 50 photos in a variety of sizes, designs and layouts.
Adding a new Montage
To add a Montage, click the ‘Add Page’ button at the end of the section you would like the page to be in, then select ‘Montage’ from the tray.
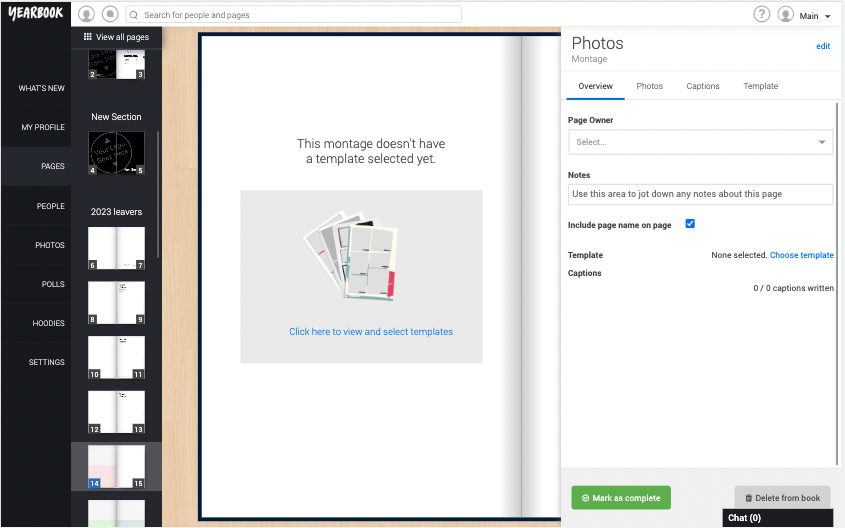
The first time you view a Montage page, you’ll see this page:
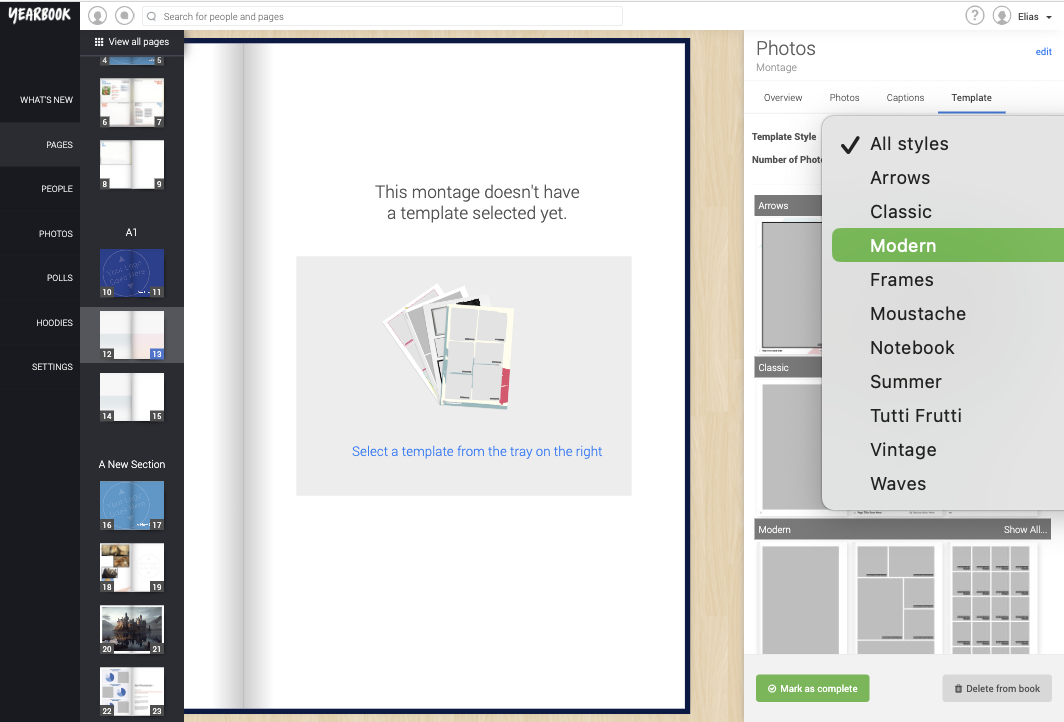
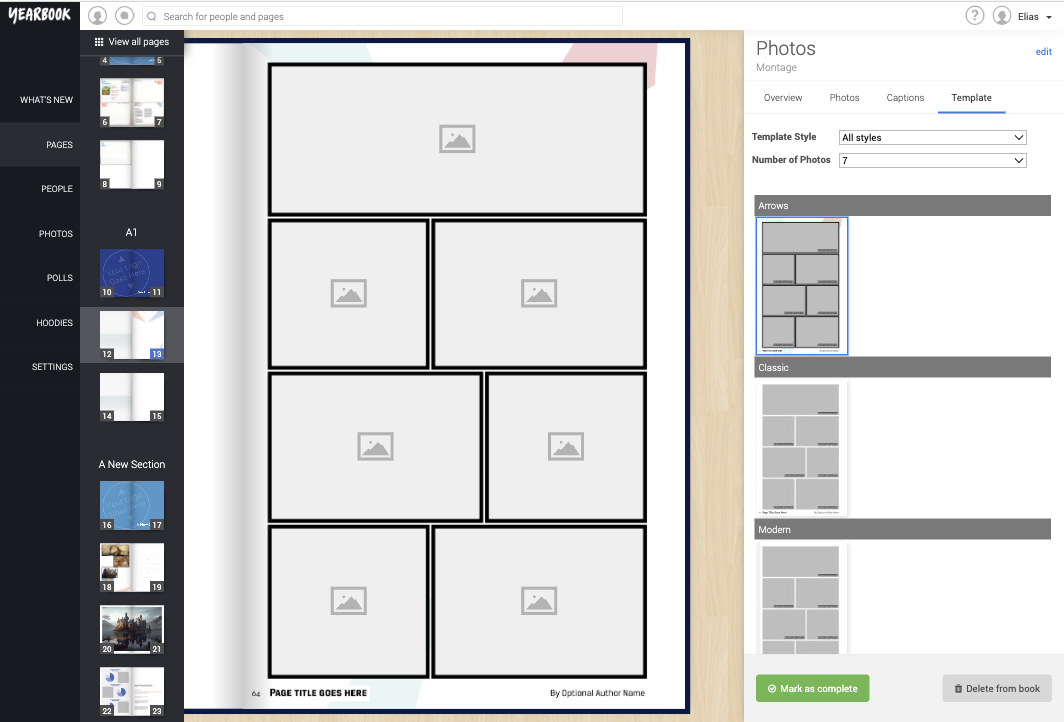
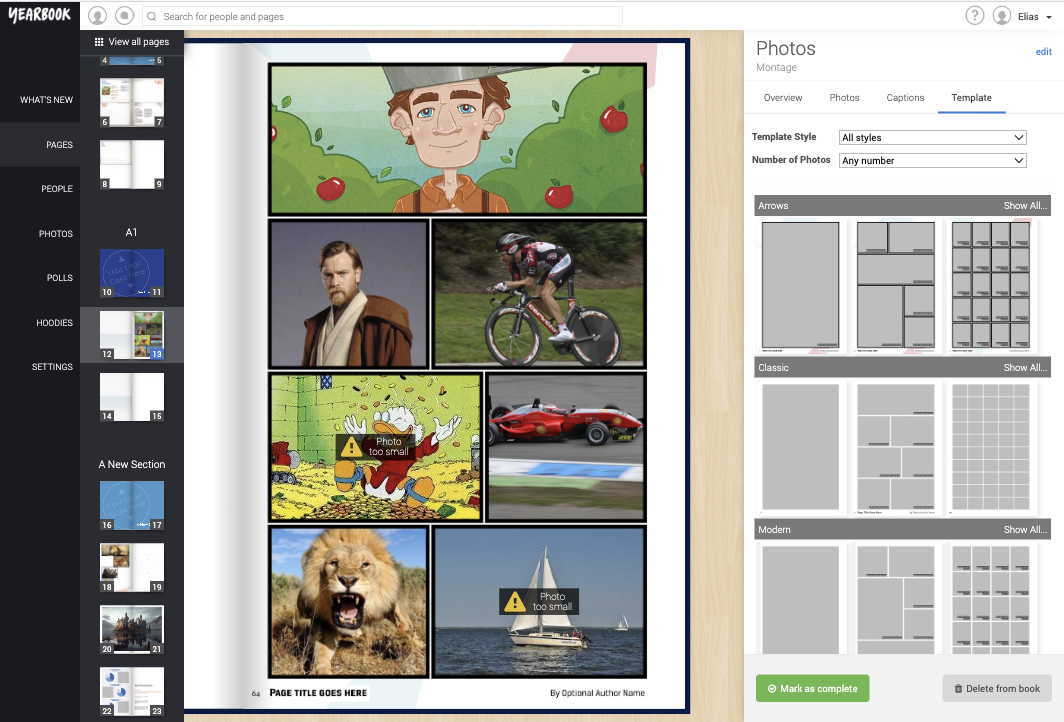
Click ‘Template’ to view the Template Picker, and you can choose from the various available styles on the right hand side:
You can scroll through all the available template styles, or use the drop down menu at the top to narrow the selection down.
You can also filter by the number of photos in the template:
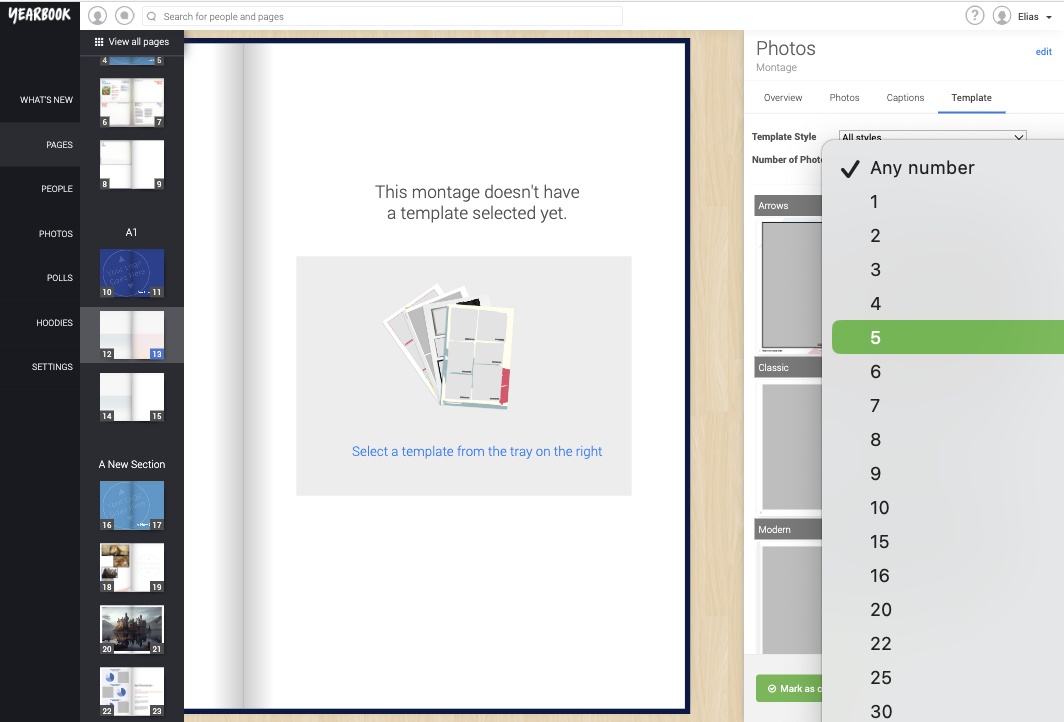
To further narrow down your selection, you can filter by both the style and the number of photos.
Click a template to select it, and it’ll appear in the centre of the page, ready to be filled with photos:
Adding Photos to a Montage
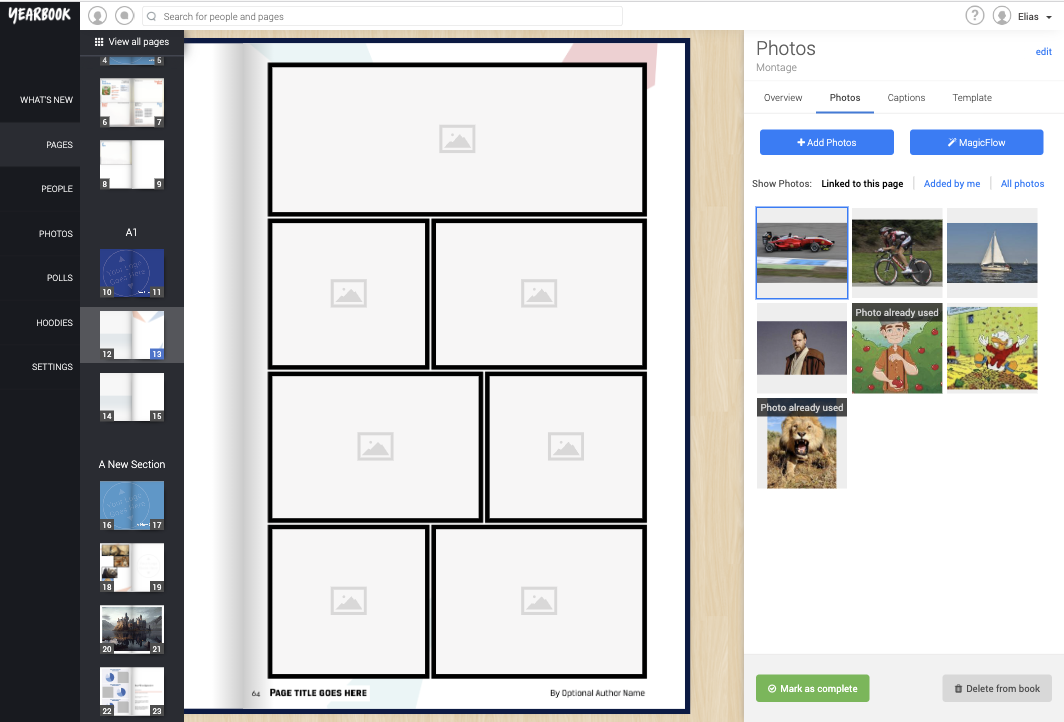
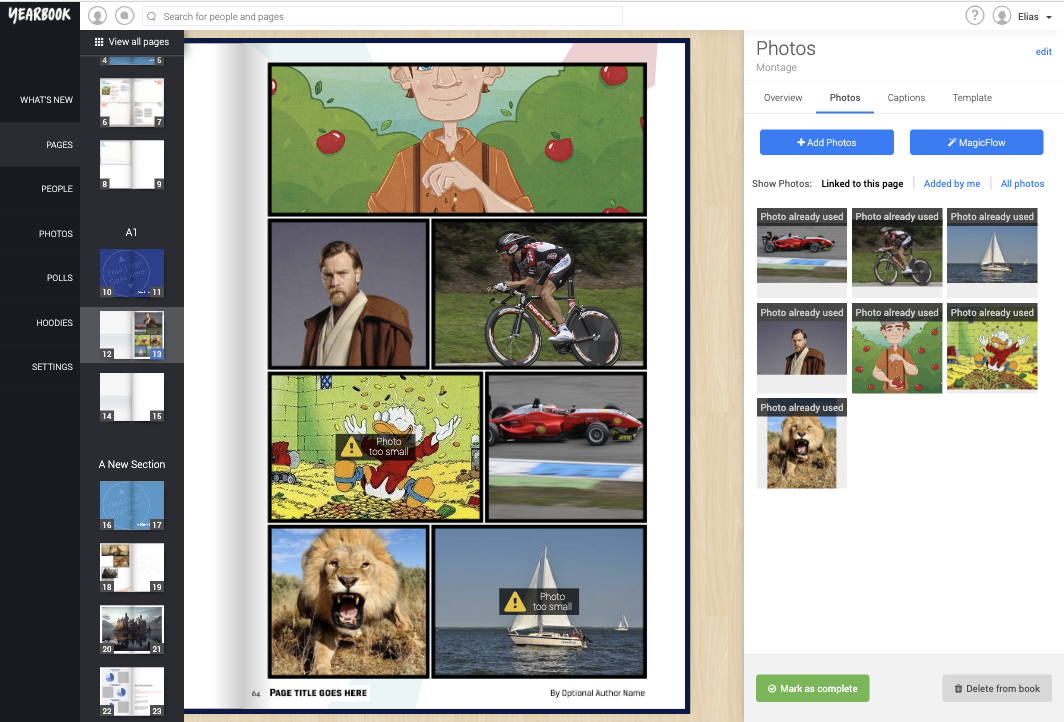
To add photos, click one of the frames in the template, or the Photos tab on the right hand side:
You can choose to add photos that are Linked to the page, select from photos that you have uploaded, or click Search to find photos from the rest of the yearbook
You can also click the ‘Add Photos’ button to upload photos directly to the page:
Placing photos
To place a photo, you can click the frame you want to fill, then the photo you want to add:
Any photos that are too small for the frame you have chosen will be marked as such.
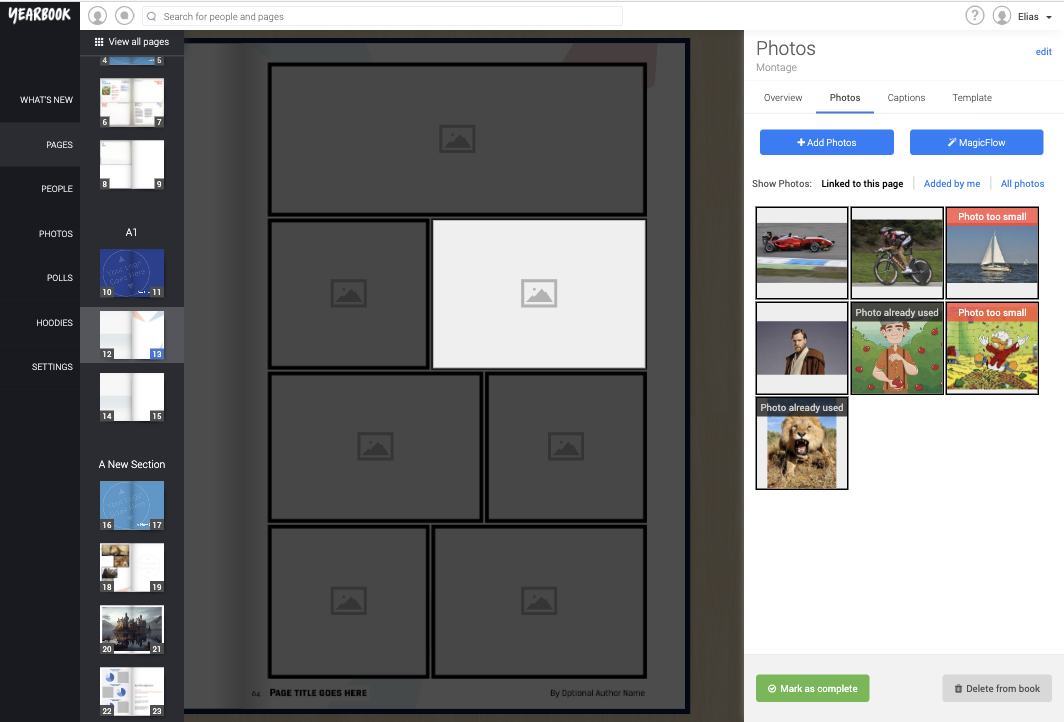
You can also click the photo you want to add, then select the frame to place it in:
Any frames that the photo will be too small for will be coloured red.
Alternatively, you can click the photo you want to add, and drag & drop it to the desired frame:
If you want to quickly fill all the photo slots with a random selection from the Linked images, use the MagicFlow button:

You can keep pressing MagicFlow to repopulate the template:
Adjusting photos in a montage
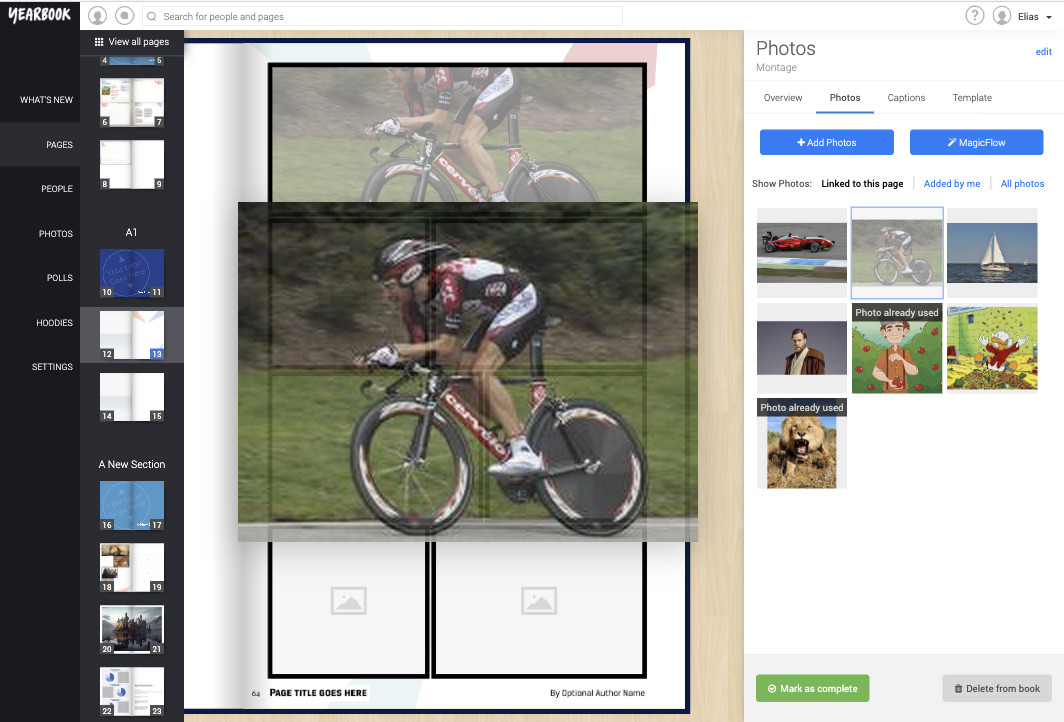
When a photo is placed, the centre of the image is placed to fill the frame by default. If you want to change what part of the photo is shown, or zoom in, click on the frame:
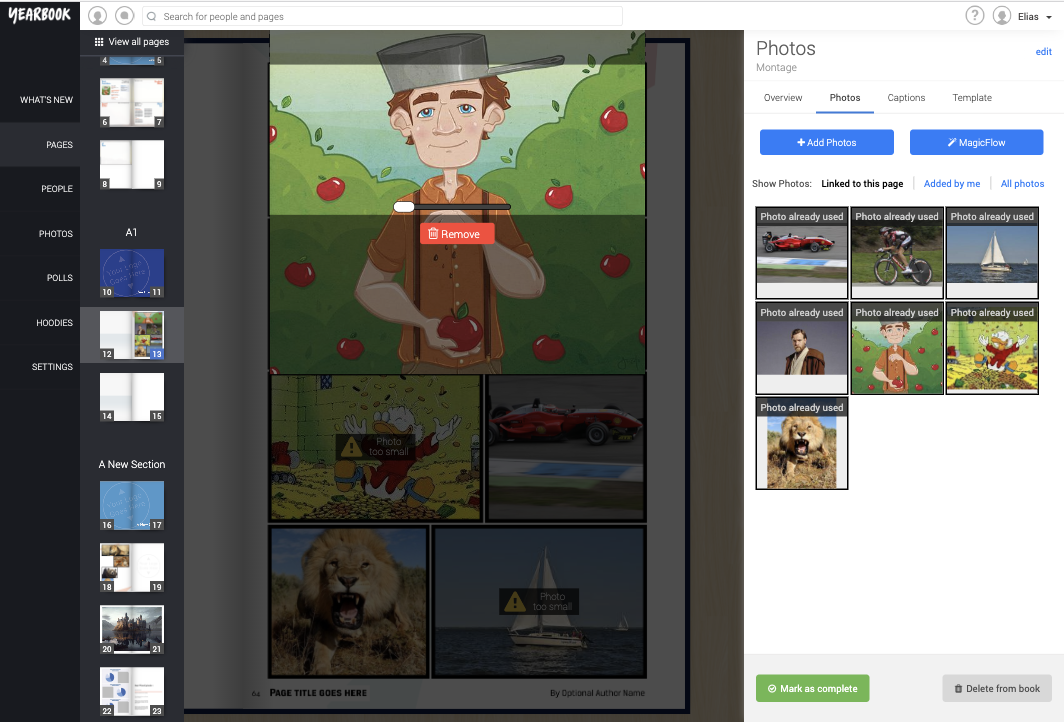
You can click and drag the image to change the position, or use the bar at the bottom of the image to increase or reduce the zoom. Just click outside of the photo space to save.
Click ‘Remove’ to take that photo out of the frame.
You can change the photo in a frame by simply placing the new photo in an occupied frame.
Adding captions
To add captions to the photos, click the Captions tab in the right hand section. You’ll see a thumbnail of each photo, and a text box to type an optional caption for each frame:
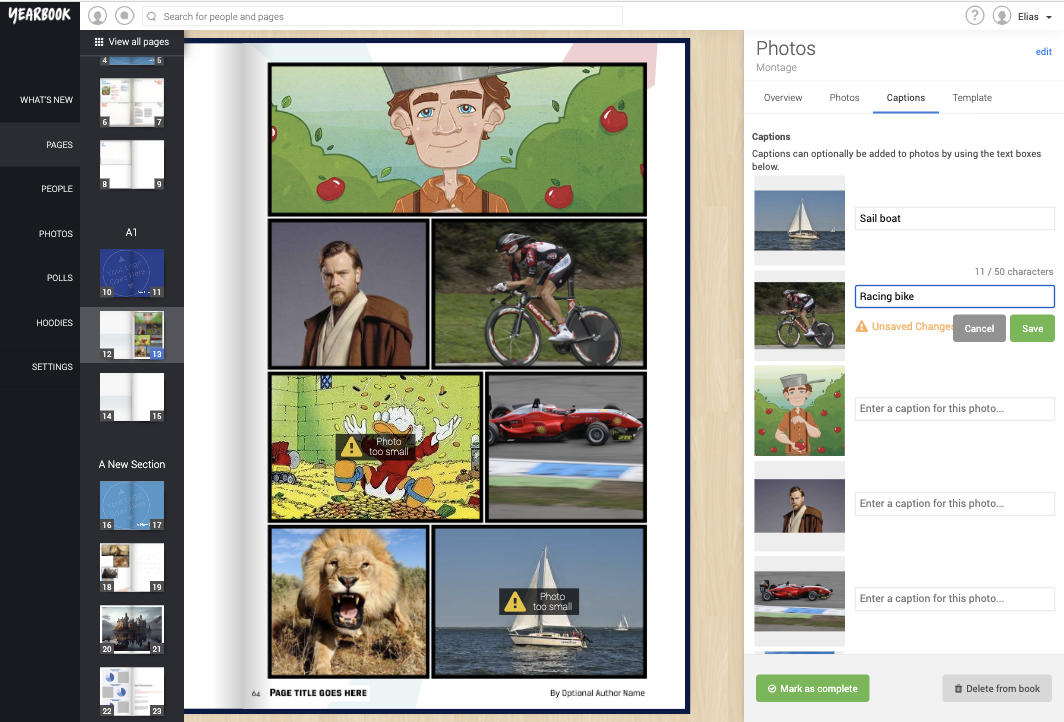
Click each box, type the desired caption, and click save.
Changing the template
If you decide you want to use a different template for the montage, go back to the Template tab and choose your new layout.
If your new template has at least as many photo slots as the existing one, all the placed photos will be moved to the new layout:
However, if you choose a template with fewer slots than the existing one, you’ll be asked to confirm that some photos won’t be placed in the new layout:
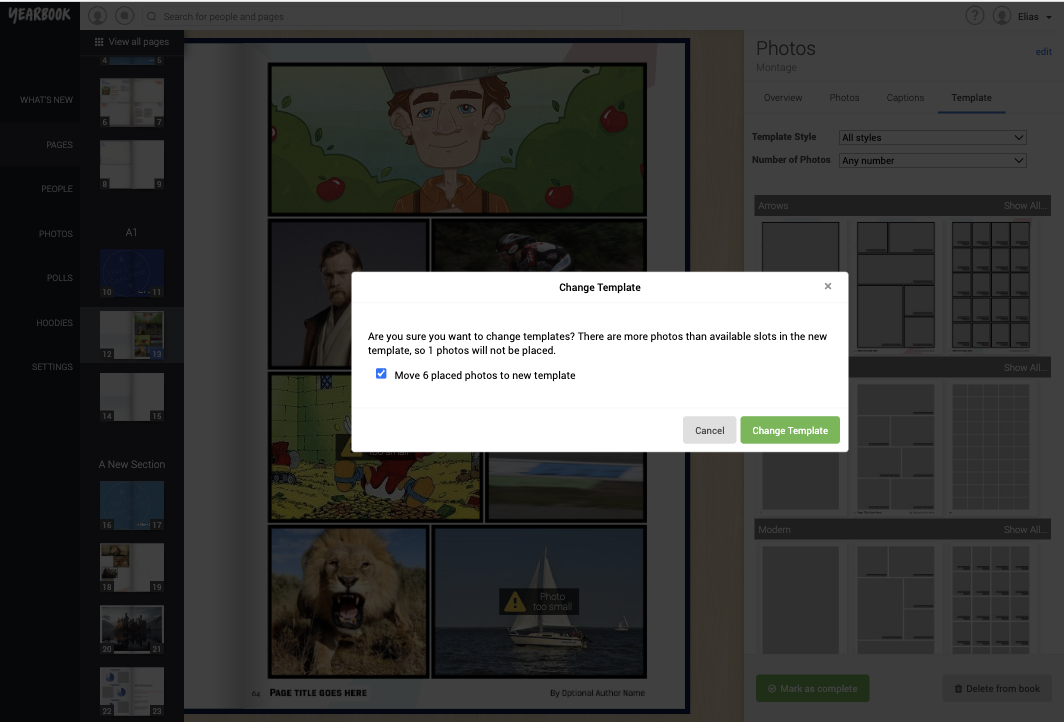
Clicking Change Template will apply the new layout, but with the new number of photos randomly selected:
Overview tab
The Overview tab provides details about the Montage, such as the chosen template, the number of captions, and how many of the photo frames you’ve filled. It also lets you change the page owner, where you can choose any user, from the book, to become the editor of the page:
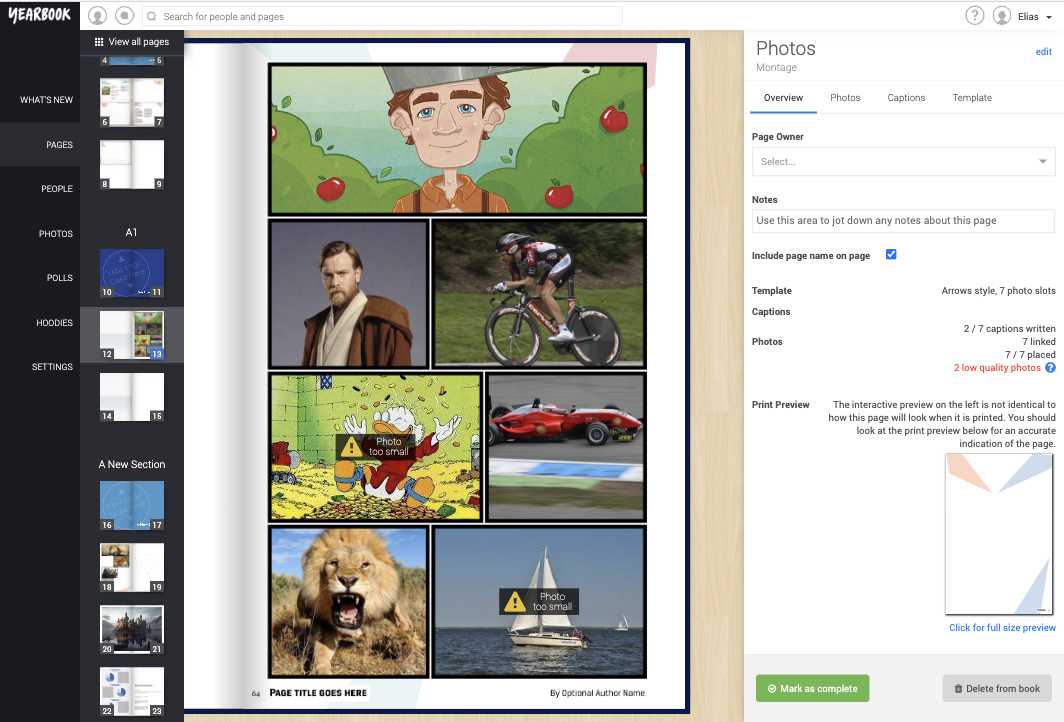
You can also select the ‘Click for full size preview’ button, to see a Print Preview of the page:
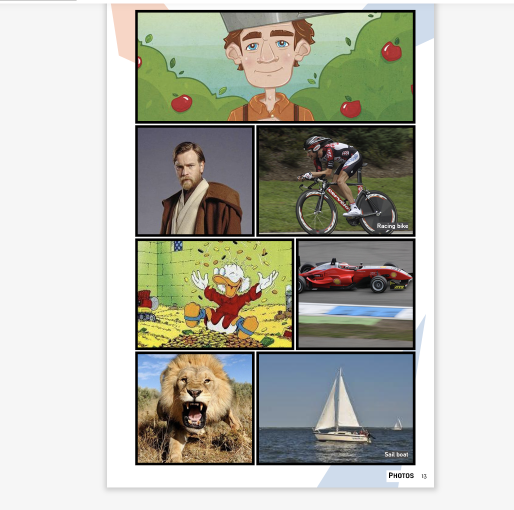
This preview may sometimes take a little while to update, so if it doesn’t reflect your most recent changes, wait a few minutes and click again.
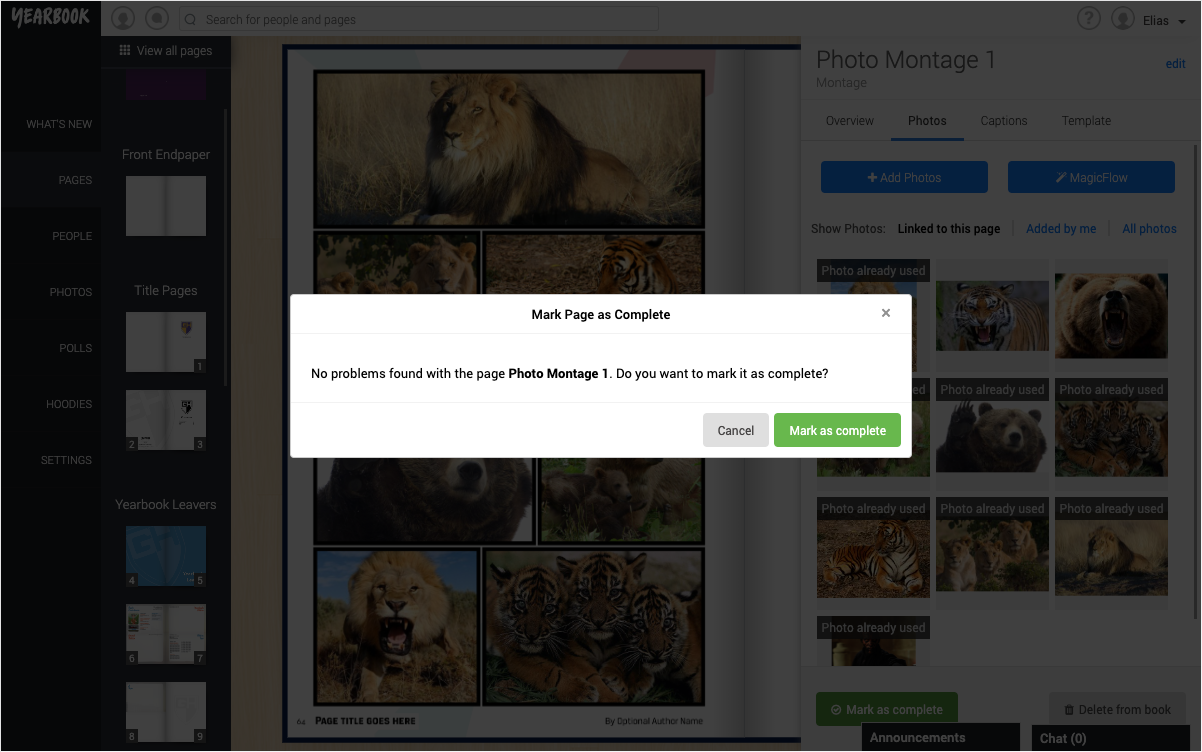
Finally, you can mark the Montage as Complete, preventing any further changes to the content: