In this article:
Sections
Pages
Building your yearbook
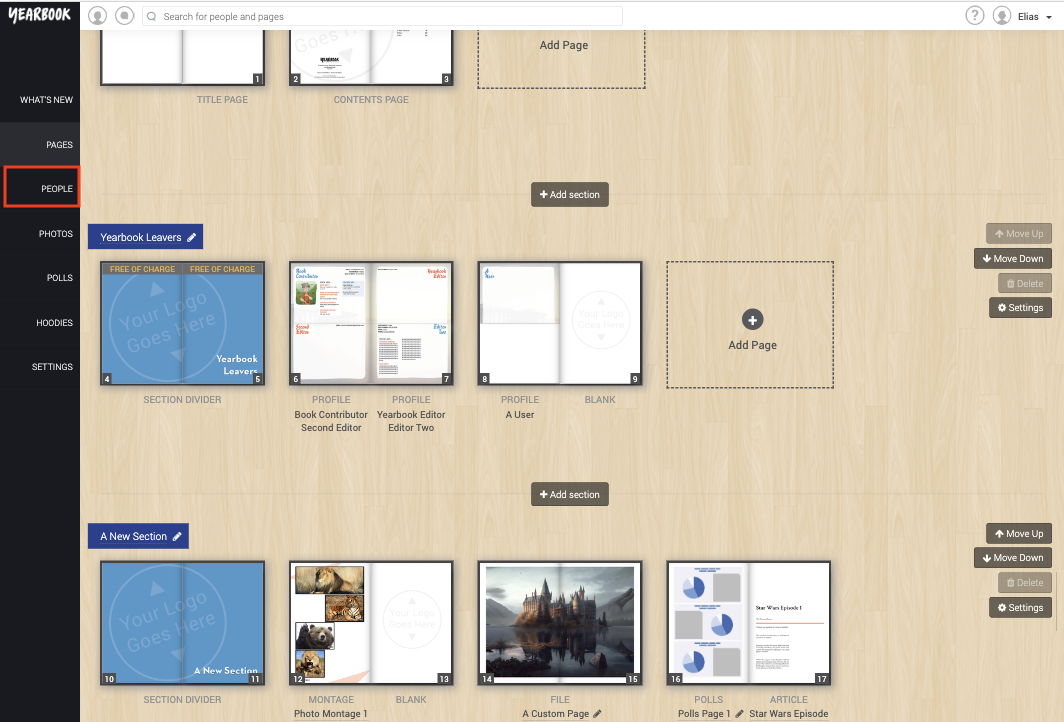
You can manage and review the layout and structure of your yearbook by using our Page Manager. To access it, click Pages in the left hand sidebar:
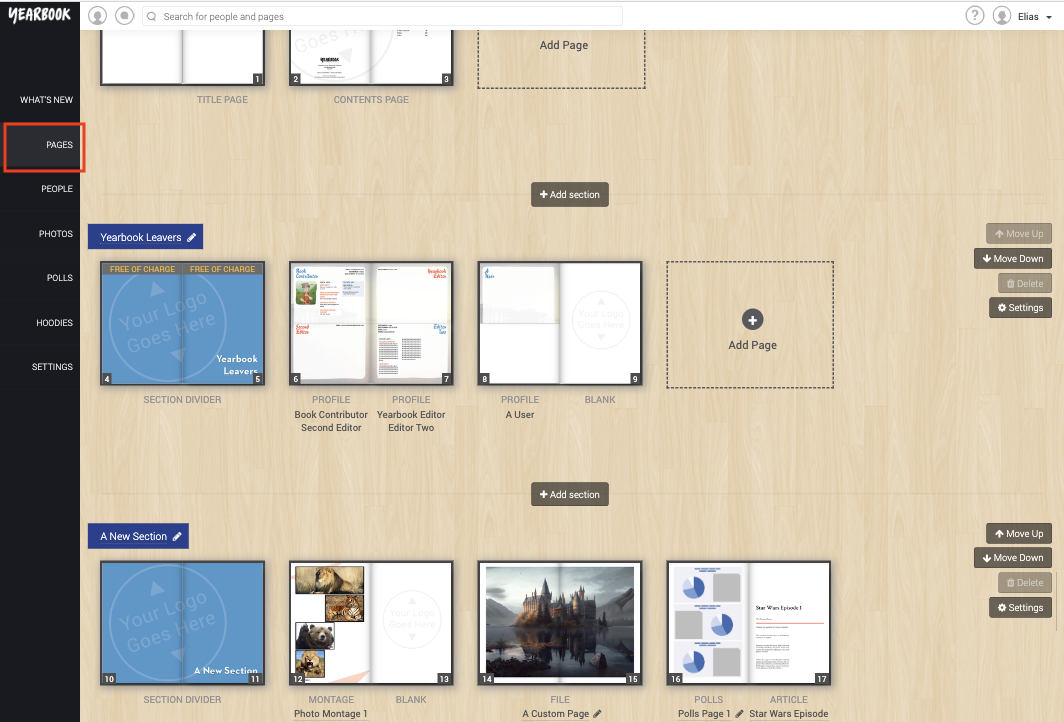
You can see a thumbnail of each page in the book and scroll down to check every page. The thumbnails update periodically as you make changes.
Sections
Sections function like chapters in your book, dividing it up and providing structure.
Adding a new section
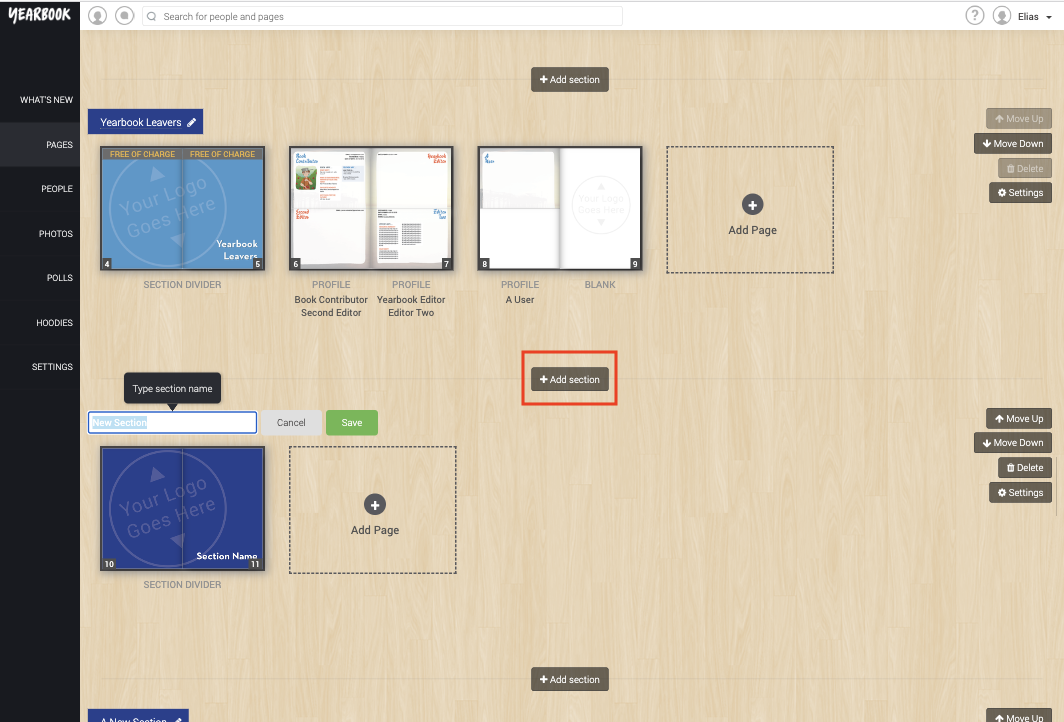
There is an Add Section button after every section in your book, so you can easily add a new section by simply pressing that button. The section will be created and placed in the correct position in the book, with a section divider page inserted by default. The section name will be selected and ready for you to edit – just type a new name and press save. You can quickly edit the section name at any time by pressing the pencil icon next to the section name.
Managing your sections
The quick edit menu on the right hand side of each section allows you to quickly move a section around in the book, or delete it (note: you can only delete a section when it is empty, so you may need to remove the pages in it first).
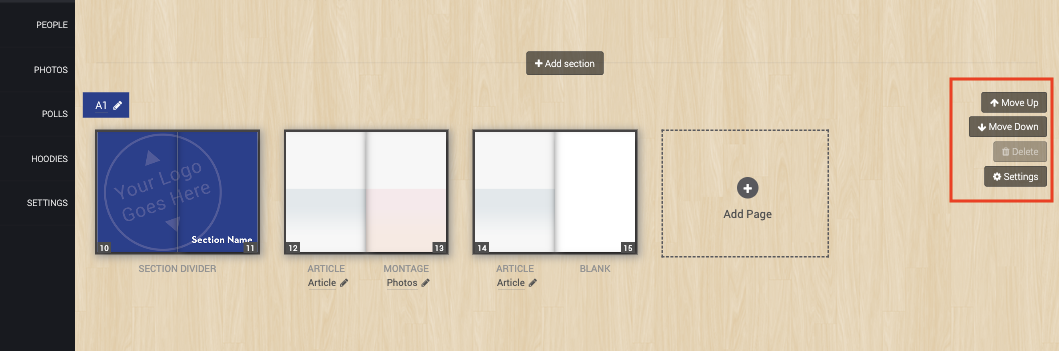
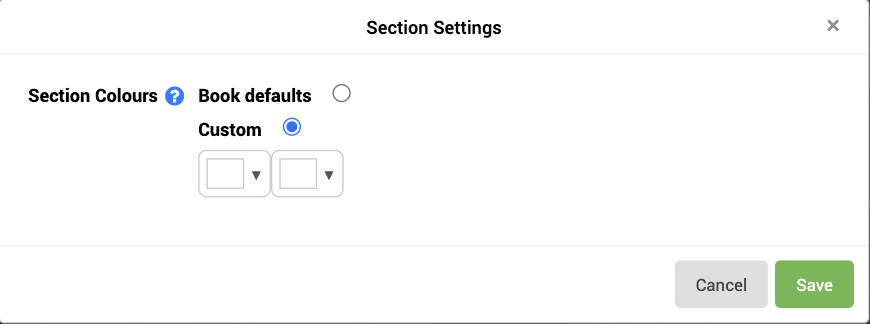
You can also access the Settings menu from here, for more customisation options. From here you can choose to have custom colours which will be applied to all the pages in the section or go with the book defaults.
Pages
You can add a number of different page types to your yearbook – Profiles, Articles, Photo Montages, Custom Designs, Polls, Section Dividers and Notes pages. You’ll be able to read about all of these in Chapter 2 of this guide.
Adding a new page
Find the section that you would like to add a page to, then click the ‘Add Page’ button at the end of the section. This will open a tray, showing the different page types that can be added:
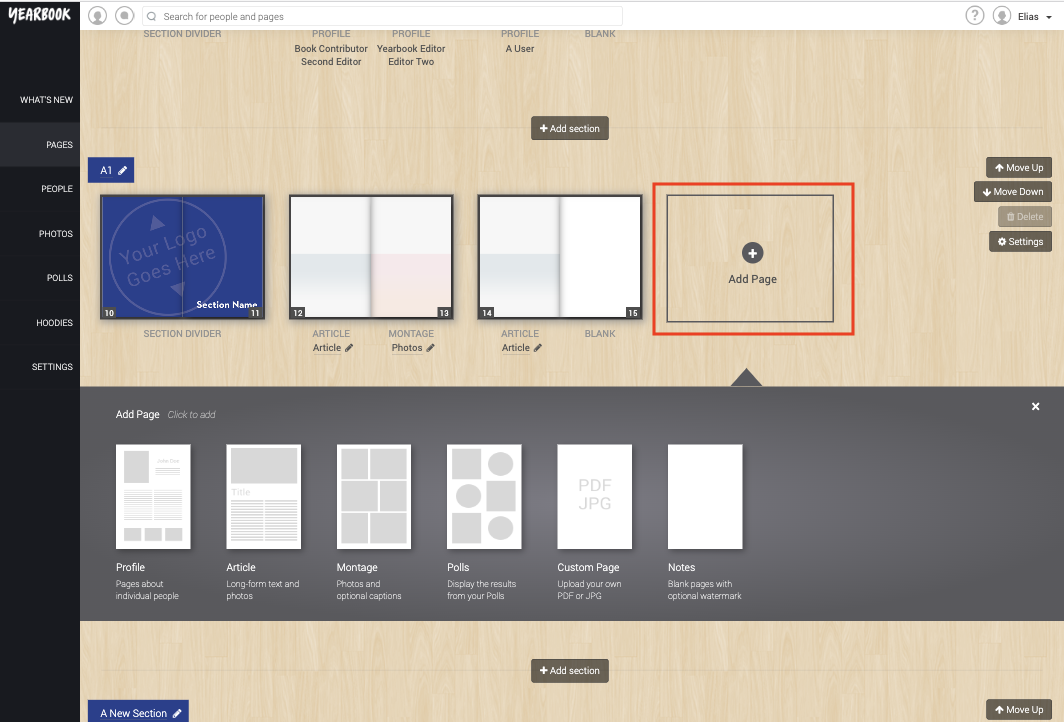
Simply click the type of page you would like and it will be added to the end of the section, with its name in an editable state so you can easily type a name for the page and press enter.
If you are trying to add Profile pages, you will be presented with a modal dialog, from which you have two choices, to invite people to join (the recommended method), or to manually create profiles yourself.
Managing your pages
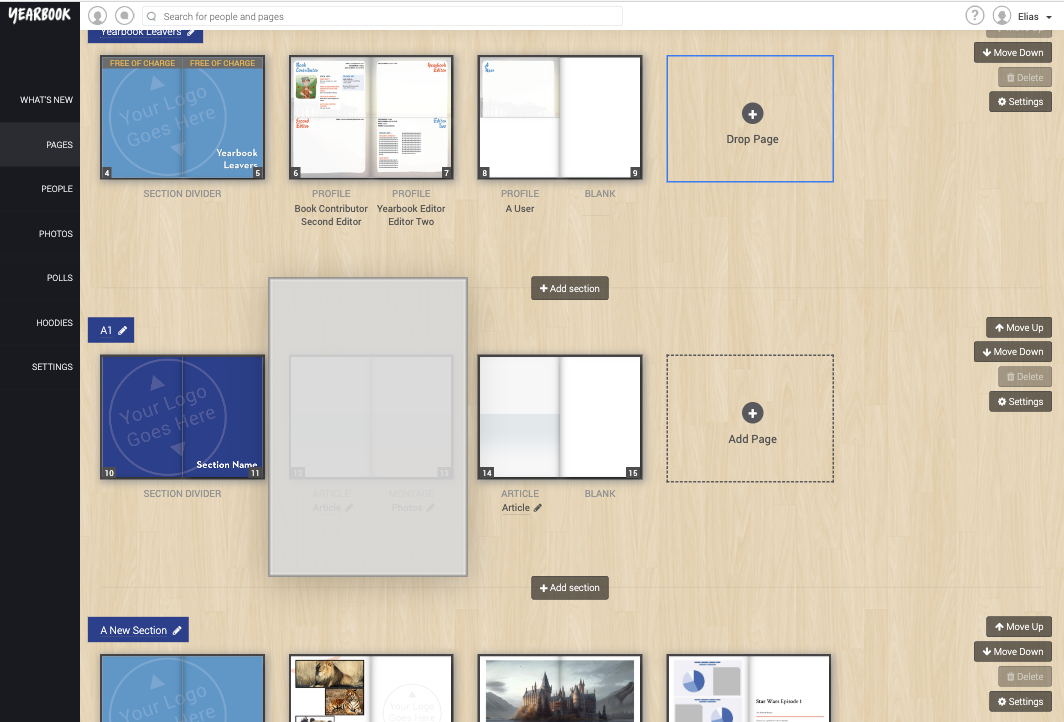
To move a page, you can simply click on it, and drag it to the desired position:
You can also move the page one space to the left or right, by clicking the pencil icon next to its name:
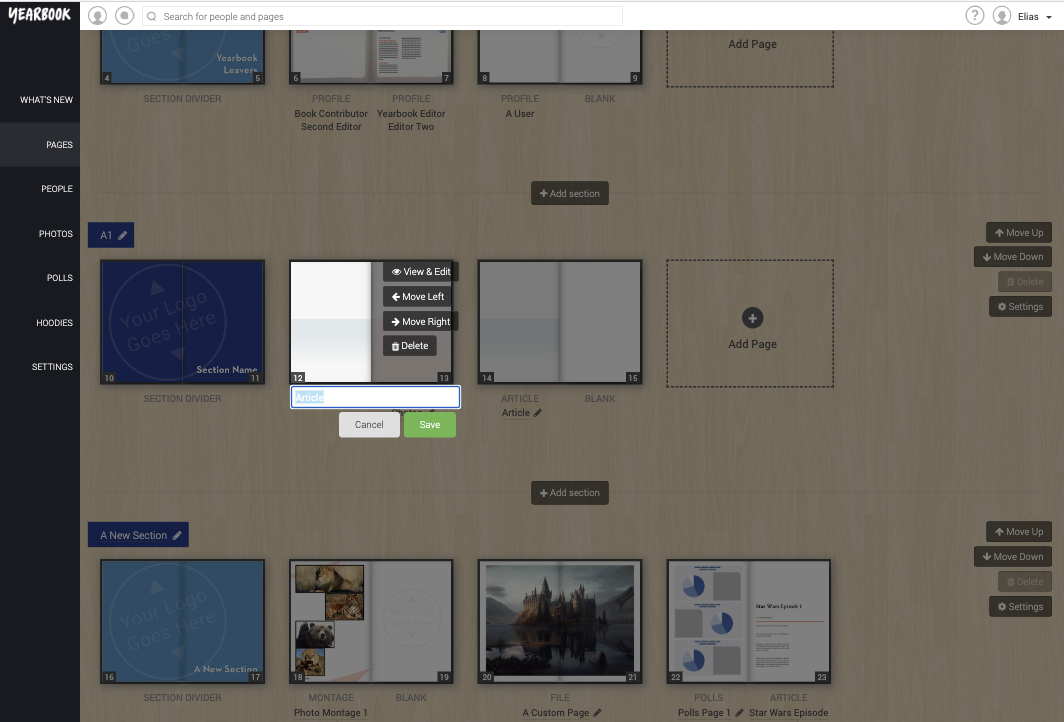
This is also how you can rename or delete a page.
Profile pages cannot be moved this way, as they are automatically ordered within their assigned group alphabetically by Surname.
You can move profiles to a different Section in People:
Find the person’s profile, and click the edit button next to their name:

In the page that follows, expand the Profile section, and select a new section from the drop-down menu:
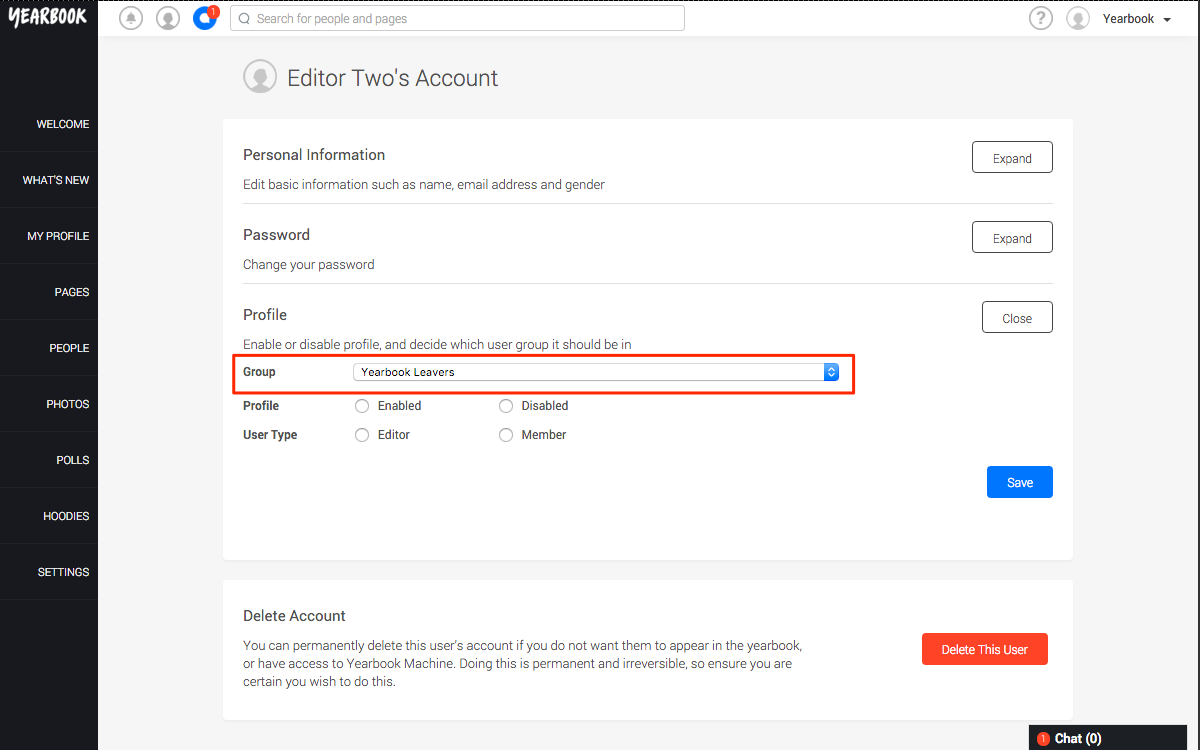
Click Save to confirm.
If you duplicate a page, only the name and type will be copied – any content you’ve added won’t be duplicated.