Good news: you don’t need an expensive SLR to take your yearbook photos anymore! Phone cameras have been getting better and better – now anyone with a phone can be your yearbook photographer.
So with this in mind, we’ve collected a selection of our favourite tips for iPhone photography, and took to the streets of N1 to test them out.
Clean the smudges off your iPhone lens, swipe left to open your camera and start getting those yearbook pictures together!
Don’t Lose Focus: AE/AF Lock
GOOD FOR: concerts, plays, close-ups
Keeping your images in focus may seem obvious, but isn’t always easy when most situations won’t have your subject keeping perfectly still!
Ever been lining up a group of friends for the perfect shot, but they just keep moving? No problem – tap on the small box over each of their faces to keep them in focus.
But the best tip we tried and tested? The AE/AF Lock feature on our iPhones. Activate this by touching your focal point on your camera screen and leaving your finger there until the yellow focus square expands and contracts, and the AE/AF Lock box appears at the top. It will stay in place even after you hit the shutter, so you can take multiple images of your subject at a time.
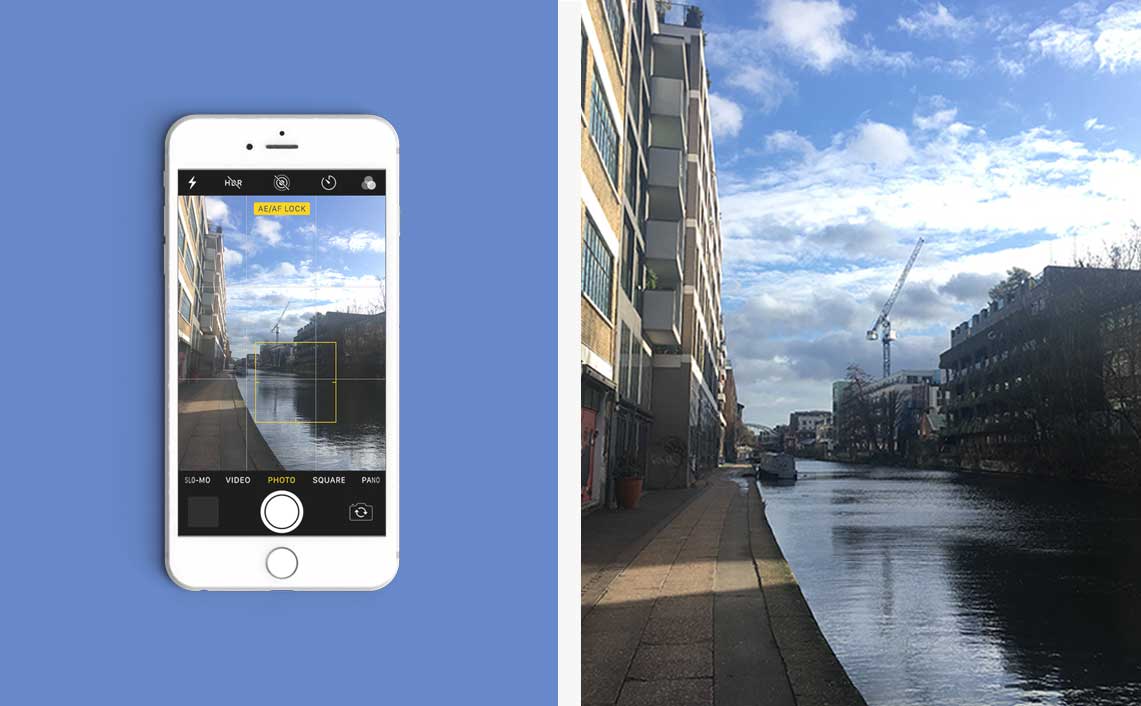
In situations that are dark, crowded, or when you can’t keep perfectly still (like a school concert or play), single tap focus just doesn’t cut it. AE/AF Lock steps in to make sure your images are still perfectly crisp and in focus.
When AE/AF Lock is activated, you can drag your finger up and down on the little sun to change the image brightness – perfect for capturing light or dark images without using filters.
Make it Candid: Capture Photos in a Video
GOOD FOR: portraits, group shots, moving figures
Ever wondered how bloggers manage to capture those irritatingly perfect candid shots of their life? This is it.
When shooting an iPhone video, hit the little circle shutter button on the left hand side of the screen to take a picture while you’re recording.

People will always be more relaxed and natural when they’re not posing for a picture – you’ll have the video and your candid shots waiting for you on your camera roll.
Life Moves Pretty Fast: Burst Mode
GOOD FOR: sports days, concerts, shows, photographing younger years
Sometimes, a little bit of blur in an image isn’t a bad thing. To take multiple pictures of a fast moving object or situation, hold down the shutter button in your camera app to take a burst of pictures. Perfect for when your subject can’t keep still; bursts give you a range of images to choose from, so you can scroll through and keep the best shot.
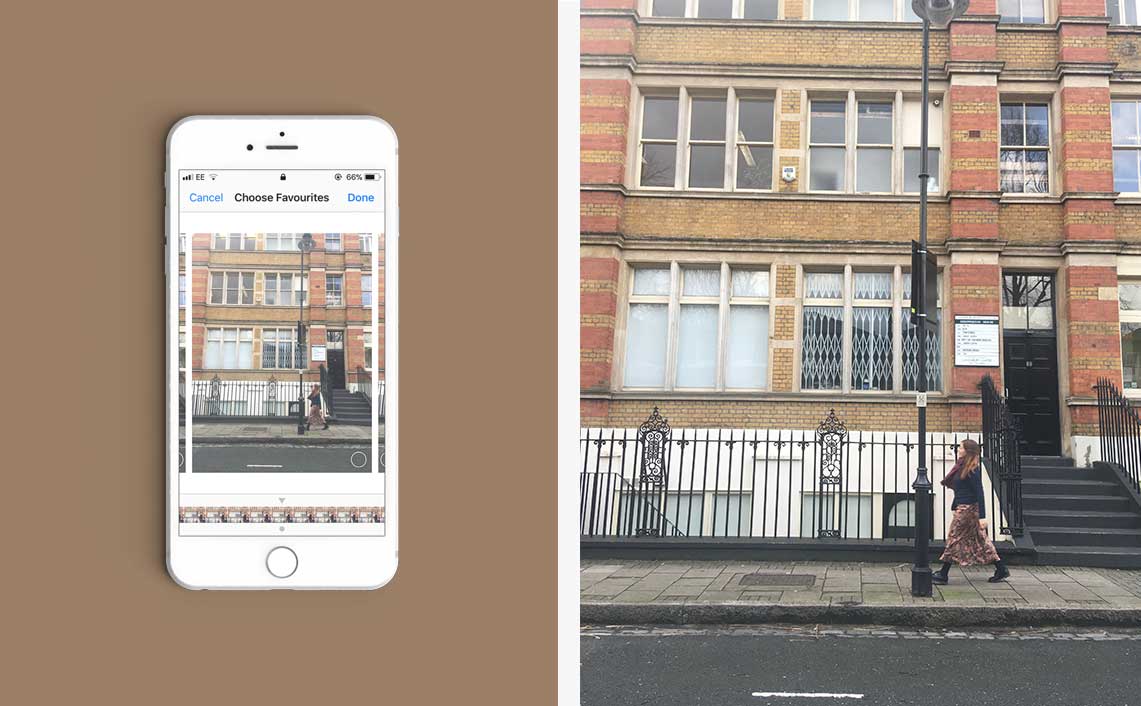
To choose which shot makes the final cut from a burst, tap on the image in your camera roll, then the ‘Select’ function will help you choose your favourites.
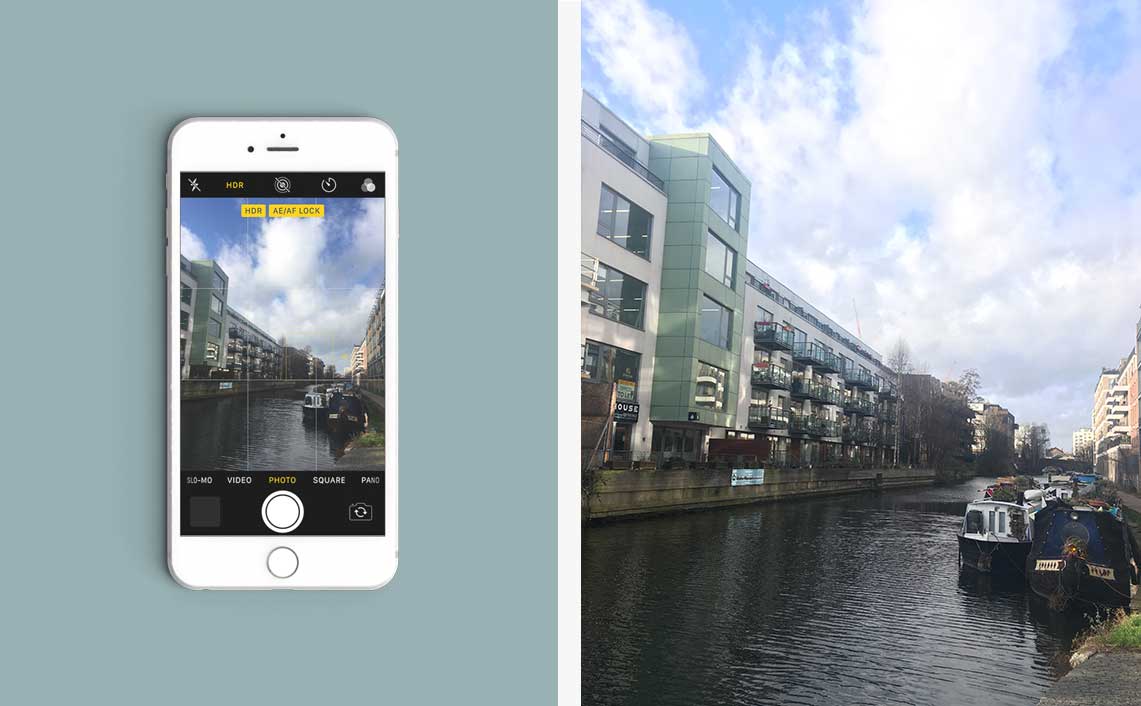
Look at the Light: HDR, Brightness and Exposure
GOOD FOR: portraits, group shots
How many times has someone taking a picture told you to stand in the sun? Turns out, this has been making their pictures worse (and hurting your eyes!). When taking a portrait or group picture, avoid shots that are too sunny, and places where there’s too much direct light on faces. Not only does everyone end up with scrunched up faces squinting into the sun, but the harshness of the light casts unflattering shadows across the picture.
Instead of heading outside on a sunny day, look for softer lighting to make your pictures super flattering. Or even better – wait for golden hour – just as the sun is rising and setting to take pictures. Simply line up your subjects so that they’re front-lit by sunlight, tap the screen to focus, slide to lower the exposure, then hit the shutter. Everyone will be bathed in a yellowy gold light – no filter required.
Or if you’re in a super low-lit or highly-lit location, turn on your phone’s HDR mode. It takes a single picture with three different exposure levels combined to take the perfect shot.
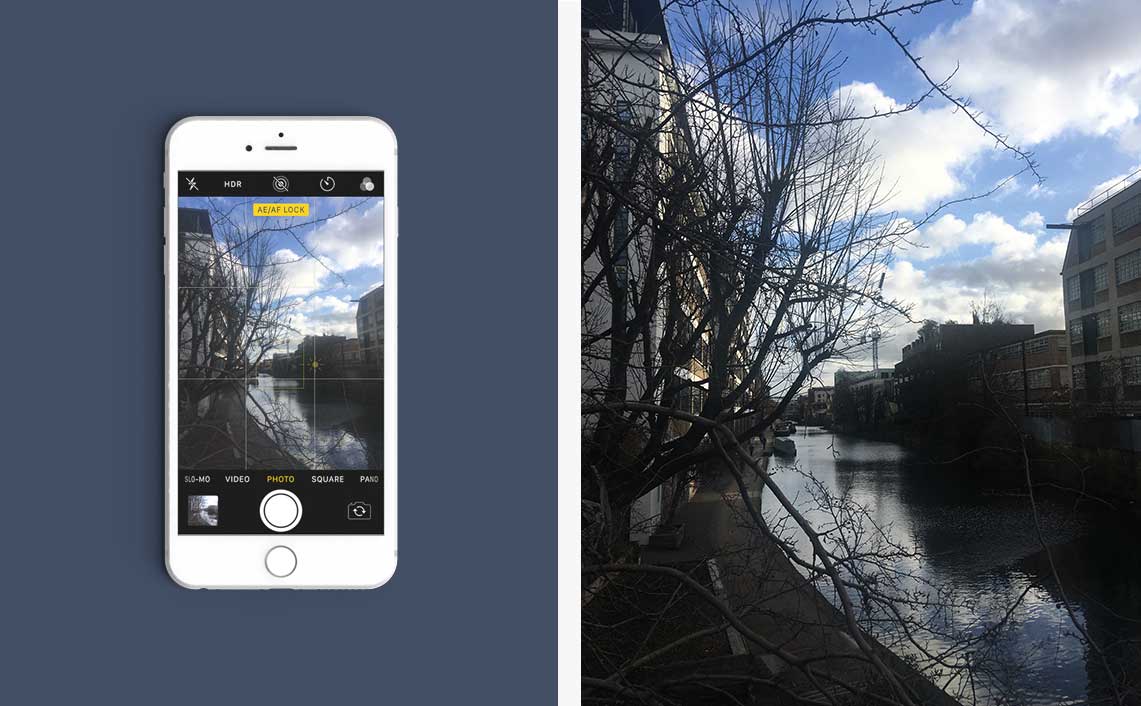
Line it Up: Grid Mode and the Rule of Thirds
GOOD FOR: bigger shots, keeping your images straight
The rule of thirds is pretty simple – see images as broken up into horizontal or vertical threes, then keep your subject along the lines or at the points where they intersect.
You can turn on the grid lines for your iPhone camera in Settings > Camera > Grid, and it’ll make shooting with the rule of thirds super easy. It’s great for positioning group portraits or bigger landscape shots (like if you were shooting a picture of your school for your endpapers) .
Or – use the grid to create a shot with symmetry! Perfect for shooting a big picture of your year group or class.
As the old saying goes – the best camera is the one you have with you. Get out there and start taking pictures.