In this article:
Direct Upload
Facebook Import
Dropbox Import
Email to Yearbook
Deleting Photos
Adding Photos
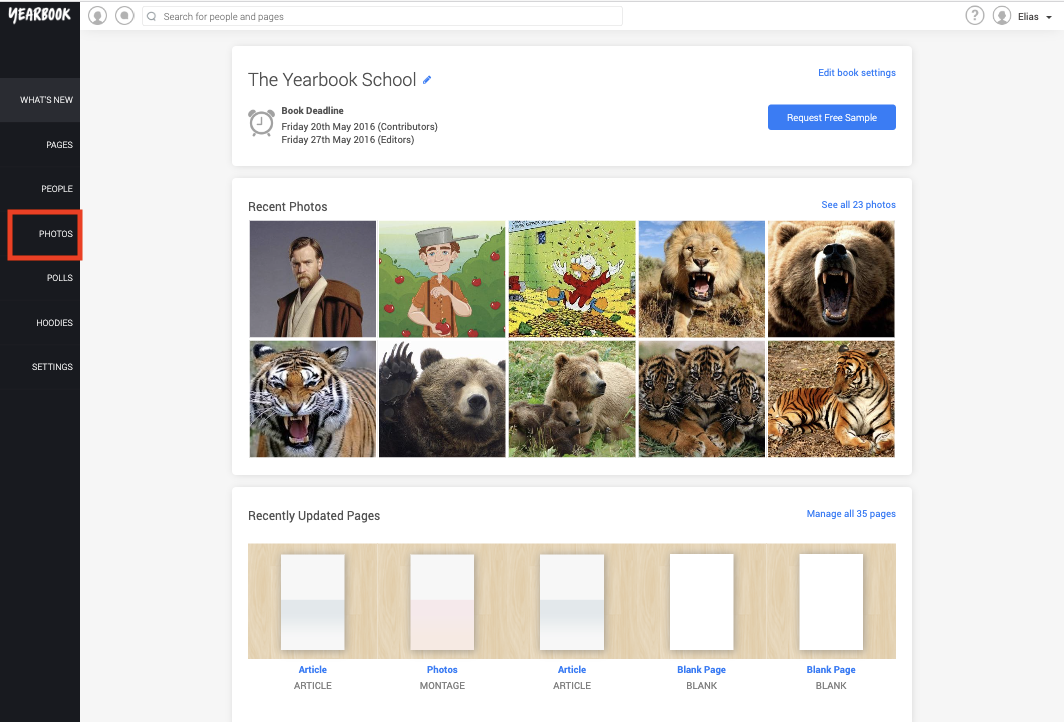
You can access the Photo Upload feature by clicking ‘Photos’ in the black bar on the left of the page:
This will take you to the page below, where you can click ‘Add Photos’ to activate the Photo Upload box:
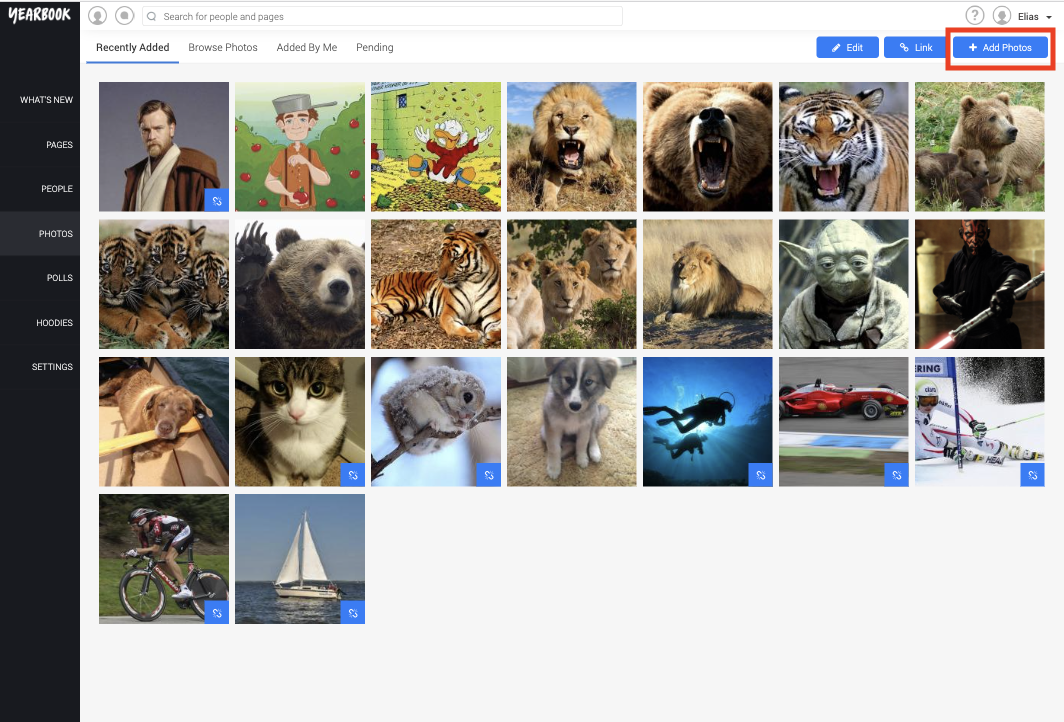
From here you have four ways to add a photo to the yearbook: Direct Upload from your computer, phone or tablet; Facebook Import; Dropbox Import; or Email Import.
Direct Upload
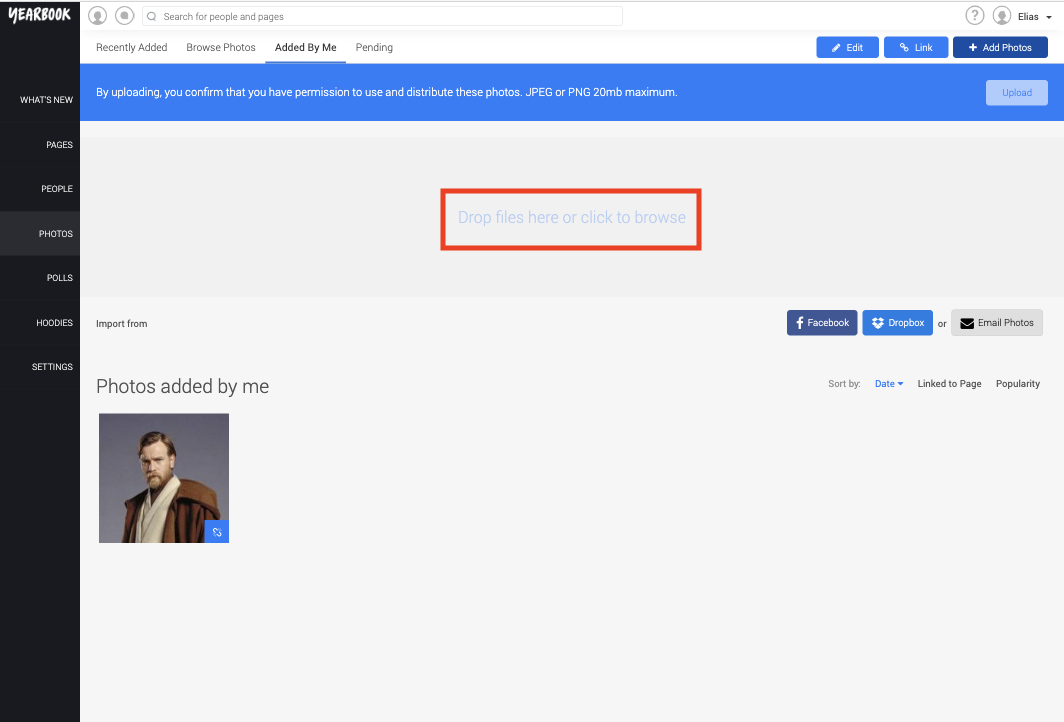
This lets you upload your photos directly from your computer (or phone/tablet). On a desktop computer, you can click and drag the files you want to upload into the grey box. Alternatively, click or tap this box to choose the files from your device:
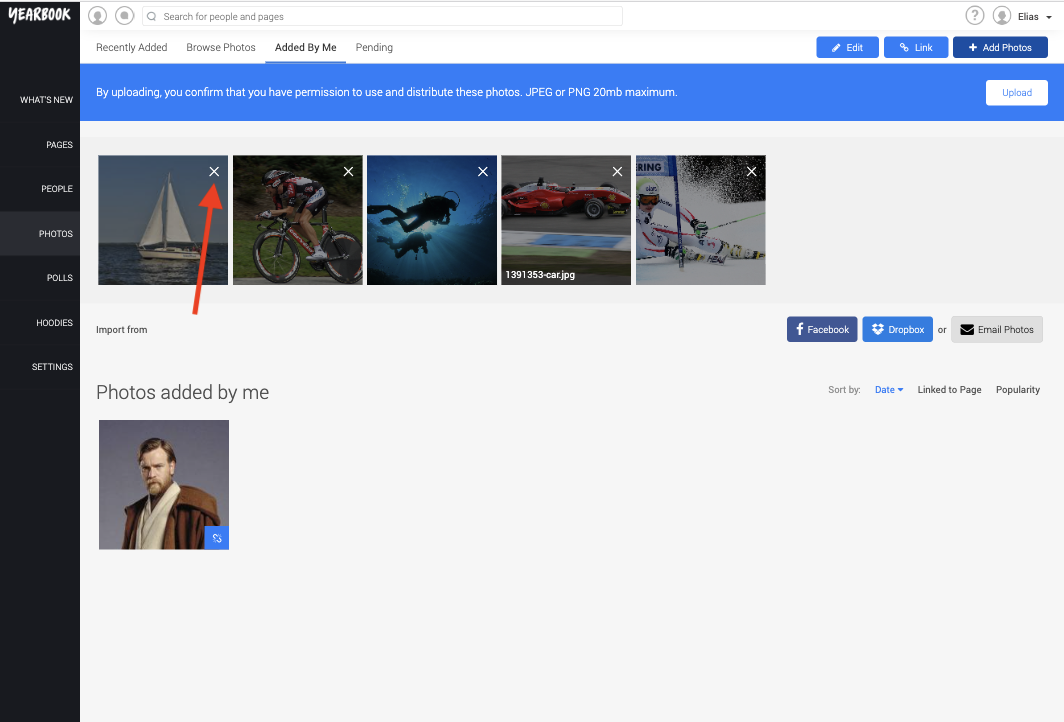
You can click the white ‘X’ to remove any photos you don’t want to upload:
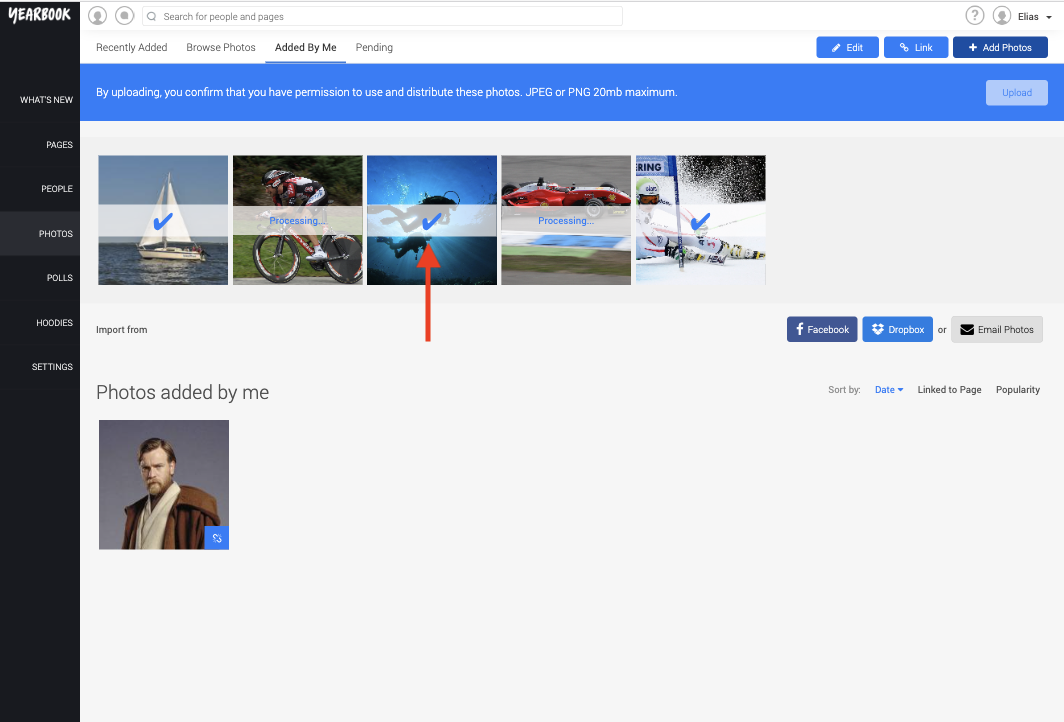
When you press ‘Upload’, you’ll be able to see the progress of your photos as they’re added to the online system. A tick will appear to confirm each photo has been uploaded:
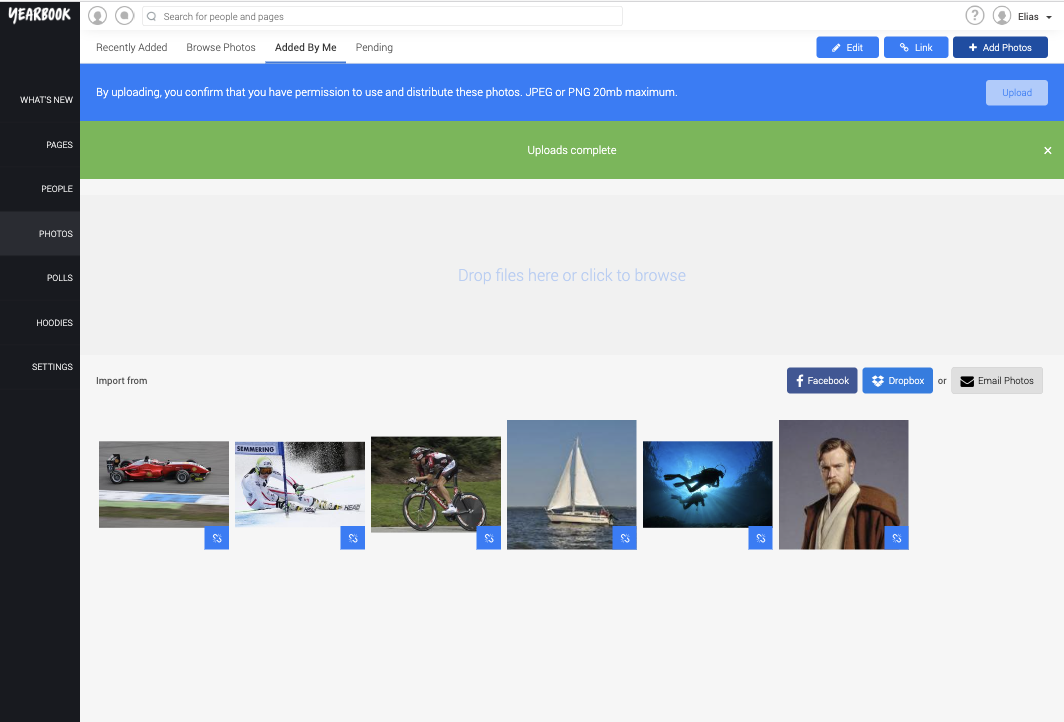
Once the uploads are complete, you will see a green complete message and the images will appear below the upload area;
Facebook Import
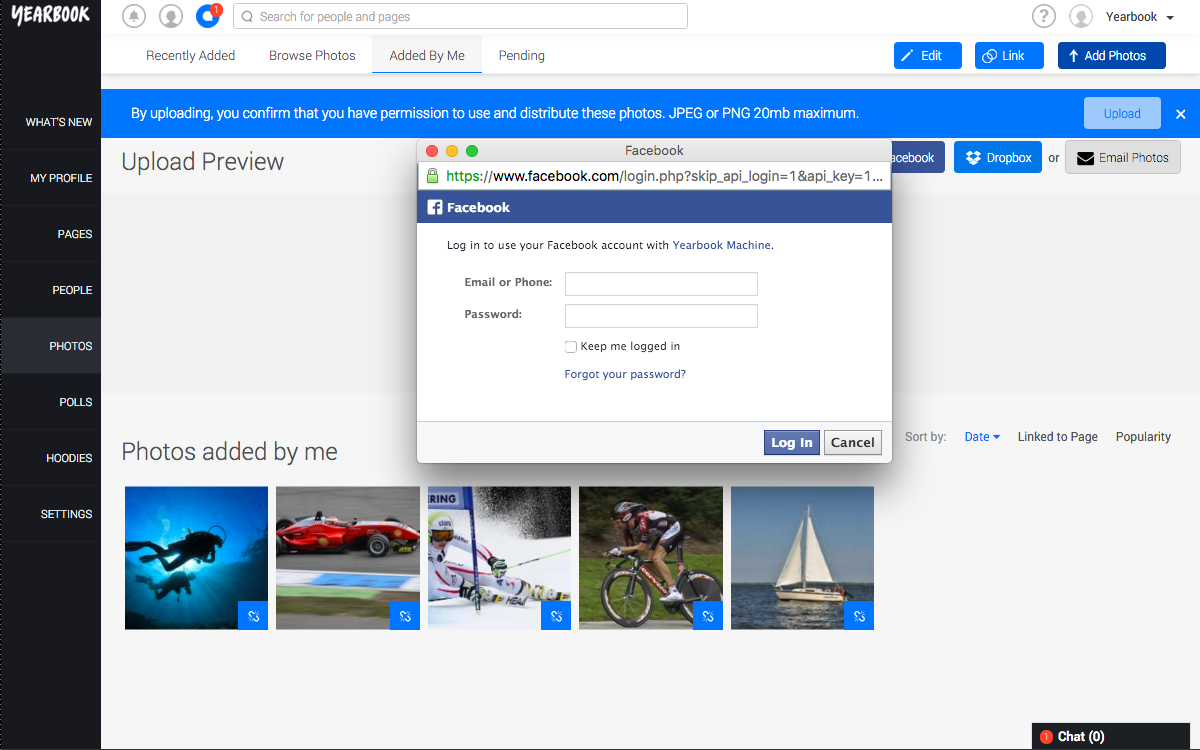
Choosing ‘Import from Facebook’ will bring up a box, asking you to connect to your Facebook profile if you haven’t done so already:
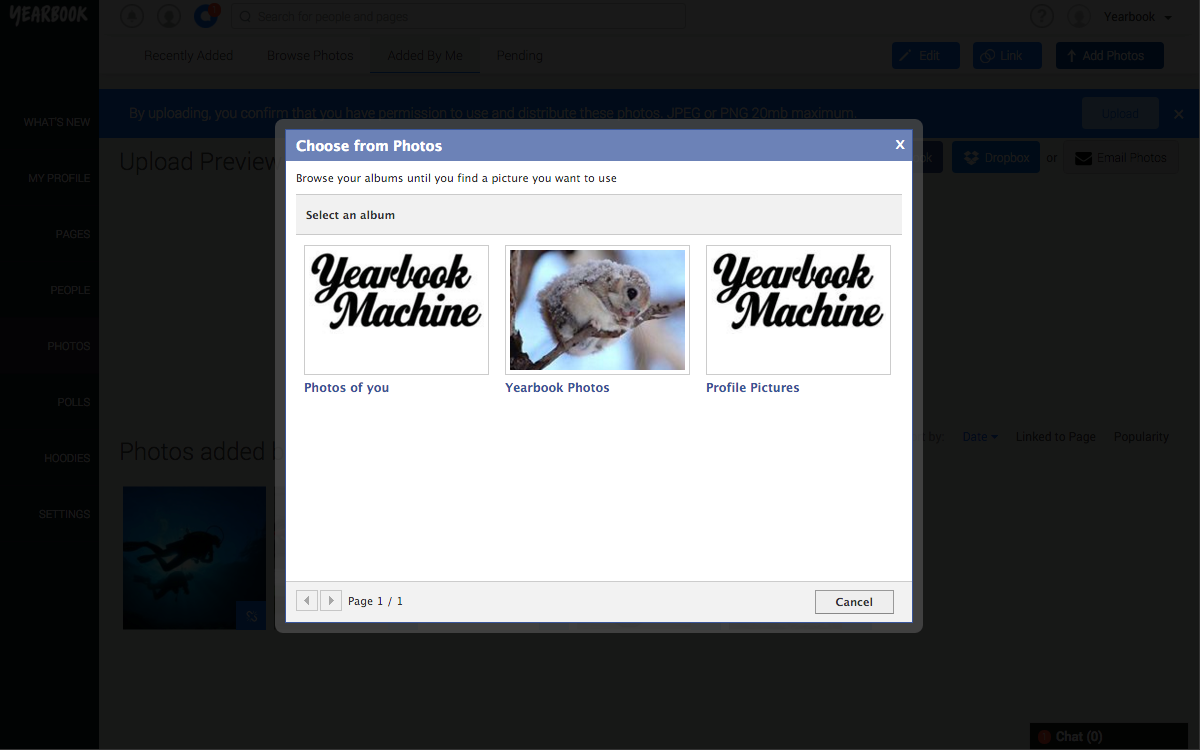
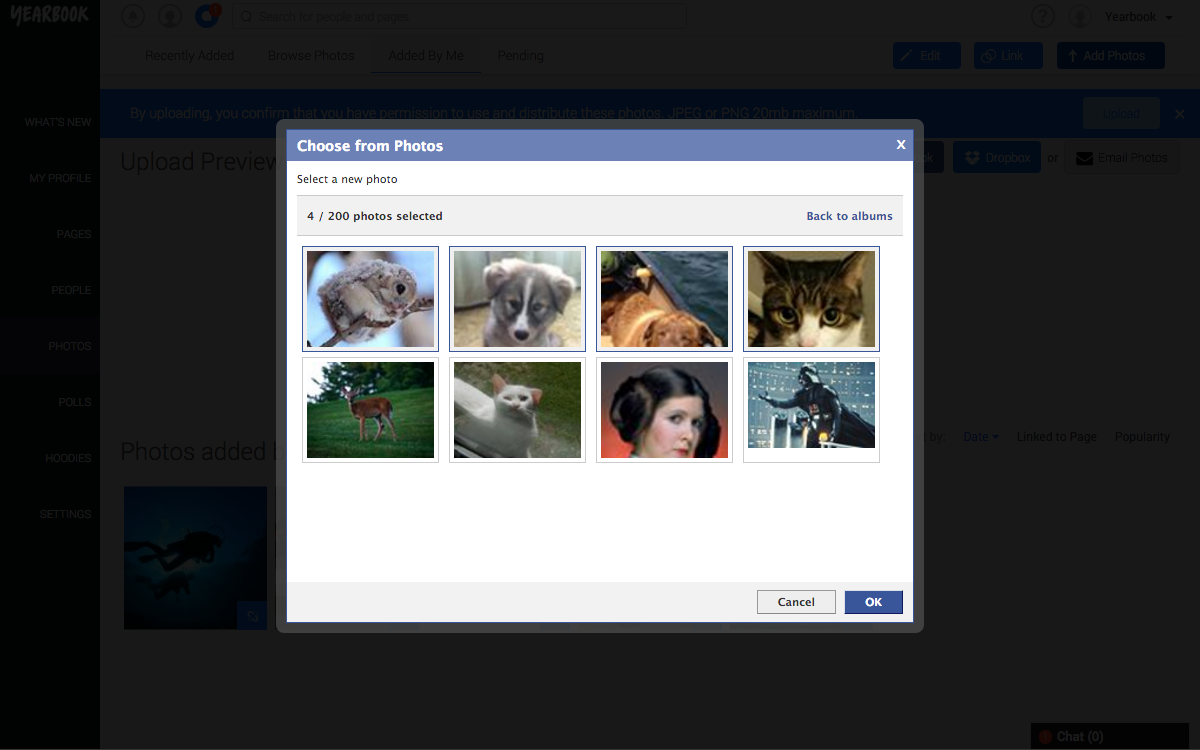
Once connected with Facebook, you’ll be able to choose the album from which you want to pick the photos to Import:
Once you’ve chosen all the photos you want to import, click OK, and they’ll be added to the Yearbook:
Dropbox Import
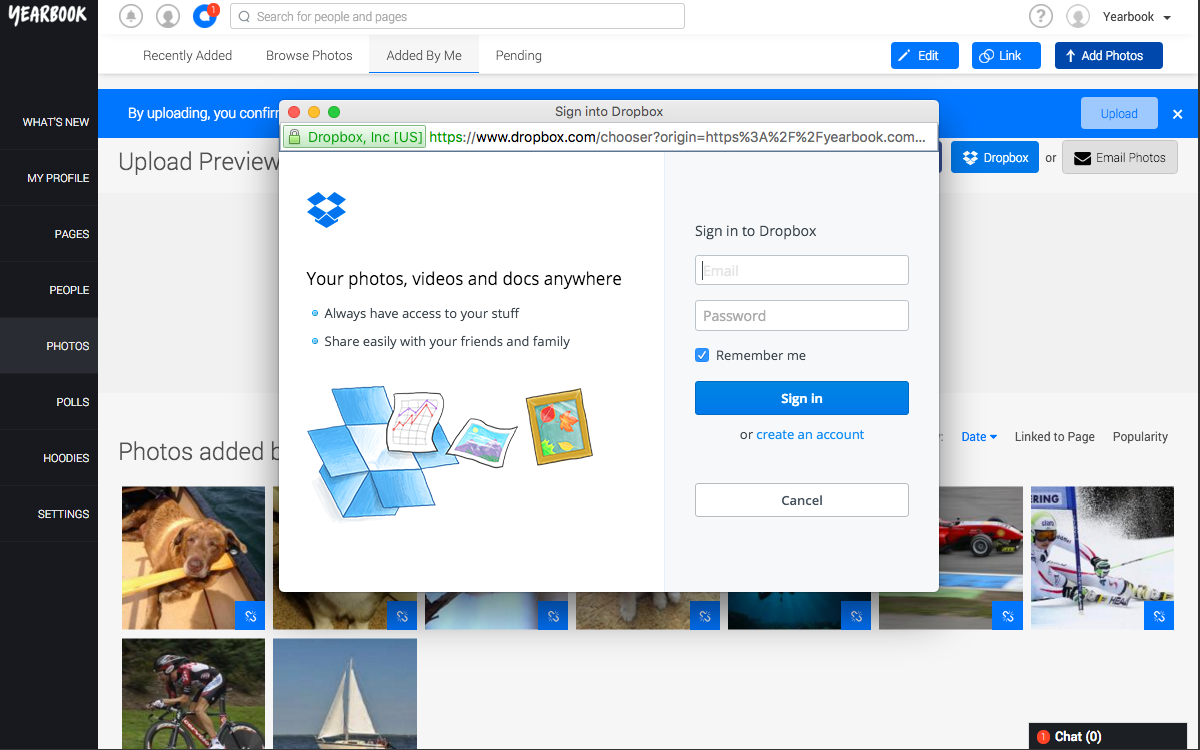
Click on the Dropbox icon and sign in to your Dropbox account:
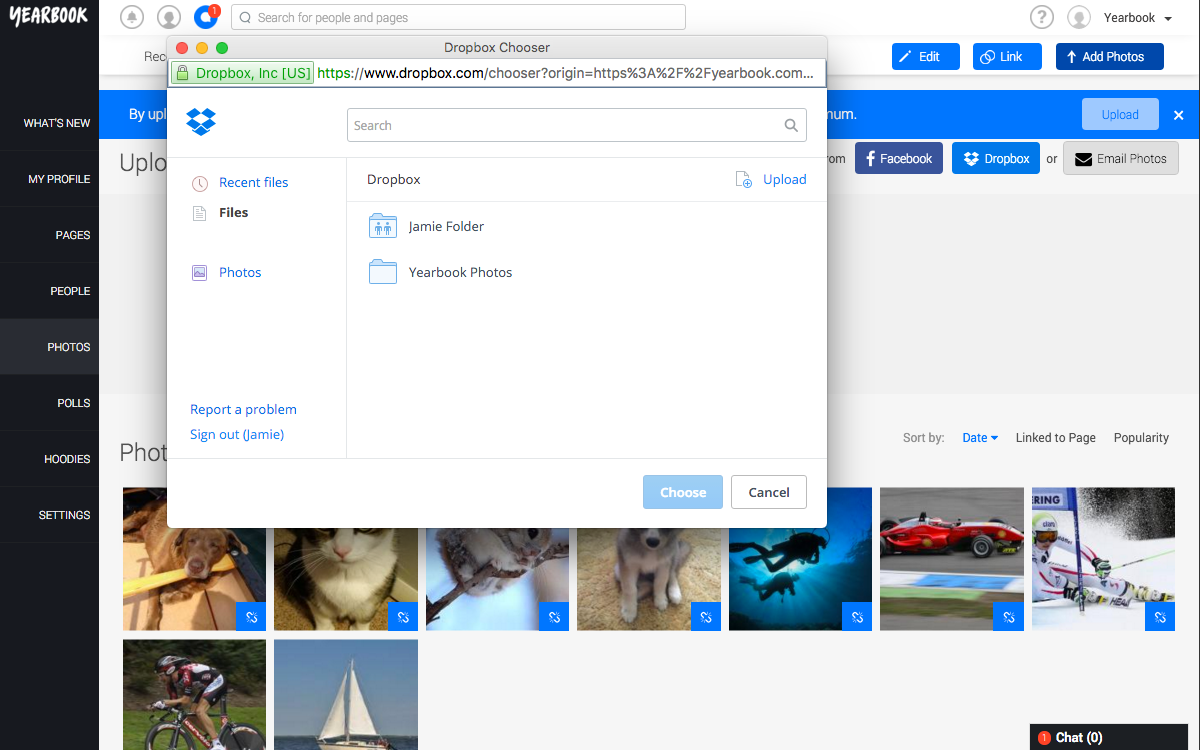
Once connected, select the folder from which you want to choose your photos to Import:
Then select the photos:
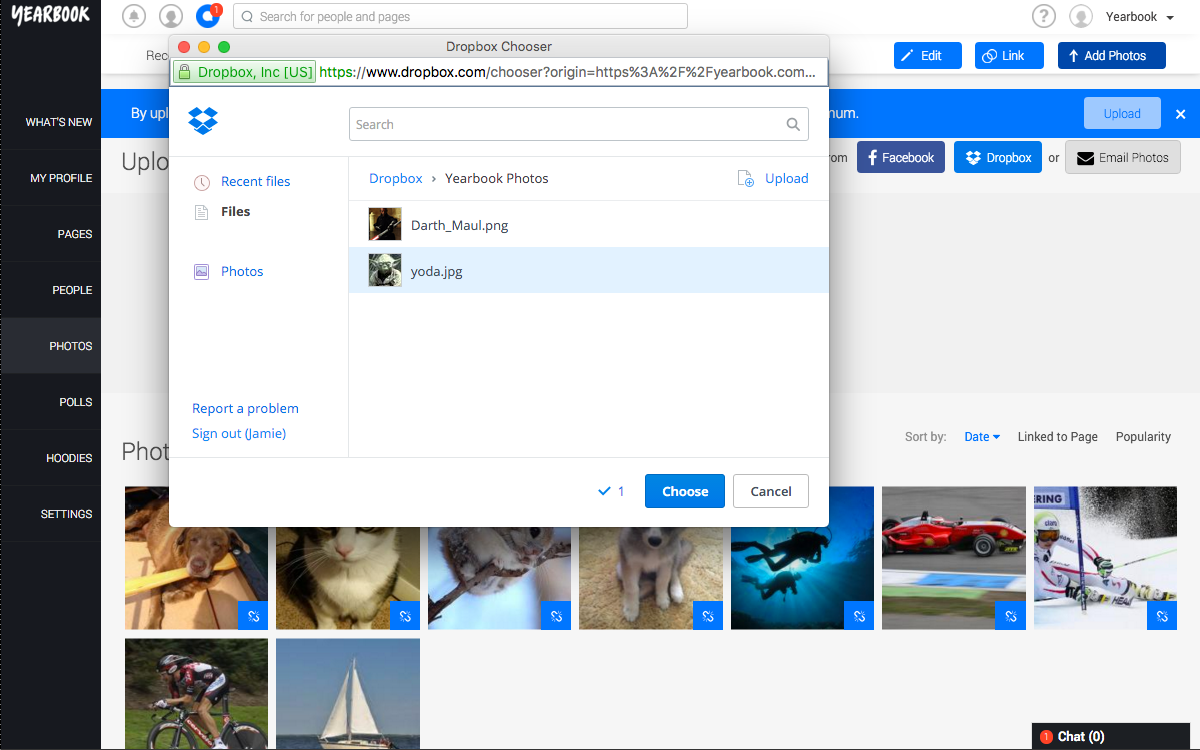
Once you’ve chosen, click ‘Choose’ to start Importing them.
Email to Yearbook
Click on ‘Email Photos’ and you’ll be shown a unique @ybm.io email address:
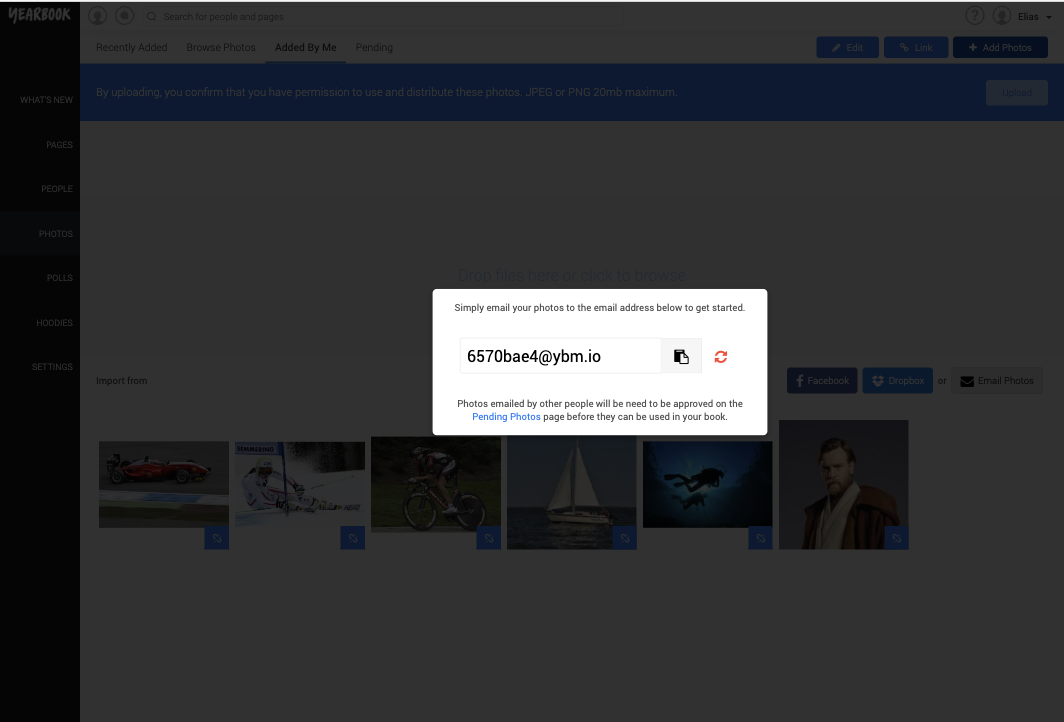
This email address can be used by anyone, so it’s really handy if you want non-members to be able to share their photos (for example, teachers & parents). Clicking the circular arrows will generate a new email address and disable the old one, so be careful doing this unless you let everyone with the old email address know.
To add photos using the email address, copy it into the ‘To’ field in an email, attach the photos (up to 25mb worth), and send the email.
You’ll receive an email shortly after sending them, confirming they’ve been uploaded:
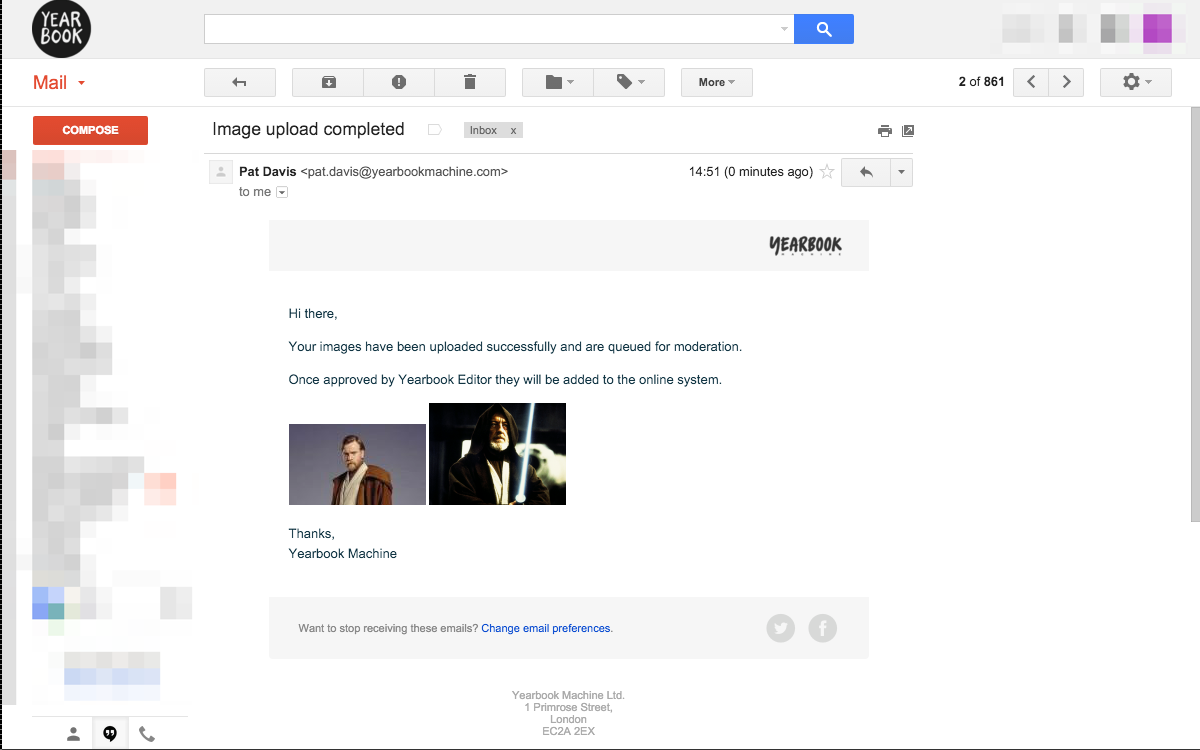
An Editor of the yearbook will then need to approve them before they can be used in the book.
Deleting Photos
Only the person who uploaded a photo, or an Editor, can delete a photo.
To delete a photo, click its thumbnail to show a larger preview. Above the comment box is an (X) in a circle:
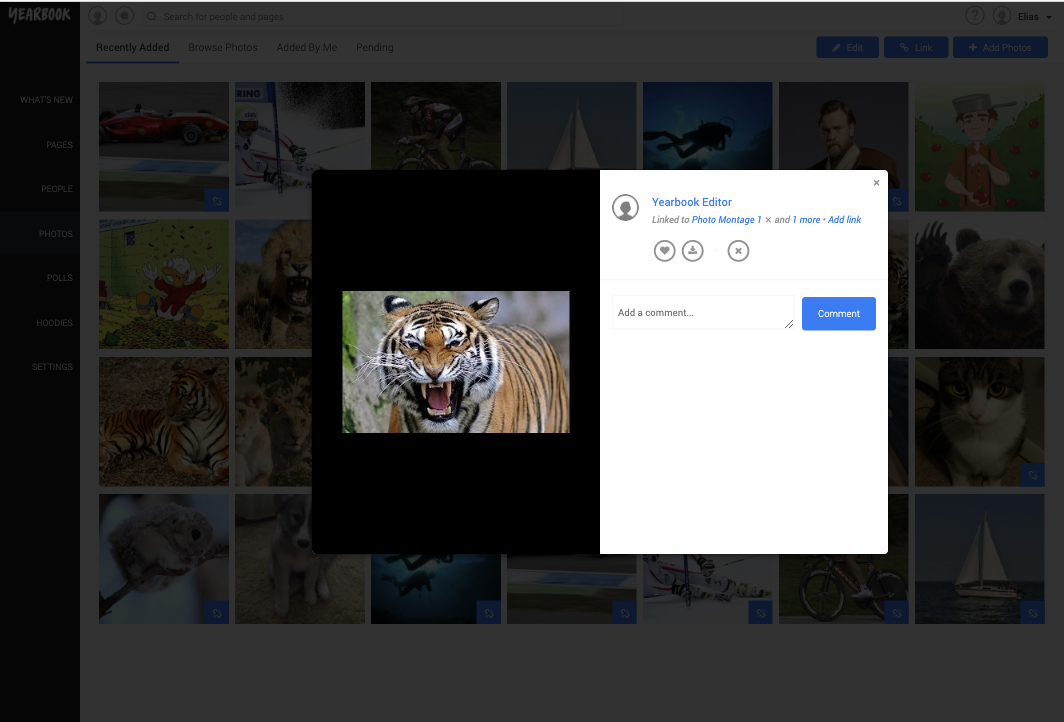
Clicking this will ask you if you’re sure you want to delete it. Click ‘Delete’ to confirm.